2014.5 VAUXHALL CORSA navigation system
[x] Cancel search: navigation systemPage 45 of 177

Navigation45
system, see "User defined points ofinterest" below.
Select the menu item to remove all
user defined POI data from the Infotainment system.
■ Demo Mode : the demo mode
enables you to plan your trip, and
provides an overview of the route.
The demo mode requires a start
position, that may be different from
your current position, and a
destination.
To set a start position: see Set Start
Location For Demo below.
To set a destination: use one of the usual options for destination input
3 48.
To activate the demo mode: set the
menu option to On. Route guidance
is now simulated.
Please note, that in demo mode the
displayed estimated arrival time or
remaining travel time, see
"Information on the map display"
above, is not realistic. In demo
mode the simulated vehicle speed
is unrealistically high, toaccomplish a short execution time
for a simulated trip.
To return to normal route guidance: set the menu option to Off.
■ Set Start Location For Demo :
displays a menu for the manual
input of a start position.
Enter the address of the desired
start position 3 48.
Enabling or disabling the display of
TMC (traffic) messages
You can enable the display of TMC
messages even if no route guidance
is active.
Notice
Detailed descriptions on TMC, see
chapter "Dynamic guidance" 3 70.
Press the SETUP button, and then
select the Traffic Messages menu
item.Enabling the display of TMC
messages
Set Dynamic navigation to Prompt . In
the event of a traffic jam or other traffic
incidents a corresponding TMC
message will be shown on the
display.Disabling the display of TMC
messages
Set Dynamic navigation to Off or
Automatic . No TMC messages will be
shown on the display.
Page 46 of 177

46Navigation
Notice
Functionality of the Dynamic
navigation settings when route
guidance is active, see "Settings for route calculation and guidance" in
chapter "Guidance" 3 65.
User defined points of interest
In addition to the predefined points of interest (POI) stored on the map SD
card, you can create user defined
POIs that meet your special personal
needs. After creation, such user
defined POIs can be downloaded to
the Infotainment system.
You can create two different types of
user defined POIs:
(1) Destination POIs : POIs that you
can use as destinations for route
guidance.
For each POI you need to define the GPS coordinates (longitude and
latitude values) of the POI's location
and a descriptive name.
After downloading the POI data to the Infotainment system, you will find the
POI name (e.g. "Michaels house") in
the menu for user defined POIs3 48. You can select the regarding
menu item as destination for route
guidance.
(2) POI warnings : POIs that you want
to be warned of ( e.g. very sharp turns
on a road), before reaching the
corresponding location.
For each POI you need to define the
GPS coordinates (longitude and
latitude values) of the POI's location
and a descriptive warning message.
After downloading the POI data to the Infotainment system, and in case
route guidance is active:
When the vehicle approaches the
POI location defined by the GPS
coordinates, the corresponding
warning message (e.g. "Very sharp turn") will be displayed.
Using the menu option POI Warning
Distance in the NAVIGATION
SETUP menu, see above, you can
define, in which distance before
reaching a user defined POI the
related warning message should be
displayed.Creating user defined POIs
For each POI type you need to create
a separate text file, e.g. by using a
simple text editor software.Destination POIs
1. Create a text file with an arbitrary name and the file extension .asc,
e.g. "TomsDestinationPOIs.asc".
2. The POI data need to be entered into the text file in the following
format:
Longitude coordinate, Latitude
coordinate, "Name of POI [ any
comment ]"
Page 47 of 177
![VAUXHALL CORSA 2014.5 Infotainment system Navigation47
Example: 9.9800000,
52.0150000, "Michaels House
[ Fleet Street ]"
Please note, that the text shown
above has to be entered in a
single line, see image above.
3. Get the required GPS coord VAUXHALL CORSA 2014.5 Infotainment system Navigation47
Example: 9.9800000,
52.0150000, "Michaels House
[ Fleet Street ]"
Please note, that the text shown
above has to be entered in a
single line, see image above.
3. Get the required GPS coord](/manual-img/38/19421/w960_19421-46.png)
Navigation47
Example: 9.9800000,
52.0150000, "Michaels House
[ Fleet Street ]"
Please note, that the text shown
above has to be entered in a
single line, see image above.
3. Get the required GPS coordinates, e.g. from a
topographical map.
The GPS coordinates need to be
expressed in decimal degrees, as shown in the example above.
4. Enter the Longitude and Latitude coordinates into the text file,
separated by a comma and a
space.
5. Enter an arbitrary name for the POI, and, if desired, an optional
comment in square brackets.
The name and comment must be enclosed by quotation marks, and
separated from the GPS
coordinates by a comma and a
space.6. Enter further POI data, using a separate line for each POI, into
the text file, as described above.
7. Store the text file, e.g. on your local hard drive.POI warnings
Create a separate text file with an
arbitrary name and the file
extension .asc, e.g.
"TomsPOIWarnings.asc".
The further operating steps for
creating a text file with POI warnings are the same as described for
destination POIs, see above.
The only difference is: instead of
creating a name (e.g. "Michaels
house") you need to create a warning message (e.g. "Very sharp turn").
Storing the text files on a USB drive 1. In the root directory of a USB drive: create a folder named" myPOIs ", e.g. "F:\myPOIs",
where "F:\" is the root directory of
the USB drive.
2. In the "myPOIs" folder, store the text file with destination POIs,
e.g. "F:\myPOIs
\TomsDestinationPOIs.asc".
3. In the folder "myPOIs" create a subfolder named
" myPOIWarnings ".
4. In that subfolder store the text file with POI warnings, e.g.
"F:\myPOIs\myPOIWarnings
\TomsPOIWarnings.asc"
Downloading the user defined POIs
Connect the USB drive with your user
defined POI data to the USB port
3 31 of the Infotainment system.
Page 48 of 177

48Navigation
To start the download: press the
SETUP button, select the Navigation
screen button, select the Download
my POIs now menu item, and then
confirm the displayed message.
The POI data will be downloaded to
the Infotainment system.
Destination input Various methods are available to set
your destination for route guidance.
Press the NAV button to open the
NAVIGATION menu.The NAVIGATION menu provides
three options that you can use for destination input:
■ Destination : opens the ENTER
DESTINATION menu.
Notice
If route guidance is active, a
message is displayed before the
ENTER DESTINATION menu will be
opened.
You need to decide first, if you want
to add a waypoint (an intermediate
destination) to the currently set
destination, or if you want to replace
the currently set destination by a
new destination.
Detailed description on adding a
waypoint to a destination, see
chapter "Guidance" 3 65.
The ENTER DESTINATION menu
is the main entry point for entering
and/or selecting destinations, see
"Entering an address directly" and
subsequent paragraphs below.
■ Previous Destinations : displays a
list with destinations, that were
previously used for route guidance.
You can select an entry from that
list to set it as your new destination,
see "Selecting a previous
destination" below.
■ Home : displays a menu that you
can use to store an address as your home address, and/or to select
your already stored home address
Page 49 of 177

Navigation49
as new destination, see "Entering
and selecting the home address"
below.
The menu options Options, Route ,
and Cancel Route are described in
the "Guidance" chapter 3 65.
Using menus with keypads for address input When using the various options for
address input, you often need to enter
address data using menus with
keypads.
The keypads use an intelligent
spelling function, which excludes
nonexistent letter or number
combinations.
The use of menus with keypads will
be described below by the example of
entering a city name:
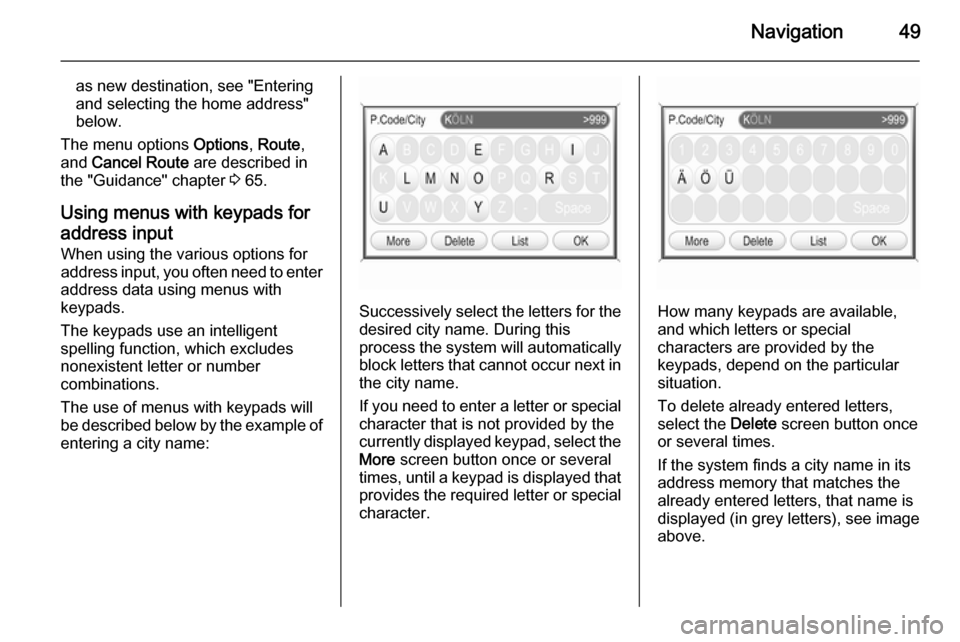
Successively select the letters for the desired city name. During this
process the system will automatically
block letters that cannot occur next in the city name.
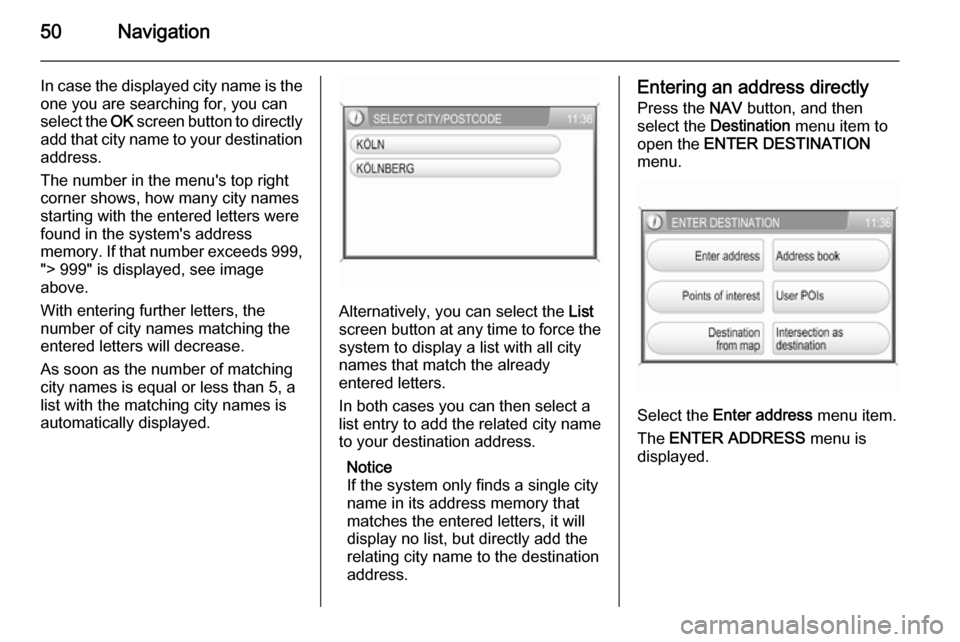
If you need to enter a letter or special character that is not provided by the
currently displayed keypad, select the More screen button once or several
times, until a keypad is displayed that
provides the required letter or special character.How many keypads are available,
and which letters or special
characters are provided by the
keypads, depend on the particular situation.
To delete already entered letters,
select the Delete screen button once
or several times.
If the system finds a city name in its
address memory that matches the
already entered letters, that name is
displayed (in grey letters), see image
above.
Page 50 of 177

50Navigation
In case the displayed city name is the
one you are searching for, you can
select the OK screen button to directly
add that city name to your destination
address.
The number in the menu's top right
corner shows, how many city names
starting with the entered letters were
found in the system's address
memory. If that number exceeds 999, "> 999" is displayed, see image
above.
With entering further letters, the
number of city names matching the
entered letters will decrease.
As soon as the number of matching
city names is equal or less than 5, a
list with the matching city names is automatically displayed.
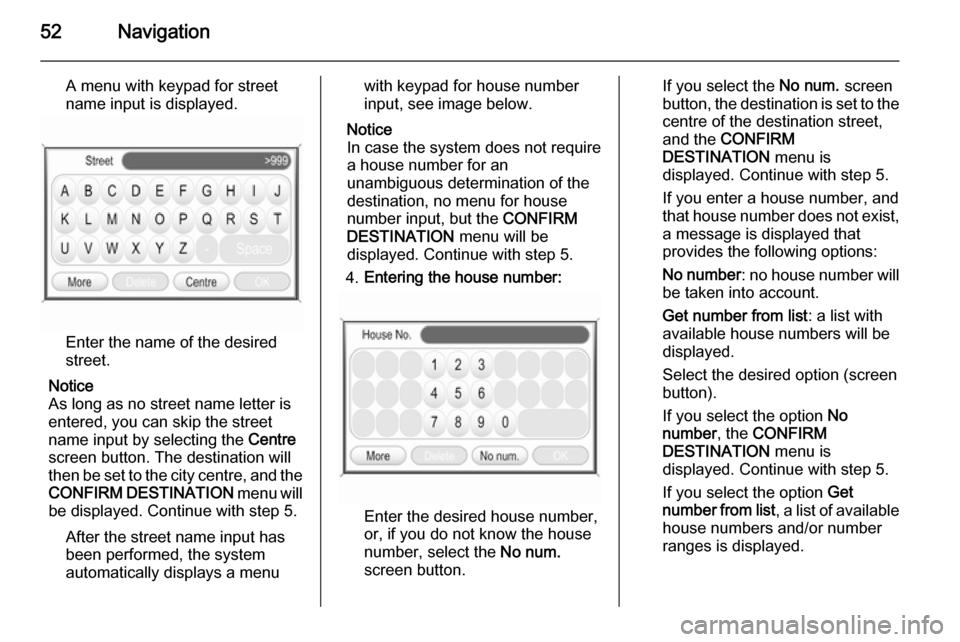
Alternatively, you can select the List
screen button at any time to force the
system to display a list with all city
names that match the already
entered letters.
In both cases you can then select a
list entry to add the related city name
to your destination address.
Notice
If the system only finds a single city name in its address memory that
matches the entered letters, it will
display no list, but directly add the
relating city name to the destination address.
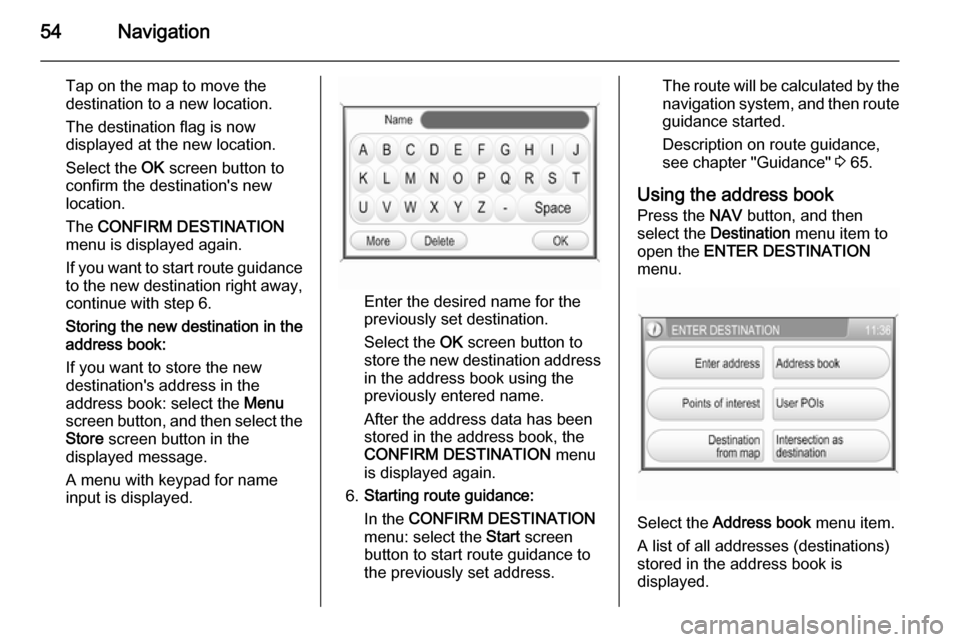
Entering an address directly
Press the NAV button, and then
select the Destination menu item to
open the ENTER DESTINATION
menu.
Select the Enter address menu item.
The ENTER ADDRESS menu is
displayed.
Page 52 of 177

52Navigation
A menu with keypad for street
name input is displayed.
Enter the name of the desired
street.
Notice
As long as no street name letter is
entered, you can skip the street
name input by selecting the Centre
screen button. The destination will
then be set to the city centre, and the
CONFIRM DESTINATION menu will
be displayed. Continue with step 5.
After the street name input has
been performed, the system
automatically displays a menu
with keypad for house number
input, see image below.
Notice
In case the system does not require
a house number for an
unambiguous determination of the
destination, no menu for house
number input, but the CONFIRM
DESTINATION menu will be
displayed. Continue with step 5.
4. Entering the house number:
Enter the desired house number,
or, if you do not know the house
number, select the No num.
screen button.
If you select the No num. screen
button, the destination is set to the
centre of the destination street,
and the CONFIRM
DESTINATION menu is
displayed. Continue with step 5.
If you enter a house number, and
that house number does not exist, a message is displayed that
provides the following options:
No number : no house number will
be taken into account.
Get number from list : a list with
available house numbers will be
displayed.
Select the desired option (screen
button).
If you select the option No
number , the CONFIRM
DESTINATION menu is
displayed. Continue with step 5.
If you select the option Get
number from list , a list of available
house numbers and/or number
ranges is displayed.
Page 54 of 177

54Navigation
Tap on the map to move the
destination to a new location.
The destination flag is now
displayed at the new location.
Select the OK screen button to
confirm the destination's new
location.
The CONFIRM DESTINATION
menu is displayed again.
If you want to start route guidance
to the new destination right away, continue with step 6.
Storing the new destination in the
address book:
If you want to store the new
destination's address in the address book: select the Menu
screen button, and then select the
Store screen button in the
displayed message.
A menu with keypad for name
input is displayed.
Enter the desired name for the
previously set destination.
Select the OK screen button to
store the new destination address in the address book using the
previously entered name.
After the address data has been
stored in the address book, the
CONFIRM DESTINATION menu
is displayed again.
6. Starting route guidance:
In the CONFIRM DESTINATION
menu: select the Start screen
button to start route guidance to
the previously set address.
The route will be calculated by the
navigation system, and then route guidance started.
Description on route guidance,
see chapter "Guidance" 3 65.
Using the address book Press the NAV button, and then
select the Destination menu item to
open the ENTER DESTINATION
menu.
Select the Address book
menu item.
A list of all addresses (destinations)
stored in the address book is
displayed.