Page 335 of 684

335
3-2. Using the audio system
3
Interior features
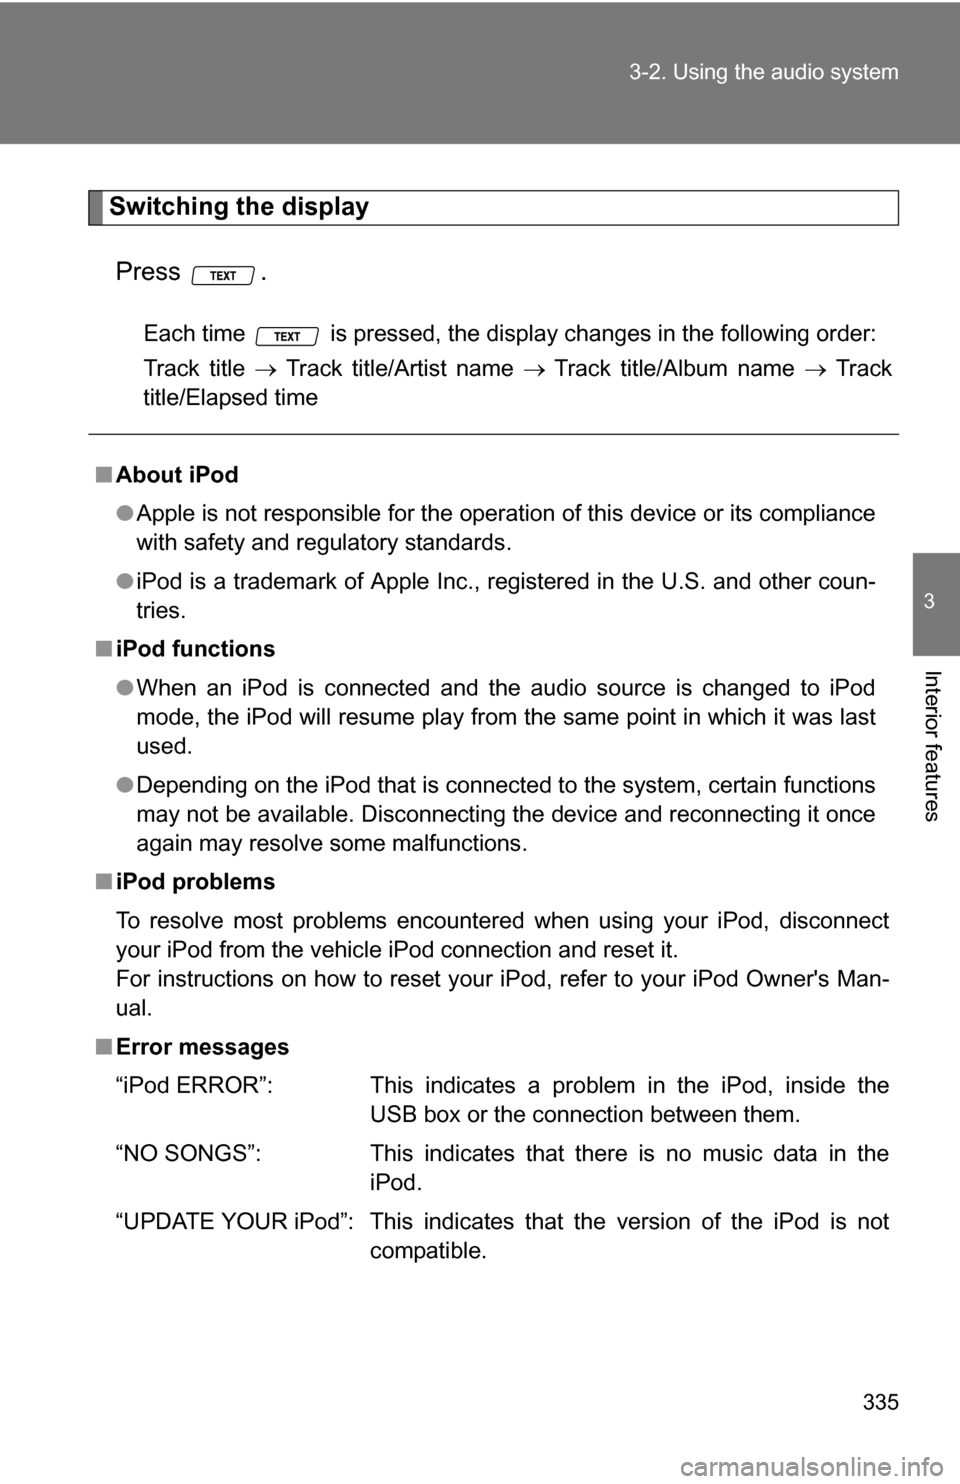
Switching the display
Press .
Each time is pressed, the display changes in the following order:
Track title Track title/Artist name Track title/Album name Track
title/Elapsed time
■ About iPod
●Apple is not responsible for the operation of this device or its compliance
with safety and regulatory standards.
● iPod is a trademark of Apple Inc., registered in the U.S. and other coun-
tries.
■ iPod functions
●When an iPod is connected and the audio source is changed to iPod
mode, the iPod will resume play from the same point in which it was last
used.
● Depending on the iPod that is connected to the system, certain functions
may not be available. Disconnecting the device and reconnecting it once
again may resolve some malfunctions.
■ iPod problems
To resolve most problems encountered when using your iPod, disconnect
your iPod from the vehicle iPod connection and reset it.
For instructions on how to reset your iPod, refer to your iPod Owner's Man-
ual.
■ Error messages
“iPod ERROR”: This indicates a problem in the iPod, inside the
USB box or the connection between them.
“NO SONGS”: This indicates that there is no music data in the iPod.
“UPDATE YOUR iPod”: This indicates that the version of the iPod is not compatible.
Page 340 of 684
340 3-2. Using the audio system
Fast-forwarding and rewinding filesPress and hold “
” or “ ” on .
Random playback
■ Playing files from a folder in random order
Press (RDM).
To cancel, press the button twice.
■Playing all the files from a USB memory in random order
Press (RDM) twice.
To cancel, press the button again.
Repeat play
■ Repeating a file
Press (RPT).
To cancel, press the button twice.
■Repeating all the files in a folder
Press (RPT) twice.
To cancel, press the button again.
Switching the display
Press .
Each time is pressed, the display changes in the following order:
Track title Track title/Artist name Track title/Album name Track
title/Elapsed time
Page 352 of 684
352 3-2. Using the audio system
Changing the audio sourcePress when the audio system is turned on. The audio source
changes as follows each time is pressed.
Type A
FM CD AUX AM
Type B and C
FMSAT CD (type B only) CD changer (with a CD changer)
Bluetooth® AudioAUX USB/iPodAM
Adjusting the volume
Press “+” on to increase the volume and “-” to decrease the
volume.
Press and hold to continue increasing or decreasing the volume.
Selecting a radio station Press to select radio mode.
Press “” or “ ” on to select a preset station.
To scan for receivable stations, press and hold until you hear
a beep.
Selecting a track/file or song
Press to select CD, iPod, USB memory or Bluetooth
®
audio mode.
Press “” or “ ” on to select the desired track/file or
song.
Selecting a folder or album
Press to select CD, USB memory or Bluetooth
® audio
mode.
Press and hold “ ” or “ ” on until you hear a beep.
STEP1
STEP2
STEP1
STEP2
STEP1
STEP2
Page 363 of 684

363
3-3. Using the Bluetooth
® audio system
3
Interior features
Input the passkey into the portable player.
Refer to the manual that comes with the portable player for the oper-
ation of the portable player.
Guidance for registration completion is heard.
If the portable player has a Bluetooth
® phone, the phone can be reg-
istered at the same time. ( P. 380)
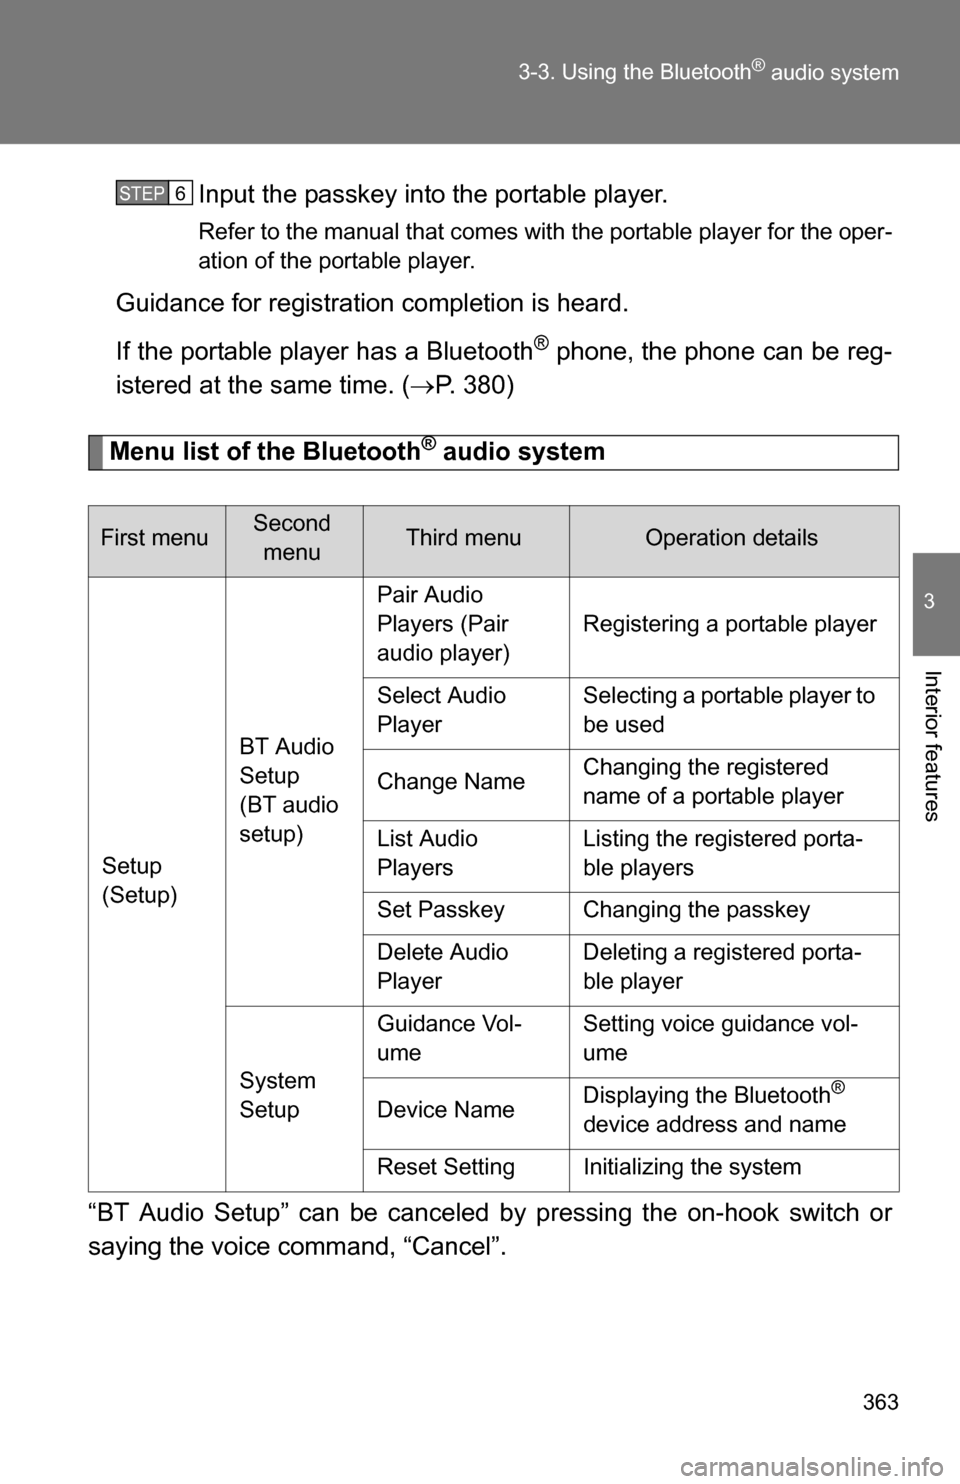
Menu list of the Bluetooth® audio system
“BT Audio Setup” can be canceled by pressing the on-hook switch or
saying the voice command, “Cancel”.
First menuSecond menuThird menuOperation details
Setup
(Setup) BT Audio
Setup
(BT audio
setup)Pair Audio
Players (Pair
audio player)
Registering a portable player
Select Audio
Player Selecting a portable player to
be used
Change Name Changing the registered
name of a portable player
List Audio
Players Listing the registered porta-
ble players
Set Passkey Changing the passkey
Delete Audio
Player Deleting a registered porta-
ble player
System
Setup Guidance Vol-
ume
Setting voice guidance vol-
ume
Device Name Displaying the Bluetooth
®
device address and name
Reset Setting Initializing the system
STEP6
Page 366 of 684
366 3-3. Using the Bluetooth
® audio system
Fast-forwarding and reversing tracksPress and hold “
” or “ ” on .
Switching the display
Press .
Each time is pressed, the display changes in the following order:
Track title Track title/Artist name Track title/Album name Track
title/Elapsed time
Using the steering wheel audio switches
P. 3 5 1
■Bluetooth® audio system functions
Depending on the portable player that is connected to the system, certain
functions may not be available.
Page 418 of 684
418 3-5. Using the rear audio system
Changing the angle Press or select to
display the screen to change the
angle.
Each time is pressed or is selected, the angle
changes.
Select to return to the pre-
vious screen.
Page 438 of 684
438 3-6. Using the interior lights
Center (if equipped)On/off
The illuminated entry system is
activated even if the light is
turned off when the personal/inte-
rior light main switch is in door
position.
Interior light
On
Off
The illuminated entry system is
activated even if the light is
turned off when the personal/inte-
rior light main switch is in door
position.
RearCenter (if equipped)
■To prevent battery discharge
If the lights remain on when the door is not fully closed and the personal/inte-
rior light main switch is in the door position, the lights will go off automatically
after 20 minutes.
■ Customization that can be co nfigured at Toyota dealer
Settings (e.g. The time elapsed before lights turn off) can be changed.
(Customizable features P. 648)
Personal/interior lights and interior light
Page 527 of 684

527
4-3. Do-it-yourself maintenance
4
Maintenance and care
■When the initialization of the tire pressure warning system has
failed
Initialization can be completed in a few minutes. However, in the follow-
ing cases, the settings have not been recorded and
the system will not
operate properly. If repeated attempts to record tire inflation pressure
settings are unsuccessful, have the vehicle inspected by your Toyota
dealer.
●When operating the tire pressure warning reset switch, the tire pres-
sure warning light doe s not blink 3 times.
●After carrying out the initialization procedure, the tire pressure warn-
ing light blinks for 1 minute then stays on after driving for about 20
minutes.
■Routine tire inflation pressure checks
The tire pressure warning system doe s not replace routine tire inflation
pressure checks. Make su re to check tire inflation pressure as part of
your routine of daily vehicle checks.
■Tire pressure warning system certification
For vehicles sold in the U.S.A.
FCC ID: PAXPMV107J
FCC ID: HYQ13BCX
This device complies with Part 15 of the FCC Rules. Operation is subject
to the following two conditions: (1) this device may not cause harmful
interference, and (2) this device must accept any interference received,
including interference that may cause undesired operation.
FCC WARNING:
Changes or modifications not expre ssly approved by the party responsi-
ble for compliance could void the user's authority to operate the equip-
ment.
For vehicles sold in Canada
Operation is subject to the following two conditions: (1) this device may
not cause interference, and (2) this de vice must accept any interference,
including interference that may caus e undesired operation of the device.