Page 169 of 336

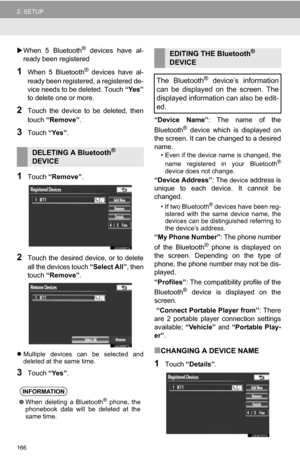
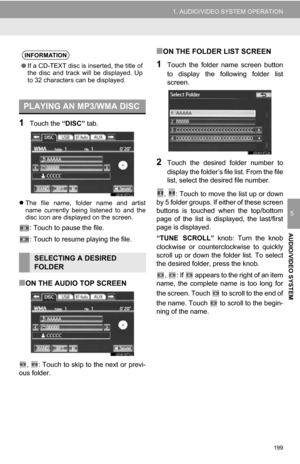
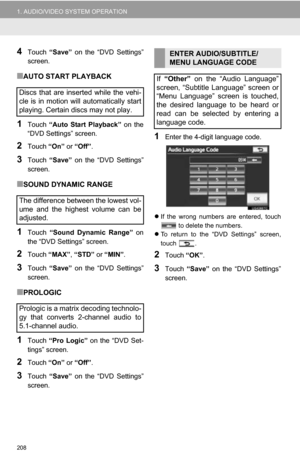
169
2. SETUP
4
PHONE
1Press the “SETUP” button.
2Touch “Bluetooth*” on the “Setup”
screen.
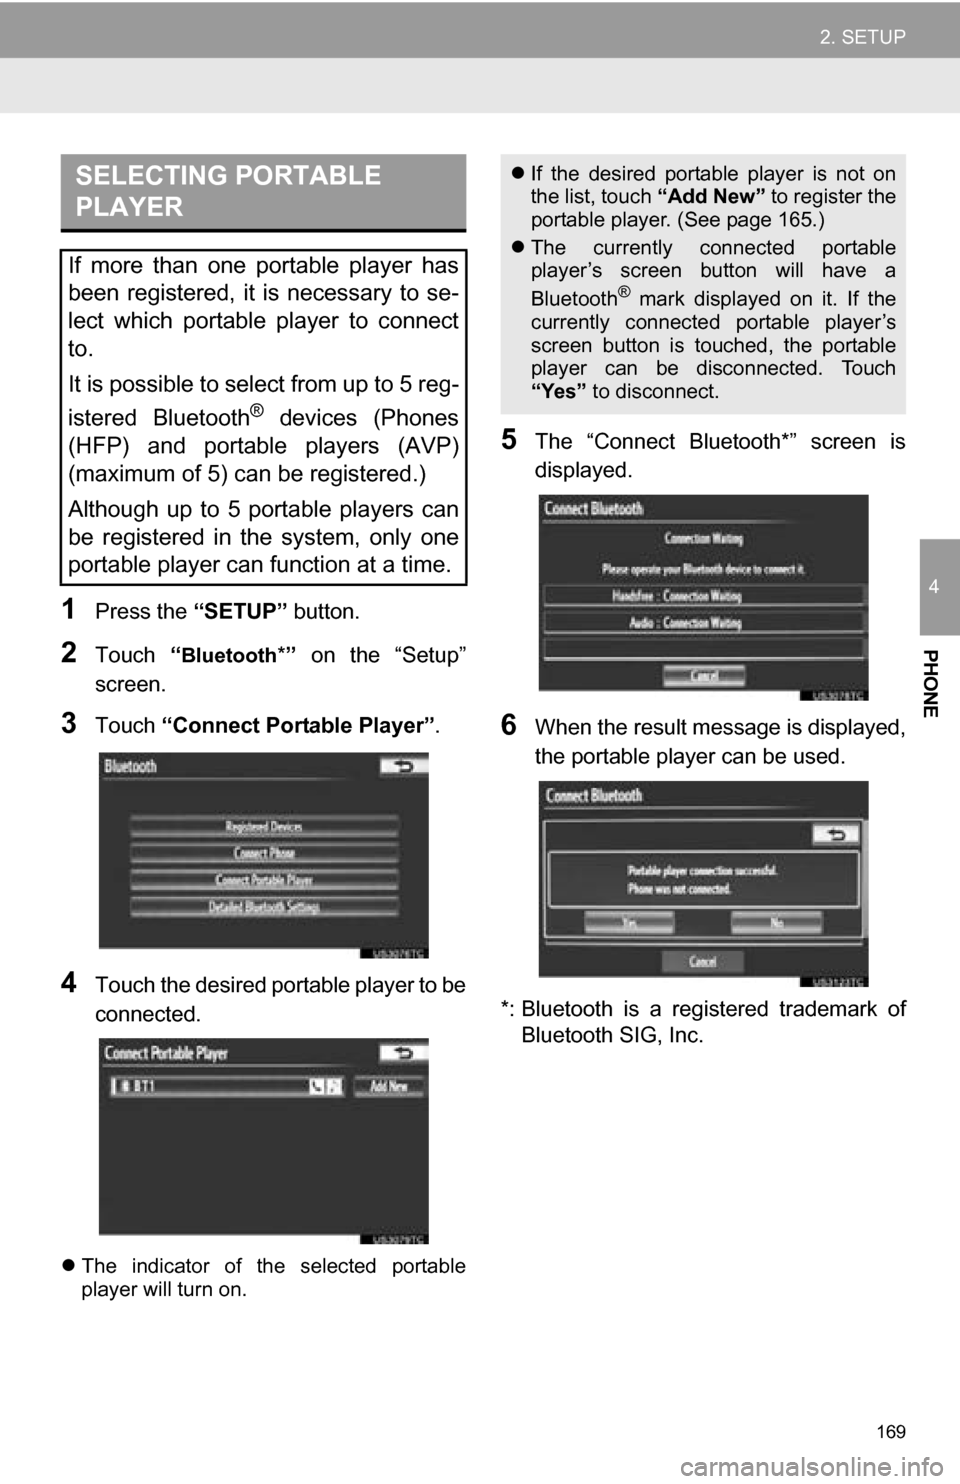
3Touch “Connect Portable Player” .
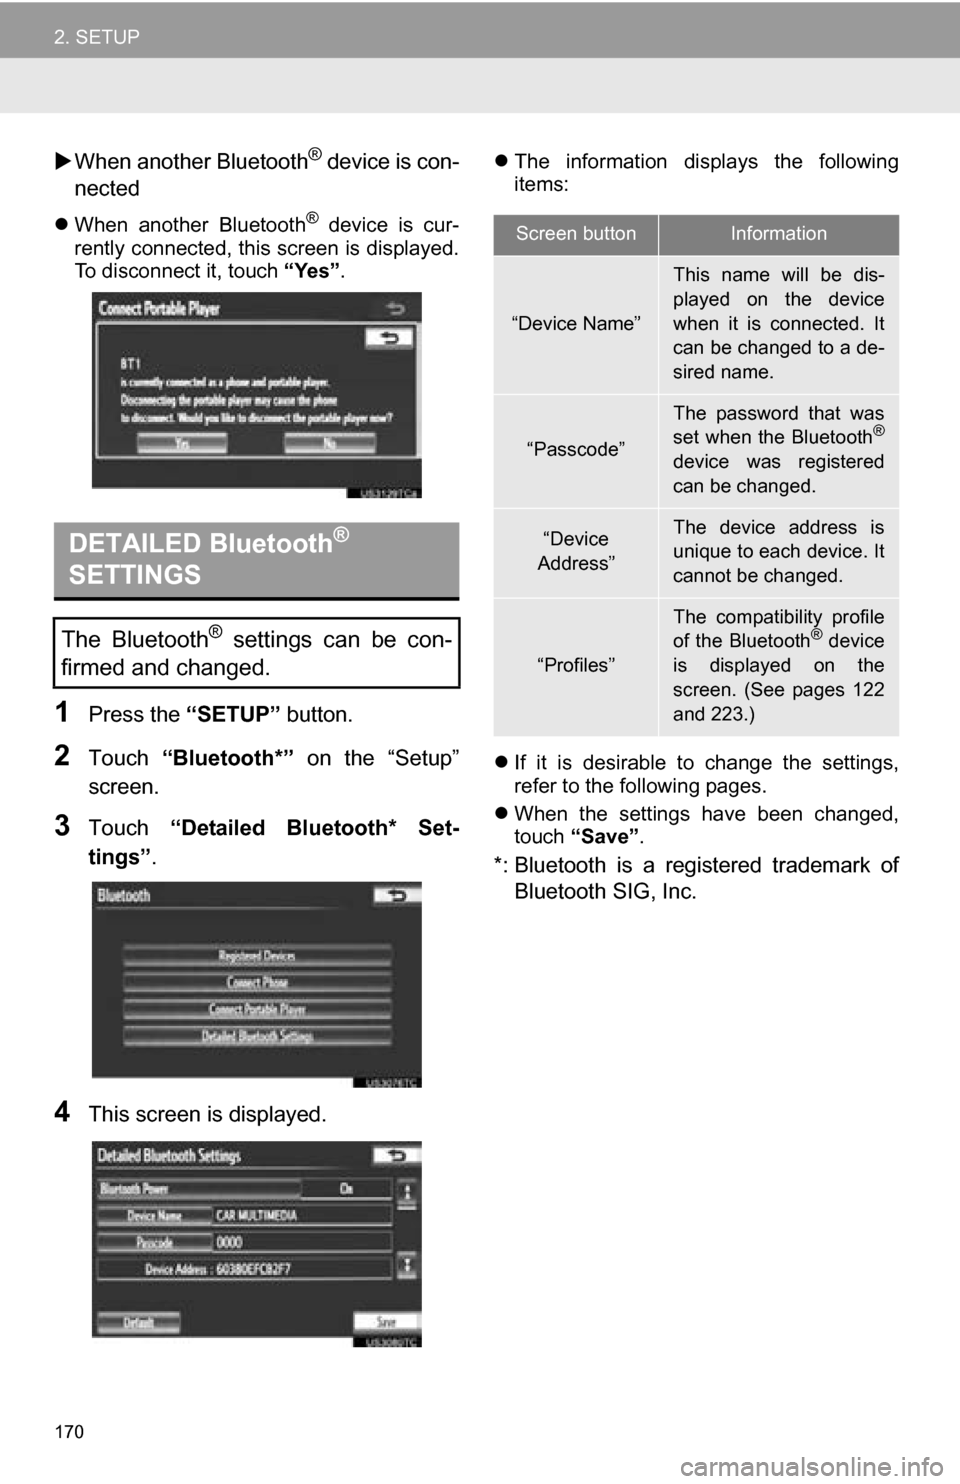
4Touch the desired portable player to be
connected.
The indicator of the selected portable
player will turn on.
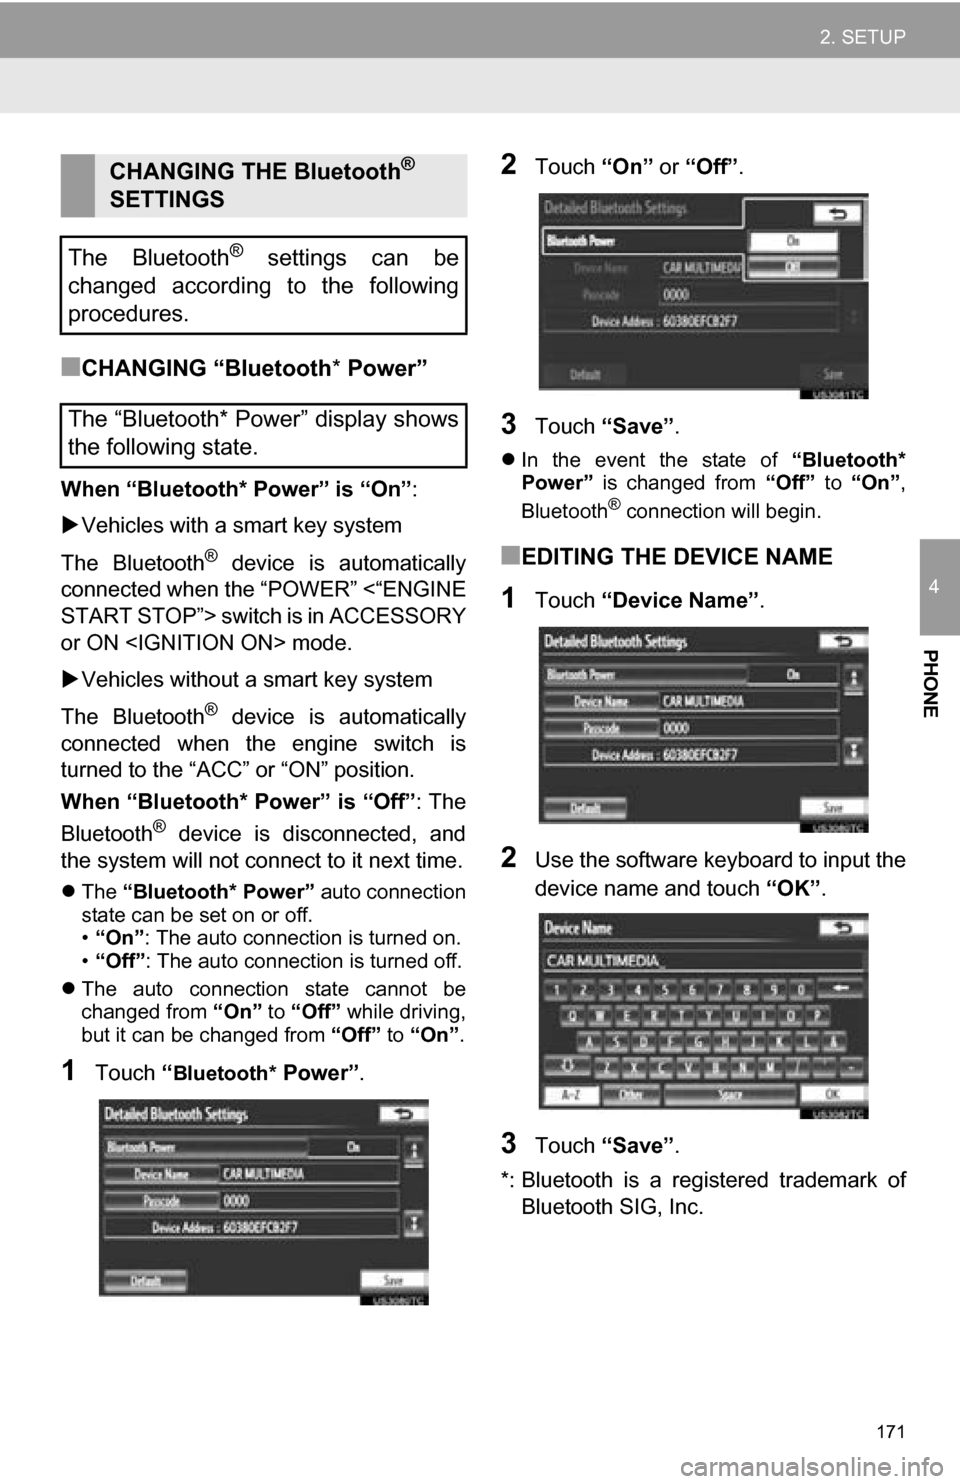
5The “Connect Bluetooth*” screen is
displayed.
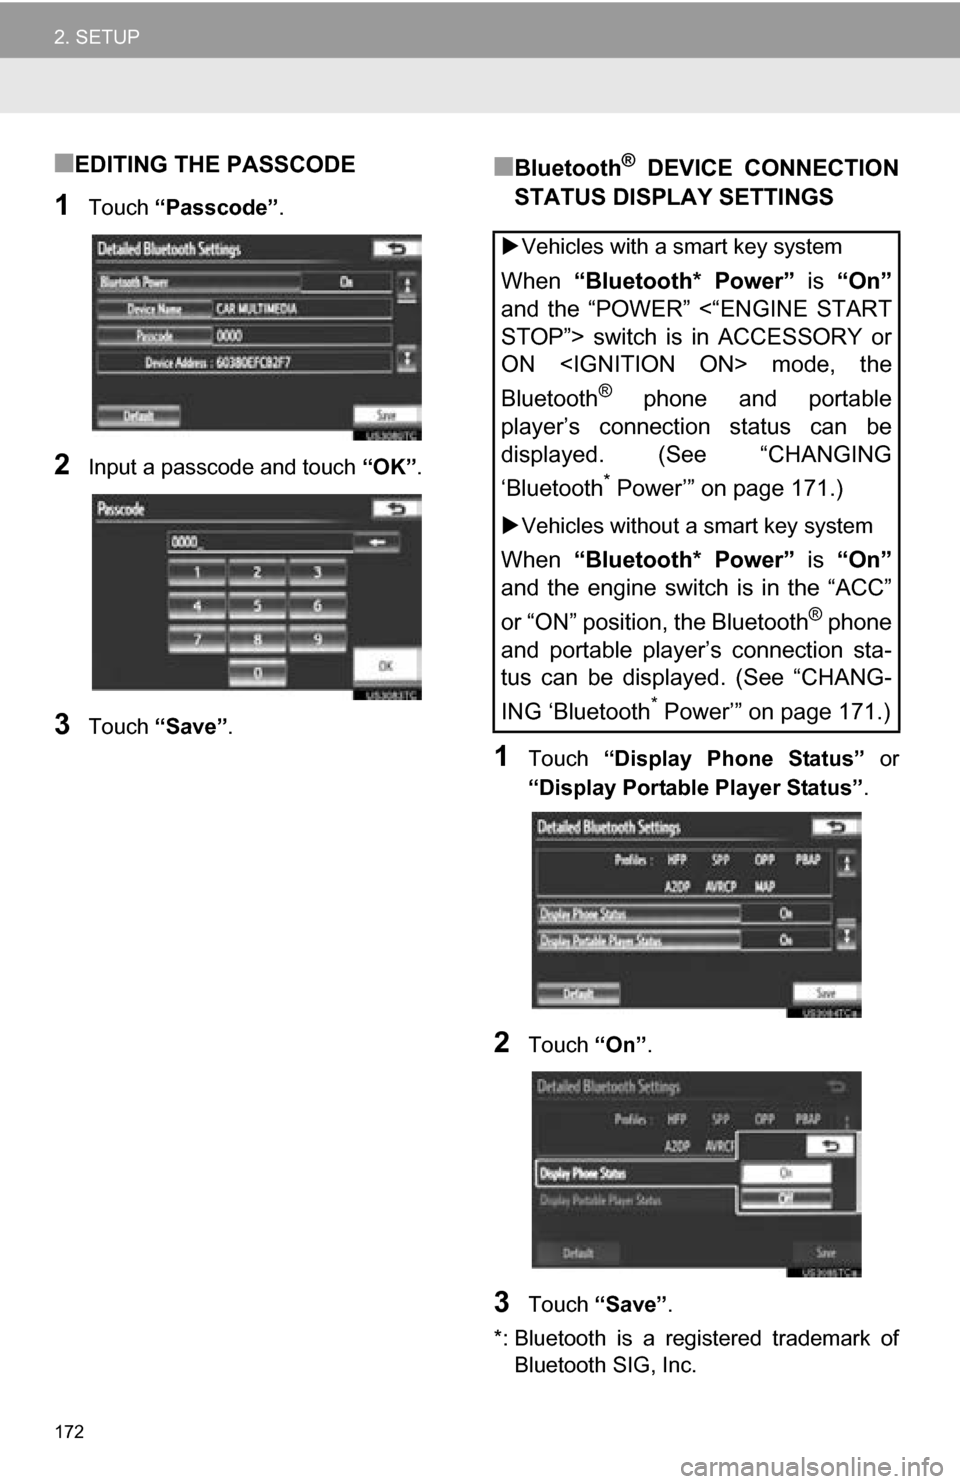
6When the result message is displayed,
the portable player can be used.
*: Bluetooth is a regi stered trademark of
Bluetooth SIG, Inc.
SELECTING PORTABLE
PLAYER
If more than one portable player has
been registered, it is necessary to se-
lect which portable player to connect
to.
It is possible to select from up to 5 reg-
istered Bluetooth
® devices (Phones
(HFP) and portable players (AVP)
(maximum of 5) can be registered.)
Although up to 5 portable players can
be registered in the system, only one
portable player can function at a time.
If the desired portable player is not on
the list, touch “Add New” to register the
portable player. (See page 165.)
The currently connected portable
player’s screen button will have a
Bluetooth
® mark displayed on it. If the
currently connected portable player’s
screen button is touched, the portable
player can be disconnected. Touch
“Yes” to disconnect.
Page 170 of 336

170
2. SETUP
When another Bluetooth® device is con-
nected
When another Bluetooth® device is cur-
rently connected, this screen is displayed.
To disconnect it, touch “Yes”.
1Press the “SETUP” button.
2Touch “Bluetooth*” on the “Setup”
screen.
3Touch “Detailed Bluetooth* Set-
tings” .
4This screen is displayed.
The information displays the following
items:
If it is desirable to change the settings,
refer to the following pages.
When the settings have been changed,
touch “Save”.
*: Bluetooth is a registered trademark of
Bluetooth SIG, Inc.
DETAILED Bluetooth®
SETTINGS
The Bluetooth® settings can be con-
firmed and changed.
Screen buttonInformation
“Device Name”
This name will be dis-
played on the device
when it is connected. It
can be changed to a de-
sired name.
“Passcode”
The password that was
set when the Bluetooth®
device was registered
can be changed.
“Device
Address”The device address is
unique to each device. It
cannot be changed.
“Profiles”
The compatibility profile
of the Bluetooth® device
is displayed on the
screen. (See pages 122
and 223.)
Page 171 of 336

171
2. SETUP
4
PHONE
■CHANGING “Bluetooth* Power”
When “Bluetooth* Power” is “On” :
Vehicles with a smart key system
The Bluetooth
® device is automatically
connected when the “POWER” <“ENGINE
START STOP”> switch is in ACCESSORY
or ON mode.
Vehicles without a smart key system
The Bluetooth
® device is automatically
connected when the engine switch is
turned to the “ACC” or “ON” position.
When “Bluetooth* Power” is “Off” : The
Bluetooth
® device is disconnected, and
the system will not connect to it next time.
The “Bluetooth* Power” auto connection
state can be set on or off.
• “On” : The auto connection is turned on.
• “Off” : The auto connection is turned off.
The auto connection state cannot be
changed from “On” to “Off” while driving,
but it can be changed from “Off” to “On”.
1Touch “Bluetooth* Power” .
2Touch “On” or “Off” .
3Touch “Save” .
In the event the state of “Bluetooth*
Power” is changed from “Off” to “On” ,
Bluetooth
® connection will begin.
■EDITING THE DEVICE NAME
1Touch “Device Name” .
2Use the software keyboard to input the
device name and touch “OK”.
3Touch “Save” .
*: Bluetooth is a regi stered trademark of
Bluetooth SIG, Inc.
CHANGING THE Bluetooth®
SETTINGS
The Bluetooth
® settings can be
changed according to the following
procedures.
The “Bluetooth* Power” display shows
the following state.
Page 172 of 336
172
2. SETUP
■EDITING THE PASSCODE
1Touch “Passcode” .
2Input a passcode and touch “OK”.
3Touch “Save” .
■Bluetooth® DEVICE CONNECTION
STATUS DISPLAY SETTINGS
1Touch “Display Phone Status” or
“Display Portable Player Status” .
2Touch “On”.
3Touch “Save” .
*: Bluetooth is a registered trademark of Bluetooth SIG, Inc.
Vehicles with a smart key system
When “Bluetooth* Power” is “On”
and the “POWER” <“ENGINE START
STOP”> switch is in ACCESSORY or
ON mode, the
Bluetooth
® phone and portable
player’s connection status can be
displayed. (See “CHANGING
‘Bluetooth
* Power’” on page 171.)
Vehicles without a smart key system
When “Bluetooth* Power” is “On”
and the engine switch is in the “ACC”
or “ON” position, the Bluetooth
® phone
and portable player’s connection sta-
tus can be displayed. (See “CHANG-
ING ‘Bluetooth
* Power’” on page 171.)
Page 173 of 336
173
2. SETUP
4
PHONE
1Touch “Default”.
2Touch “Yes”.
If the state of “Bluetooth* Power” is
changed from “Off” into “On”, Bluetooth®
connection will begin.
*: Bluetooth is a registered trademark of
Bluetooth SIG, Inc.
INITIALIZING THE Bluetooth®
SETTINGS
The settings can be initialized.
Page 174 of 336

174
1. QUICK REFERENCE .................. 176
2. SOME BASICS ............................ 178
VOICE COMMAND SYSTEM .............. 178
AUDIO SPLIT SCREEN DISPLAY ....... 178
TURNING THE SYSTEM ON AND OFF..................................... 179
SWITCHING BETWEEN FUNCTIONS ...................................... 179
DSP CONTROL ................................... 179
TONE AND BALANCE ......................... 180
SELECTING SCREEN SIZE ................ 181
DVD PLAYER....................................... 181
AUX PORT ........................................... 182
USB PORT ........................................... 182
3. RADIO OPERATION ... ................ 183
LISTENING TO THE RADIO ................ 183
PRESETTING A STATION .................. 183
SELECTING A STATION ..................... 184
RADIO BROADCAST
DATA SYSTEM ................................. 184
TRAFFIC ANNOUNCEMENT .............. 185
4. HD Radio™ TECHNOLOGY INFORMATION ......................... 186
USING HD Radio™ TECHNOLOGY.... 186
AVAILABLE HD Radio™
TECHNOLOGY.................................. 187
TROUBLESHOOTING GUIDE ............. 188
1AUDIO/VIDEO SYSTEM
OPERATION
AUDIO/VIDEO SYSTEM
5
Page 175 of 336

5
175
1
2
3
4
5
6
7
8
9
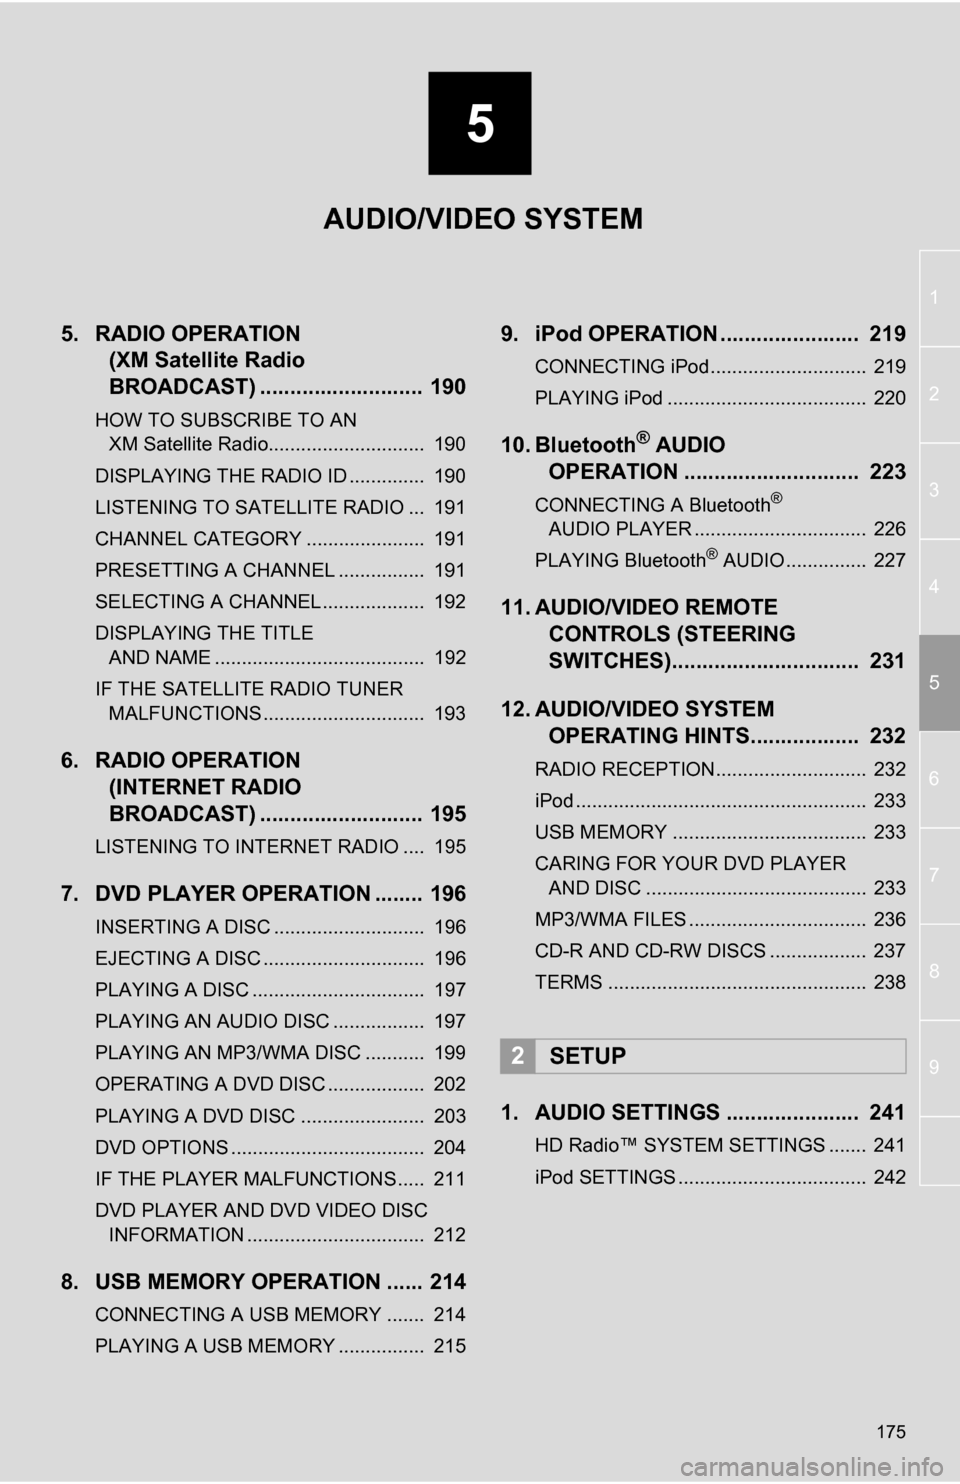
5. RADIO OPERATION (XM Satellite Radio
BROADCAST) ........... ................ 190
HOW TO SUBSCRIBE TO AN
XM Satellite Radio............................. 190
DISPLAYING THE RADIO ID .............. 190
LISTENING TO SATELLITE RADIO ... 191
CHANNEL CATEGORY ...................... 191
PRESETTING A CHANNEL ................ 191
SELECTING A CHANNEL ................... 192
DISPLAYING THE TITLE AND NAME ....................................... 192
IF THE SATELLITE RADIO TUNER MALFUNCTIONS .............................. 193
6. RADIO OPERATION (INTERNET RADIO
BROADCAST) ........... ................ 195
LISTENING TO INTERNET RADIO .... 195
7. DVD PLAYER OPERATION ........ 196
INSERTING A DISC ............................ 196
EJECTING A DISC .............................. 196
PLAYING A DISC ................................ 197
PLAYING AN AUDIO DISC ................. 197
PLAYING AN MP3/WMA DISC ........... 199
OPERATING A DVD DISC .................. 202
PLAYING A DVD DISC ....................... 203
DVD OPTIONS .................................... 204
IF THE PLAYER MALFUNCTIONS..... 211
DVD PLAYER AND DVD VIDEO DISC
INFORMATION ................................. 212
8. USB MEMORY OPERATION ...... 214
CONNECTING A USB MEMORY ....... 214
PLAYING A USB MEMORY ................ 215
9. iPod OPERATION ....................... 219
CONNECTING iPod............................. 219
PLAYING iPod ..................................... 220
10. Bluetooth® AUDIO
OPERATION ............................. 223
CONNECTING A Bluetooth®
AUDIO PLAYER ................................ 226
PLAYING Bluetooth
® AUDIO ............... 227
11. AUDIO/VIDEO REMOTE CONTROLS (STEERING
SWITCHES)............................... 231
12. AUDIO/VIDEO SYSTEM OPERATING HINTS.................. 232
RADIO RECEPTION............................ 232
iPod ...................................................... 233
USB MEMORY .................................... 233
CARING FOR YOUR DVD PLAYER
AND DISC ......................................... 233
MP3/WMA FILES ................................. 236
CD-R AND CD-RW DISCS .................. 237
TERMS ................................................ 238
1. AUDIO SETTINGS ...................... 241
HD Radio™ SYSTEM SETTINGS ....... 241
iPod SETTINGS ................................... 242
2SETUP
AUDIO/VIDEO SYSTEM
Page 176 of 336
176
1. AUDIO/VIDEO SYSTEM OPERATION
1. QUICK REFERENCE
Operations such as selecting a preset station and adjusting the sound balance are
carried out on the screen. Press the “RADIO” or “MEDIA” button to display the
audio screen.
No.NameFunctionPage
Function menu tabTouch the screen tabs to select the desired radio
or media mode.179
Function menu dis-
play screenUse this screen to control the selected radio or
media mode.179
“TUNE SCROLL”
knob
Turn to step up and step down the station band,
change to the next or previous satellite radio
channel, or skip to the next or previous track,
DVD chapter, etc. Also, the knob can be used to
enter selections on the track/file and album/folder
screens by pressing it.
183, 191,
203
“ ·CLOSE” but-
tonPress to insert or eject a disc.181, 196
“SETUP” buttonPress to display the “Setup” screen.241