2013 SUZUKI ERTIGA ignition
[x] Cancel search: ignitionPage 83 of 207
Downloaded from www.Manualslib.com manuals search engine 3-10
OPERATING YOUR VEHICLE
60MK0-14E
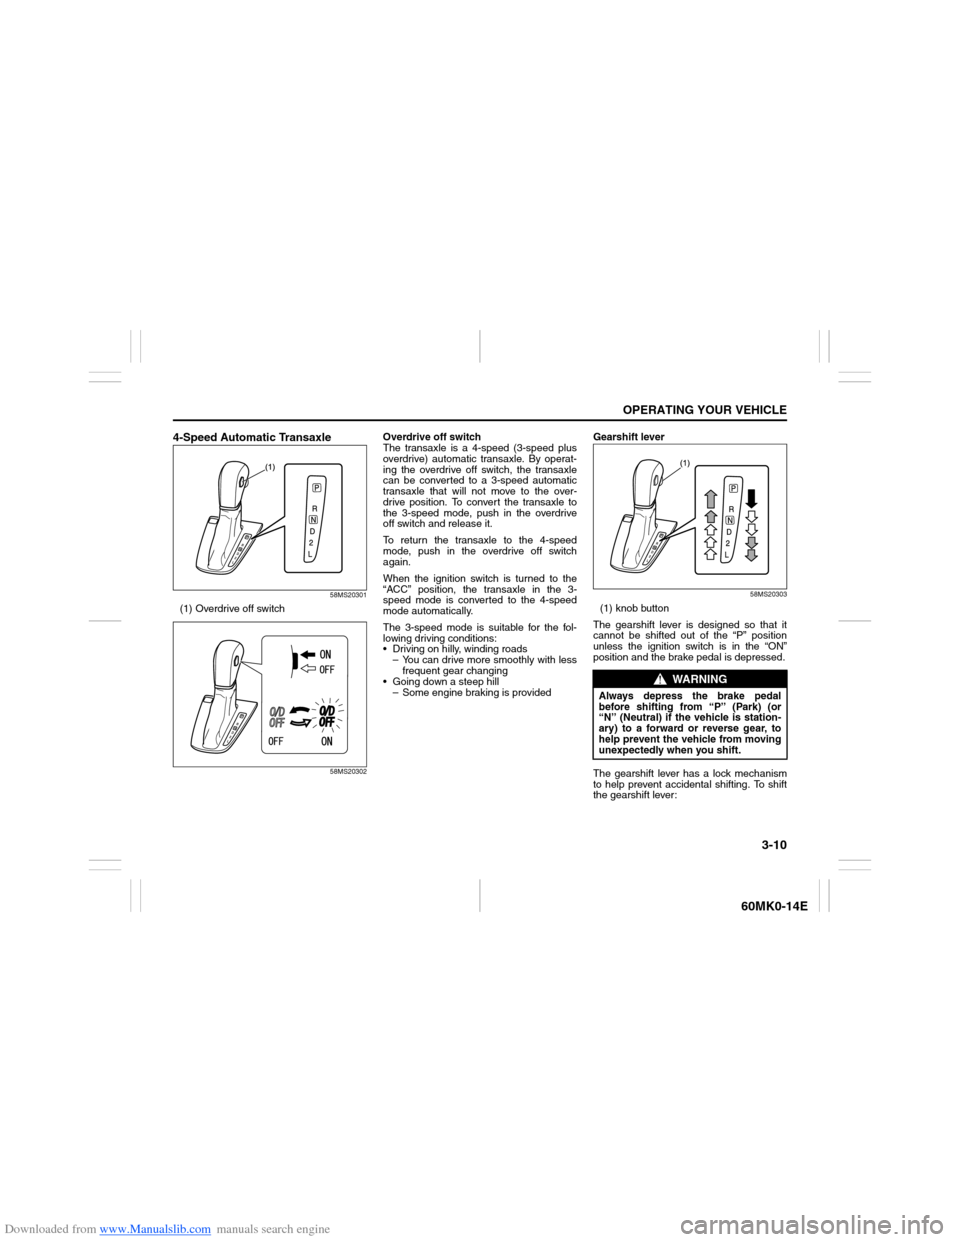
4-Speed Automatic Transaxle
58MS20301
(1) Overdrive off switch
58MS20302
Overdrive off switch
The transaxle is a 4-speed (3-speed plus
overdrive) automatic transaxle. By operat-
ing the overdrive off switch, the transaxle
can be converted to a 3-speed automatic
transaxle that will not move to the over-
drive position. To convert the transaxle to
the 3-speed mode, push in the overdrive
off switch and release it.
To return the transaxle to the 4-speed
mode, push in the overdrive off switch
again.
When the ignition switch is turned to the
“ACC” position, the transaxle in the 3-
speed mode is converted to the 4-speed
mode automatically.
The 3-speed mode is suitable for the fol-
lowing driving conditions:
Driving on hilly, winding roads
– You can drive more smoothly with less
frequent gear changing
Going down a steep hill
– Some engine braking is providedGearshift lever
58MS20303
(1) knob button
The gearshift lever is designed so that it
cannot be shifted out of the “P” position
unless the ignition switch is in the “ON”
position and the brake pedal is depressed.
The gearshift lever has a lock mechanism
to help prevent accidental shifting. To shift
the gearshift lever:
WARNING
Always depress the brake pedal
before shifting from “P” (Park) (or
“N” (Neutral) if the vehicle is station-
ary) to a forward or reverse gear, to
help prevent the vehicle from moving
unexpectedly when you shift.
Page 91 of 207
Downloaded from www.Manualslib.com manuals search engine 4-2
DRIVING TIPS
60MK0-14E
54G584S
Improving Fuel EconomyThe following instructions will help you
improve fuel economy.
Avoid excessive idling
If you are to wait for more than a minute
while you are parked, stop the engine and
start it again later. When warming up a
cold engine, allow the engine to idle until
the temperature gauge pointer comes up
to the “C” position (if the idling is not pro-
hibited). In this position, the engine is suffi-
ciently warm for starting off.
Avoid “fast” starts
Fast starts away from lights or stop signs
will consume fuel unnecessarily and
shorten engine life. Start off slowly.
Avoid unnecessary stops
Avoid unnecessary deceleration and stop-
ping. Try to maintain a slow, steady speed
whenever possible. Slowing down and then
accelerating again uses more fuel.
Keep a steady cruising speed
Keep as constant a speed as road and traf-
fic conditions will permit.
NOTICE
To avoid damaging catalyst or other
vehicle damage:
Maintain the engine in the proper
operating condition.
In the event of an engine malfunc-
tion, particularly one involving
engine misfiring or other apparent
loss of performance, have the vehi-
cle serviced promptly.
Do not turn off the engine or inter-
rupt the ignition when the transaxle
is in gear and the vehicle is in
motion.
Do not try to start the engine by
pushing or towing the vehicle, or
coasting down a hill.
Do not idle the engine with any
spark plug wires disconnected or
removed, such as during diagnos-
tic testing.
Do not idle the vehicle for pro-
longed periods if idling seems
rough or there are other malfunc-
tions.
Do not allow the fuel tank to get
near the empty level.
Avoid driving your vehicle at exces-
sively high engine speed in or
around the red zone of the tachom-
eter (if equipped).
WARNING
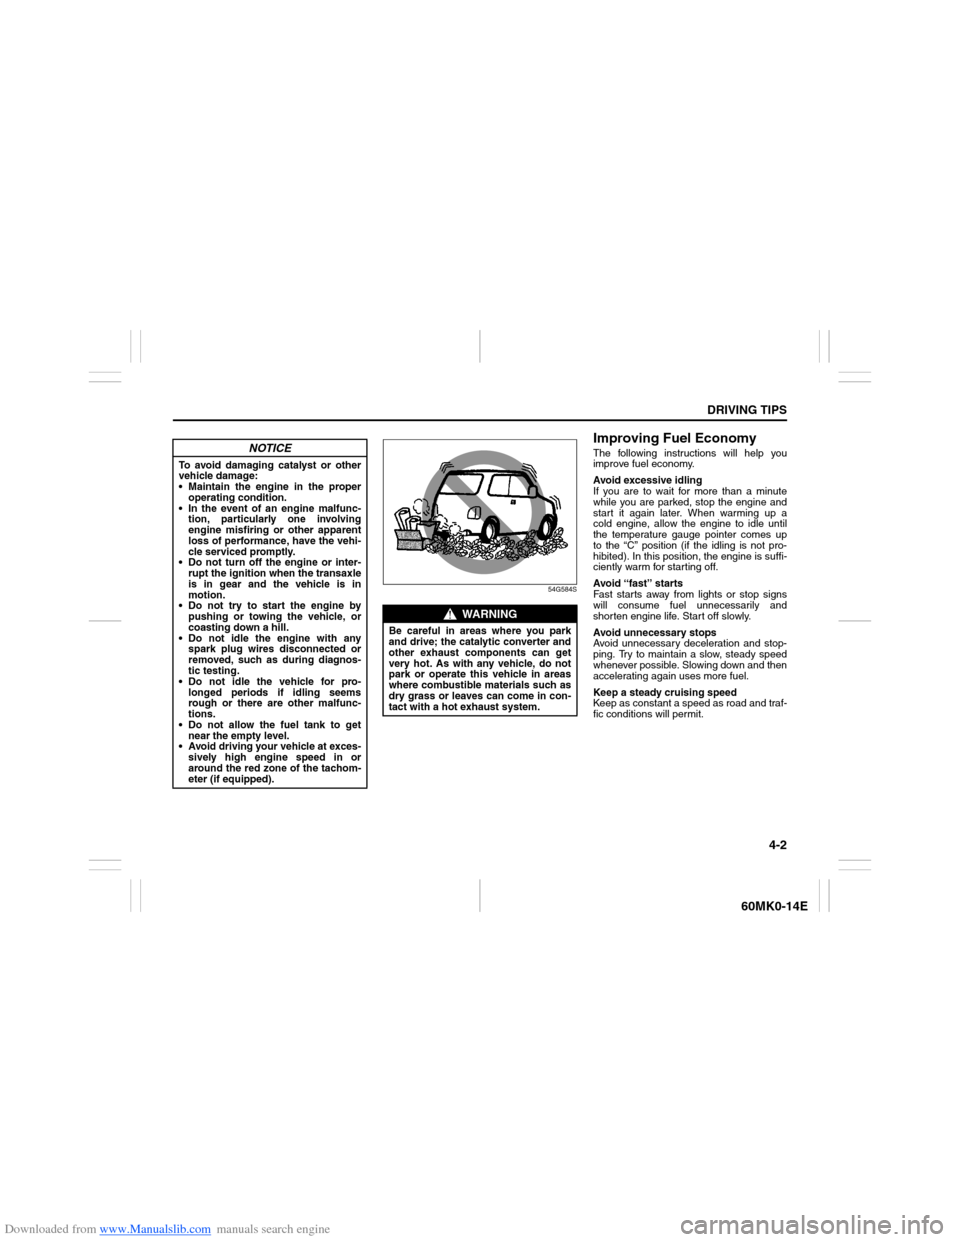
Be careful in areas where you park
and drive; the catalytic converter and
other exhaust components can get
very hot. As with any vehicle, do not
park or operate this vehicle in areas
where combustible materials such as
dry grass or leaves can come in con-
tact with a hot exhaust system.
Page 93 of 207

Downloaded from www.Manualslib.com manuals search engine 4-4
DRIVING TIPS
60MK0-14E
Driving on Slippery Roads
60G089S
Under wet road conditions you should
drive at a lower speed than on dry roads
due to possible slippage of tires during
braking. When driving on icy, snow-cov-
ered, or muddy roads, reduce your speed
and avoid sudden acceleration, abrupt
braking, or sharp steering movements.
Tire ChainsTire chains should only be used if they are
needed to increase traction or are required
by law. Make sure that the chains you use
are the correct size for your vehicle’s tires.
Also make sure that there is enough clear-
ance between the fenders and the chains
as installed on the tires.
Install the chains on the front tires tightly,
according to the chain manufacturer’s
instructions. Retighten the chains after
driving about 1.0 km (1/2 mile) if neces-
sary. With the chains installed, drive slowly.
WARNING
Try not to hold the brake pedal down
too long or too often while going
down a steep or long hill. This could
cause the brakes to overheat, result-
ing in reduced braking efficiency.
Failure to take this precaution could
result in loss of vehicle control.
NOTICE
When descending a down hill,
NEVER turn the ignition key to the
“OFF” position. Emission control
system and automatic transaxle dam-
age may result.
NOTICE
If you hear the chains hitting
against the vehicle body while driv-
ing, stop and tighten them.
If your vehicle is equipped with full
wheel caps, remove the wheel caps
before installing the chains or the
wheel caps can be damaged by the
chain bands.
Page 111 of 207
Downloaded from www.Manualslib.com manuals search engine 5-16
OTHER CONTROLS AND EQUIPMENT
60MK0-14E
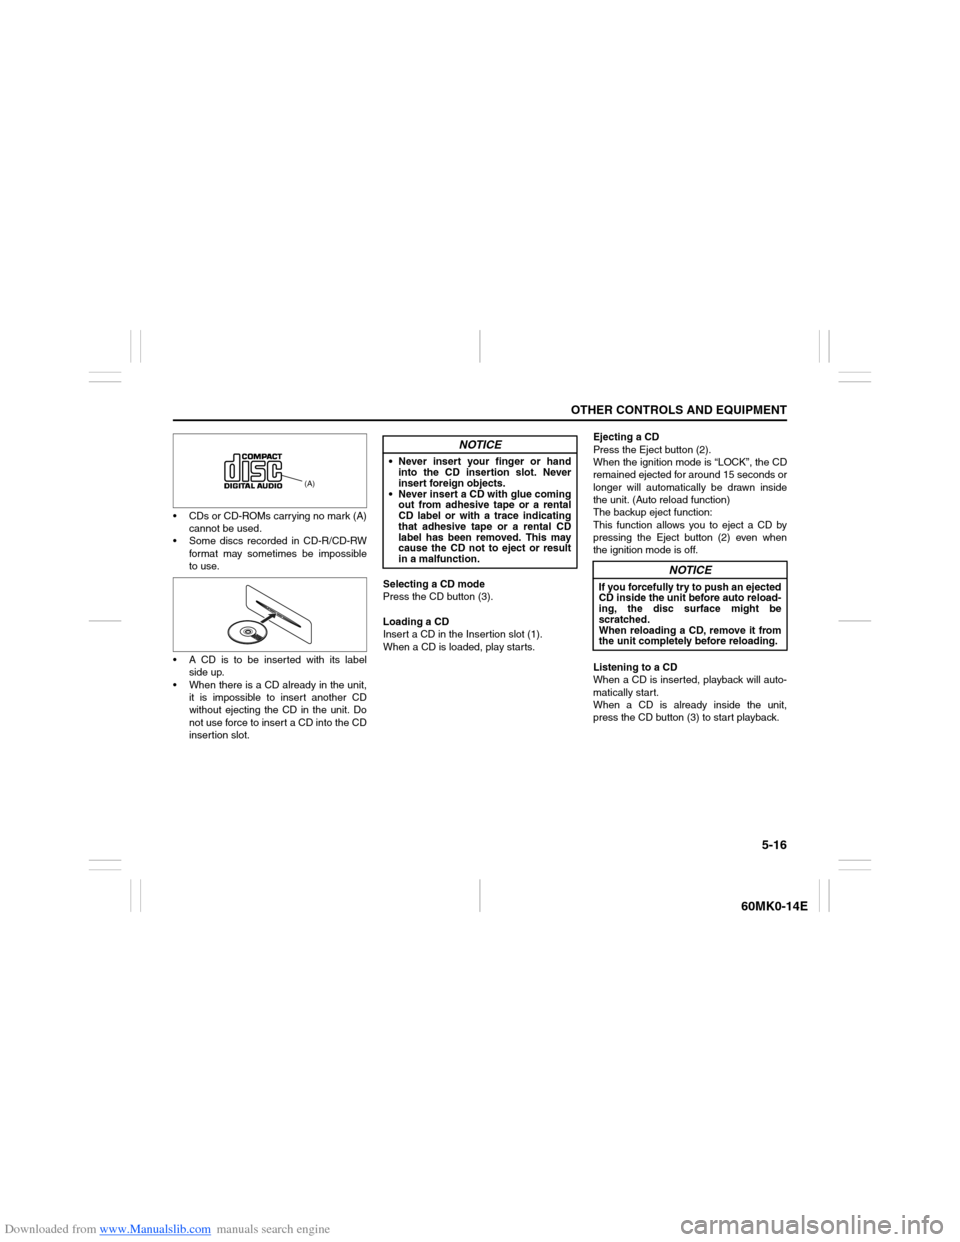
CDs or CD-ROMs carrying no mark (A)
cannot be used.
Some discs recorded in CD-R/CD-RW
format may sometimes be impossible
to use.
A CD is to be inserted with its label
side up.
When there is a CD already in the unit,
it is impossible to insert another CD
without ejecting the CD in the unit. Do
not use force to insert a CD into the CD
insertion slot.Selecting a CD mode
Press the CD button (3).
Loading a CD
Insert a CD in the Insertion slot (1).
When a CD is loaded, play starts.Ejecting a CD
Press the Eject button (2).
When the ignition mode is “LOCK”, the CD
remained ejected for around 15 seconds or
longer will automatically be drawn inside
the unit. (Auto reload function)
The backup eject function:
This function allows you to eject a CD by
pressing the Eject button (2) even when
the ignition mode is off.
Listening to a CD
When a CD is inserted, playback will auto-
matically start.
When a CD is already inside the unit,
press the CD button (3) to start playback.
(A)
NOTICE
Never insert your finger or hand
into the CD insertion slot. Never
insert foreign objects.
Never insert a CD with glue coming
out from adhesive tape or a rental
CD label or with a trace indicating
that adhesive tape or a rental CD
label has been removed. This may
cause the CD not to eject or result
in a malfunction.
NOTICE
If you forcefully try to push an ejected
CD inside the unit before auto reload-
ing, the disc surface might be
scratched.
When reloading a CD, remove it from
the unit completely before reloading.
Page 124 of 207
Downloaded from www.Manualslib.com manuals search engine 5-29OTHER CONTROLS AND EQUIPMENT
60MK0-14E
iPod
® connection
Make sure to detach the iPod
® after
pressing the engine switch to change
the ignition mode to LOCK. The iPod
®
may not be shut down when it is being
connected and may result in battery
depletion.
Please do not connect iPod
® accesso-
ries such as an iPod
® remote control or
headphones while connecting the
iPod
® with the unit. The unit may not
operate correctly.
Page 128 of 207

Downloaded from www.Manualslib.com manuals search engine 5-33OTHER CONTROLS AND EQUIPMENT
60MK0-14E
Confirming the Personal Identification
Number (PIN)
When the main power source is discon-
nected such as when the battery is
replaced, etc, it is required to enter the PIN
to make the unit operable again.
1) Set the ignition switch to the “ACC”
position.
“SECURITY” will be displayed.
2) Press the Up button (3) and the button
numbered [1] of the Preset buttons (2)
simultaneously.
3) Enter a 4-digit number to be registered
as PIN using the buttons numbered [1] -
[4] of the Preset buttons (2).
4) Hold down TUNE FOLDER PUSH
SOUND knob (4) for 1 second or
longer.
When the PIN same as registered is
entered, the power of the audio system
will be turned off automatically and it
will become operable again.
NOTE:
If an incorrect PIN is entered, “ERROR”
and the total number of incorrect entry
attempts will be displayed.
If an incorrect PIN is entered 10 times or
more, “HELP” will be displayed and the
audio system will become inoperable.
Page 136 of 207

Downloaded from www.Manualslib.com manuals search engine 5-41OTHER CONTROLS AND EQUIPMENT
60MK0-14E
This light switch has three positions which
function as described below:
ON (1)
The light comes on and stays on regard-
less of whether the door is open or closed.
DOOR (2)
The light comes on when the door is
opened. After closing all doors, the light
will remain on for about 15 seconds and
then fade out. If you insert the key during
this time, the light will start to fade out
immediately. After removing the key from
the ignition switch, the light will turn on for
about 15 seconds and then fade out.
OFF (3)
The light remains off even when the door is
opened.
60MH034
NOTE:
The number of doors involved in the light-
ing operation of the interior light depends
on the vehicle specification. If there is a
switch (rubber projection) at the door
opening as shown, the door is involved in
the lighting operation. The tailgate is also
involved in this operation even without the
rubber projection depending on the vehicle
specification.
Accessory Socket
74LHT0517
The accessory socket will work when the
ignition switch is in the “ACC” or “ON” posi-
tion.
This socket can be used to provide 12 volt/
120 watt power for electrical accessories.
EXAMPLE
NOTICE
Use of inappropriate electrical acces-
sories can cause damage to your
vehicle’s electrical system. Make
sure that any electrical accessories
you use are designed to plug into this
type of socket.EXAMPLE
Page 146 of 207
Downloaded from www.Manualslib.com manuals search engine 7-1INSPECTION AND MAINTENANCE
60MK0-14E
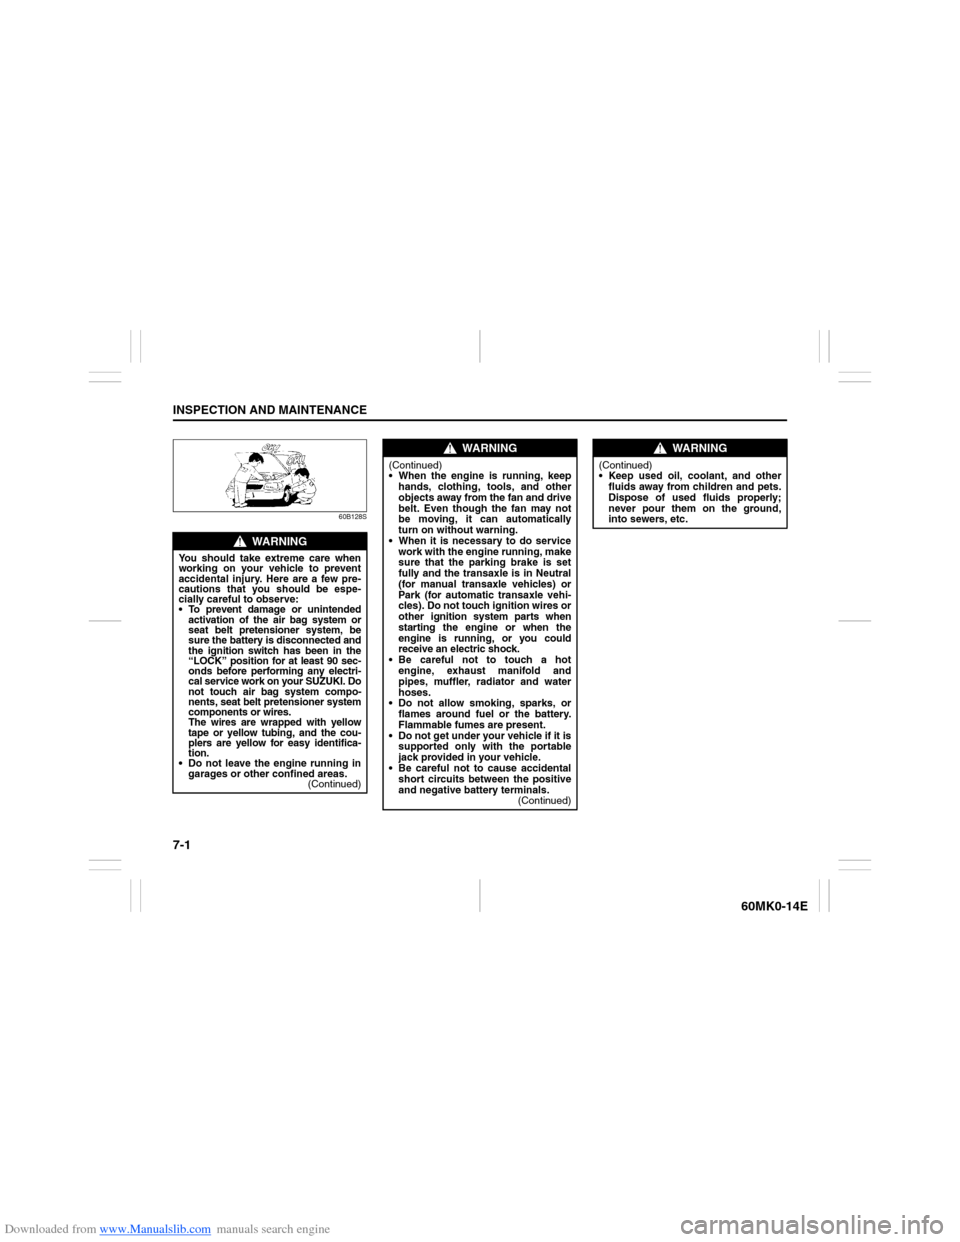
60B128S
WARNING
You should take extreme care when
working on your vehicle to prevent
accidental injury. Here are a few pre-
cautions that you should be espe-
cially careful to observe:
To prevent damage or unintended
activation of the air bag system or
seat belt pretensioner system, be
sure the battery is disconnected and
the ignition switch has been in the
“LOCK” position for at least 90 sec-
onds before performing any electri-
cal service work on your SUZUKI. Do
not touch air bag system compo-
nents, seat belt pretensioner system
components or wires.
The wires are wrapped with yellow
tape or yellow tubing, and the cou-
plers are yellow for easy identifica-
tion.
Do not leave the engine running in
garages or other confined areas.
(Continued)
WARNING
(Continued)
When the engine is running, keep
hands, clothing, tools, and other
objects away from the fan and drive
belt. Even though the fan may not
be moving, it can automatically
turn on without warning.
When it is necessary to do service
work with the engine running, make
sure that the parking brake is set
fully and the transaxle is in Neutral
(for manual transaxle vehicles) or
Park (for automatic transaxle vehi-
cles). Do not touch ignition wires or
other ignition system parts when
starting the engine or when the
engine is running, or you could
receive an electric shock.
Be careful not to touch a hot
engine, exhaust manifold and
pipes, muffler, radiator and water
hoses.
Do not allow smoking, sparks, or
flames around fuel or the battery.
Flammable fumes are present.
Do not get under your vehicle if it is
supported only with the portable
jack provided in your vehicle.
Be careful not to cause accidental
short circuits between the positive
and negative battery terminals.
(Continued)
WARNING
(Continued)
Keep used oil, coolant, and other
fluids away from children and pets.
Dispose of used fluids properly;
never pour them on the ground,
into sewers, etc.