Page 108 of 207
Downloaded from www.Manualslib.com manuals search engine 5-13OTHER CONTROLS AND EQUIPMENT
60MK0-14E
Listening to the Radio
USB
CD
1
2
3456
MENU
SEEK/TRACK
AS
AM FMRPT
RDM
DISP
PUSH SOUND
TUNE/FLD
VO L PUSH PWR
(7)
(5)
(4)(3)
(6)
(1)(2)
Display
(1) FM button
(2) AM button
(3) Up button
(4) Down button
(5) TUNE FOLDER PUSH SOUND knob
(6) Preset buttons ([1] to [6])
(7) AS button
(A) Band
(B) Frequency
(A)
(B)
Page 109 of 207

Downloaded from www.Manualslib.com manuals search engine 5-14
OTHER CONTROLS AND EQUIPMENT
60MK0-14E
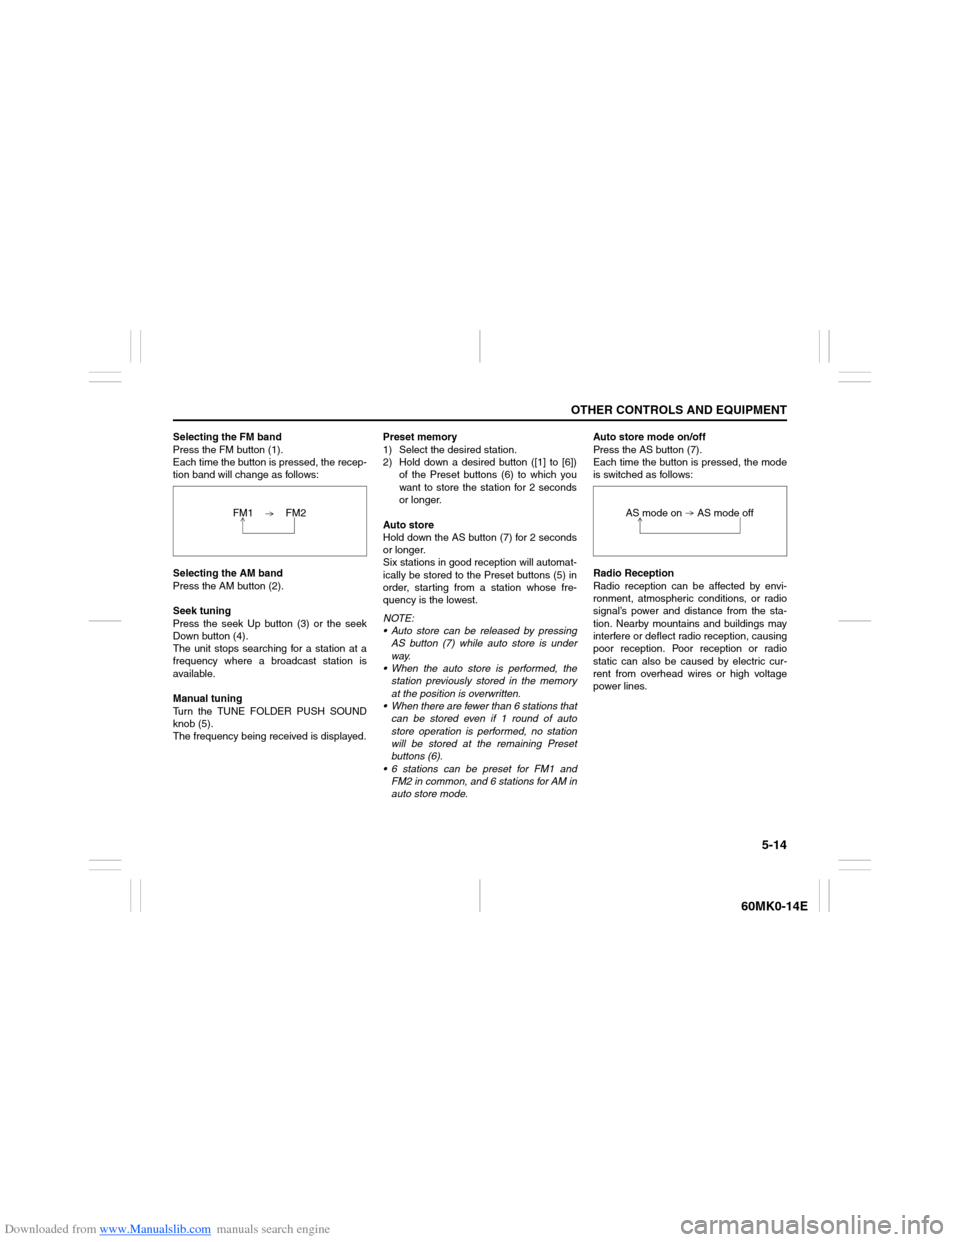
Selecting the FM band
Press the FM button (1).
Each time the button is pressed, the recep-
tion band will change as follows:
Selecting the AM band
Press the AM button (2).
Seek tuning
Press the seek Up button (3) or the seek
Down button (4).
The unit stops searching for a station at a
frequency where a broadcast station is
available.
Manual tuning
Turn the TUNE FOLDER PUSH SOUND
knob (5).
The frequency being received is displayed.Preset memory
1) Select the desired station.
2) Hold down a desired button ([1] to [6])
of the Preset buttons (6) to which you
want to store the station for 2 seconds
or longer.
Auto store
Hold down the AS button (7) for 2 seconds
or longer.
Six stations in good reception will automat-
ically be stored to the Preset buttons (5) in
order, starting from a station whose fre-
quency is the lowest.
NOTE:
Auto store can be released by pressing
AS button (7) while auto store is under
way.
When the auto store is performed, the
station previously stored in the memory
at the position is overwritten.
When there are fewer than 6 stations that
can be stored even if 1 round of auto
store operation is performed, no station
will be stored at the remaining Preset
buttons (6).
6 stations can be preset for FM1 and
FM2 in common, and 6 stations for AM in
auto store mode.Auto store mode on/off
Press the AS button (7).
Each time the button is pressed, the mode
is switched as follows:
Radio Reception
Radio reception can be affected by envi-
ronment, atmospheric conditions, or radio
signal’s power and distance from the sta-
tion. Nearby mountains and buildings may
interfere or deflect radio reception, causing
poor reception. Poor reception or radio
static can also be caused by electric cur-
rent from overhead wires or high voltage
power lines. FM1 FM2
AS mode on AS mode off
Page 121 of 207
Downloaded from www.Manualslib.com manuals search engine 5-26
OTHER CONTROLS AND EQUIPMENT
60MK0-14E
Listening to an iPod
®
USB
CD
1
2
3456
MENU
SEEK/TRACK
AS
AM FMRPT
RDM
DISP
PUSH SOUND
TUNE/FLD
VO L PUSH PWR
(4) (3)(7) (5)
(6)
(2)
(1)
(8)
Display
(1) USB button
(2) TUNE FOLDER PUSH SOUND knob
(3) Up button
(4) Down button
(5) RPT button
(6) RDM button
(7) DISP button
(8) Preset buttons ([1] to [6])
(A) Track title
(B) Track number
(C) Play time
(C)
(A)
(B)
Page 123 of 207

Downloaded from www.Manualslib.com manuals search engine 5-28
OTHER CONTROLS AND EQUIPMENT
60MK0-14E
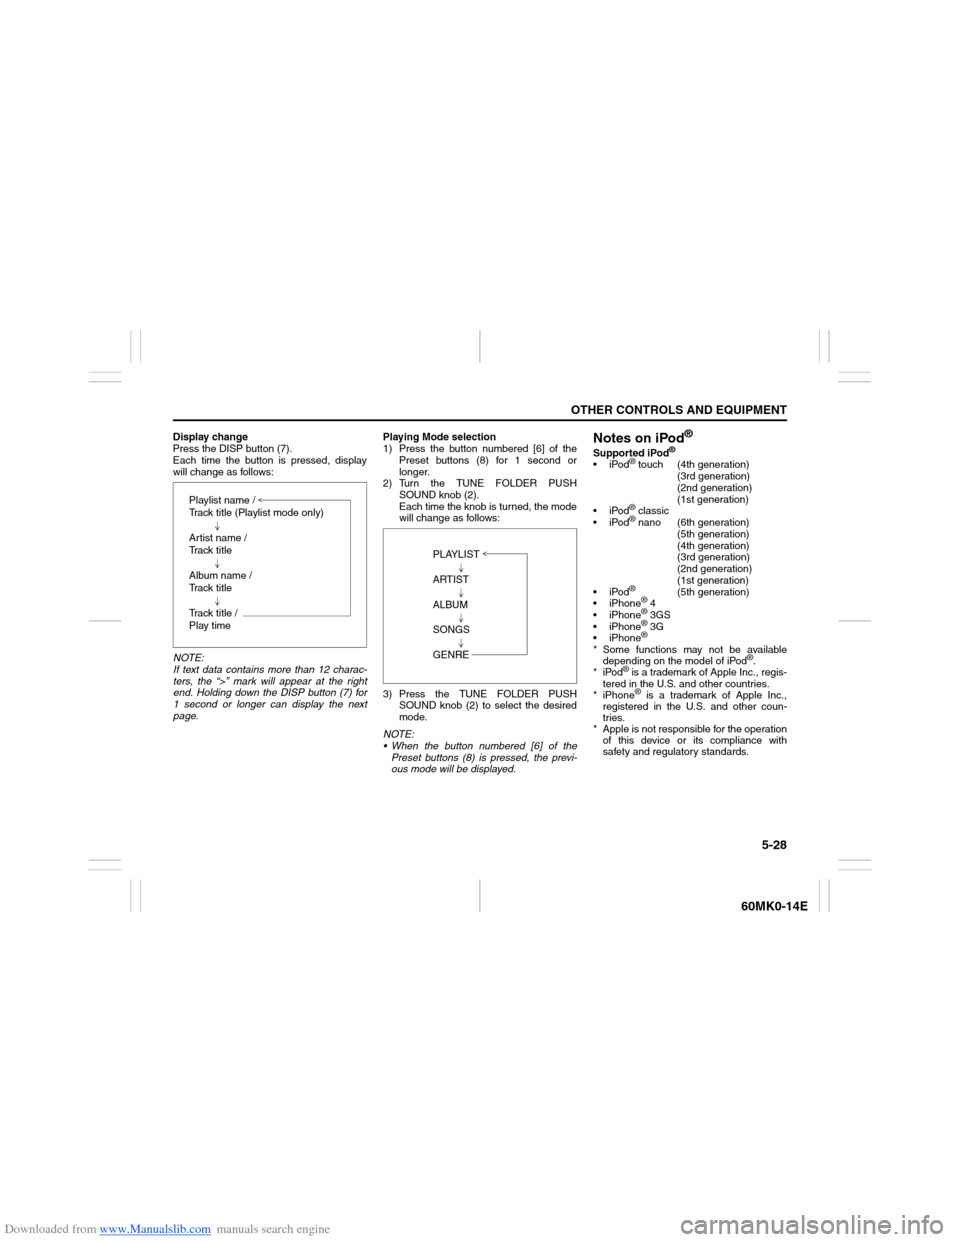
Display change
Press the DISP button (7).
Each time the button is pressed, display
will change as follows:
NOTE:
If text data contains more than 12 charac-
ters, the “>” mark will appear at the right
end. Holding down the DISP button (7) for
1 second or longer can display the next
page.Playing Mode selection
1) Press the button numbered [6] of the
Preset buttons (8) for 1 second or
longer.
2) Turn the TUNE FOLDER PUSH
SOUND knob (2).
Each time the knob is turned, the mode
will change as follows:
3) Press the TUNE FOLDER PUSH
SOUND knob (2) to select the desired
mode.
NOTE:
When the button numbered [6] of the
Preset buttons (8) is pressed, the previ-
ous mode will be displayed.
Notes on iPod
®
Supported iPod
®
iPod
® touch (4th generation)
(3rd generation)
(2nd generation)
(1st generation)
iPod® classic
iPod® nano (6th generation)
(5th generation)
(4th generation)
(3rd generation)
(2nd generation)
(1st generation)
iPod®
(5th generation)
iPhone
® 4
iPhone® 3GS
iPhone® 3G
iPhone®
* Some functions may not be available
depending on the model of iPod
®.
*iPod
® is a trademark of Apple Inc., regis-
tered in the U.S. and other countries.
* iPhone® is a trademark of Apple Inc.,
registered in the U.S. and other coun-
tries.
* Apple is not responsible for the operation
of this device or its compliance with
safety and regulatory standards. Playlist name /
Track title (Playlist mode only)
Artist name /
Track title
Album name /
Track title
Track title /
Play time
PLAYLIST
ARTIST
ALBUM
SONGS
GENRE
Page 126 of 207
Downloaded from www.Manualslib.com manuals search engine 5-31OTHER CONTROLS AND EQUIPMENT
60MK0-14E
Anti-Theft Feature
USB
CD
1
2
3456
MENU
SEEK/TRACK
AS
AM FMRPT
RDM
DISP
PUSH SOUND
TUNE/FLD
VO L PUSH PWR
(4)
(3)
(2)
(1)
(1) VOL PUSH POWER knob
(2) Preset buttons ([1] to [6])
(3) Up button
(4) TUNE FOLDER PUSH SOUND knob
Page 127 of 207

Downloaded from www.Manualslib.com manuals search engine 5-32
OTHER CONTROLS AND EQUIPMENT
60MK0-14E
The anti-theft function is intended to dis-
courage thefts, such as that the audio sys-
tem becomes inoperable when it is
installed on other vehicles.
This function works by entering a Personal
Identification Number (PIN).
When the unit is disconnected from its
power source, such as when the audio
system is removed or the battery is discon-
nected, the unit will become inoperable
until the PIN is reentered.Setting the Anti-Theft Function
1) Press the VOL PUSH POWER knob (1)
to power off.
2) Hold down the buttons numbered [1]
and [6] of the Preset buttons (2) and
press the VOL PUSH POWER knob
(1).
“SECURITY” will be displayed.
3) Press the Up button (3) and the button
numbered [1] of the Preset buttons (2)
simultaneously.
4) Enter a 4-digit number to be registered
as PIN using the buttons numbered [1] -
[4] of the Preset buttons (2).
5) Hold down the TUNE FOLDER PUSH
SOUND knob (4) for 1 second or longer
to set the anti-theft function.
NOTE:
Take a note of the registered PIN and keep
it for the future use.Canceling the anti-theft feature
To cancel the anti-theft function, delete the
registered PIN.
1) Press the VOL PUSH POWER knob (1)
to power off.
2) Hold down the buttons numbered [1]
and [6] of the Preset buttons (2) and
press the VOL PUSH POWER knob
(1).
“PIN ENTRY” will be displayed.
3) Press the Up button (3) and the button
numbered [1] of the Preset buttons (2)
simultaneously.
4) Enter a 4-digit number to be registered
as PIN using the buttons numbered [1] -
[4] of the Preset buttons (2).
5) Hold down the TUNE FOLDER PUSH
SOUND knob (4) for 1 second or longer
to delete the registered PIN. The indi-
cation “----” will be displayed and the
anti-theft function will be canceled.
NOTE:
To change your PIN, first delete your cur-
rent PIN, then set a new one.
Page 128 of 207

Downloaded from www.Manualslib.com manuals search engine 5-33OTHER CONTROLS AND EQUIPMENT
60MK0-14E
Confirming the Personal Identification
Number (PIN)
When the main power source is discon-
nected such as when the battery is
replaced, etc, it is required to enter the PIN
to make the unit operable again.
1) Set the ignition switch to the “ACC”
position.
“SECURITY” will be displayed.
2) Press the Up button (3) and the button
numbered [1] of the Preset buttons (2)
simultaneously.
3) Enter a 4-digit number to be registered
as PIN using the buttons numbered [1] -
[4] of the Preset buttons (2).
4) Hold down TUNE FOLDER PUSH
SOUND knob (4) for 1 second or
longer.
When the PIN same as registered is
entered, the power of the audio system
will be turned off automatically and it
will become operable again.
NOTE:
If an incorrect PIN is entered, “ERROR”
and the total number of incorrect entry
attempts will be displayed.
If an incorrect PIN is entered 10 times or
more, “HELP” will be displayed and the
audio system will become inoperable.