Page 177 of 207
Downloaded from www.Manualslib.com manuals search engine 7-32
INSPECTION AND MAINTENANCE
60MK0-14E
For windshield wipers:
70G119
1) Hold the wiper arm away from the win-
dow.
54G130
2) Squeeze lock (1) towards wiper arm (2)
and remove the wiper frame from the
arm as shown.
3) Unlock the lock end of the wiper blade
and slide the blade out as shown.
60A260
71LMT0708
(3) Retainer
EXAMPLE
EXAMPLE
EXAMPLE
(3)
(3)
EXAMPLE
Page 178 of 207
Downloaded from www.Manualslib.com manuals search engine 7-33INSPECTION AND MAINTENANCE
60MK0-14E
4) If the new blade is provided without the
two metal retainers, move them from
the old blade to the new one.
60MH07160MH072
(A) Up
(B) Down
NOTE:
When you install the metal retainers (3),
make sure the direction of metal retainers
as shown in the above illustrations.
71LMT0707
(4) Locked end
5) Install the new blade in the reverse
order of removal, with the locked end
positioned toward the wiper arm.
Make sure the blade is properly
retained by all the hooks. Lock the
blade end into place.
6) Reinstall wiper frame to arm, making
sure that the lock lever is snapped
securely into the arm.
(3)
(3)
EXAMPLE
(3)(A)
(B)
EXAMPLE
(4)(4)
EXAMPLE
Page 179 of 207
Downloaded from www.Manualslib.com manuals search engine 7-34
INSPECTION AND MAINTENANCE
60MK0-14E
For rear wipers:
80G146
1) Hold the wiper arm away from the win-
dow.
2) Remove the wiper frame from the arm
as shown.
3) Slide the blade out as shown.
65D151
NOTE:
Do not flex the wiper blade frame end more
than necessary. If you do, it can break off.
54G135
(1) Retainer
4) If the new blade is provided without the
two metal retainers, move them from
the old blade to the new one.
5) Install the new blade in the reverse
order of removal.
Make sure the blade is properly
retained by all the hooks.
6) Reinstall wiper frame to arm in the
reverse order of removal.
Page 180 of 207

Downloaded from www.Manualslib.com manuals search engine 7-35INSPECTION AND MAINTENANCE
60MK0-14E
Windshield Washer Fluid
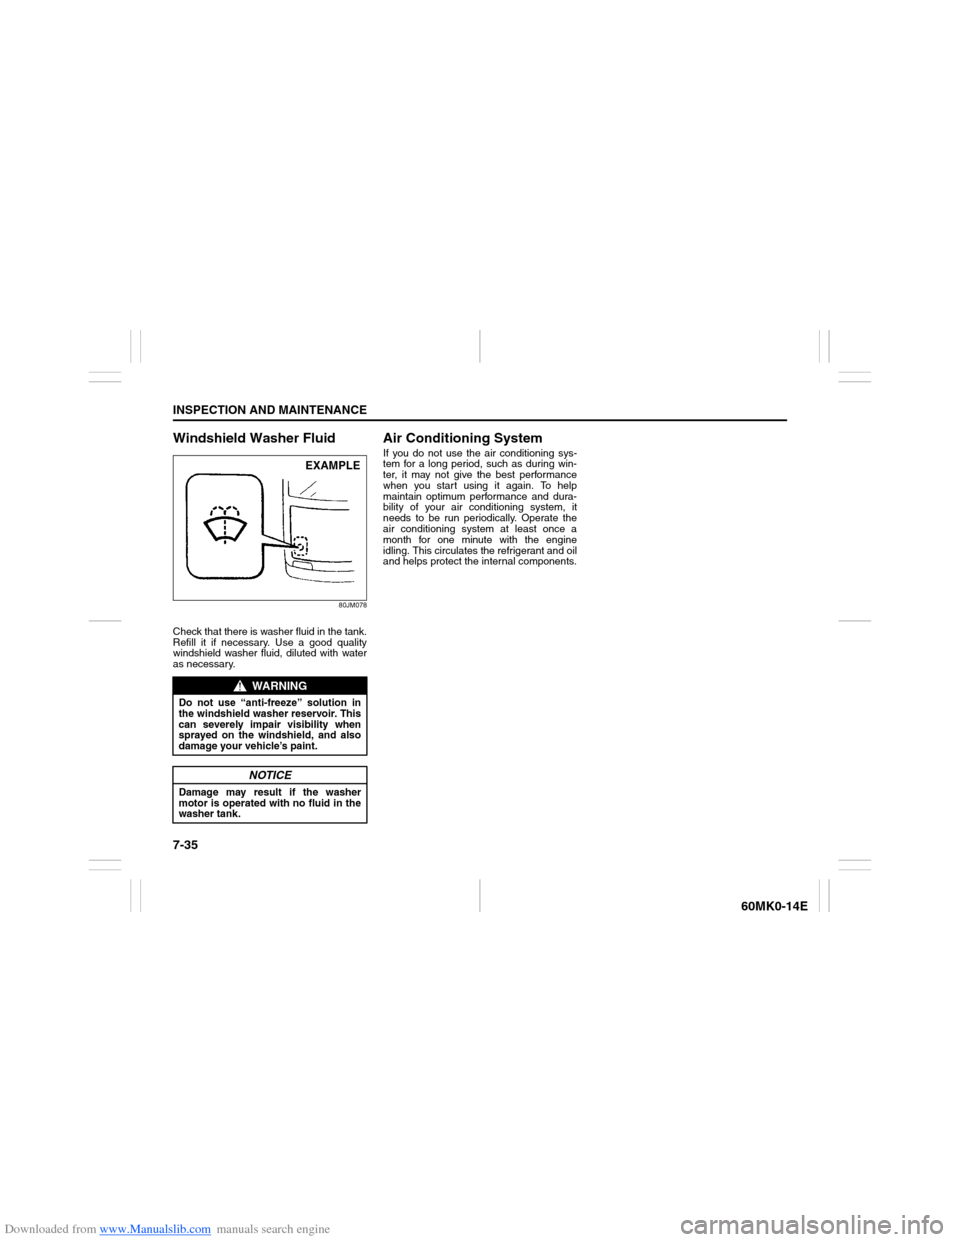
80JM078
Check that there is washer fluid in the tank.
Refill it if necessary. Use a good quality
windshield washer fluid, diluted with water
as necessary.
Air Conditioning SystemIf you do not use the air conditioning sys-
tem for a long period, such as during win-
ter, it may not give the best performance
when you start using it again. To help
maintain optimum performance and dura-
bility of your air conditioning system, it
needs to be run periodically. Operate the
air conditioning system at least once a
month for one minute with the engine
idling. This circulates the refrigerant and oil
and helps protect the internal components.
WARNING
Do not use “anti-freeze” solution in
the windshield washer reservoir. This
can severely impair visibility when
sprayed on the windshield, and also
damage your vehicle’s paint.
NOTICE
Damage may result if the washer
motor is operated with no fluid in the
washer tank.
EXAMPLE
Page 181 of 207
Downloaded from www.Manualslib.com manuals search engine EMERGENCY SERVICE
8
60MK0-14E
60G411
EMERGENCY SERVICETire Changing Tool ............................................................. 8-1
Jacking Instructions ........................................................... 8-2
Jump Starting Instructions ................................................ 8-6
Towing .................................................................................. 8-7
If the Starter Does Not Operate .......................................... 8-8
If the Engine is Flooded ...................................................... 8-8
If the Engine Overheats ...................................................... 8-9
Page 182 of 207

Downloaded from www.Manualslib.com manuals search engine 8-1EMERGENCY SERVICE
60MK0-14E
Tire Changing Tool
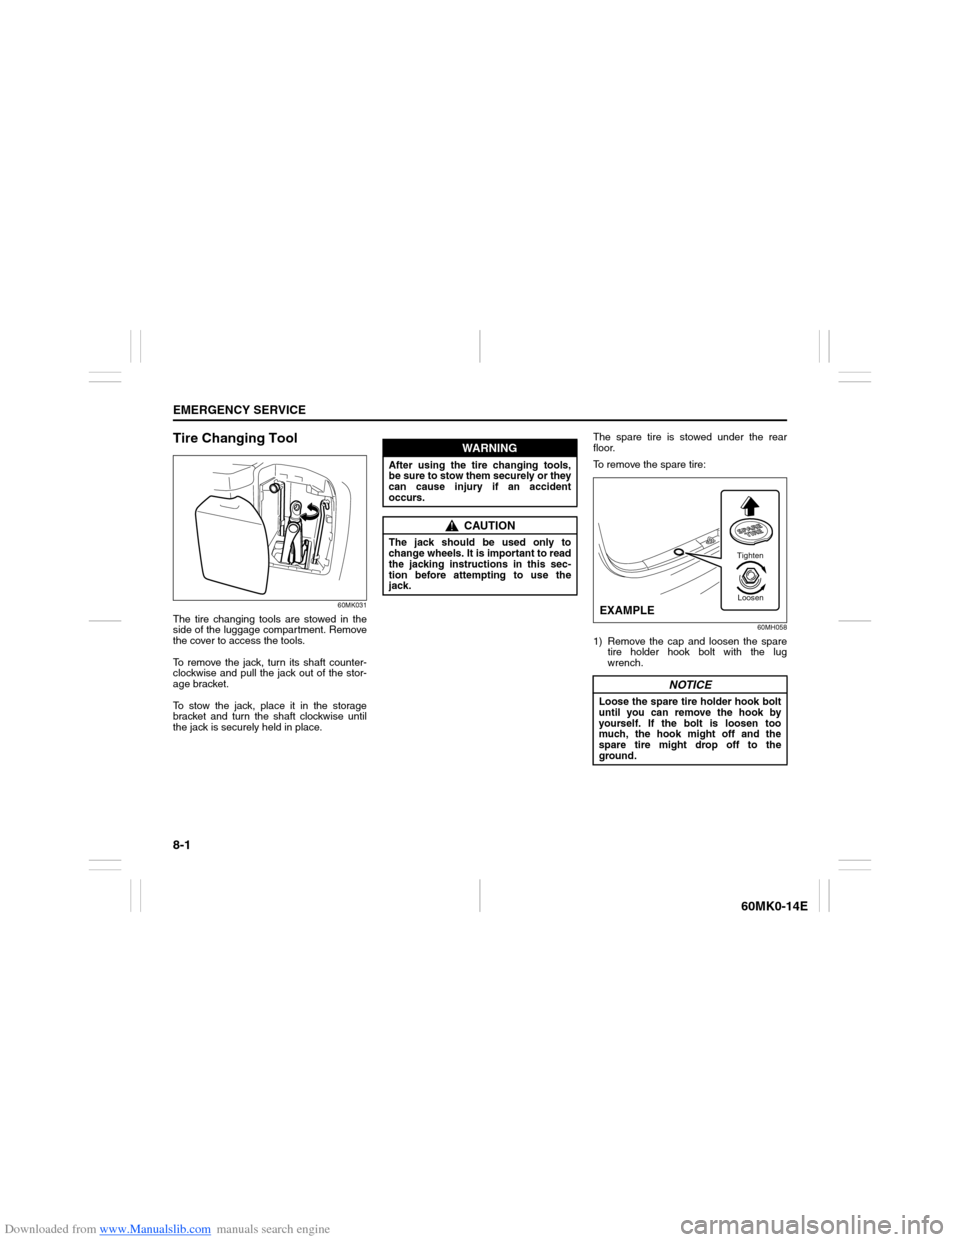
60MK031
The tire changing tools are stowed in the
side of the luggage compartment. Remove
the cover to access the tools.
To remove the jack, turn its shaft counter-
clockwise and pull the jack out of the stor-
age bracket.
To stow the jack, place it in the storage
bracket and turn the shaft clockwise until
the jack is securely held in place.The spare tire is stowed under the rear
floor.
To remove the spare tire:
60MH058
1) Remove the cap and loosen the spare
tire holder hook bolt with the lug
wrench.
WARNING
After using the tire changing tools,
be sure to stow them securely or they
can cause injury if an accident
occurs.
CAUTION
The jack should be used only to
change wheels. It is important to read
the jacking instructions in this sec-
tion before attempting to use the
jack.
NOTICE
Loose the spare tire holder hook bolt
until you can remove the hook by
yourself. If the bolt is loosen too
much, the hook might off and the
spare tire might drop off to the
ground.
Tighten
Loosen
EXAMPLE
Page 183 of 207

Downloaded from www.Manualslib.com manuals search engine 8-2
EMERGENCY SERVICE
60MK0-14E
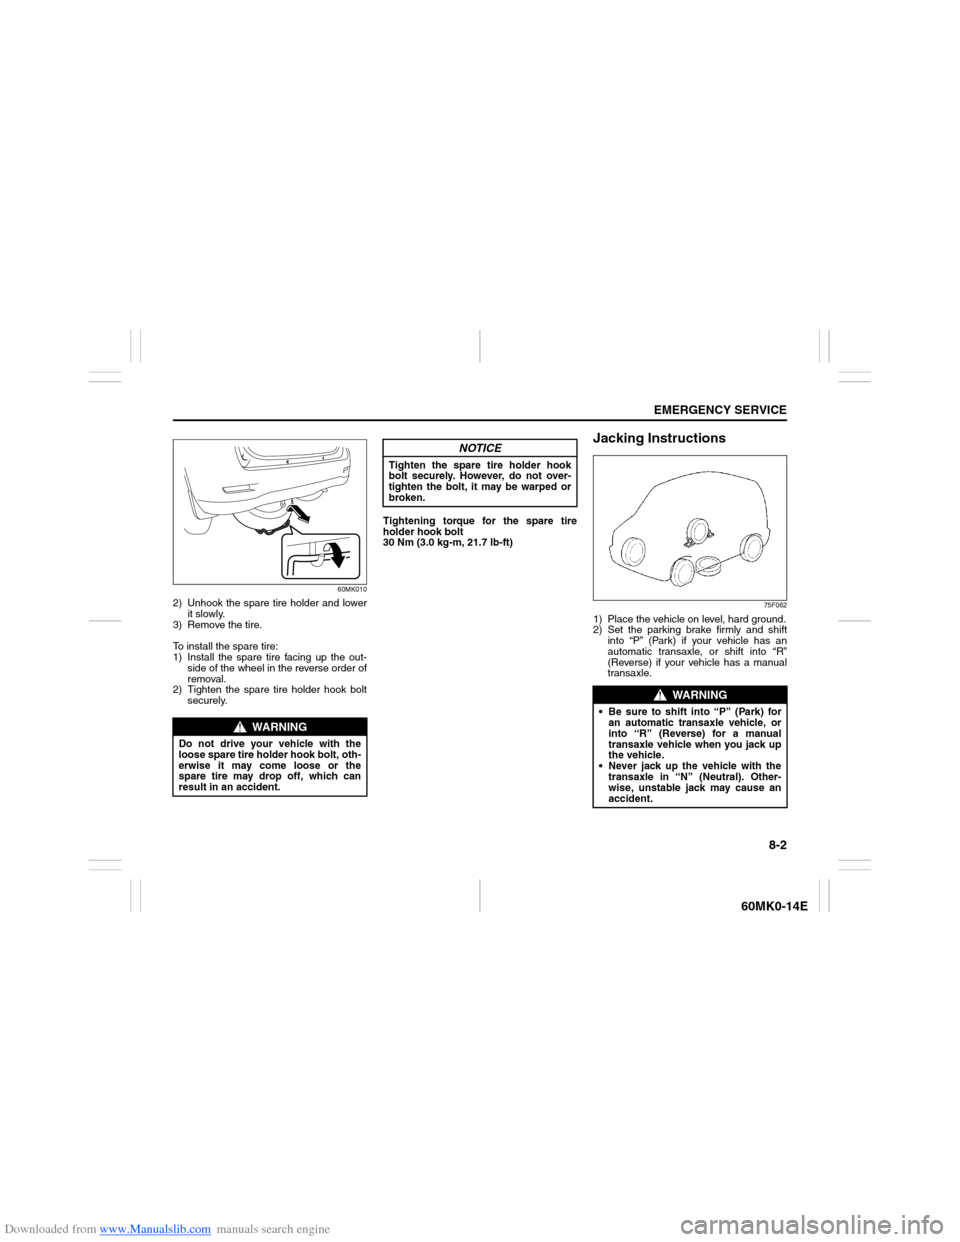
60MK010
2) Unhook the spare tire holder and lower
it slowly.
3) Remove the tire.
To install the spare tire:
1) Install the spare tire facing up the out-
side of the wheel in the reverse order of
removal.
2) Tighten the spare tire holder hook bolt
securely.Tightening torque for the spare tire
holder hook bolt
30 Nm (3.0 kg-m, 21.7 lb-ft)
Jacking Instructions
75F062
1) Place the vehicle on level, hard ground.
2) Set the parking brake firmly and shift
into “P” (Park) if your vehicle has an
automatic transaxle, or shift into “R”
(Reverse) if your vehicle has a manual
transaxle.
WARNING
Do not drive your vehicle with the
loose spare tire holder hook bolt, oth-
erwise it may come loose or the
spare tire may drop off, which can
result in an accident.
NOTICE
Tighten the spare tire holder hook
bolt securely. However, do not over-
tighten the bolt, it may be warped or
broken.
WARNING
Be sure to shift into “P” (Park) for
an automatic transaxle vehicle, or
into “R” (Reverse) for a manual
transaxle vehicle when you jack up
the vehicle.
Never jack up the vehicle with the
transaxle in “N” (Neutral). Other-
wise, unstable jack may cause an
accident.
Page 184 of 207

Downloaded from www.Manualslib.com manuals search engine 8-3EMERGENCY SERVICE
60MK0-14E
3) Turn on the hazard warning flasher if
your vehicle is near traffic.
4) Block the front and rear of the wheel
diagonally opposite of the wheel being
lifted.
5) Place the spare wheel near the wheel
being lifted as shown in the illustration
in case that the jack slips.
54G253
63J10060MK032
6) Position the jack at an angle as shown
in the illustration and raise the jack by
turning the jack handle clockwise until
the jack-head groove fits around the
jacking bar beneath the vehicle body.
7) Continue to raise the jack slowly and
smoothly until the tire clears the
ground. Do not raise the vehicle more
than necessary.
To Raise the Vehicle with a Garage Jack
Apply the garage jack to one of the
points indicated below.
Always support the raised vehicle with
jack stands (commercially available) at
the points indicated below.
WARNING
Use the jack only to change wheels
on level, hard ground.
Never jack up the vehicle on an
inclined surface.
Never raise the vehicle with the
jack in a location other than the
specified jacking point (shown in
the illustration) near the wheel to
be changed.
Especially, do not raise the vehicle
with a jack at a part of the torsion
beam which is located under the
vehicle body, between rear wheels.
Make sure that the jack is raised at
least 51 mm (2 inches) before it
contacts the flange. Use of the jack
when it is within 51 mm (2 inches)
of being fully collapsed may result
in failure of the jack.
No person should place any por-
tion of their body under a vehicle
that is supported by a jack.
Never run the engine when the
vehicle is supported by the jack
and never allow passengers to
remain in the vehicle.