Page 16 of 112

94 Navigation
Read First
Most of these icons can be understood intuitively. The following table
shows the most frequently displayed route events. The symbol design is
the same in each field.■ Lane information & signs
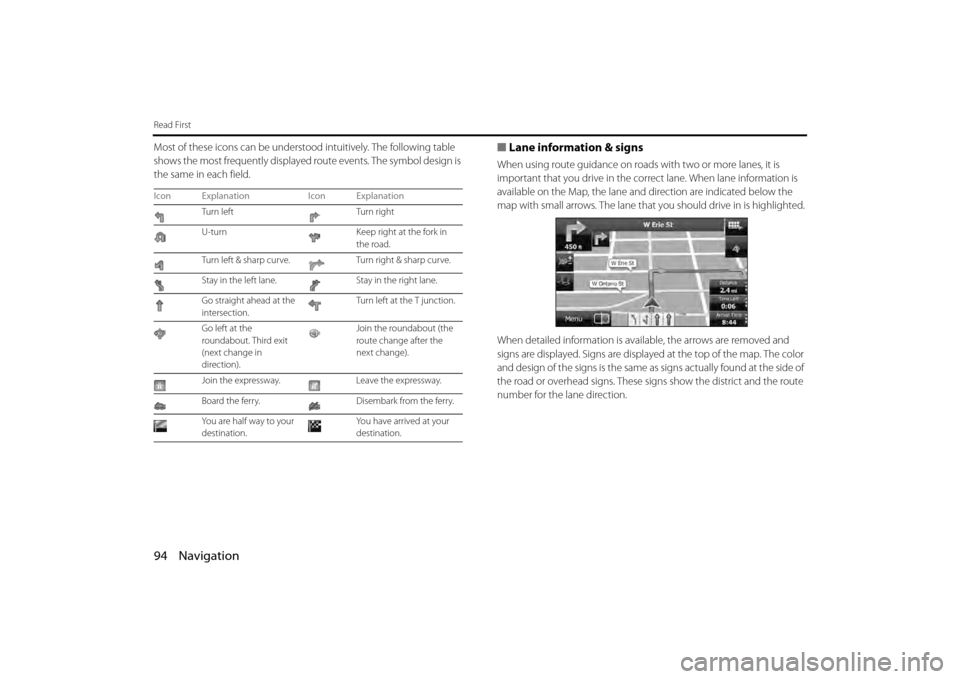
When using route guidance on roads with two or more lanes, it is
important that you drive in the corr ect lane. When lane information is
available on the Map, the lane and direction are indicated below the
map with small arrows. The lane that you should drive in is highlighted.
When detailed information is avai lable, the arrows are removed and
signs are displayed. Signs are displayed at the top of the map. The color
and design of the signs is the same as signs actually found at the side of
the road or overhead signs. These signs show the district and the route
number for the lane direction.
Icon Explanation Icon Explanation
Turn left Turn right
U-turn Keep right at the fork in
the road.
Turn left & sharp curve. Turn right & sharp curve.
Stay in the left lane. Stay in the right lane.
Go straight ahead at the
intersection. Turn left at the T junction.
Go left at the
roundabout. Third exit
(next change in
direction). Join the roundabout (the
route change after the
next change).
Join the expressway. Leave the expressway.
Board the ferry. Disembark from the ferry.
Yo u a re h a l f w ay to yo u r
destination. You have arrived at your
destination.
Page 17 of 112

Navigation 95
Read First
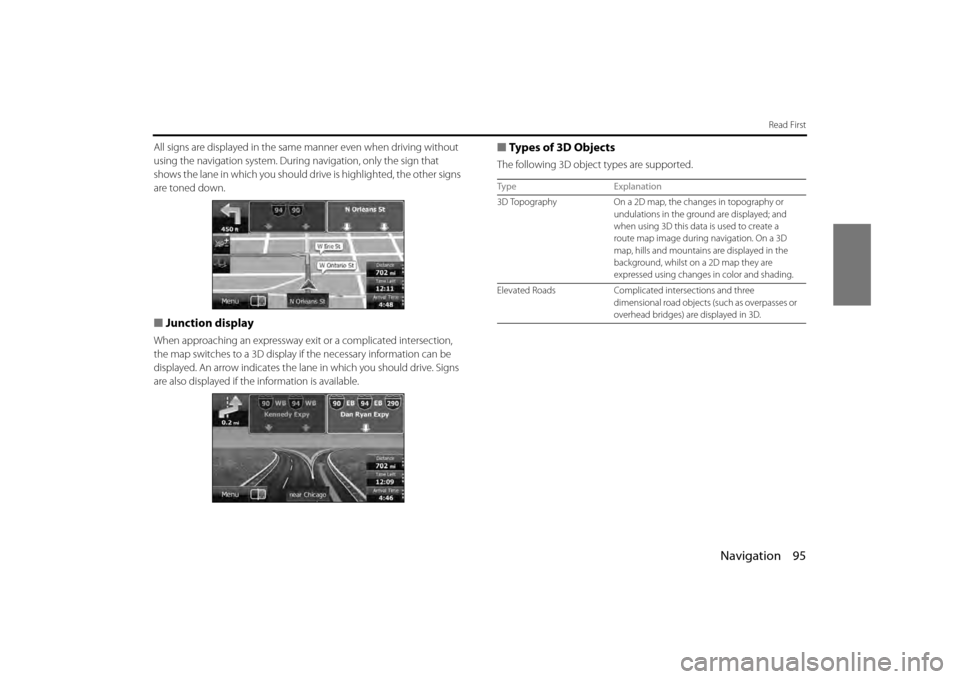
All signs are displayed in the same manner even when driving without
using the navigation system. During navigation, only the sign that
shows the lane in which you should dr ive is highlighted, the other signs
are toned down.
■ Junction display
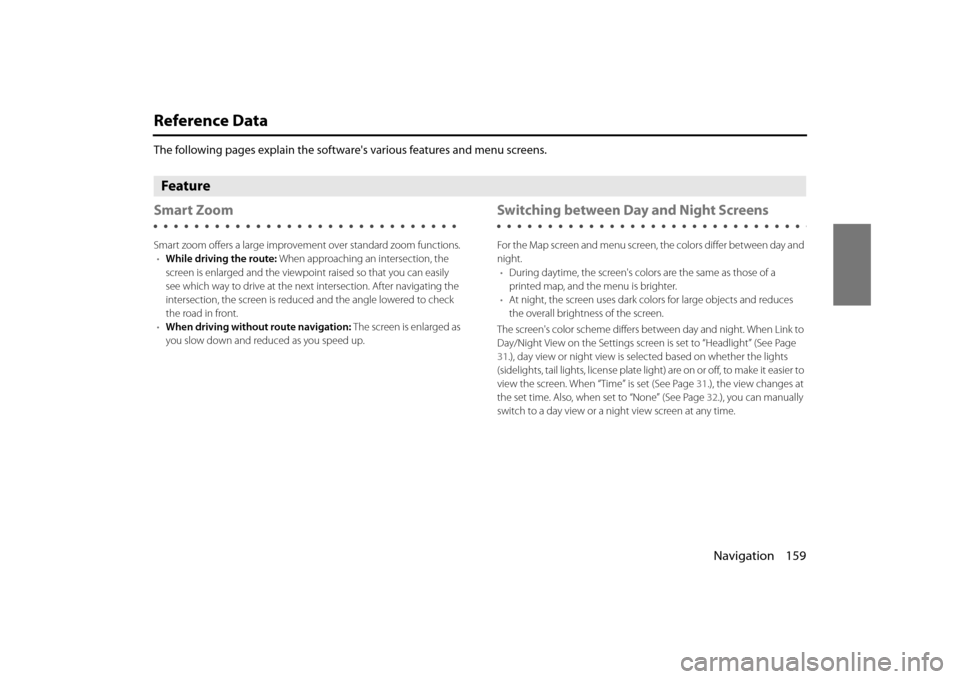
When approaching an expressway ex it or a complicated intersection,
the map switches to a 3D display if the necessary information can be
displayed. An arrow indicates the lane in which you should drive. Signs
are also displayed if the information is available.
■Types of 3D Objects
The following 3D object types are supported.
Type Explanation
3D Topography On a 2D map, the changes in topography or
undulations in the ground are displayed; and
when using 3D this data is used to create a
route map image during navigation. On a 3D
map, hills and mountains are displayed in the
background, whilst on a 2D map they are
expressed using changes in color and shading.
Elevated Roads Complicated intersections and three
dimensional road objects (such as overpasses or
overhead bridges) ar e displayed in 3D.
Page 81 of 112

Navigation 159
Reference Data
The following pages explain the software's various features and menu screens.
Feature
Smart Zoom
Smart zoom offers a large improvement over standard zoom functions.
• While driving the route: When approaching an intersection, the
screen is enlarged and the viewpoint raised so that you can easily
see which way to drive at the next intersection. After navigating the
intersection, the screen is reduced and the angle lowered to check
the road in front.
• When driving without route navigation: The screen is enlarged as
you slow down and reduced as you speed up.
Switching between Day and Night Screens
For the Map screen and menu screen, the colors differ between day and
night. • During daytime, the screen's colo rs are the same as those of a
printed map, and the menu is brighter.
• At night, the screen uses dark co lors for large objects and reduces
the overall brightness of the screen.
The screen's color scheme differs be tween day and night. When Link to
Day/Night View on the Settings screen is set to “Headlight” (See Page
31.), day view or night vi ew is selected based on whether the lights
(sidelights, tail lights, license plate light) are on or off, to make it easier to
view the screen. When “Time” is set (See Page 31.), the view changes at
the set time. Also, when set to “None” (See Page 32.), you can manually
switch to a day view or a night view screen at any time.