Page 209 of 414

5-28Audio
iPod
®cannot be operated using the
click wheel on the iPod®(except some
models). . When using an iPod
®by connecting
it to in-vehicle equipment, the order of
the list items displayed on the in-
vehicle equipment may be different
from that on the iPod
®. However, this
does not indicate a malfunction.. An iPod
®battery that is connected
to in-vehicle equipment will be charged
when the ignition switch is in the “ON ”
or “Acc ”position. However, activation
of the iPod
®may be delayed if the
battery charge of the iPod®is low.
. If an iPod®does not activate after
operation, disconnect the connection
cable from the iPod
®and reset it. For
the resetting procedure, see the User ’s
Guide of the iPod
®.
. If an iPod®and the connection cable
are connected improperly, the iPod®
cannot be powered on or will not be
recognized by in-vehicle equipment. In
this case, disconnect the connection
cable from the iPod
®, and then connect
it again.
Except STI
STI
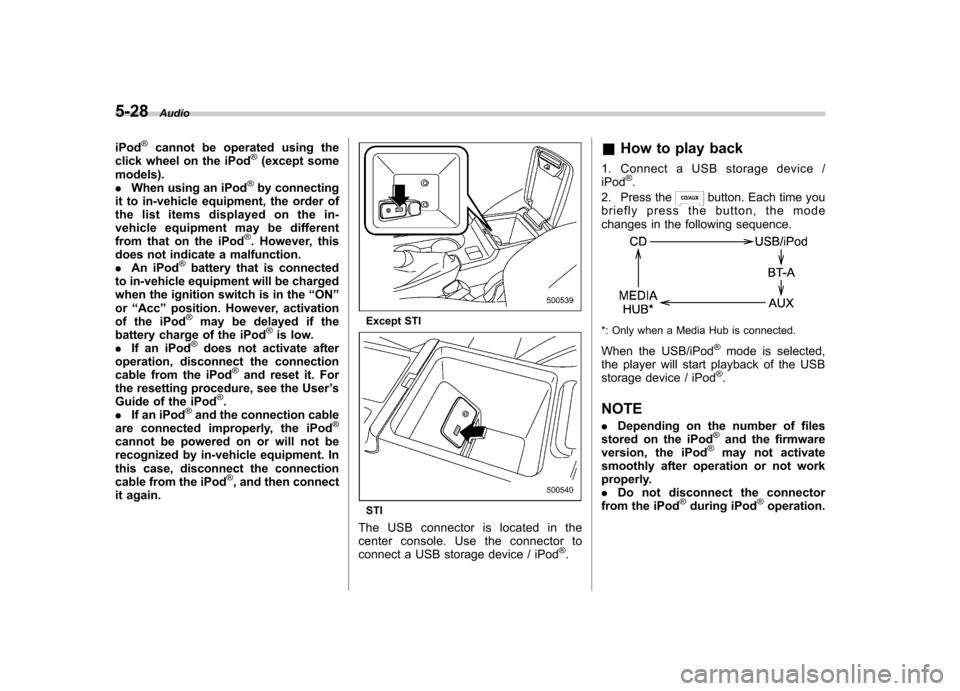
The USB connector is located in the
center console. Use the connector to
connect a USB storage device / iPod
®. &
How to play back
1. Connect a USB storage device /iPod
®.
2. Press the
button. Each time you
briefly press the button, the mode
changes in the following sequence.
*: Only when a Media Hub is connected.
When the USB/iPod
®mode is selected,
the player will start playback of the USB
storage device / iPod
®.
NOTE . Depending on the number of files
stored on the iPod
®and the firmware
version, the iPod®may not activate
smoothly after operation or not work
properly.. Do not disconnect the connector
from the iPod
®during iPod®operation.
Page 210 of 414

&To select a track from the beginning
Select a track in the same way as for a
CD. For details, refer to “To select a track
from the beginning ”F 5-18.
& To select a chapter from the
beginning when connectingiPod
®
When playing podcasts or audiobooks,
select a chapter in the same way as for a
CD. For details, refer to “To select a track
from the beginning ”F 5-18.
& Fast-forwarding and rewind- ing
Fast-forwarding and rewinding are oper-
ated in the same way as for a CD. For
details, refer to “Fast-forwarding and
rewinding ”F 5-19.
NOTE
When connecting iPod
®:
. When the end of a track is reached
while fast-forwarding, fast-forwarding
ends and play begins from the begin-
ning of the next track. .
When the beginning of a track is
reached while rewin ding, rewinding
ends and play begins from the begin-
ning of the track.
& Repeating
! When connecting USB storage de-vice
Repeating is operated in the same way as
for a CD. For details, refer to “Repeating ”
F 5-19.
! When connecting iPod
®
Each time you briefly press thebutton, the mode changes in the following sequence.
NOTE .The “ALL RPT ”indication refers to
the repeat playback of all tracks on the
entire iPod
®.
. The “SONG RPT ”indication refers
to the repeat playback of a single track.
It repeats the track that is playing. . When an audiobook is playing, the
mode does not change even if you
press the
button. &
Random playback
To playback tracks at random, press and
hold the
button while a track is
playing.
Each time you press the button, the mode
changes in the following sequence.
When connecting USB storage device:
When connecting iPod®:
NOTE . The “FOLDER RDM ”indication re-
fers to the random playback in the
folders. It randomly repeats all of the
tracks in the folder.. The “ALL RDM ”indication refers to
the random playback on the entire USB
storage device. It randomly repeats all
of the tracks in the USB storage device.. The “ALBUM RDM ”indication refers
to the shuffle playback in the album. It
randomly repeats all of the tracks on
the album.. The “SONG RDM ”indication refers
to the shuffle playback in the entire Audio
5-29
– CONTINUED –
Page 211 of 414

5-30Audio
iPod
®. It randomly repeats all of the
tracks on the iPod®.
. When an iPod®is connected, the
files are played back at random by the
shuffle function of the iPod
®. There-
fore, iPod®operation may be different
depending on the model of the con-
nected iPod
®.
. When an audiobook or a podcast is
playing, the mode does not change
even if you press and hold the
button.
To cancel the random playback mode,
press and hold the
button and select
CANCEL. The “RDM ”indication will turn
off, and the normal playback mode will resume. & SCAN (only when connecting
USB storage device)
Scan is operated in the same way as for a
CD. For details, refer to “Scan ”F 5-20.
NOTE
When an iPod
®is connected, you
cannot select the SCAN mode.
& Selecting category (only
when connecting iPod
®)
When the
button is pressed briefly,
the iPod®menu is displayed. Each time you turn the
“TUNE/TRACK/
CH ”dial clockwise, the displayed category
changes in the following sequence. Each
time you turn the “TUNE/TRACK/CH ”dial
counterclockwise, the displayed category
changes in the opposite sequence.
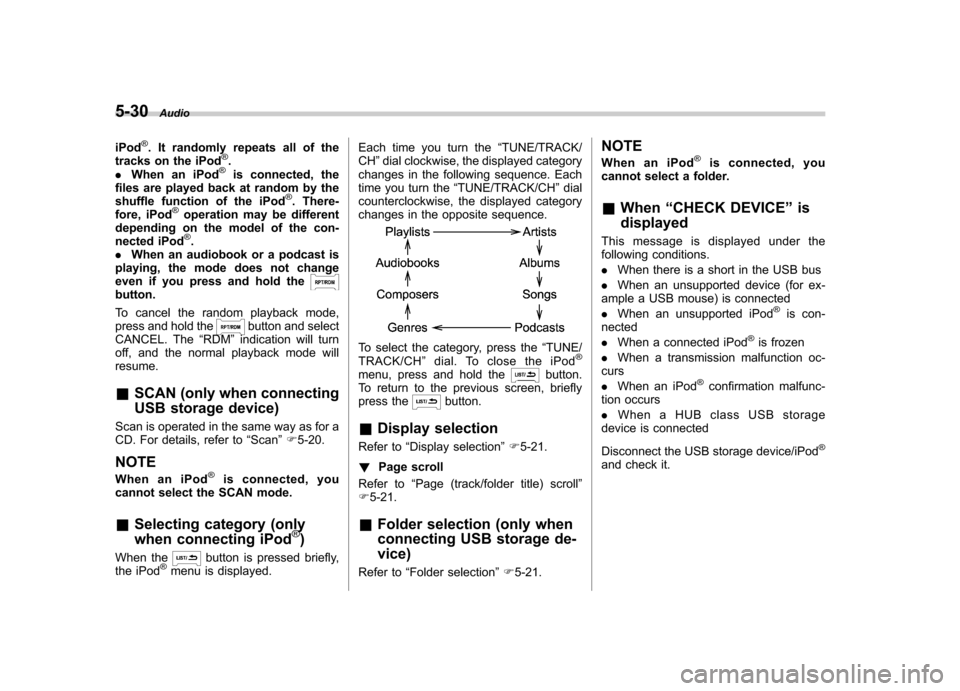
To select the category, press the “TUNE/
TRACK/CH ”dial. To close the iPod®
menu, press and hold thebutton.
To return to the previous screen, briefly
press the
button.
& Display selection
Refer to “Display selection ”F 5-21.
! Page scroll
Refer to “Page (track/folder title) scroll ”
F 5-21.
& Folder selection (only when
connecting USB storage de- vice)
Refer to “Folder selection ”F 5-21. NOTE
When an iPod
®is connected, you
cannot select a folder. & When “CHECK DEVICE ”is
displayed
This message is displayed under the
following conditions. . When there is a short in the USB bus
. When an unsupported device (for ex-
ample a USB mouse) is connected. When an unsupported iPod
®is con-
nected . When a connected iPod
®is frozen
. When a transmission malfunction oc-
curs . When an iPod
®confirmation malfunc-
tion occurs. When a HUB class USB storage
device is connected
Disconnect the USB storage device/iPod
®
and check it.
Page 212 of 414
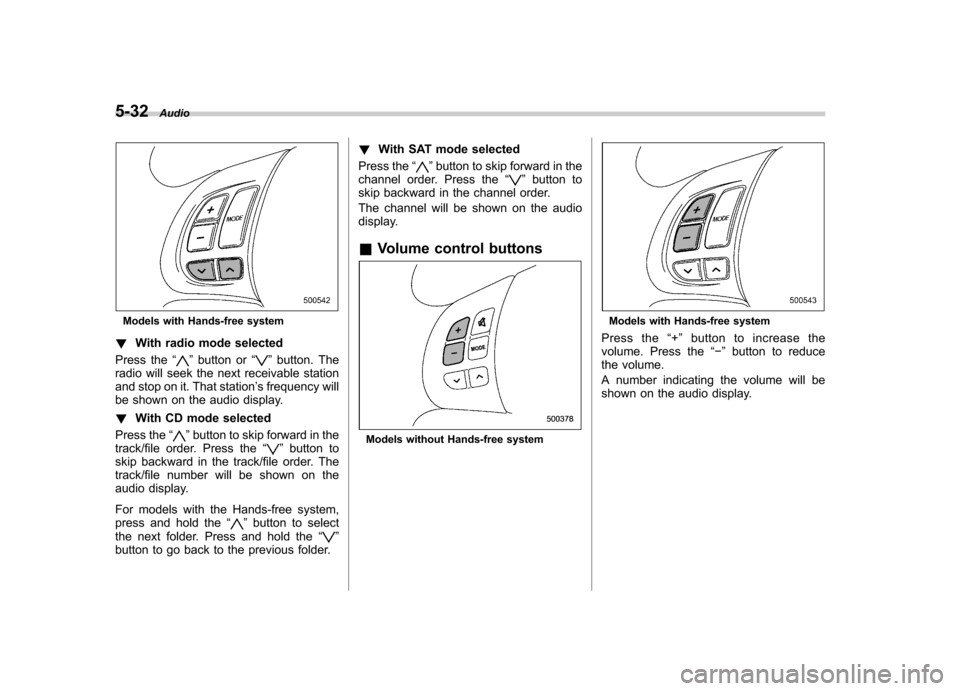
Audio control buttons
These buttons are located on the spokes
of the steering wheel. They allow the
driver to control audio functions without
taking his/her hands off the steeringwheel. &MODE button
Models without Hands-free system
Models with Hands-free system
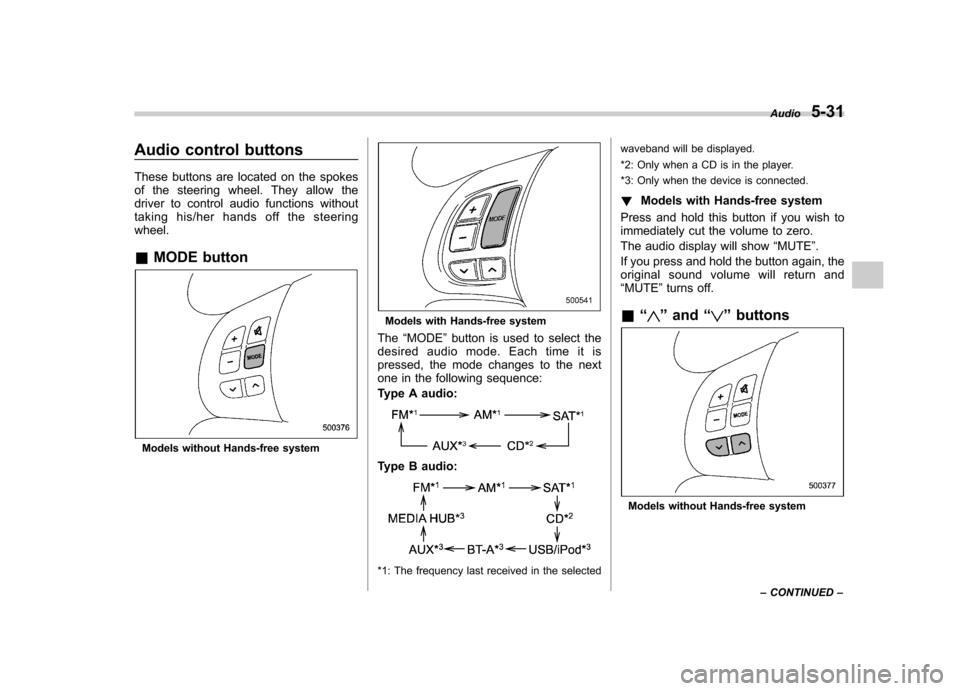
The “MODE ”button is used to select the
desired audio mode. Each time it is
pressed, the mode changes to the next
one in the following sequence:
Type A audio:
Type B audio:
*1: The frequency last received in the selected waveband will be displayed.
*2: Only when a CD is in the player.
*3: Only when the device is connected.
! Models with Hands-free system
Press and hold this button if you wish to
immediately cut the volume to zero.
The audio display will show “MUTE ”.
If you press and hold the button again, the
original sound volume will return and “ MUTE ”turns off.
& “
”and “”buttons
Models without Hands-free system Audio
5-31
– CONTINUED –
Page 213 of 414

5-32Audio
Models with Hands-free system
! With radio mode selected
Press the “
”button or “”button. The
radio will seek the next receivable station
and stop on it. That station ’s frequency will
be shown on the audio display. ! With CD mode selected
Press the “
”button to skip forward in the
track/file order. Press the “”button to
skip backward in the track/file order. The
track/file number will be shown on the
audio display.
For models with the Hands-free system,
press and hold the “
”button to select
the next folder. Press and hold the “”
button to go back to the previous folder. !
With SAT mode selected
Press the “
”button to skip forward in the
channel order. Press the “”button to
skip backward in the channel order.
The channel will be shown on the audio
display.
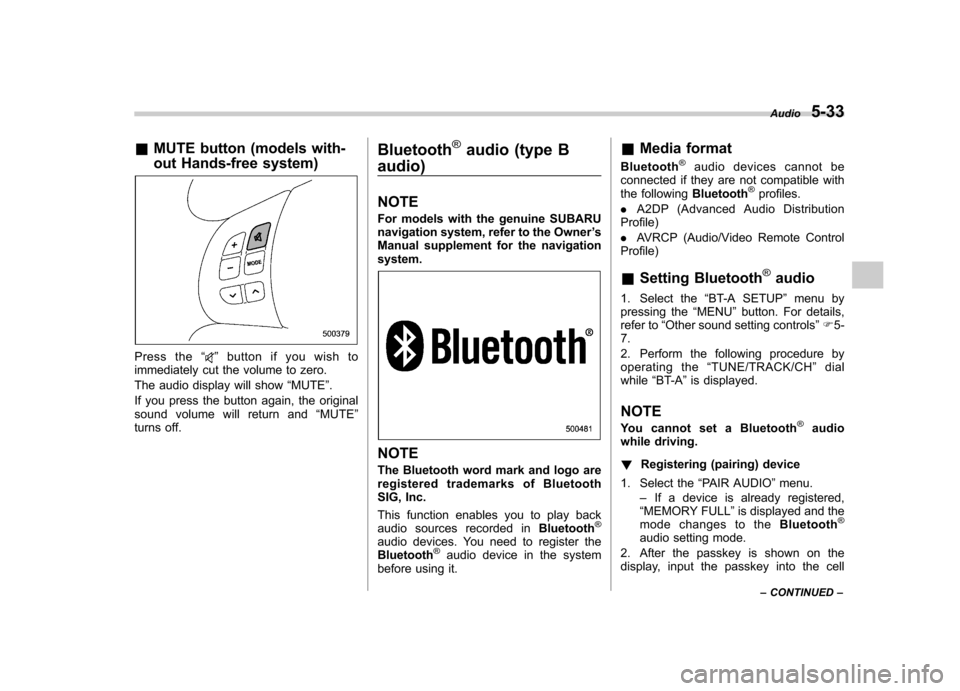
& Volume control buttons
Models without Hands-free system
Models with Hands-free system
Press the “+ ” button to increase the
volume. Press the “ ” button to reduce
the volume.
A number indicating the volume will be
shown on the audio display.
Page 214 of 414

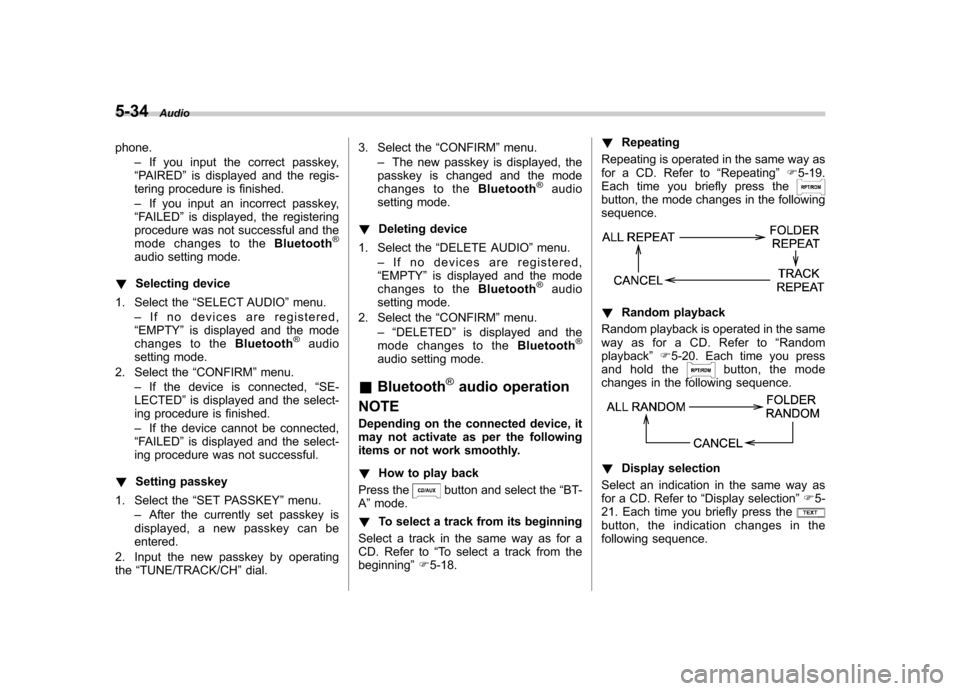
&MUTE button (models with-
out Hands-free system)
Press the “”button if you wish to
immediately cut the volume to zero.
The audio display will show “MUTE ”.
If you press the button again, the original
sound volume will return and “MUTE ”
turns off. Bluetooth
®audio (type B
audio) NOTE
For models with the genuine SUBARU
navigation system, refer to the Owner ’s
Manual supplement for the navigationsystem.
NOTE
The Bluetooth word mark and logo are
registered tradem arks of Bluetooth
SIG, Inc.
This function enables you to play back
audio sources recorded in Bluetooth
®
audio devices. You need to register theBluetooth®audio device in the system
before using it. &
Media format
Bluetooth
®audio devices cannot be
connected if they are not compatible with
the following Bluetooth
®profiles.
. A2DP (Advanced Audio Distribution
Profile) . AVRCP (Audio/Video Remote Control
Profile) & Setting Bluetooth
®audio
1. Select the “BT-A SETUP ”menu by
pressing the “MENU ”button. For details,
refer to “Other sound setting controls ”F 5-
7.
2. Perform the following procedure by
operating the “TUNE/TRACK/CH ”dial
while “BT-A ”is displayed.
NOTE
You cannot set a Bluetooth
®audio
while driving. ! Registering (pairing) device
1. Select the “PAIR AUDIO ”menu.
– If a device is already registered,
“ MEMORY FULL ”is displayed and the
mode changes to the Bluetooth
®
audio setting mode.
2. After the passkey is shown on the
display, input the passkey into the cell Audio
5-33
– CONTINUED –
Page 215 of 414

5-34Audio
phone. –If you input the correct passkey,
“ PAIRED ”is displayed and the regis-
tering procedure is finished. – If you input an incorrect passkey,
“ FAILED ”is displayed, the registering
procedure was not successful and the
mode changes to the Bluetooth
®
audio setting mode.
! Selecting device
1. Select the “SELECT AUDIO ”menu.
– If no devices are registered,
“ EMPTY ”is displayed and the mode
changes to the Bluetooth
®audio
setting mode.
2. Select the “CONFIRM ”menu.
– If the device is connected, “SE-
LECTED ”is displayed and the select-
ing procedure is finished. – If the device cannot be connected,
“ FAILED ”is displayed and the select-
ing procedure was not successful.
! Setting passkey
1. Select the “SET PASSKEY ”menu.
– After the currently set passkey is
displayed, a new passkey can be entered.
2. Input the new passkey by operatingthe “TUNE/TRACK/CH ”dial. 3. Select the
“CONFIRM ”menu.
– The new passkey is displayed, the
passkey is changed and the mode
changes to the Bluetooth
®audio
setting mode.
! Deleting device
1. Select the “DELETE AUDIO ”menu.
– If no devices are registered,
“ EMPTY ”is displayed and the mode
changes to the Bluetooth
®audio
setting mode.
2. Select the “CONFIRM ”menu.
–“ DELETED ”is displayed and the
mode changes to the Bluetooth
®
audio setting mode.
& Bluetooth
®audio operation
NOTE
Depending on the connected device, it
may not activate as per the following
items or not work smoothly. ! How to play back
Press the
button and select the “BT-
A ”mode.
! To select a track from its beginning
Select a track in the same way as for a
CD. Refer to “To select a track from the
beginning ”F 5-18. !
Repeating
Repeating is operated in the same way as
for a CD. Refer to “Repeating ”F 5-19.
Each time you briefly press the
button, the mode changes in the following sequence.
! Random playback
Random playback is operated in the same
way as for a CD. Refer to “Random
playback ”F 5-20. Each time you press
and hold the
button, the mode
changes in the following sequence.
! Display selection
Select an indication in the same way as
for a CD. Refer to “Display selection ”F 5-
21. Each time you briefly press the
button, the indication changes in the
following sequence.
Page 216 of 414

!Folder selection
Select a folder in the same way as for a
CD. Refer to “Folder selection ”F 5-21. Hands-free system (if equipped) NOTE .
For models with the genuine
SUBARU navigation system, refer to
the Owner ’s Manual supplement for the
navigation system.. When selling your vehicle, make
sure that you initialize the Hands-free
system to prevent personal data from
being improperly accessed.
The Hands-free system operates while the
ignition switch is in the “Acc ”or “ON ”
position.
& Tips for the Hands-free sys- tem
! Bluetooth
®
It is possible to connect a cell phone to the
in-vehicle equipment through the Blue-
tooth
®format (wireless) to make a phone
call from the in-vehicle equipment or take
an incoming phone call.
Since the Bluetooth
®format is wireless, a
connection between the in-vehicle equip-
ment and the cell phone can be made
without placing them in close proximity of
each other. The cell phone can be used
with it left in the breast pocket or bag. NOTE .
The Hands-free system may not
operate properly under the following conditions.
–The cell phone is turned off.
– The cell phone is not in the
phone call area. – The battery of the cell phone has
run down.– The cell phone is not connected
to the Hands-free system.– The cell phone is behind the seat
or in the glove box.– A metal material covers or
touches the cell phone.
. Depending on the type of cell phone
that is used, the screen on the cell
phone may remain illuminated while
the ignition switch is in the “ON ”
position. If this occurs, turn the illumi-
nation off by adjusting the cell phonesettings. . Depending on the setting of the cell
phone, the dial lock function may be
activated after making a call. Deacti-
vate the automatic dial lock function of
the cell phone before using the Hands-
free system. . Depending on the type of cell phone
that is used, operation and the sound
volume may be different from those of
cell phones currently used. Audio
5-35
– CONTINUED –