2013 SUBARU FORESTER display
[x] Cancel search: displayPage 229 of 436
5-56Audio
– Pressing the power switch
. Insert a CD (except reloading a CD)
. Connect a USB storage device or an
iPod
®
NOTE
The screensaver is not displayed under
the following conditions. . While the ignition switch is in the
“ LOCK ”position
. While the audio is OFF
. While the screen is OFF
. While talking on a cell phone regis-
tered in the Hands-free system . While setting the audio
. While seek tuning, PTY group tun-
ing, scan tuning or auto-storing while
the FM/AM radio is on.. While in the category search mode
of the satellite radio. While the rear view camera is being
used & Downloading picture
Perform the following procedure to down-
load a picture to be used as screensaver.
1. Connect a USB storage device. Refer to “Connecting USB storage device /
iPod
®” F 5-33.
2. Select the “Picture Download ”menu
by operating the “TUNE/TRACK/CH ”dial. For details, refer to
“Audio settings (type D
audio) ”F 5-10.
3. Select the preferred JPEG file by
operating the “TUNE/TRACK/CH ”dial.
4. Select “Wide ”or “Normal ”by operating
the “TUNE/TRACK/CH ”dial.
NOTE . JPEG files that are 10 MB or less can
be saved. . If the file name is too long, the file
may not be saved.. Up to two JPEG files can be saved in
the in-vehicle equipment.. If the aspect ratio of the displayed
picture is 16:9, “Wide ”cannot be
selected.. If the aspect ratio of the displayed
picture is 4:3, “Normal ”cannot be
selected.
& Selecting picture
1. Select the “Picture Select ”menu by
operating the “TUNE/TRACK/CH ”dial. For
details, refer to “Audio settings (type D
audio) ”F 5-10. If no pictures are saved,
“ No Data ”is displayed. Press thebutton to return to the “Screen Saver ”
mode.
2. Select the preferred picture by operat-
ing the “TUNE/TRACK/CH ”dial. &
Erasing picture
1. Select the “Picture Erase ”menu by
operating the “TUNE/TRACK/CH ”dial. For
details, refer to “Audio settings (type D
audio) ”F 5-10. If no pictures are saved,
“ No Data ”is displayed. Press the
button to return to the “Screen Saver ”
mode.
2. Select the preferred picture by operat-
ing the “TUNE/TRACK/CH ”dial.
3. Operate the “TUNE/TRACK/CH ”dial
to select “OK ”to erase the picture or
“ Cancel ”to cancel the operation.
Page 246 of 436
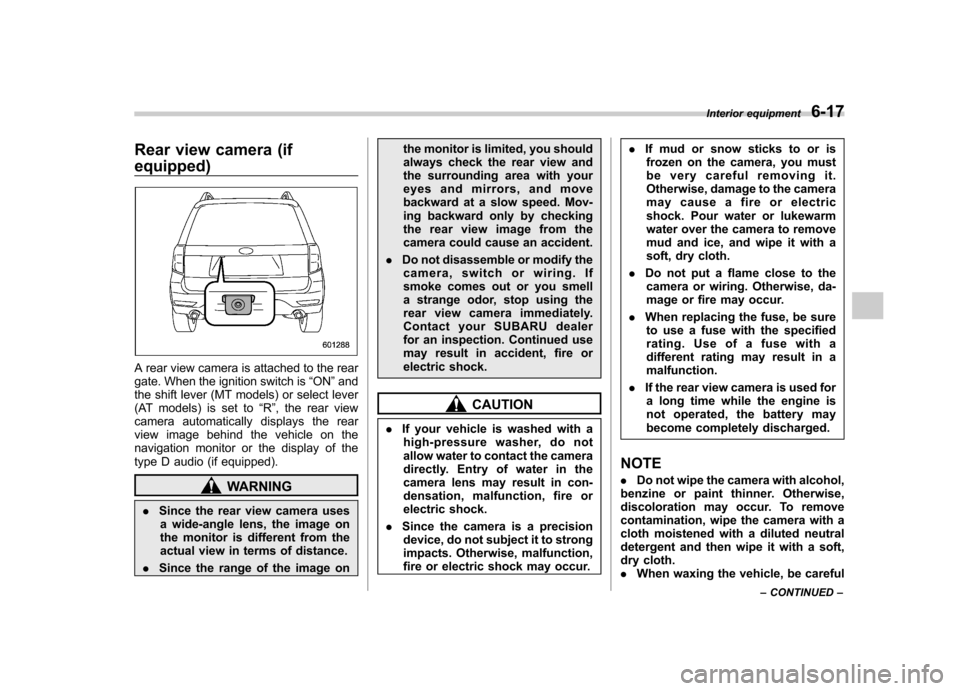
Rear view camera (if equipped)
A rear view camera is attached to the rear
gate. When the ignition switch is“ON ”and
the shift lever (MT models) or select lever
(AT models) is set to “R ”, the rear view
camera automatically displays the rear
view image behind the vehicle on the
navigation monitor or the display of the
type D audio (if equipped).
WARNING
. Since the rear view camera uses
a wide-angle lens, the image on
the monitor is different from the
actual view in terms of distance.
. Since the range of the image on the monitor is limited, you should
always check the rear view and
the surrounding area with your
eyes and mirrors, and move
backward at a slow speed. Mov-
ing backward only by checking
the rear view image from the
camera could cause an accident.
. Do not disassemble or modify the
camera, switch or wiring. If
smoke comes out or you smell
a strange odor, stop using the
rear view camera immediately.
Contact your SUBARU dealer
for an inspection. Continued use
may result in accident, fire or
electric shock.
CAUTION
. If your vehicle is washed with a
high-pressure washer, do not
allow water to contact the camera
directly. Entry of water in the
camera lens may result in con-
densation, malfunction, fire or
electric shock.
. Since the camera is a precision
device, do not subject it to strong
impacts. Otherwise, malfunction,
fire or electric shock may occur. .
If mud or snow sticks to or is
frozen on the camera, you must
be very careful removing it.
Otherwise, damage to the camera
may cause a fire or electric
shock. Pour water or lukewarm
water over the camera to remove
mud and ice, and wipe it with a
soft, dry cloth.
. Do not put a flame close to the
camera or wiring. Otherwise, da-
mage or fire may occur.
. When replacing the fuse, be sure
to use a fuse with the specified
rating. Use of a fuse with a
different rating may result in amalfunction.
. If the rear view camera is used for
a long time while the engine is
not operated, the battery may
become completely discharged.
NOTE . Do not wipe the camera with alcohol,
benzine or paint thinner. Otherwise,
discoloration may occur. To remove
contamination, wipe the camera with a
cloth moistened with a diluted neutral
detergent and then wipe it with a soft,
dry cloth.. When waxing the vehicle, be careful Interior equipment
6-17
– CONTINUED –
Page 247 of 436
6-18Interior equipment
not to apply the wax to the camera. If it
comes in contact with the camera,
moisten a clean cloth with a diluted
neutral detergent to remove the wax..The camera lens has hard coating to
help prevent scratches. However, when
washing the vehicle or cleaning the
camera lens, be careful not to scratch
the camera lens. Do not use a washing
brush directly on the camera lens. The
image quality of the rear view camera
may deteriorate.. Strong light shined on the camera
lens may develop vertical lines around
the light source. This is not a malfunc-tion. . Under fluorescent light, the display
may flicker. However, this is not a malfunction.. The image of the rear view camera
may be slightly different from the
actual color of the objects. & How to use the rear view camera
When the shift lever or select lever is set to “R ”, the rear view camera automatically
displays the rear view image from the
vehicle. When the lever is set to other
positions, the image before setting to “R ”
is displayed.
1. Set the ignition switch to “ON ”. 2. Set the shift lever or select lever to
“R ”.
NOTE . For models with the genuine
SUBARU navigation system, the image
of the rear view camera has priority
over other screen displays. Therefore,
while the rear view camera is in opera-
tion, the operations of other screens
are disabled. To operate other screens,
set the shift lever or select lever to a
position other than “R ”.
. The image of the rear view camera is
horizontally reversed as is the case
with the vehicle rearview mirror or the
side view mirror.. It may be difficult to see the image of
the rearview camera in the following
cases. This is not a malfunction of thecamera.
–The vehicle is in a dark place (at
night, in a tunnel, etc.). – The vehicle is in an extremely hot
or cold place.– An object (such as raindrops,
snow, dirt, etc.) that disturbs the
view of the rear view camera sticks
to the lens of the camera. – Strong light shined directly on
the camera lens (occasionally, there
are vertical lines on the screen). &
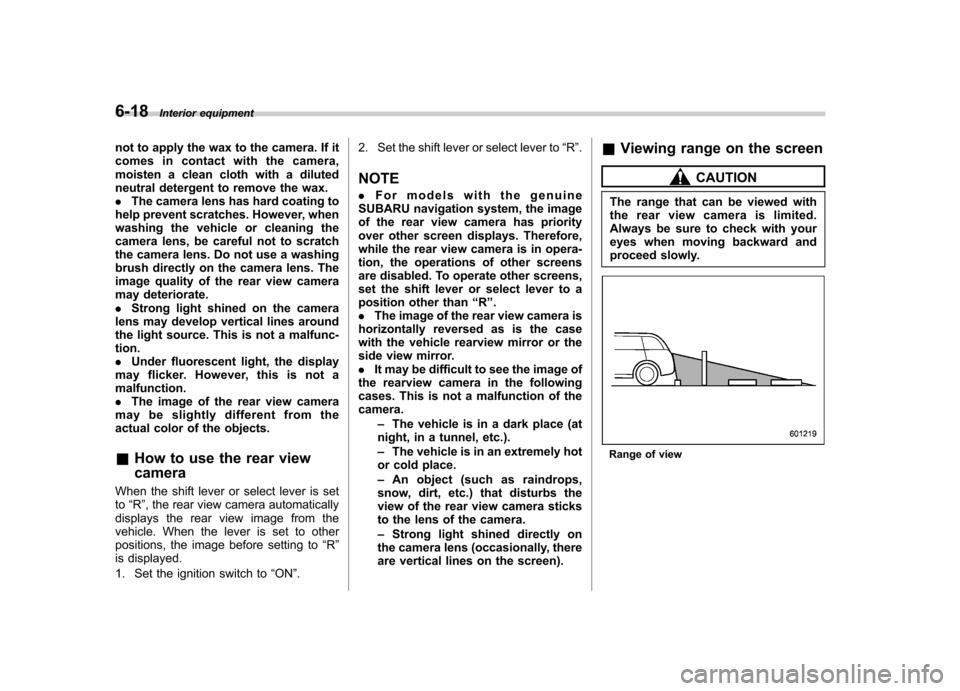
Viewing range on the screen
CAUTION
The range that can be viewed with
the rear view camera is limited.
Always be sure to check with your
eyes when moving backward and
proceed slowly.
Range of view
Page 250 of 436
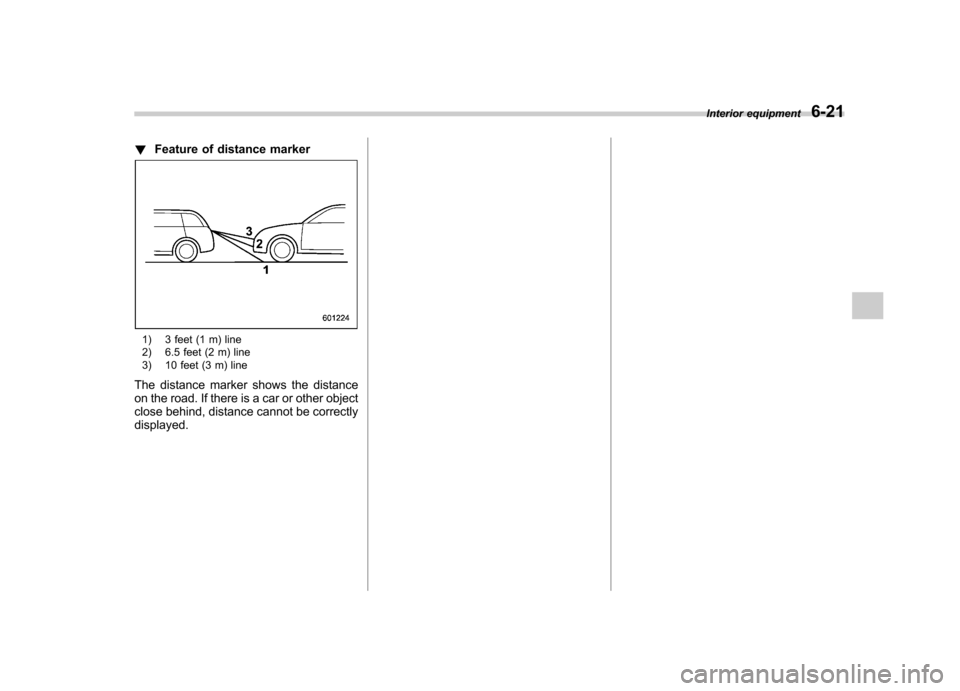
!Feature of distance marker
1) 3 feet (1 m) line
2) 6.5 feet (2 m) line
3) 10 feet (3 m) line
The distance marker shows the distance
on the road. If there is a car or other object
close behind, distance cannot be correctlydisplayed. Interior equipment
6-21
Page 429 of 436
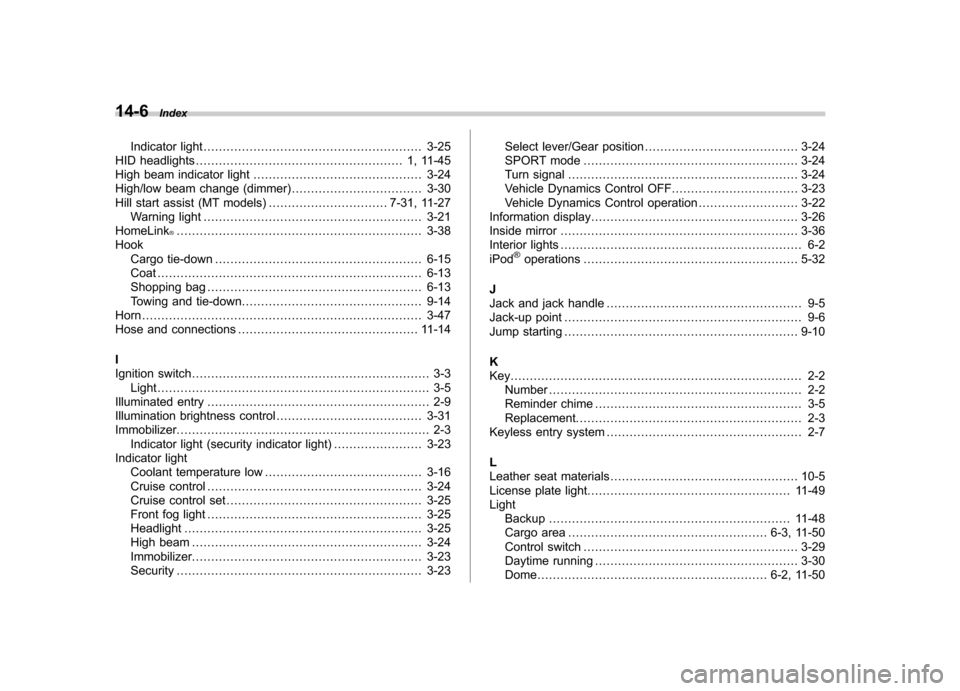
14-6Index
Indicator light ......................................................... 3-25
HID headlights ...................................................... 1, 11-45
High beam indicator light ............................................ 3-24
High/low beam change (dimmer) .................................. 3-30
Hill start assist (MT models) ............................... 7-31, 11-27
Warning light ......................................................... 3-21
HomeLink
®................................................................ 3-38
Hook Cargo tie-down ...................................................... 6-15
Coat ..................................................................... 6-13
Shopping bag ........................................................ 6-13
Towing and tie-down ............................................... 9-14
Horn ......................................................................... 3-47
Hose and connections ............................................... 11-14
I
Ignition switch .............................................................. 3-3
Light ....................................................................... 3-5
Illuminated entry .......................................................... 2-9
Illumination brightness control ...................................... 3-31
Immobilizer. ................................................................. 2-3
Indicator light (security indicator light) ....................... 3-23
Indicator light
Coolant temperature low ......................................... 3-16
Cruise control ........................................................ 3-24
Cruise control set ................................................... 3-25
Front fog light ........................................................ 3-25
Headlight .............................................................. 3-25
High beam ............................................................ 3-24
Immobilizer. ........................................................... 3-23
Security ................................................................ 3-23 Select lever/Gear position
........................................ 3-24
SPORT mode ........................................................ 3-24
Turn signal ............................................................ 3-24
Vehicle Dynamics Control OFF ................................. 3-23
Vehicle Dynamics Control operation .. ........................ 3-22
Information display ...................................................... 3-26
Inside mirror .............................................................. 3-36
Interior lights ............................................................... 6-2
iPod
®operations ........................................................ 5-32
J
Jack and jack handle ................................................... 9-5
Jack-up point .............................................................. 9-6
Jump starting ............................................................. 9-10
K
Key............................................................................ 2-2 Number .................................................................. 2-2
Reminder chime ...................................................... 3-5
Replacement. .......................................................... 2-3
Keyless entry system ................................................... 2-7
L
Leather seat materials ................................................. 10-5
License plate light ..................................................... 11-49
Light Backup ............................................................... 11-48
Cargo area .................................................... 6-3, 11-50
Control switch ........................................................ 3-29
Daytime running ..................................................... 3-30
Dome ............................................................ 6-2, 11-50