Page 289 of 319

287
If and when
Jump leads
Jump leads must comply with standard DIN 72553 (see cable manufactur-
er's instructions). The wire cross section must be at least 25 mm 2
for petrol
engines and at least 35 mm 2
for diesel engines.
Note
● The vehicles must not touch each other, otherwise electricity could flow
as soon as the positive terminals are connected.
● The discharged battery must be properly connected to the on-board net-
work.
How to jump start: description
Fig. 230 Diagram of con-
nections for vehicles
without Start Stop sys-
tem
Fig. 231 Diagram of con-
nections for vehicles
with Start Stop system
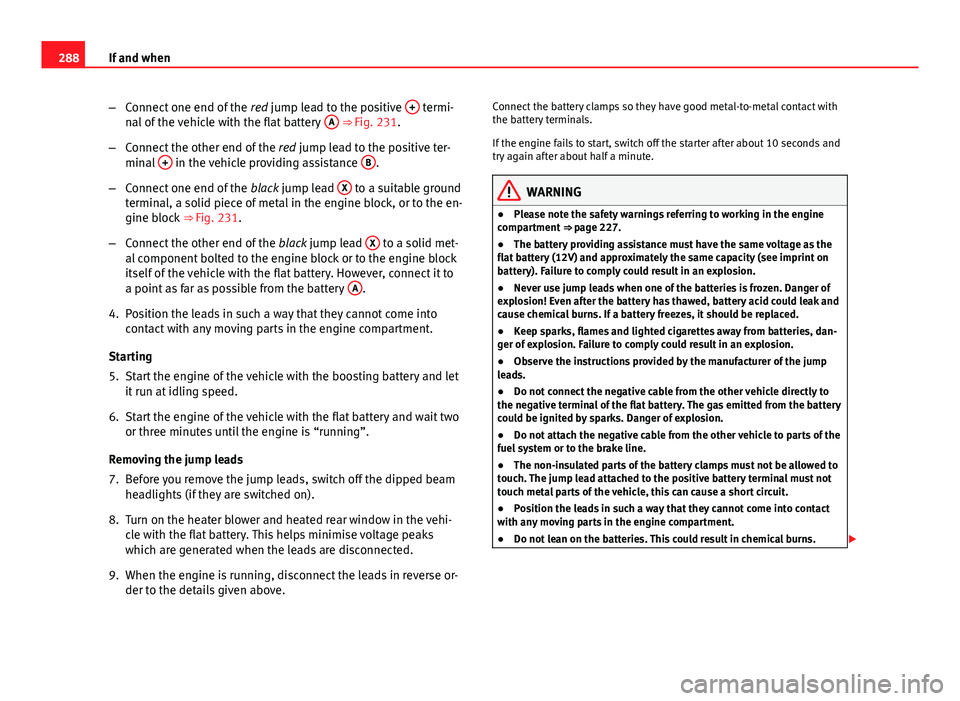
Jump lead terminal connections
1. Switch off the ignition of both vehicles ⇒
.
2. For vehicles without Start-Stop system :
– Connect one end of the red jump lead to the positive +
termi-
nal of the vehicle with the flat battery A ⇒ Fig. 230.
– Connect the other end of the red jump lead to the positive ter-
minal +
in the vehicle providing assistance B.
– Connect one end of the black jump lead to the negative terminal
–
of the vehicle providing assistance B ⇒ Fig. 230.
– Connect the other end of the black jump lead X
to a solid met-
al component bolted to the engine block or to the engine block
itself of the vehicle with the flat battery. However, connect it to
a point as far as possible from the battery A
.
3. For vehicles with Start-Stop system :
Safety FirstOperating instructionsPractical TipsTechnical Specifications
Page 290 of 319

288If and when
–Connect one end of the red jump lead to the positive +
termi-
nal of the vehicle with the flat battery A ⇒ Fig. 231.
– Connect the other end of the red jump lead to the positive ter-
minal +
in the vehicle providing assistance B.
– Connect one end of the black jump lead X
to a suitable ground
terminal, a solid piece of metal in the engine block, or to the en-
gine block ⇒ Fig. 231.
– Connect the other end of the black jump lead X
to a solid met-
al component bolted to the engine block or to the engine block
itself of the vehicle with the flat battery. However, connect it to
a point as far as possible from the battery A
.
4. Position the leads in such a way that they cannot come into contact with any moving parts in the engine compartment.
Starting
5. Start the engine of the vehicle with the boosting battery and let it run at idling speed.
6. Start the engine of the vehicle with the flat battery and wait two or three minutes until the engine is “running”.
Removing the jump leads
7. Before you remove the jump leads, switch off the dipped beam headlights (if they are switched on).
8. Turn on the heater blower and heated rear window in the vehi- cle with the flat battery. This helps minimise voltage peaks
which are generated when the leads are disconnected.
9. When the engine is running, disconnect the leads in reverse or- der to the details given above. Connect the battery clamps so they have good metal-to-metal contact with
the battery terminals.
If the engine fails to start, switch off the starter after about 10 seconds and
try again after about half a minute.
WARNING
● Please note the safety warnings referring to working in the engine
compartment ⇒ page 227.
● The battery providing assistance must have the same voltage as the
flat battery (12V) and approximately the same capacity (see imprint on
battery). Failure to comply could result in an explosion.
● Never use jump leads when one of the batteries is frozen. Danger of
explosion! Even after the battery has thawed, battery acid could leak and
cause chemical burns. If a battery freezes, it should be replaced.
● Keep sparks, flames and lighted cigarettes away from batteries, dan-
ger of explosion. Failure to comply could result in an explosion.
● Observe the instructions provided by the manufacturer of the jump
leads.
● Do not connect the negative cable from the other vehicle directly to
the negative terminal of the flat battery. The gas emitted from the battery
could be ignited by sparks. Danger of explosion.
● Do not attach the negative cable from the other vehicle to parts of the
fuel system or to the brake line.
● The non-insulated parts of the battery clamps must not be allowed to
touch. The jump lead attached to the positive battery terminal must not
touch metal parts of the vehicle, this can cause a short circuit.
● Position the leads in such a way that they cannot come into contact
with any moving parts in the engine compartment.
● Do not lean on the batteries. This could result in chemical burns.
Page 291 of 319
289
If and when
Note
The vehicles must not touch each other, otherwise electricity could flow as
soon as the positive terminals are connected.
Safety FirstOperating instructionsPractical TipsTechnical Specifications
Page 292 of 319

290If and when
Towing and tow-starting
Tow-starting
The use of jump leads is preferable to tow-starting.
We recommend that you do not tow-start your vehicle. Jump-start-
ing is preferable ⇒ page 286.
However, if your vehicle has to be tow-started:
– Engage the 2nd or the 3rd gear.
– Keep the clutch pressed down.
– Switch the ignition on.
– Once both vehicles are moving, release the clutch.
– As soon as the engine starts, press the clutch and move the
gear lever into neutral. This helps to prevent driving into the
towing vehicle.
WARNING
The risk of accidents is high when tow-starting. The vehicle being towed
can easily collide with the towing vehicle.
CAUTION
When tow-starting, fuel could enter the catalytic converter and damage it. General notes
Please observe the following points if you use a tow rope:
Notes for the driver of the towing vehicle
–
Drive slowly at first until the tow rope is taut. Then accelerate
gradually.
– Begin and change gears cautiously. If you are driving an auto-
matic vehicle, accelerate gently.
– Remember that the brake servo and power steering are not
working in the vehicle you are towing. Brake sooner than nor-
mal and pressing the pedal gently.
Notes for the driver of the towed vehicle
– Ensure that the tow rope remains taut at all times when towing.
Tow rope or tow bar
It is easier and safer to tow a vehicle with a tow bar. You should only use a
tow rope if you do not have a tow bar.
A tow rope should be slightly elastic to reduce the loading on both vehicles.
It is advisable to use a tow rope made of synthetic fibre or similarly elastic
material.
Attach the tow rope or the tow bar only to the towline anchorages provided
or a towing bracket.
Driving style
Towing requires some experience, especially when using a tow rope. Both
drivers should be familiar with the technique required for towing. Inexper-
ienced drivers should not attempt to tow.
Page 293 of 319

291
If and when
Do not pull too hard with the towing vehicle and take care to avoid jerking
the tow rope. When towing on an unpaved road, there is always a risk of
overloading and damaging the anchorage points.
The ignition of the vehicle being towed must be switched on to prevent the
steering wheel from locking and also to allow the use of the turn signals,
horn, windscreen wipers and washers.
As the brake servo does not work if the engine is not running, you must ap-
ply considerably more pressure to the brake pedal than you normally would.
As the power assisted steering does not work if the engine is not running,
you will need more strength to steer than you normally would.
Towing vehicles with an automatic gearbox
● Put the selector lever into position “N”.
● Do not drive faster than 50 km/h (30 mph).
● Do not tow further than 50 km.
● If a breakdown vehicle is used, the vehicle must be towed with the front
wheels raised.
Note
● Observe legal requirements when towing or tow-starting.
● Switch on the hazard warning lights of both vehicles. However, observe
any regulations to the contrary.
● For technical reasons, vehicles with an automatic gearbox must not be
tow-started.
● If damage to your vehicle means that there is no lubricant in the gear-
box, you must raise the driven wheels while the vehicle is being towed.
● If the vehicle has to be towed more than 50 km (30 miles), the front
wheels should be raised during towing, and towing should be carried out by
a qualified person. ●
The steering wheel is locked when the vehicle has no electrical power.
The vehicle must then be towed with the front wheels raised. Towing should
be carried out by a qualified person.
● The towline anchorage should always be kept in the vehicle. Please refer
to the notes ⇒ page 290, Tow-starting.
Front towing eyeFig. 232 Fitting the tow-
line anchorage to front of
the vehicle
Fitting the towline anchorage
– Take the towline anchorage from the on-board tool set.
– Remove the front cover by pressing down on the right hand
side.
– Bolt the anchorage to its limit to the left, in the direction of the
arrow ⇒ Fig. 232.
Safety FirstOperating instructionsPractical TipsTechnical Specifications
Page 294 of 319
292If and when
Rear towline anchorage
There is a towline anchorage at the rear on the right below the rear bumper.
Page 295 of 319

293
Description of specifications
Technical Specifications
Description of specifications Important information
Important
The information in the vehicle documentation always takes
precedence over the information in this Instruction Manual.
All technical specifications provided in this documentation are valid for the
standard model in Spain. The vehicle data card included in the Mainte-
nance Programme or the vehicle registration documentation shows which
engine is installed in the vehicle.
The figures may be different depending whether additional equipment is fit-
ted, for different models, for special vehicles and for other countries. Abbreviations used in the Technical Specifications section
Abbrevia-
tionMeaning
kWKilowatt, engine power measurement.
PSPferdestärke (horsepower), formerly used to denote engine
power.
rpmRevolutions per minute - engine speed.NmNewton metres, unit of engine torque.litres per100 kmFuel consumption in litres per 100 km (70 miles).
g/kmCarbon dioxide emissions in grams per km (mile) travelled.CO 2Carbon dioxideCNCetane number, indication of the diesel combustion power.
RONResearch octane number, indication of the knock resistance
of petrol.
Safety FirstOperating instructionsPractical TipsTechnical Specifications
Page 296 of 319

294Description of specifications
Vehicle identification data
The most important information is given on the identifica-
tion plate and the vehicle data sticker.
Fig. 233 Vehicle data
sticker (luggage compart-
ment)
Vehicles for certain export countries do not have an identification plate.
Identification plate
The identification plate is located on the left rib inside the engine compart-
ment.
Vehicle identification number
The vehicle identification number (chassis number) can be read from out-
side the vehicle through a viewer in the windscreen. This is located on the
left-hand side of the vehicle in the lower area of the windscreen. It is also
located on the right hand side of the engine compartment. Vehicle data
The data sticker is placed on the inside of the spare wheel well, in the lug-
gage compartment and on the rear cover of the Maintenance Programme.
The following information is provided on the vehicle data sticker:
⇒ Fig. 233
Vehicle identification number (chassis number)
Vehicle type, model, displacement, engine type, finish, engine power
and gearbox type
Engine code, gearbox code, external paint code and internal equipment
code
Optional extras and PR numbers
Consumption values (l/100 km) and CO 2 emissions (g/km)
A
Urban consumption and CO 2 emissions
B Extra-urban consumption and CO 2 emissions
C Combined consumption and CO 2 emissions
Information on fuel consumption
Fuel consumption
The consumption and emission details shown on the vehicle
data sticker differ from one vehicle to another. The vehicle fuel consumption and CO 2 emissions can be consulted on the
vehicle data sticker in the spare wheel well, inside the luggage compart-
ment and on the rear cover of the Maintenance Programme.
The fuel consumption and CO 2 emission values refer to the weight category
assigned to your vehicle according to the engine and gearbox combination,
as well as the specific equipment fitted, and is only used to compare be-
tween the different models.
1
2
3
45