Page 73 of 319

71
Cockpit
When the engine is warm, or at outside temperatures above +8 °C, the
warning lamp will only light up very briefly.
Note
● If the glow plug indicator lamp should start flashing while the vehicle is
moving, this indicates a fault in the engine management system. The en-
gine should be serviced without delay.
● If the indicator lamp fails to light up when the ignition is switched on,
this can mean that the glow plug system is defective. The engine should be
serviced.
Brake system
The warning lamp flashes when the handbrake is applied, or
if the brake fluid level is too low or if there is a fault in the
ABS system. If the control lamp flashes (and the handbrake is not applied), stop the
vehicle and check the brake fluid level ⇒
⇒ page 237.
If a failure should occur in the ABS, the ABS control lamp will light up
together with the brake control lamp ⇒
.
Handbrake on
The control lamp also lights up when the handbrake is applied. In addi-
tion to this, the handbrake warning ⇒ page 77 switches on after driving
for 3 seconds at a speed above 5 km/h.
WARNING
● Before opening the bonnet and checking the brake fluid level, ob-
serve the warning information in ⇒ page 227, Work in the engine com-
partment.
● If the brake warning lamp does not go out, or if it lights up when driv-
ing, the brake fluid level in the reservoir is too low and this may cause an
increased accident risk. Stop the vehicle and do not drive on. Obtain
technical assistance.
● If the brake warning lamp lights up together with the ABS warning
lamp, this can mean that there is a fault in the ABS control function. As a
result, the rear wheels can lock relatively easily when braking. Under cer-
tain circumstances, the rear of the vehicle could suddenly sway from side
to side, with the subsequent danger of skidding. Drive carefully to the
nearest specialised workshop and have the fault repaired.
Safety FirstOperating instructionsPractical TipsTechnical Specifications
Page 74 of 319

72Cockpit
Driver information system
General notes
The driver information system in the instrument panel
shows the status of various on-board systems at a glance.
Fig. 48 Cockpit: Digital
instrument panel display
The display for the driver information system is in the centre of the instru-
ment panel.
The system runs a check on certain components and functions when the ig-
nition is switched on and while the vehicle is moving. The DIS system gives
an audible warning if a fault should occur or if servicing is required, and a
red or yellow warning symbol (in some cases with a corresponding driver
message) appears in the instrument panel display.
The driver is informed on the audio system.
The driver information system includes the following functions:
CD player, radio and telephone display*⇒ page 73Outside temperature indicator⇒ page 73Gear indicator*⇒ page 74Selector lever positions for the 7-speed automatic
gearbox*⇒ page 185
Selector lever positions with multitronic ®
*⇒ page 182Operating range⇒ page 74Door and rear lid warning⇒ page 75Service indicator⇒ page 75auto-check control⇒ page 76Driving tips⇒ page 77Handbrake warning⇒ page 77Bulb monitor*⇒ page 83Onboard computer*⇒ page 86Tyre pressure monitoring*⇒ page 90Navigation information*Separate Instruc-
tion Manual
Note
● If a fault should occur, the display will show a red or yellow warning
symbol. A red warning symbol indicates a serious malfunction ⇒ page 78.
A yellow warning symbol indicates a less serious malfunction ⇒ page 80.
Page 75 of 319

73
Cockpit
CD, radio and telephone display*
Fig. 49 Display: addi-
tional radio information
If the radio is switched on and no Priority 2 faults are indicated by the auto-
check control, depending on the type of radio fitted, the display will show
the name or frequency of the selected radio station and complementary in-
formation, once the “OK” symbol has gone out.
When in CD mode*, the display will show the current track.
If you have a compatible telephone*, the phone book or telephone dialled
can also be seen on this display.
These displays appear in addition to the display on the radio itself. Outside temperature displayFig. 50 Display: Outside
temperature indicator
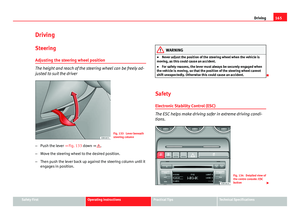
The outside temperature is shown in the display when the ignition is switch-
ed on ⇒ Fig. 50. In vehicles with an automatic gearbox, the display does not
appear until the driver has engaged a gear.
At temperatures below +5 °C a snowflake symbol appears next to the tem-
perature display. This is to warn the driver to take extra care when there is a
risk of ice on the road. When the vehicle is stationary or travelling at very
low speeds, the temperature displayed may be slightly higher than the ac-
tual ambient temperature as a result of heat coming from the engine.
If the vehicle has an air conditioner and the digital display is changed over
to °F (degrees Fahrenheit), the outside temperature indicator automatically
changes over to °F ⇒ page 161.
WARNING
Do not rely on the outside temperature display as an ice warning. Please
bear in mind that there may be ice on the roads even at outside tempera-
tures of +5 °C beware of ice patches.
Safety FirstOperating instructionsPractical TipsTechnical Specifications
Page 76 of 319

74Cockpit
Note
When the display shows route guidance instructions from the navigation
system, the outside temperature appears in the second line of the radio dis-
play.
Gear display*
This display helps to save fuel.
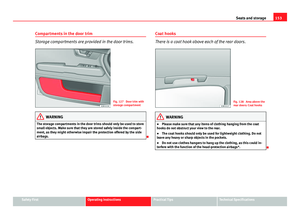
Fig. 51 Gear display
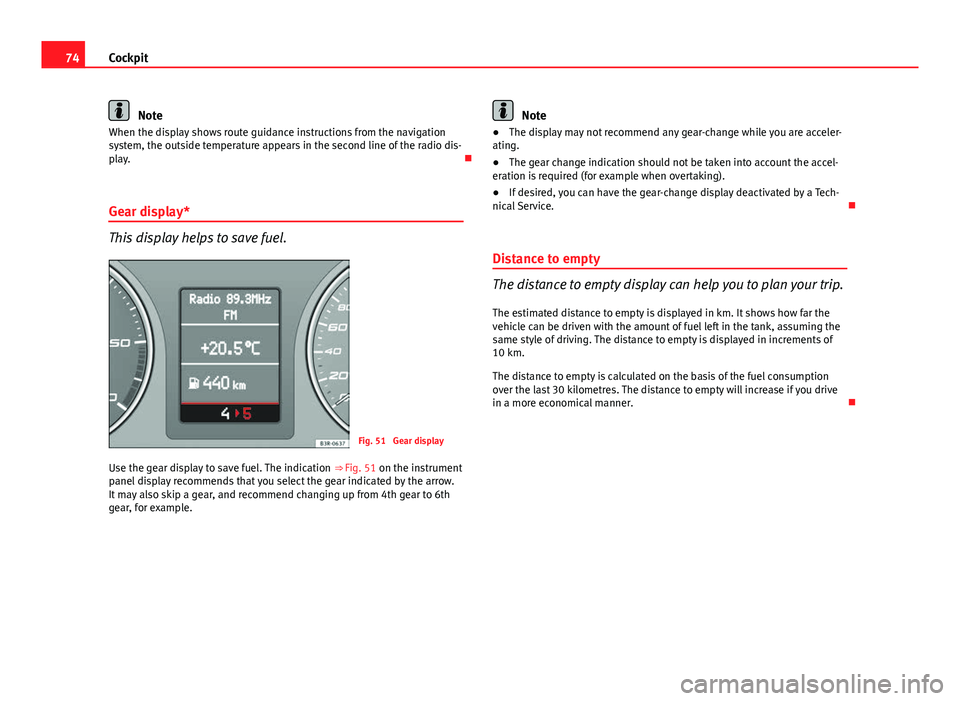
Use the gear display to save fuel. The indication ⇒ Fig. 51 on the instrument
panel display recommends that you select the gear indicated by the arrow.
It may also skip a gear, and recommend changing up from 4th gear to 6th
gear, for example.
Note
● The display may not recommend any gear-change while you are acceler-
ating.
● The gear change indication should not be taken into account the accel-
eration is required (for example when overtaking).
● If desired, you can have the gear-change display deactivated by a Tech-
nical Service.
Distance to empty
The distance to empty display can help you to plan your trip.
The estimated distance to empty is displayed in km. It shows how far the
vehicle can be driven with the amount of fuel left in the tank, assuming the
same style of driving. The distance to empty is displayed in increments of
10 km.
The distance to empty is calculated on the basis of the fuel consumption
over the last 30 kilometres. The distance to empty will increase if you drive
in a more economical manner.
Page 77 of 319

75
Cockpit
Door and rear lid warning
Fig. 52 Display: Door
and rear lid warning
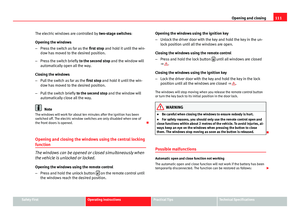
The door and rear lid warning symbol lights up if one or more of the doors,
or the bonnet or rear lid are not properly closed when the ignition is on. The
symbol also indicates which of these is not properly closed. The display in
the illustration ⇒ Fig. 52 shows that the driver door is open.
The corresponding part of the pictogram will flash if either the bonnet or
rear lid are open. The warning symbol goes out when the bonnet, rear lid
and all the doors are closed.
In vehicles with a driver information system and an onboard computer* the
door catches/rear lid warning symbol can be switched off by briefly press-
ing one of the control switches for the onboard computer ⇒ page 87. How-
ever, the warning symbol will appear again if any of the doors or the bonnet
or rear lid is opened or closed. Service indicator
This display reminds the driver when the next routine serv-
ice is due.
Fig. 53 Detailed view of
the instrument panel:
Service indicator
Displaying distance to next service
When you press the service button 1
briefly with the ignition switched on,
the display will show how far the vehicle can be driven before the next serv-
ice is due. This check can be carried out with the engine stopped or running
up to 5 km/h. Before the first 500 km and after the ignition cycle, the kilo-
metres and days before the service inspection are not displayed.
If the service button 1
is pressed before the first 500 km the following indi-
cation appears on screen:
Service in ----- km --- days
This is only valid for vehicles with “LongLife Service Intervals”*.
Safety FirstOperating instructionsPractical TipsTechnical Specifications
Page 78 of 319

76Cockpit
Service reminder
The instrument panel controls the distance travelled every day. It calculates
the average of these distances travelled and activates the service reminder
sufficiently in advance.
The display reverts back to the standard display after about 5 seconds. The
remaining distance to the next service is updated every time the ignition is
switched on, until the service becomes due.
Service due
When a service is due, SERVICE! will appear in the display immediately after
you switch on the ignition. The display reverts back to the standard display
after about 5 seconds.
Resetting the display
The display is reset by the specialised workshop after the service has been
carried out. The service interval will be set to a LongLife Service (flexible
service interval) or Inspection Service (fixed service interval), depending on
which engine oil is used. It is only possible to reset the display via the in-
strument panel when an oil change is performed; in this case the display
can only be reset to a fixed service interval of 15 000 km. Proceed as fol-
lows:
● Switch the ignition off.
● Press the service button ⇒ Fig. 53 1
and hold while switching on the
ignition. The display will show one of these messages: Service in ----- km or
Service!
● Now press and hold the reset button 2
until the display shows
Service
in ----- km --- days or Service!
The display switches out of the reset mode if you do not press the reset but-
ton within 5 seconds.
CAUTION
The system cannot calculate the figures for the service interval display if the
battery is disconnected from the vehicle, so no service reminder can be dis-
played during this time. Please remember that it is essential to service the
vehicle within the established time limits to prevent its deterioration and to
extend its useful life (particularly that of the engine). The period between
two services must never be longer than the time specified in the Mainte-
nance Programme, even if you only cover a low mileage during this time.
Note
● Do not reset the service indicator between services, otherwise the dis-
play will be incorrect.
● The information in the service indicator remains intact if the battery is
disconnected.
● The distance to the next service cannot be called up if the system has
detected a Priority 1 fault (red symbol).
Auto-check system Introduction
The auto-check system checks important components and vehicle systems.
These background checks are run constantly, as long as the ignition is
switched on.
A message is displayed on the instrument panel if a fault should occur or if
any maintenance or repairs are urgently required. This is accompanied by
an audible warning signal. Depending on the priority of the fault, a red or
yellow warning symbol lights up on the display.
Page 79 of 319

77
Cockpit
The red symbol indicates danger, whereas the yellow one represents a
warning. Additional messages for the driver may be shown with the red or
yellow symbols.
Driver messages
Additional messages for the driver are displayed together
with the warning symbols on the instrument panel.
Fig. 54 Instrument pan-
el: CHECK button
Driver messages and red symbols
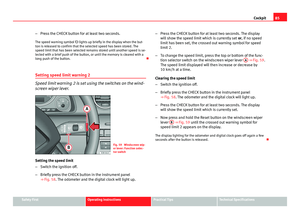
If a red warning symbol appears on the display, you can press the CHECK
button ⇒ Fig. 54 to call up an additional driver message.
For example: in the event of an oil pressure malfunction, the oil pressure
symbol
will appear in the display. If you now press the CHECK
button,
the following message will appear in the display:
Switch off engine, check oil level The message will disappear from the display after about 5 seconds. If re-
quired, the message can be called up again by briefly pressing the
CHECK
button.
Driver messages and yellow symbols
If a yellow warning symbol appears in the display, it will automatically be
accompanied by the corresponding driver message.
For example, the symbol
is displayed to indicate that the windscreen
washer fluid level is low. In addition, the following message will appear:
Top up washer fluid
The message will disappear after a few seconds. If required, the message
can be called up again by briefly pressing the CHECK
button.
Note
● The messages handbrake on and when stationary apply footbrake to se-
lect gear cannot be called up a second time. They will remain in the display
until the handbrake is released or until a gear is selected.
Handbrake warning
– Release the handbrake.
If you drive by mistake with the handbrake still applied, you will hear a
warning buzzer and the display will show the message: Handbrake on
The handbrake warning switches on after driving for 3 seconds at speeds
above 5 km/h.
Safety FirstOperating instructionsPractical TipsTechnical Specifications
Page 80 of 319

78Cockpit
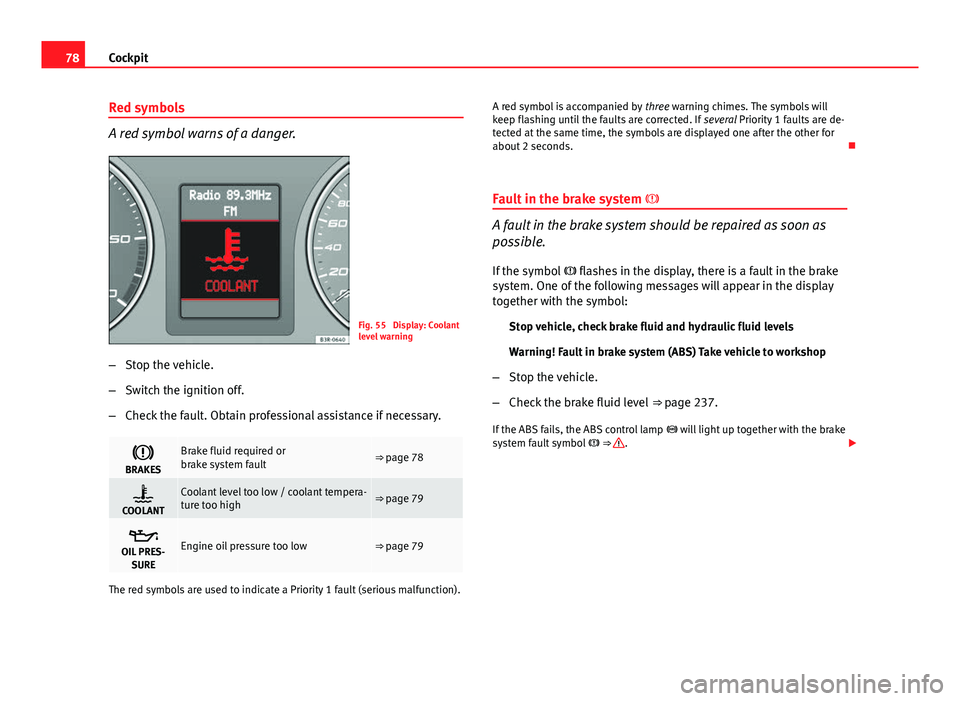
Red symbols
A red symbol warns of a danger.
Fig. 55 Display: Coolant
level warning
– Stop the vehicle.
– Switch the ignition off.
– Check the fault. Obtain professional assistance if necessary.
BRAKESBrake fluid required or
brake system fault⇒ page 78
COOLANTCoolant level too low / coolant tempera-
ture too high⇒ page 79
OIL PRES-
SUREEngine oil pressure too low⇒ page 79
The red symbols are used to indicate a Priority 1 fault (serious malfunction). A red symbol is accompanied by
three warning chimes. The symbols will
keep flashing until the faults are corrected. If several Priority 1 faults are de-
tected at the same time, the symbols are displayed one after the other for
about 2 seconds.
Fault in the brake system
A fault in the brake system should be repaired as soon as
possible.
If the symbol flashes in the display, there is a fault in the brake
system. One of the following messages will appear in the display
together with the symbol:
Stop vehicle, check brake fluid and hydraulic fluid levels
Warning! Fault in brake system (ABS) Take vehicle to workshop
– Stop the vehicle.
– Check the brake fluid level ⇒ page 237.
If the ABS fails, the ABS control lamp will light up together with the brake
system fault symbol ⇒
.