2013 NISSAN SENTRA lock
[x] Cancel search: lockPage 5 of 24

To view detailed instructional videos regarding these and other features, please go to www.nissanownersinfo.mobi.
looSe F uel Ca P
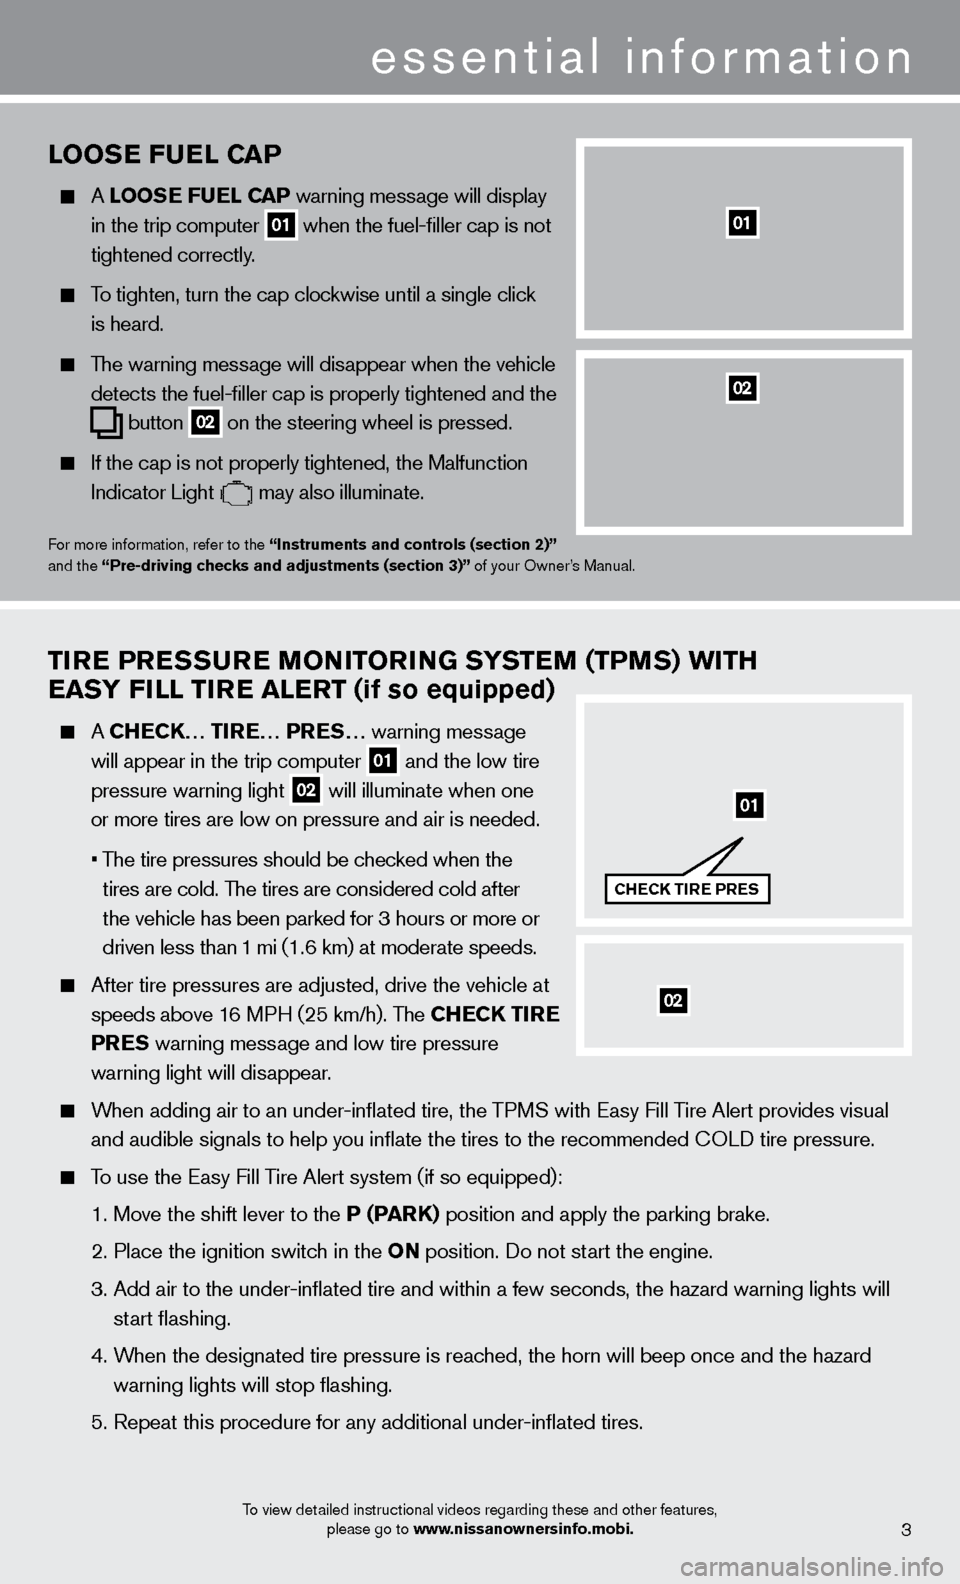
A looSe F uel Ca P warning message will display
in the trip computer 01 when the fuel-filler cap is not
tightened correctly
.
To tighten, turn the cap clockwise until a single click
is heard.
The warning message will disappear when the vehicle
detects the fuel-filler cap is properly tightened and the
button 02 on the steering wheel
is pressed.
If the cap is not properly tightened, the Malfunction
Indicator Light may also illuminate.
For more information, refer to the “instruments and controls (section 2)”
and the “Pre-driving checks and adjustments (section 3)” of your Owner’s Manual.
01
Tire PreS Su re Mo Ni Tor iN G SYST eM (TPM S) W i TH
ea
SY F ill T ire aler T (if so equipped)
A CHeCK… T ire … P reS… warning message
will appear in the trip computer
01 and the low tire
pressure warning light 02 will illuminate when one
or more tires are low on pressure and air is needed.
•
T
he tire pressures should be checked when the
tires are cold. The tires are considered cold after
the vehicle has been parked for 3 hours or more or
driven less than 1 mi (1.6 km) at moderate speeds.
After tire pressures are adjusted, drive the vehicle at
speeds above 1
6 MPH (25 km/h). The CH
eCK T
ire
Pre
S warning message and low tire pressure
warning light will dis
appear.
When adding air to an under-inflated tire, the TPMS with Easy Fill Tire Alert provides visual
and audible signals to help you inflate the tires to the recommended
c
O
LD tire pressure.
To use the Easy Fill Tire Alert system (if so equipped):
1. Move the shift lever to the
P (P
arK)
position and apply the parking brake.
2. Place the ignition switc
h in the o N position. Do not start the engine.
3.
Add air to the under-inflated tire and within a few seconds, the hazar\
d warning lights will
start flashing.
4.
W
hen the designated tire pressure is reached, the horn will beep once and the hazard
warning lights will stop flashing.
5. Repeat this procedure for any additional under-inflated tires.
essential information
02
01
CHeCK T ire P reS
02
3
Page 7 of 24

02TruNK liD relea Se
Use one of the following methods to unlatch
the trunk lid, then raise the lid to open the trunk:
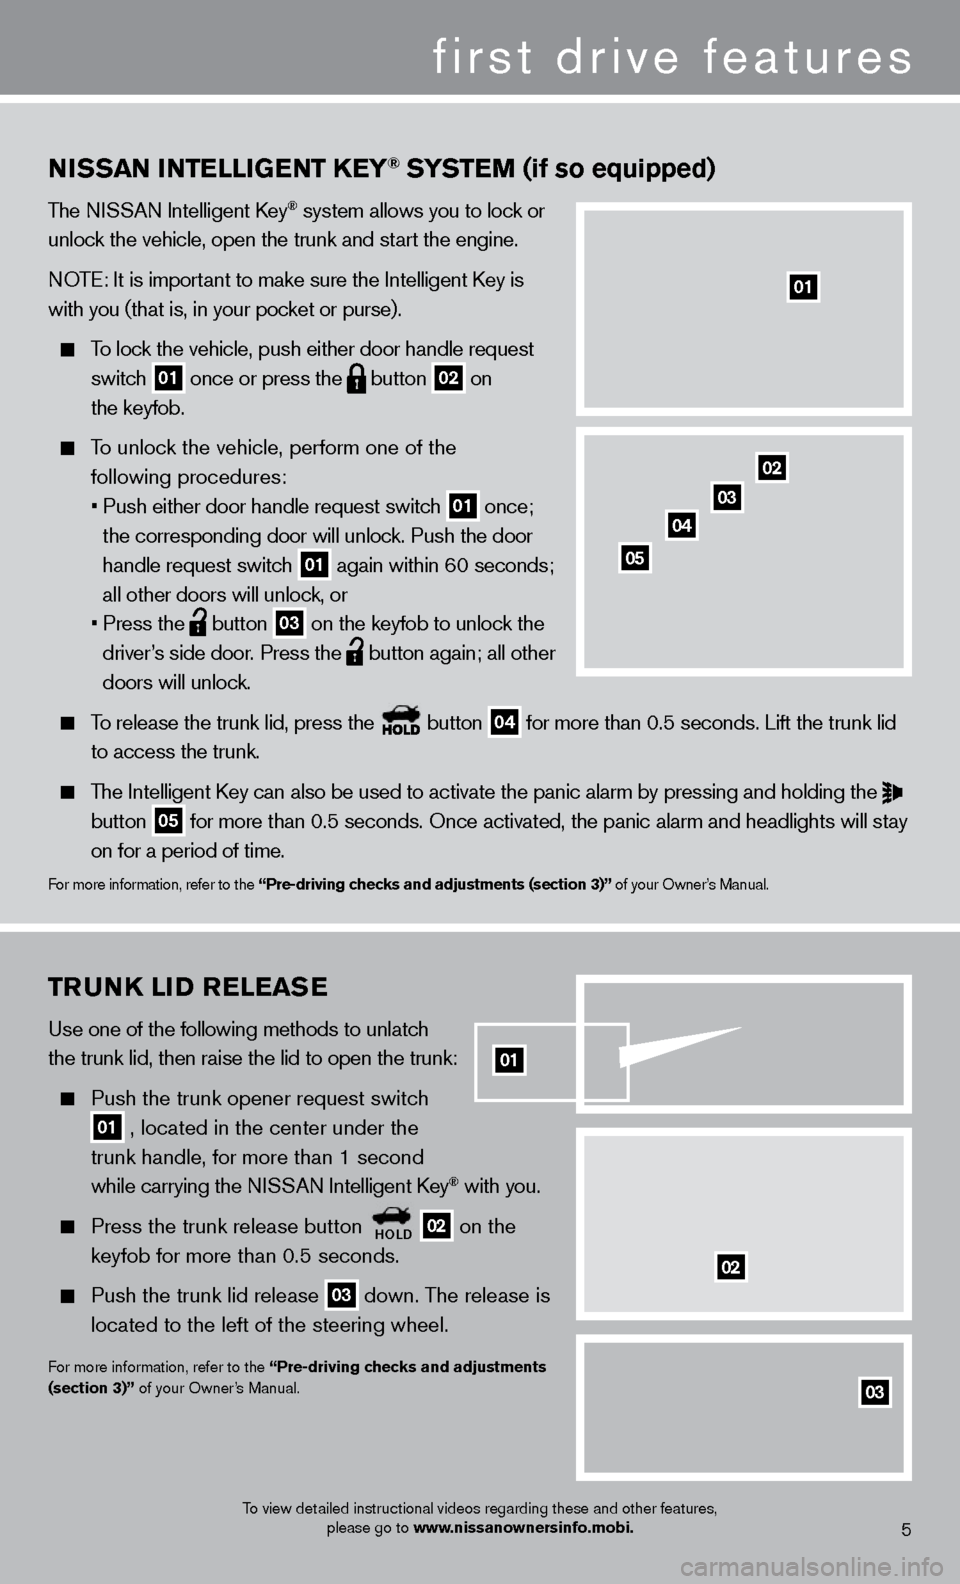
Push the trunk opener request switch
01 , located in the center under the
trunk handle, for more than 1 second
while carrying the N
ISSAN Intelligent k
ey® with you.
Press the trunk release button HolD 02 on the
keyfob for more than 0.5 seconds.
Push the trunk lid release 03 down. The release is
located to the left of the steering wheel.
For more information, refer to the “Pre-driving checks and adjustments
(section 3)” of your Owner’s Manual.
03
02
NiSS a N iNT elliGeNT Ke Y® SYSTeM (if so equipped)
The NISSAN Intelligent key® system allows you to lock or
unlock the vehicle, open the trunk and start the engine.
NOTE: It is important to make sure the Intelligent
k
ey is
with you (that is, in your pocket or purse).
To lock the vehicle, push either door handle request
switch
01 once or press the
button
02 on
the keyfob.
To unlock the vehicle, perform one of the following procedures:
•
Push either door handle request switc
h
01 once;
the corresponding door will unlock. Push the door
handle request switch
01 again within 60 seconds;
all other doors will unlock, or
•
Press the button
03 on the keyfob to unlock the
driver’s side door. Press the button again; all other
doors will unlock.
To release the trunk lid, press the button
04 for more than 0.5 seconds. Lift the trunk lid
to access the trunk.
The Intelligent key can also be used to activate the panic alarm by pressing and holding \
the
button 05 for more than 0.5 seconds. Once activated, the panic alarm and headlight\
s will stay
on for a period of time.
For more information, refer to the “Pre-driving checks and adjustments (section 3)” of your Owner’s Manual.
01
To view detailed instructional videos regarding these and other features,
please go to www.nissanownersinfo.mobi.
02
03
04
05
5
01
first drive features
Page 8 of 24

STarT iNG/STo PP iN G THe eN GiNe
cONTINUOUSLY VARIABLE TRANSMISSION
(N ISSAN Intelligent k
ey® models only - if so equipped)
Depress the brake pedal.
•
If the brake pedal is not depressed, pushing the
ignition switch once enters the
a CC mode.
•
If the ignition switc
h is pushed a second time the
vehicle will enter the
o N mode.
Move the shift lever to the P (ParK) position.
Push the ignition switch
to start the engine.
NOTE: It is important to make sure the Intelligent k
ey is with you (that is, in your poc
ket or purse).
MANUAL TRANSMISSION (if so equipped)
Depress the brake pedal.
Move the shift lever to the N (Neu T ral) position.
Depress the clutc h pedal to the floor.
Press the ignition switc h.
ouTSiDe Mi rror C o NT rol SW i TCH
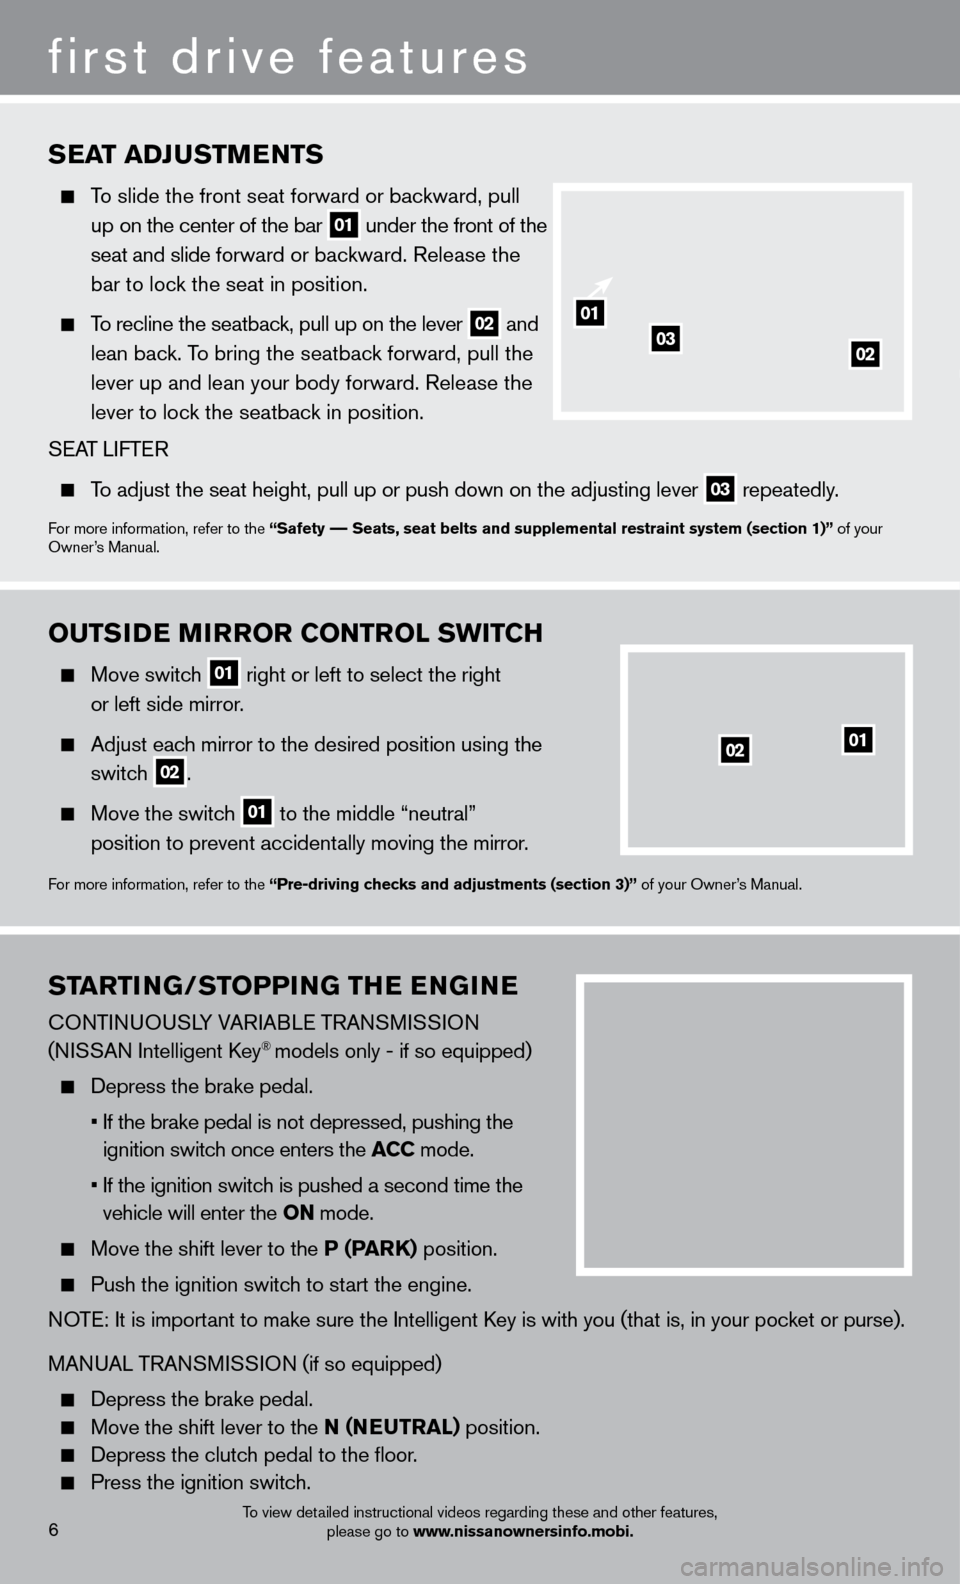
Move switch 01 right or left to select the right
or left side mirror
.
Adjust eac h mirror to the desired position using the
switc
h
02.
Move the switc h 01 to the middle “neutral”
position to prevent accident
ally moving the mirror.
For more information, refer to the “Pre-driving checks and adjustments (section 3)” of your Owner’s Manual.
SeaT a DJuSTMeNTS
To slide the front seat forward or backward, pull
up on the center of the bar
01 under the front of the
seat and slide forward or backward. Release the
bar to lock the seat in position.
To recline the seatback, pull up on the lever 02 and
lean bac
k. To bring the seatback forward, pull the
lever up and lean your body forward. Release the
lever to loc
k the seatback in position.
S
EA
T
LIFTER
T o adjust the seat height, pull up or push down on the adjusting lever
03 repeatedly.
For more information, refer to the “Safety –– Seats, seat belts and supplemental restraint system (section 1)”\
of your
Owner’s Manual.
01
0203
To view detailed instructional videos regarding these and other features,
please go to www.nissanownersinfo.mobi.
0201
first drive features
6
Page 20 of 24

To view detailed instructional videos regarding these and other features, please go to www.nissanownersinfo.mobi.18
04
03
06
07
05
0102
NaviGaT io N SY ST eM (if so equipped)
Your Navigation System can calculate a route from the current location to\
a preferred
destination. The real-time map display and turn-by-turn voice guidance will lead you a\
long
the route.
The navigation System will continually update your vehicle’s position. If you have deviated from the original route, it will recalculate the route from your current\
location.
Your Navigation System, along with POIs (Point Of Interest) powered by Google™* (if so
equipped), allows you to enter a destination using Google search results.
Using Google™ Send-to-car* (if so equipped) you can send a destination from Google Maps
to your vehicle’
s Navigation System.
Hands Free T ext Messaging – The system allows for the sending and receiving of text
messages through the vehicle interface.
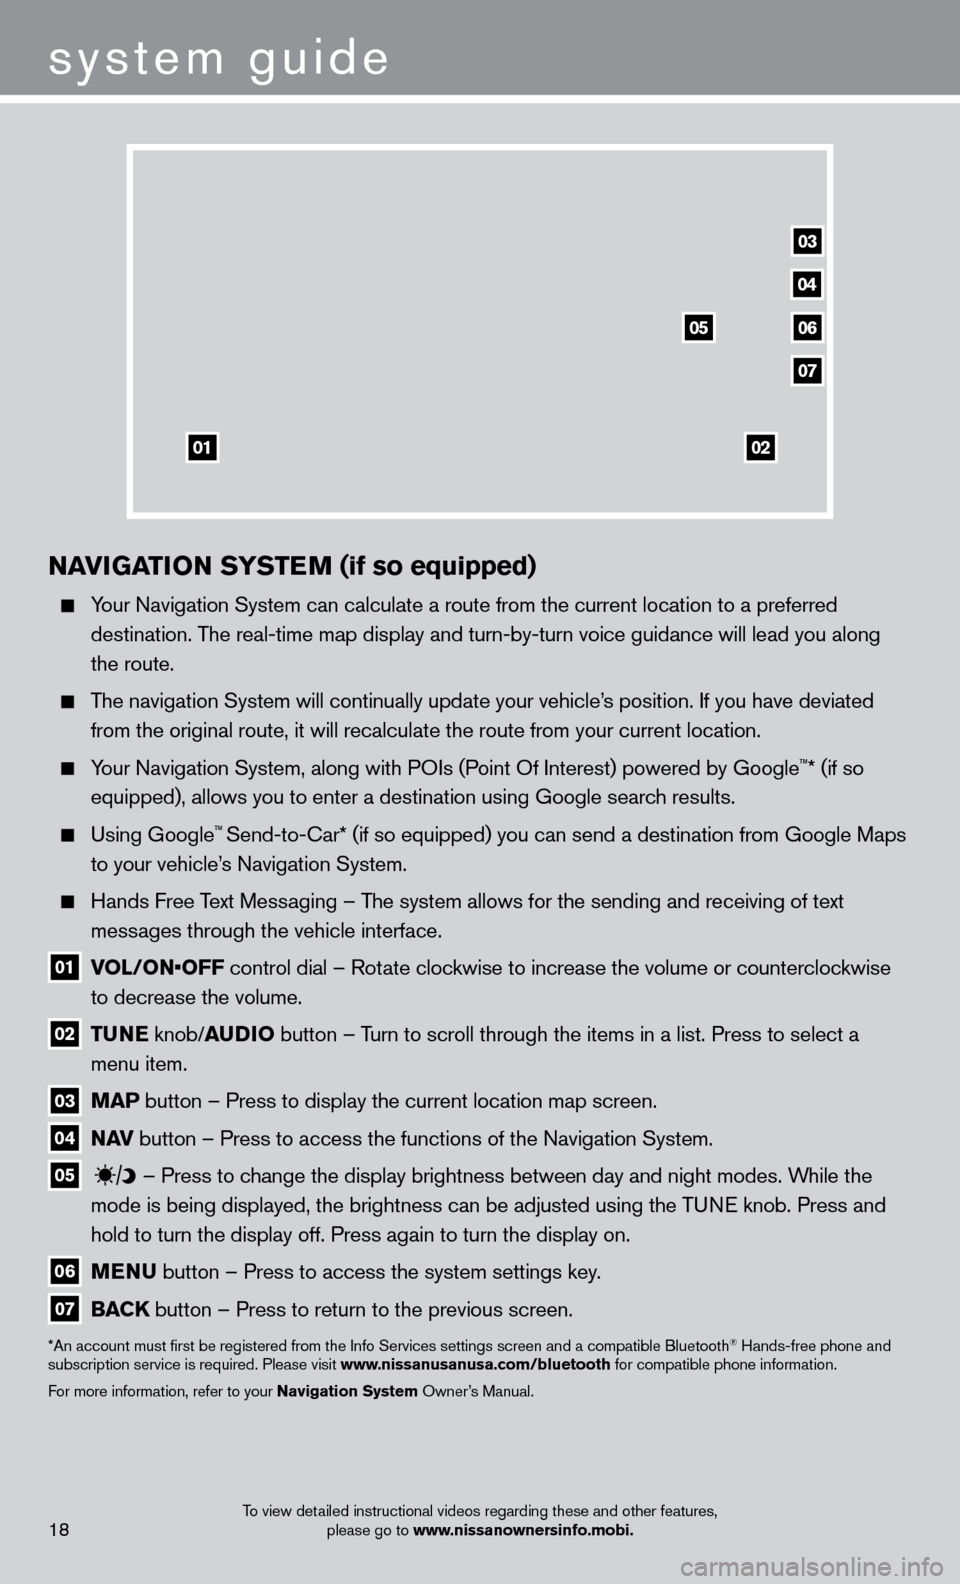
01 vol / o N• o FF control dial – Rotate clockwise to increase the volume or counterclockwise
to decrease the volume.
02 Tu N e knob/ au D io button – T urn to scroll through the items in a list. Press to select a
menu item.
03 M a P button – Press to display the current location map screen.
04 Nav button – Press to access the functions of the Navigation System.
05
– Press to change the display brightness between day and night modes. While the
mode is being displayed, the brightness can be adjusted using the TUNE knob. Press and
hold to turn the display off. Press again to turn the display on.
06 M e N u button – Press to access the system settings key .
07 Ba CK
button – Press to return to the previous screen.
*An account must first be registered from the Info Services settings s\
creen and a compatible Bluetooth® Hands-free phone and
subscription service is required. Please visit www.nissanusanusa.com/bluetooth for compatible phone information.
For more information, refer to your Navigation System Owner’s Manual.
system guide