2013 NISSAN QUEST warning
[x] Cancel search: warningPage 3 of 36
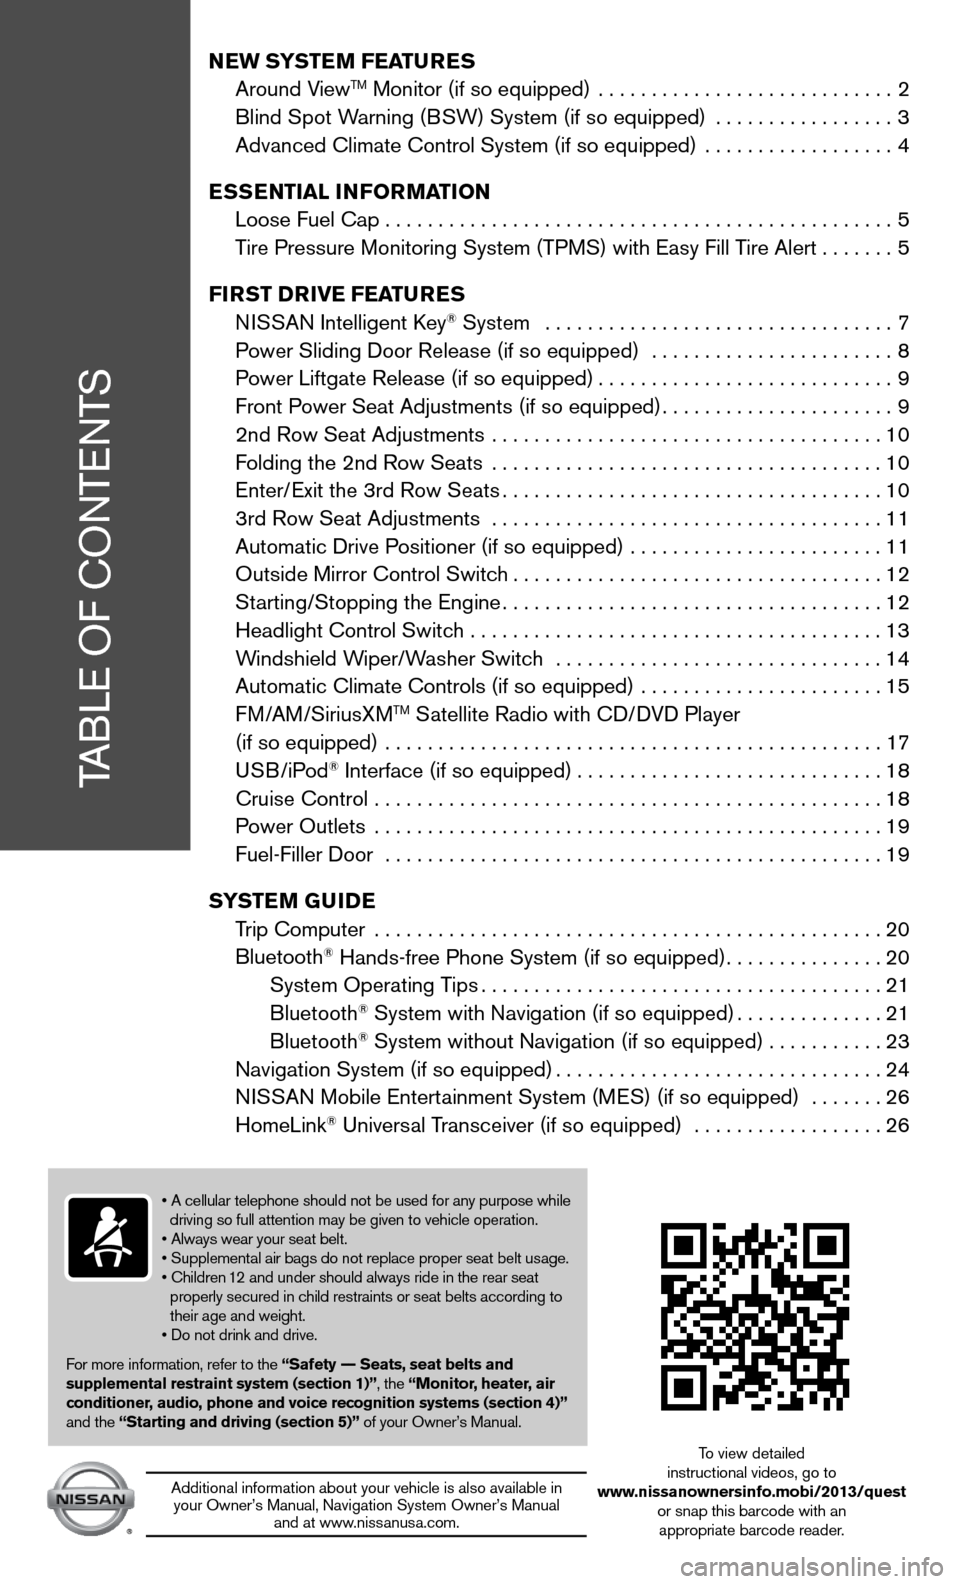
TABLe Of cOnTenTS
New SYSTe M FeaTureS
Around ViewTM Monitor (if so equipped) ............................ 2
Blind Spot Warning (BSW) System (if so equipped) ................. 3
Advanced climate control System (if so equipped) .................. 4
e SS eNTIaL INFOr MaTION
Loose fuel cap . . . . . . . . . . . . . . . . . . . . . . . . . . . . . . . . . . . .\
. . . . . . . . . . . . 5
Tire Pressure Monitoring System (TPMS) with easy fill Tire Alert .......5
FI rST D rIVe Fea TureS
ni SSAn intelligent k ey
® System ................................. 7
Power Sliding door Release (if so equipped) ....................... 8
Power Liftgate Release (if so equipped) ............................9
front Power Seat Adjustments (if so equipped) ......................9
2nd Row Seat Adjustments ..................................... 10
f olding the 2nd Row Seats ..................................... 10
enter/ exit the 3rd Row Seats .................................... 10
3rd Row Seat Adjustments . . . . . . . . . . . . . . . . . . . . . . . . . . . . . . . . . . . .\
. 11
Automatic drive Positioner (if so equipped) ........................ 11
Outside Mirror control Switch ................................... 12
Starting/Stopping the engine .................................... 12
Headlight control Switch ....................................... 13
Windshield Wiper/Washer Switch ............................... 14
Automatic climate controls (if so equipped) ....................... 15
f M/AM/SiriusXM
TM Satellite Radio with cd/ dVd Player
(if so equipped) ............................................... 17
u SB/iPod
® interface (if so equipped) ............................. 18
cruise control ................................................ 18
Power Outlets ................................................ 19
fuel-filler door ............................................... 19
SYST eM GuIDe
Trip computer ................................................ 20
Bluetooth
® Hands-free Phone System (if so equipped) ...............20
System Operating Tips ...................................... 21
Bluetooth
® System with navigation (if so equipped) ..............21
Bluetooth® System without navigation (if so equipped) . . . . . . . . . . .23
navigation System (if so equipped) ...............................24
ni SSAn Mobile entertainment System (M eS) (if so equipped) ....... 26
HomeLink
® universal Transceiver (if so equipped) .................. 26
• A cellular telephone should not be used for any purpose while
driving so full attention may be given to vehicle operation.
• Always wear your seat belt.
• Supplemental air bags do not replace proper seat belt usage.
• Children 12 and under should always ride in the rear seat
properly secured in child restraints or seat belts according to
their age and weight.
• Do not drink and drive.
f or more information, refer to the “Safety –– Seats, seat belts and
supplemental restraint system (section 1)”, the “Monitor, heater, air
conditioner, audio, phone and voice recognition systems (section 4)”
and the “Starting and driving (section 5)” of your Owner’s Manual.
Additional information about your vehicle is also available in your Owner’s Manual, navigation System Owner’s Manual and at www.nissanusa.com.
To view detailed
instructional videos, go to
www.nissanownersinfo.mobi/2013/quest or snap this barcode with an appropriate barcode reader.
Page 5 of 36
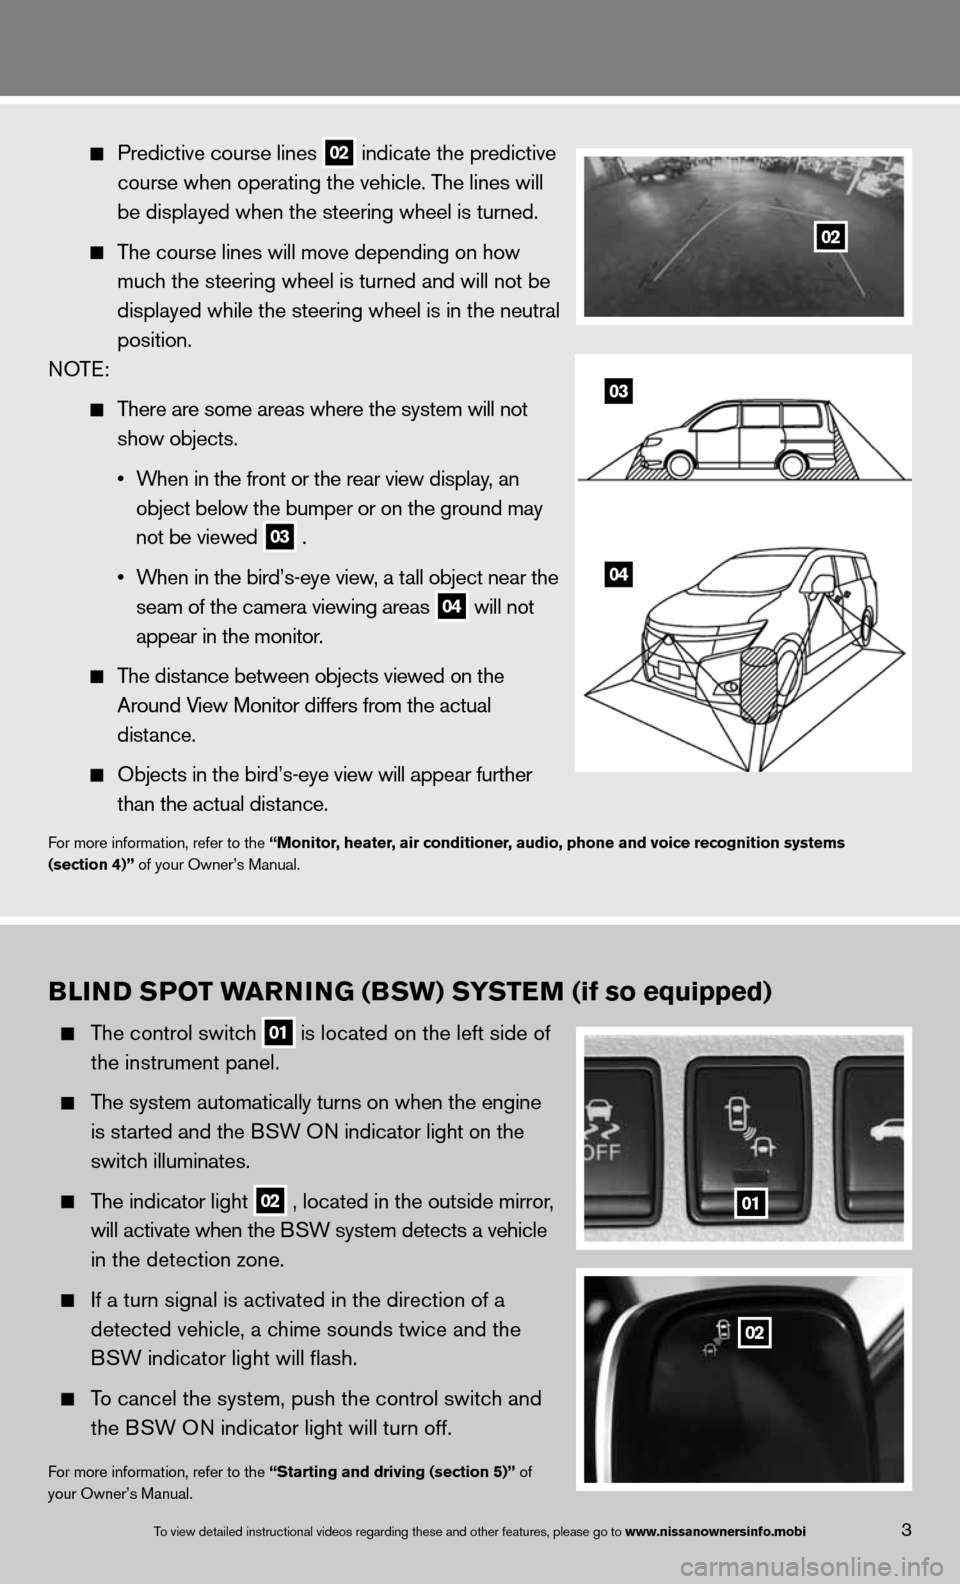
Predictive course lines
02 indicate the predictive
course when operating the vehicle. The lines will
be displayed when the steering wheel is turned.
The course lines will move depending on how
much the steering wheel is turned and will not be
displayed while the steering wheel is in the neutral
position.
n OTe:
There are some areas where the system will not
show objects.
• When in the front or the rear view display, an
object below the bumper or on the ground may
not be viewed
03 .
• When in the bird’s-eye view, a tall object near the
seam of the camera viewing areas
04 will not
appear in the monitor.
The distance between objects viewed on the
Around View Monitor differs from the actual
distance.
Objects in the bird’s-eye view will appear further
than the actual distance.
for more information, refer to the “Monitor, heater, air conditioner, audio, phone and voice recognition systems
(section 4)” of your Owner’s Manual.
03
04
B LIND S POT warNING (BSw) S YSTeM (if so equipped)
The control switch
01 is located on the left side of
the instrument panel.
The system automatically turns on when the engine
is started and the BSW O n indicator light
on the
switch illuminates.
The indicator light
02 , located in the outside mirror,
will activate when the BSW system detects a vehicle
in the detection zone.
if a turn signal is activated in the direction of a
detected vehicle, a chime sounds twice and the
BSW indicator light will flash.
To cancel the system, push the control switch and
the BSW O n indicator light will turn off.
for more information, refer to the “Starting and driving (section 5)” of
your Owner’s Manual.
01
02
3To view detailed in\fstructional videos\f regarding these a\fnd other features\f \fplease go to www.nissanownersin\Ifo.mobi
02
Page 7 of 36
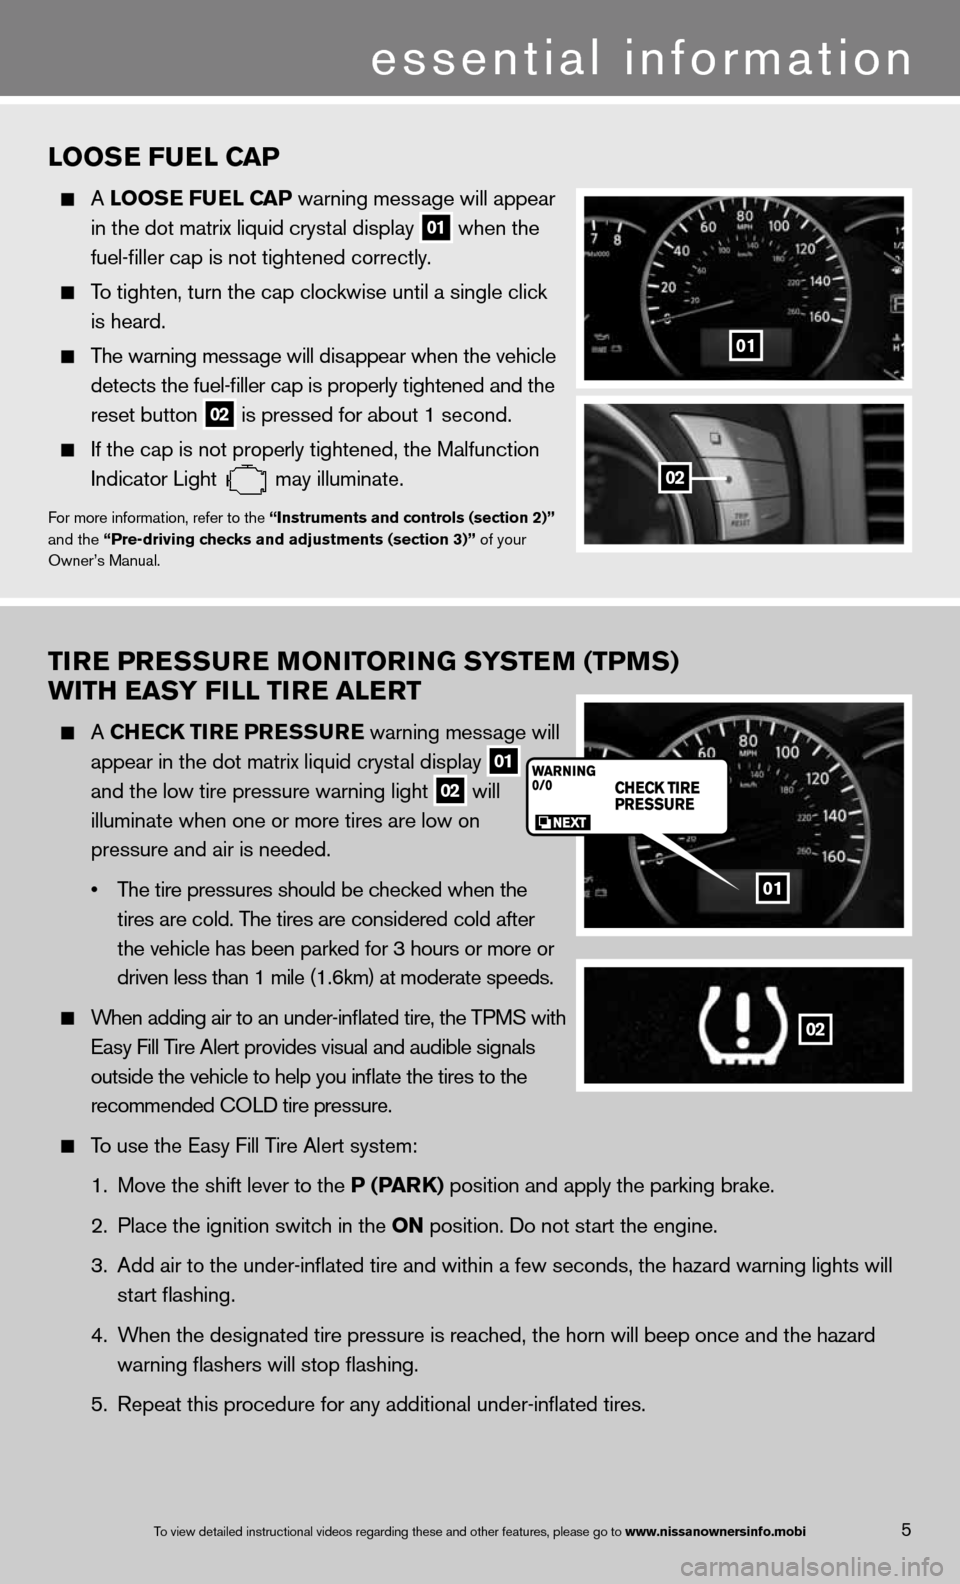
TIre Pre SSure MONITOr ING SYSTeM (TPMS)
wITH eaSY FILL TI re aLerT
A CHe CK TIre P reSSure warning message will
appear in the dot matrix liquid crystal display
01
and the low tire pressure warning light
02 will
illuminate when one or more tires are low on
pressure and air is needed.
• The tire pressures should be checked when the
tires are cold. The tires are considered cold after
the vehicle has been parked for 3 hours or more or
driven less than 1 mile (1.6km) at moderate speeds.
When adding air to an under-inflated tire, the TPMS with
easy fill Tire Alert provides visual and audible signals
outside the vehicle to help you inflate the tires to the
recommended c OLd tire pressure.
To use the easy fill Tire Alert system:
1. Move the shift lever to the P (P arK) position and apply the parking brake.
2. Place the ignition switch in the ON position. do not start the engine.
3. Add air to the under-inflated tire and within a few seconds, the hazar\
d warning lights will
start flashing.
4. When the designated tire pressure is reached, the horn will beep once and the hazard
warning flashers will stop flashing.
5. Repeat this procedure for any additional under-inflated tires.
01
02
5To view detailed in\fstructional videos\f regarding these a\fnd other features\f \fplease go to www.nissanownersin\Ifo.mobi
LOOS e Fue L CaP
A LOOS e Fue L CaP warning message will appear
in the dot matrix liquid crystal display
01 when the
fuel-filler cap is not tightened correctly.
To tighten, turn the cap clockwise until a single click
is heard.
The warning message will disappear when the vehicle
detects the fuel-filler cap is properly tightened and the
reset button
02 is pressed for about 1 second.
if the cap is not properly tightened, the Malfunction
indicator Light
may illuminate.f
or more information, refer to the “Instruments and controls (section 2)”
and the “Pre-driving checks and adjustments (section 3)” of your
Owner’s Manual.
01
02
essential information
Page 8 of 36
6To view detailed in\fstructional videos\f regarding these a\fnd other features\f \fplease go to www.nissanownersin\Ifo.mobi
After tire pressures are adjusted, drive the vehicle at speeds above 16 MPH (25km/h).
The CHe CK TIre PreSS ure warning message and low tire pressure warning light
will disappear.
When the low tire pressure warning light flashes for 1 minute and then \
remains on, the TPMS
is not functioning properly. Have the system checked by a ni SSAn dealer.
Tire pressure rises and falls depending on the heat caused by the vehicle\
’s operation and the
outside temperature. Low outside temperature can lower the temperature o\
f the air inside the
tire, which can cause a lower tire inflation pressure. This may cause the low tire pressure
warning light to illuminate. if the warning light illuminates in low ambient temperature, check
the tire pressure in your tires.
• Check the tire pressure (including the spare tire) often and always prior to long distance trips.
The Tire and Loading information label contains valuable information. Please refer to section 9,
“Technical and consumer information”, in your Owner’s Manual for the location of the Tire and
Loading information label.
for more information, refer to the “Instruments and controls (section 2)”, the “Starting and driving (section 5)” and the
“Maintenance and do-it-yourself (section 8)” of your Owner’s Manual.
essential information
Page 16 of 36
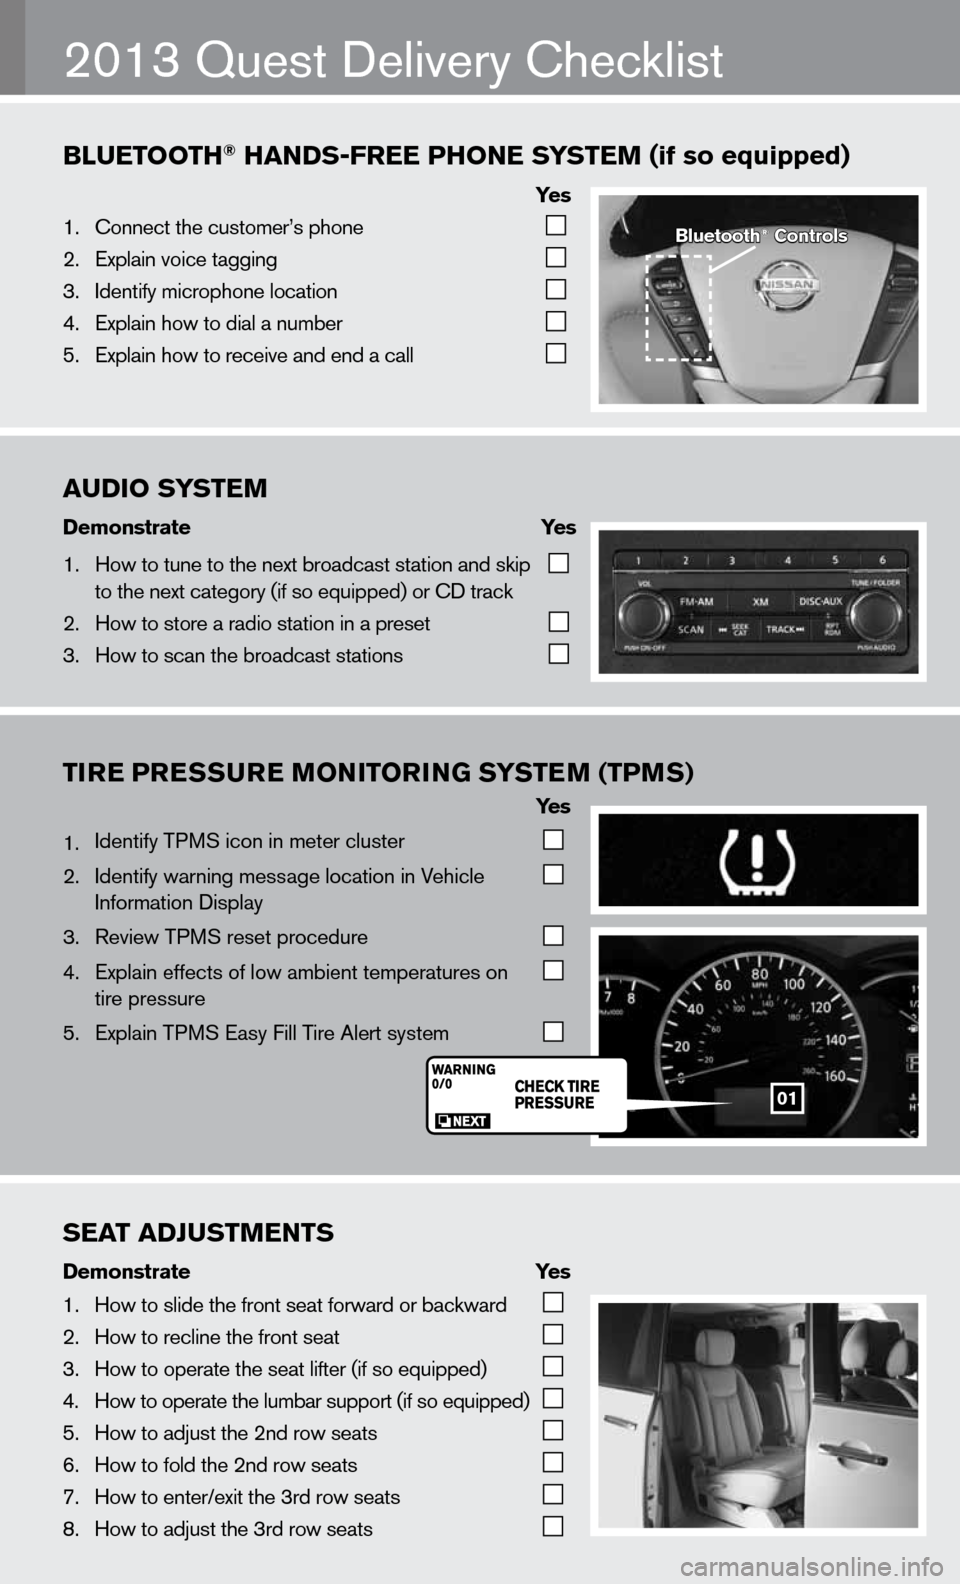
AUDIO\fSYST\bM
Demonstrate\f \f \f\fYes\f
1. How to tune to the\f next \broadcast sta\ftion and skip
to the next catego\fry (if so equipped) \for CD track
2. How to store a rad\fio station in a pr\feset
3. How to scan the \bro\fadcast stations
BlU\bTOOTh®\fhANDS-fr\b\b\fPhON\b\fS YST\bM\f(if\fso\fequipped)
Ye s
1. Connect the custom\fer’s phone
2. Explain voice tagg\fing
3. Identify microphone\f location
4. Explain how to dia\fl a num\ber
5. Explain how to rec\feive and end a cal\fl
TIre Pre SSure MONITOr ING SYSTeM (TPMS)
Ye s
1. identify TPMS icon in meter cluster
2. identify warning message location in Vehicle
information display
3. Review TPMS reset procedure
4. explain effects of low ambient temperatures on
tire pressure
5. explain TPMS easy fill Tire Alert system
2013 Quest delivery checklist
Bluetooth®\fControls
01
S\bAT\fADjUSTM\bNTS
Demonstrate\f \f \f \fYes
1. How to slide the fr\font seat forward or\f \backward
2. How to recline the\f front seat
3. How to operate the\f seat lifter (if so \fequipped)
4. How to operate the\f lum\bar support (if \fso equipped)
5. How to adjust the \f2nd row seats
6. How to fold the 2nd\f row seats
7. How to enter/exit \fthe 3rd row seats
8. How to adjust the \f3rd row seats
Page 18 of 36
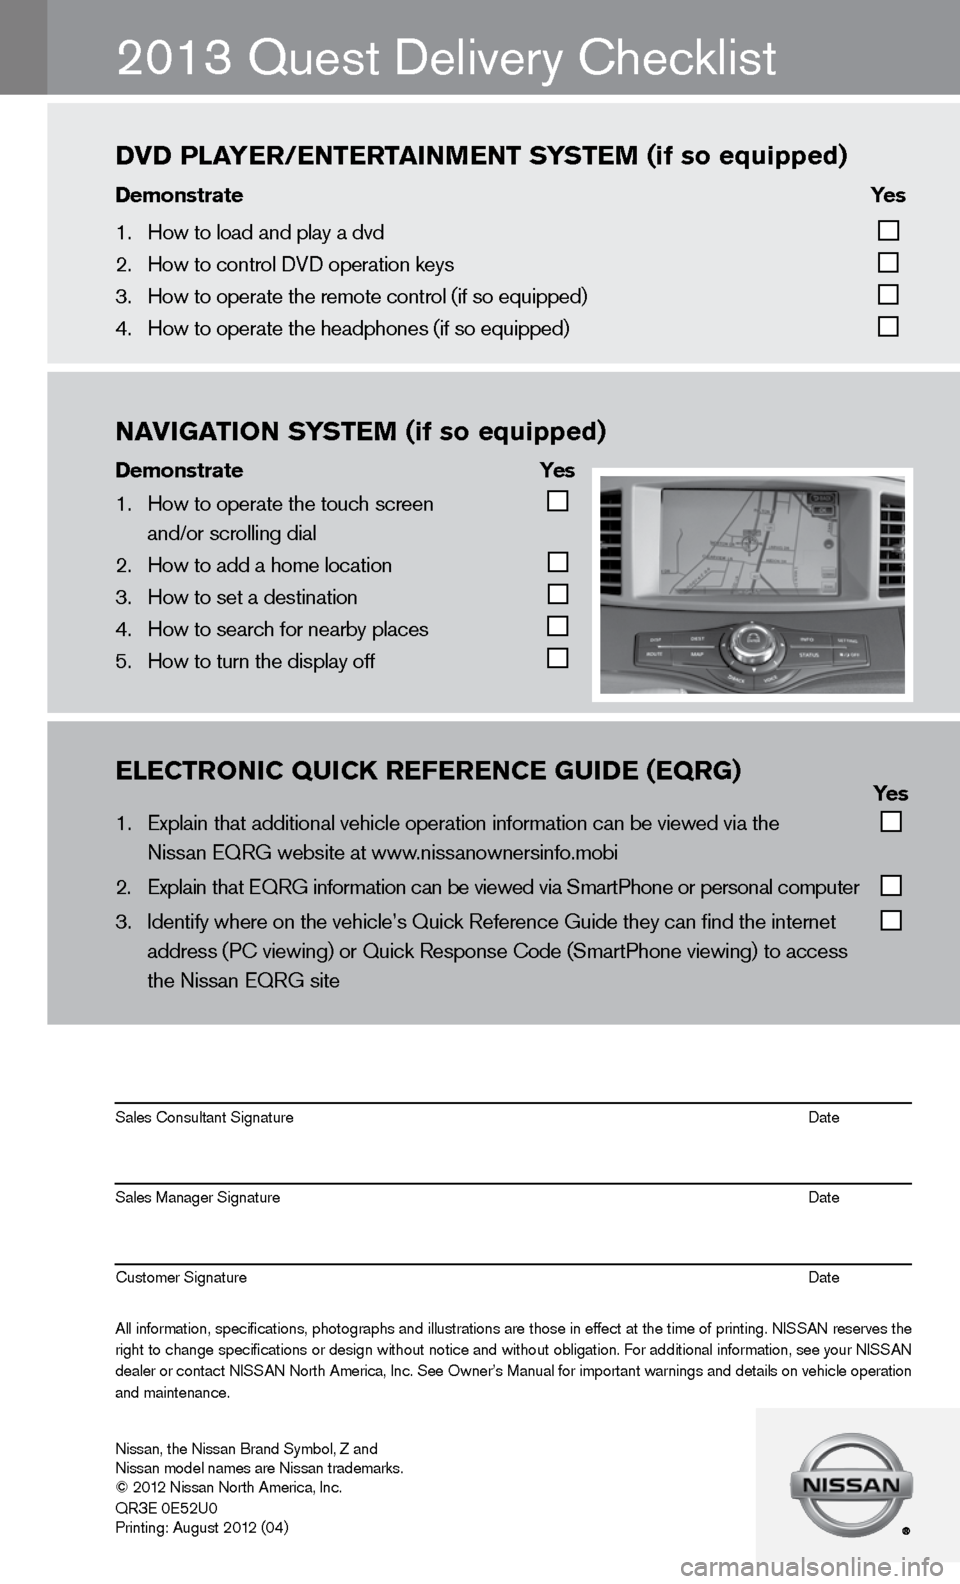
\bl\bCTrONIC\fQUICK\fr\bf\br\bNC\b\fgUID\b\f(\bQrg)\f\f\f\f\f\f \f \f\f \f\f Yes
1. Explain that addit\fional vehicle oper\fation information c\fan \be viewed via th\fe
Nissan EQRG we\bsite\f at www.nissanownersinfo.m\fo\bi
2. Explain that EQRG \finformation can \be \fviewed via SmartPh\fone or personal co\fmputer
3. Identify where on t\fhe vehicle’s Quick\f Reference Guide th\fey can find the int\fernet
address (PC viewing\f) or Quick Respons\fe Code (SmartPhone \fviewing) to access\f
the Nissan EQRG si\fte
All information\f specifications\f photographs and illustrations are those in effect at the time of printing. NISSAN reserves the
right to change specifications or design without notice and without o\bligation. For additional information\f see your NISSAN
dealer or contact NISSAN North America\f Inc. See Owner’s Manual for important warnings and details on vehicle operation
and maintenance. Sales Consultant S\fignature Date
Sales Manager Sign\fature Date
Customer Signature\f Date
Nissan\f the Nissan \fBrand Sym\bol\f Z and\f
Nissan model names\f are Nissan tradem\farks.
© 2012 Nissan North Ame\frica\f Inc.
QR
3E 0E52U0
Printing: August 2\f012 (04)
2013 Quest delivery checklist
NAVIgATION\fS YST\bM\f(if\fso\fequipped)
Demonstrate\f \f \f Yes
1. How to operate the\f touch screen
and/or scrolling d\fial
2. How to add a home \flocation
3. How to set a desti\fnation
4. How to search for n\fear\by places
5. How to turn the di\fsplay off
DVD\fPlAY\br/\bNT\brTAINM\bNT\fS YST\bM\f(if\fso\fequipped)
Demonstrate\f \f \f\f\f Yes\f
1. How to load and pl\fay a dvd
2. How to control DVD\f operation keys
3. How to operate the\f remote control (if \fso equipped)
4. How to operate the\f headphones (if so e\fquipped)
Page 26 of 36
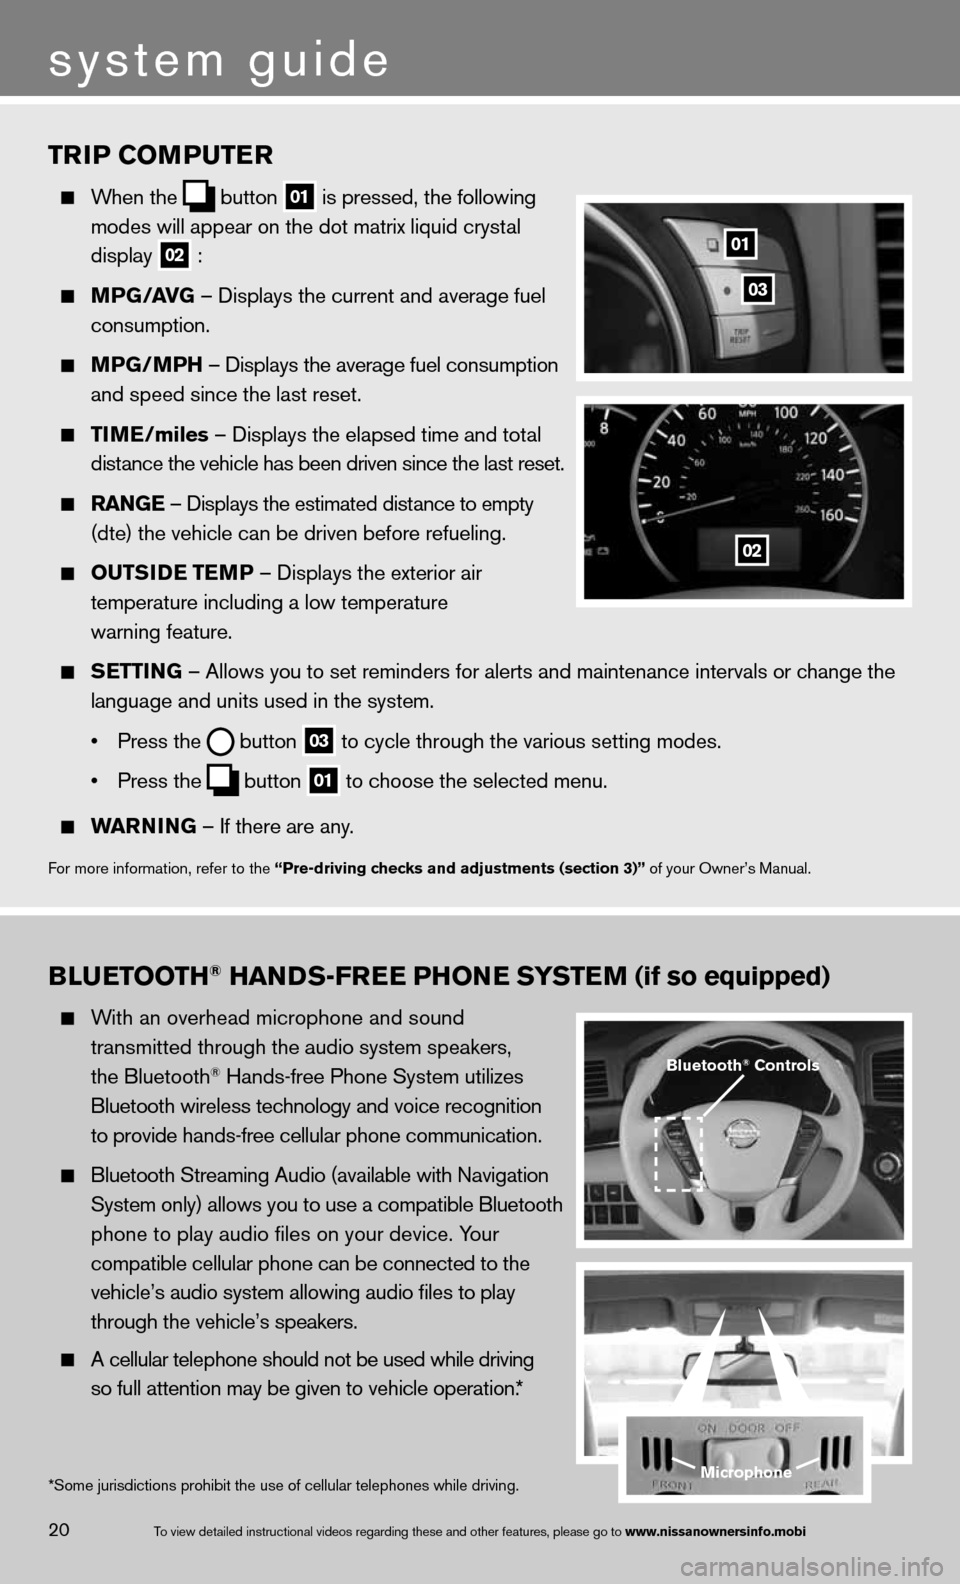
TrIP COMPuTer
When the
button
01 is pressed, the following
modes will appear on the dot matrix liquid crystal
display
02 :
MPG/ aVG – displays the current and average fuel
consumption.
MPG/MPH – displays the average fuel consumption
and speed since the last reset.
TIM e/miles – displays the elapsed time and total
distance the vehicle has been driven since the last reset.
raNG e – displays the estimated distance to empty
(dte) the vehicle can be driven before refueling.
OuTSID e TeMP – displays the exterior air
temperature including a low temperature
warning feature.
SeTTING – Allows you to set reminders for alerts and maintenance intervals o\
r change the
language and units used in the system.
• Press the
button
03 to cycle through the various setting modes.
• Press the
button
01 to choose the selected menu.
warNING – if there are any.
for more information, refer to the “Pre-driving checks and adjustments (section 3)” of your Owner’s Manual.
01
02
03
BLueTOOTH® HaNDS-Free PHON e SYSTeM (if so equipped)
With an overhead microphone and sound
transmitted through the audio system speakers,
the Bluetooth
® Hands-free Phone System utilizes
Bluetooth wireless technology and voice recognition
to provide hands-free cellular phone communication.
Bluetooth Streaming Audio (available with navigation
System only) allows you to use a compatible Bluetooth
phone to play audio files on your device. Your
compatible cellular phone can be connected to the
vehicle’s audio system allowing audio files to play
through the vehicle’s speakers.
A cellular telephone should not be used while driving
so full attention may be given to vehicle operation.*
Microphone
Bluetooth® Controls
*Some jurisdictions prohibit the use of cellular telephones while drivin\
g.
system guide
20To view detailed in\fstructional videos\f regarding these a\fnd other features\f \fplease go to www.nissanownersin\Ifo.mobi
Page 36 of 36
nissan, the nissan Brand Symbol, Z and
nissan model names are nissan trademarks.
© 2012 nissan north America, inc.
QR
3e 0e52u0
Printing: August 2012 (04)
To view detailed instructional videos,
go to www.nissanownersinfo.mobi/2013/quest
or snap this barcode with an appropriate barcode reader.
This Quick Reference Guide is intended to provide an overview of some of the uniq\
ue features of your new vehicle. See your
Owner’s Manual, which contains important safety warnings and information about the operation and maintenance of your vehicle,
for complete details. nissan north America, inc. reserves the right to make changes, at anytime, without prior notice, in prices,
colors, materials, equipment, specifications, and models and to discon\
tinue models or equipment. due to continuous product
development and other pre- and post-production factors, actual vehicle, \
materials and specifications may vary. Some vehicles are
shown with optional equipment. See the actual vehicle for complete accur\
acy. Specifications, options and accessories may differ
in Hawaii, u.S. territories and other countries. f or additional information on availability, options or accessories, see your ni SSAn
dealer or contact nissan north America, inc.