Page 36 of 706
Seat and restraint systems
2-7
2
To adjust the seat height (except for RECARO
seat, driver’s side only)
N00402100201
Operate the lever repeatedly to raise or lower the seat.
Heated seats
(if so equipped)
N00435600349
The heated seats can be operated when the ignition switch is in
the “ON” position.
The indicator light (A) will illuminate while the heater is on.
1- Raise
2- Lower
1 (HI) - Heater high (for quick heating)
2 - Heater off
3 (LO) - Heater low (to keep the seat warm)
BK0151000US.book 7 ページ 2012年3月29日 木曜日 午後6時8分
Page 37 of 706

2-8 Seat and restraint systems
2
WA R N I N G
!�Persons who are unable to feel temperature change
or skin pain due to age, illness, injury, medication,
alcohol use, fatigue or other physical conditions or
who have sensitive skin may suffer burns when
using the heated seat even at low temperatures. To
reduce the risk of burns, people with such conditions
must use care when using the heated seat.
CAUTION
!�Switch off the seat heaters when not in use. Operate
the heaters at the “HI” position for quick heating.
After the seat has become warm, set the heater
switch to the “LO” position to keep it warm. Slight
variations in the seat temperature may be felt while
using the heated seats. This is caused by the opera-
tion of the heater’s internal thermostat and does not
indicate a malfunction.�Do not place heavy objects on the seat or stick pins,
needles, or other pointed objects into the seat.�Do not place a blanket, cushion, or other insulating
material on the seat while using the heater; doing so
can cause the heater element to overheat.�When cleaning the seat, do not use benzine, kero-
sene, gasoline, alcohol, or other organic solvents;
doing so can cause damage not only to the surface of
the seat, but also to the heater.
�If water or any other liquid is spilled on the seat,
allow it to dry thoroughly before attempting to use
the heater. Turn the heater off immediately if it
appears to be malfunctioning during use.
CAUTION
!
BK0151000US.book 8 ページ 2012年3月29日 木曜日 午後6時8分
Page 177 of 706
3-84 Features and controls
3
To fold the mirrorThe outside mirror can be folded in toward the side window to
prevent damage when parking in tight locations.
Heated mirror
(if so equipped)
N00549300175
When the rear window defogger switch is pressed with the
engine running, the outside rearview mirrors are defogged or
defrosted. Current will flow through the heater element inside
the mirrors, thus clearing away frost or condensation.
The indicator light (A) will illuminate while the defogger is on.
The heater will be turned off automatically in about 20 min-
utes.
BK0151000US.book 84 ページ 2012年3月29日 木曜日 午後6時8分
Page 406 of 706

Driving safety
4-9
4 Loading information
N00629900323
It is very important to know how much weight your vehicle can
carry. This weight is called the vehicle capacity weight and
includes the weight of all occupants, cargo and non-factory-
installed options. The tire and loading information placard
located on the driver’s door sill of your vehicle will show how
much weight it may properly carry.
It is important to familiarize yourself with the following terms
before loading your vehicle:
�Vehicle maximum load on the tire: load on an individual
tire that is determined by distributing to each axle its share
of the maximum loaded vehicle weight and dividing by
two.
�Vehicle normal load on the tire: load on an individual tire
that is determined by distributing to each axle its share of
the curb weight, accessory weight, and normal occupant
weight and dividing by two.
�Maximum loaded vehicle weight: the sum of -
(a) Curb weight;
(b) Accessory weight;
(c) Vehicle capacity weight; and
(d) Production options weight.�Curb weight: the weight of a motor vehicle with standard
equipment including the maximum capacity of fuel, oil,
and coolant.
�Accessory weight: the combined weight (in excess of
those standard items which may be replaced) of automatic
transmission, power steering, power brakes, power win-
dows, power seats, radio, and heater, to the extent that
these items are available as factory- installed equipment
(whether installed or not).
�Vehicle capacity weight: the rated cargo and luggage load
plus 150 lbs (68 kg)* times the vehicle’s designated seat-
ing capacity.
�Production options weight: the combined weight of those
installed regular production options weighing over 5 lbs
(2.3 kg) in excess of those standard items which they
replace, not previously considered in curb weight or
accessory weight, including heavy duty brakes, ride level-
ers, roof rack, heavy duty battery, and special trim.
�Normal occupant weight: 150 lbs (68 kg)* times the num-
ber of specified occupants. (In your vehicle the number is
3)
�Occupant distribution: distribution of occupants in a vehi-
cle as specified. (In your vehicle the distribution is 2 in
front, 1 in second row seat)
WA R N I N G
!�Never overload your vehicle. Overloading can dam-
age your vehicle, adversely affect vehicle perfor-
mance, including handling and braking, cause tire
failure, and result in an accident.
*: 150 lbs (68 kg) is the weight of one person as defined by
U.S.A. and Canadian regulations.
BK0151000US.book 9 ページ 2012年3月29日 木曜日 午後6時8分
Page 420 of 706
Comfort controls
5-7
5
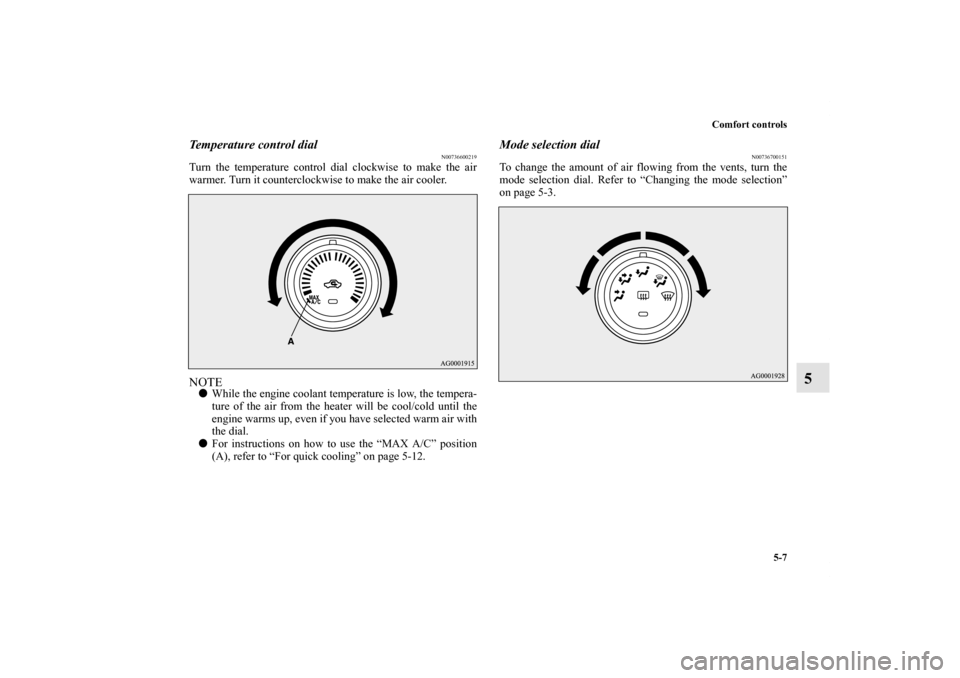
Temperature control dial
N00736600219
Turn the temperature control dial clockwise to make the air
warmer. Turn it counterclockwise to make the air cooler.NOTE�While the engine coolant temperature is low, the tempera-
ture of the air from the heater will be cool/cold until the
engine warms up, even if you have selected warm air with
the dial.
�For instructions on how to use the “MAX A/C” position
(A), refer to “For quick cooling” on page 5-12.
Mode selection dial
N00736700151
To change the amount of air flowing from the vents, turn the
mode selection dial. Refer to “Changing the mode selection”
on page 5-3.
BK0151000US.book 7 ページ 2012年3月29日 木曜日 午後6時8分
Page 430 of 706
Comfort controls
5-17
5
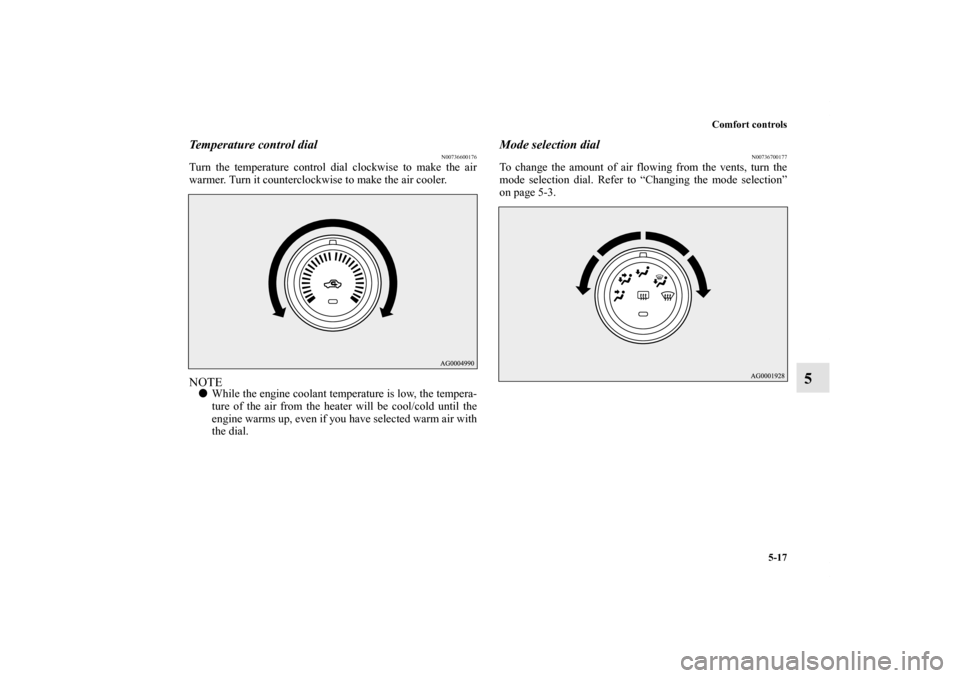
Temperature control dial
N00736600176
Turn the temperature control dial clockwise to make the air
warmer. Turn it counterclockwise to make the air cooler.NOTE�While the engine coolant temperature is low, the tempera-
ture of the air from the heater will be cool/cold until the
engine warms up, even if you have selected warm air with
the dial.
Mode selection dial
N00736700177
To change the amount of air flowing from the vents, turn the
mode selection dial. Refer to “Changing the mode selection”
on page 5-3.
BK0151000US.book 17 ページ 2012年3月29日 木曜日 午後6時8分
Page 440 of 706

Comfort controls
5-27
5
NOTE�While the engine coolant temperature is low, the tempera-
ture of the air from the heater will be cool/cold until the
engine warms up, even if you have selected warm air with
the dial.
�When the temperature is set to the highest or the lowest
setting under the AUTO operation, the air selection and
the air conditioning will be automatically changed as fol-
lows.
Also, if the air selection is operated manually after an
automatic changeover, manual operation will be selected.
• Quick Heating (When the temperature is set to the high-
est setting)
Outside air will be introduced and the air conditioning
will stop.
• Quick Cooling (When the temperature is set to the low-
est setting)
Inside air will be recirculated and the air conditioning
will operate.
The above indicates the factory settings. You can personalize
the air selection switch and air conditioning switch to match
your personal preferences.
Contact your Mitsubishi Motors dealer or a repair facility of
your choice for assistance.
Refer to “Personalizing the air conditioning switch (Changing
the function setting)” on page 5-31.
Refer to “Personalizing the air selection (Changing the func-
tion setting)” on page 5-29.
Mode selection dial
N00737100093
To change the amount of air flowing from the vents, turn the
mode selection dial. Refer to “Changing the mode selection”
on page 5-3.
BK0151000US.book 27 ページ 2012年3月29日 木曜日 午後6時8分
Page 445 of 706

N00731700358
In normal conditions, use the system in the AUTO mode and
follow these procedures:
1. Set the blower speed")
5-32 Comfort controls
5
Operating the air conditioning system (automatic
mode)
N00731700358
In normal conditions, use the system in the AUTO mode and
follow these procedures:
1. Set the blower speed selection dial to the “AUTO” posi-
tion.
2. Select the temperature control dial to the desired tempera-
ture. The temperature can be set within a range of around
61 to 89. The temperature will increase as the dial is
turned to the right.
3. Set the mode selection dial to the “AUTO” position.
The vents (except between “ ” and “ ”), recirculation/out-
side air, blower speed, and ON/OFF of air conditioning will be
controlled automatically.
NOTE�Set the temperature at about 75 under normal conditions.
�While the engine coolant temperature is low, the tempera-
ture of the air from the heater will be cool/cold until the
engine warms up, even if you have selected warm air with
the dial. To prevent the windshield and windows from
fogging up, the vent mode will be changed to “ ” or
“ ” and the blower speed will be reduced.
BK0151000US.book 32 ページ 2012年3月29日 木曜日 午後6時8分

N00402100201
Operate the lever repeatedly to raise or lower the seat.
Heated seats
(if so eq")

N0054930017")