2013 MERCEDES-BENZ B-CLASS SPORTS remote start
[x] Cancel search: remote startPage 19 of 336

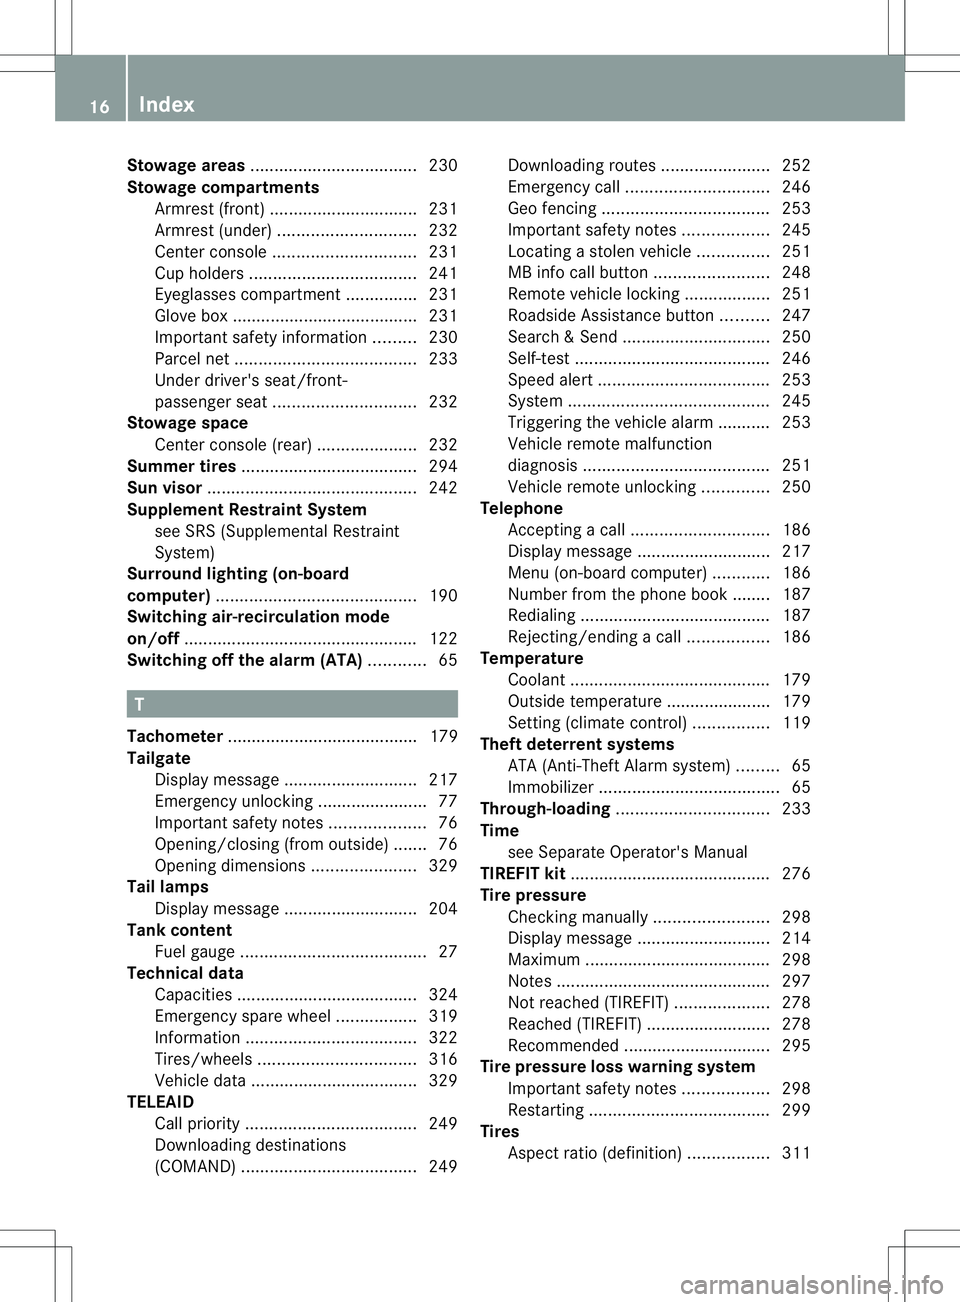
Stowage areas
................................... 230
Stowage compartments Armrest (front) ............................... 231
Armrest (under) ............................. 232
Center console .............................. 231
Cuph olders ................................... 241
Eyeglasses compartment ...............231
Glove box ...................................... .231
Important safety information .........230
Parce lnet ...................................... 233
Under driver's seat/front-
passenger seat. ............................. 232
Stowage space
Center console (rear) .....................232
Summer tires ..................................... 294
Sun visor ............................................ 242
Supplement Restraint System see SRS (Supplemental Restraint
System)
Surround lighting (on-board
computer) .......................................... 190
Switching air-recirculation mode
on/off ................................................. 122
Switching off the alarm (ATA) ............65 T
Tachometer ........................................ 179
Tailgate Display message ............................ 217
Emergency unlocking .......................77
Important safety notes ....................76
Opening/closing (from outside) .......76
Opening dimensions ......................329
Tail lamps
Display message ............................ 204
Tank content
Fuel gauge ....................................... 27
Technical data
Capacities ...................................... 324
Emergency spare wheel .................319
Information .................................... 322
Tires/wheels ................................. 316
Vehicle data ................................... 329
TELEAID
Call priority .................................... 249
Downloading destinations
(COMAND) ..................................... 249Downloading route
s....................... 252
Emergency call .............................. 246
Geo fencing ................................... 253
Important safety notes ..................245
Locating astolen vehicl e............... 251
MB info call button ........................248
Remote vehicle locking ..................251
Roadside Assistance button ..........247
Search &Send ............................... 250
Self-test ......................................... 246
Speed alert .................................... 253
System .......................................... 245
Triggering the vehicle alarm ........... 253
Vehicle remote malfunction
diagnosi s....................................... 251
Vehicle remote unlocking ..............250
Telephone
Accepting acall............................. 186
Display message ............................ 217
Menu (on-board computer) ............186
Number from the phone book ....... .187
Redialing ........................................ 187
Rejecting/ending acall................. 186
Temperature
Coolant .......................................... 179
Outside temperature ..................... .179
Setting (climate control) ................119
Theft deterrent systems
ATA (Anti-Theft Alarm system) .........65
Immobilize r...................................... 65
Through-loading ................................ 233
Time see Separate Operator's Manual
TIREFIT kit .......................................... 276
Tire pressure Checking manually ........................298
Display message ............................ 214
Maximum ....................................... 298
Notes ............................................. 297
Not reached (TIREFIT) ....................278
Reached (TIREFIT) ..........................278
Recommended ............................... 295
Tire pressure loss warning system
Important safety notes ..................298
Restarting ...................................... 299
Tires
Aspect ratio (definition) .................31116
Index
Page 253 of 336

Search
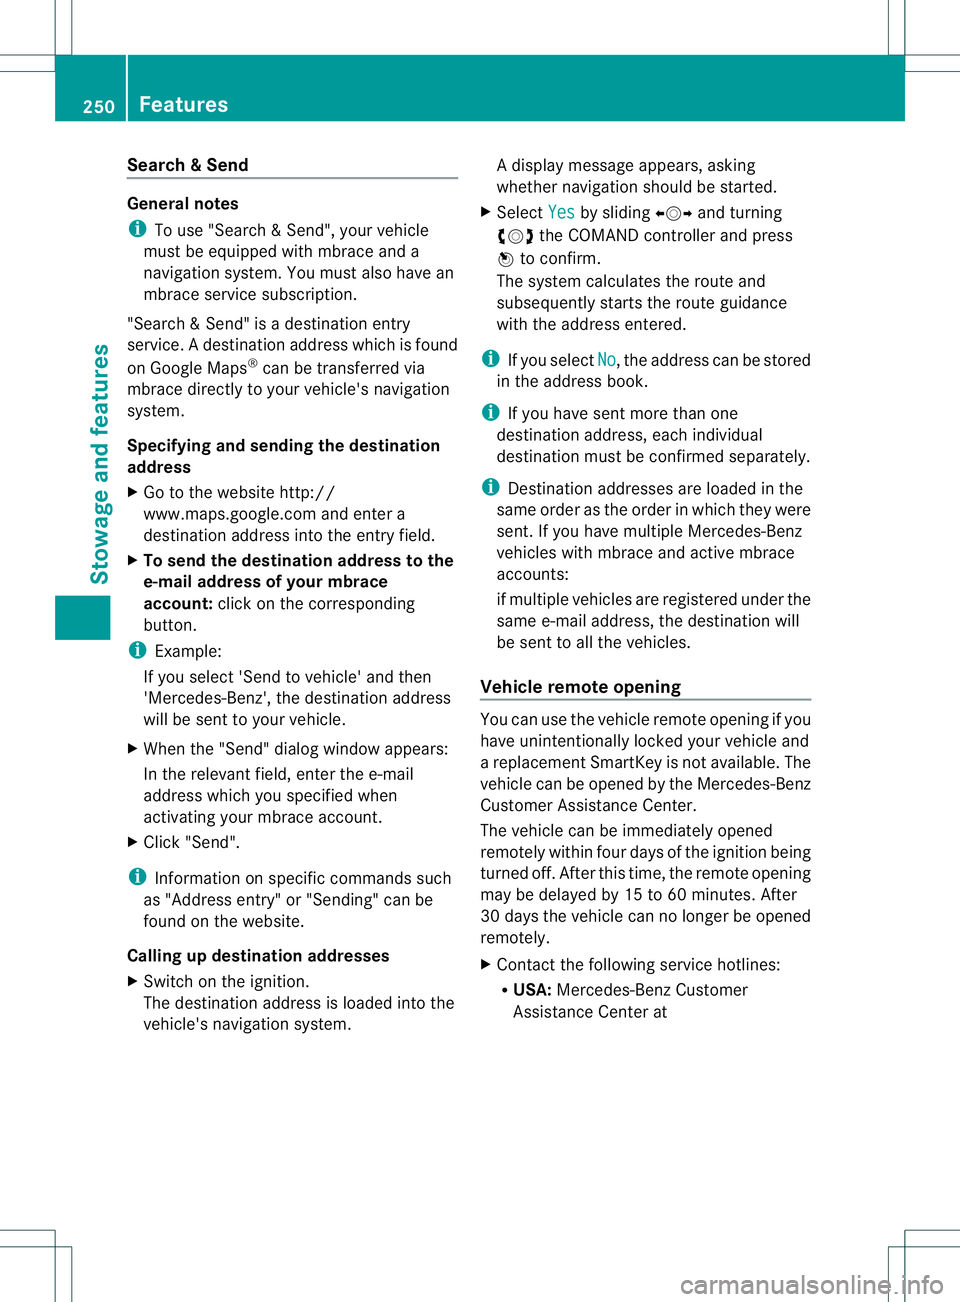
&Send General notes
i
To use "Search &Send", your vehicle
must be equipped with mbrace and a
navigation system. You must also have an
mbrace service subscription.
"Search & Send" is a destination entry
service. Adestination address which is found
on Google Maps ®
can be transferred via
mbrace directly to your vehicle's navigation
system.
Specifying and sending the destination
address
X Go to the website http://
www.maps.google.com and enter a
destination address into the entry field.
X To send the destination address to the
e-mail address of your mbrace
account: click on the corresponding
button.
i Example:
If you select 'Send to vehicle' and then
'Mercedes-Benz', the destination address
will be sent to your vehicle.
X When the "Send" dialog window appears:
In the relevant field, enter the e-mail
address which you specified when
activating your mbrace account.
X Click "Send".
i Information on specific commands such
as "Address entry" or "Sending" can be
found on the website.
Calling up destination addresses
X Switch on the ignition.
The destination address is loaded into the
vehicle's navigation system. Ad
isplay message appears, asking
whether navigation should be started.
X Select Yes by sliding
XVYand turning
cVd the COMAND controller and press
W to confirm.
The system calculates the route and
subsequently starts the routeg uidance
with the address entered.
i If you select No , the address can be stored
in the address book.
i If you have sent more than one
destination address, each individual
destination must be confirmed separately.
i Destination addresses are loaded in the
same order as the order in which they were
sent. If you have multiple Mercedes-Benz
vehicles with mbrace and active mbrace
accounts:
if multiple vehicles are registered under the
same e-mail address, the destination will
be sen tto all the vehicles.
Vehicle remote opening You can use the vehicle remote opening if you
have unintentionally locked your vehicle and
a replacement SmartKey is not available. The
vehicle can be opened by the Mercedes-Benz
Customer Assistance Center.
The vehicle can be immediately opened
remotely within four days of the ignition being
turned off. After this time, the remote opening
may be delayed by 15 to 60 minutes. After
30 days the vehicle can no longer be opened
remotely.
X
Contact the following service hotlines:
R
USA: Mercedes-Benz Customer
Assistance Center at 250
FeaturesStowage and features
Page 255 of 336

example, guided to the nearest Mercedes-
Benz Service center or a recovery vehicle is
called.
If vehicle data needs to be transferred during
an MB Info call or a Roadside Assistance call,
this is initiated by the Customer Assistance
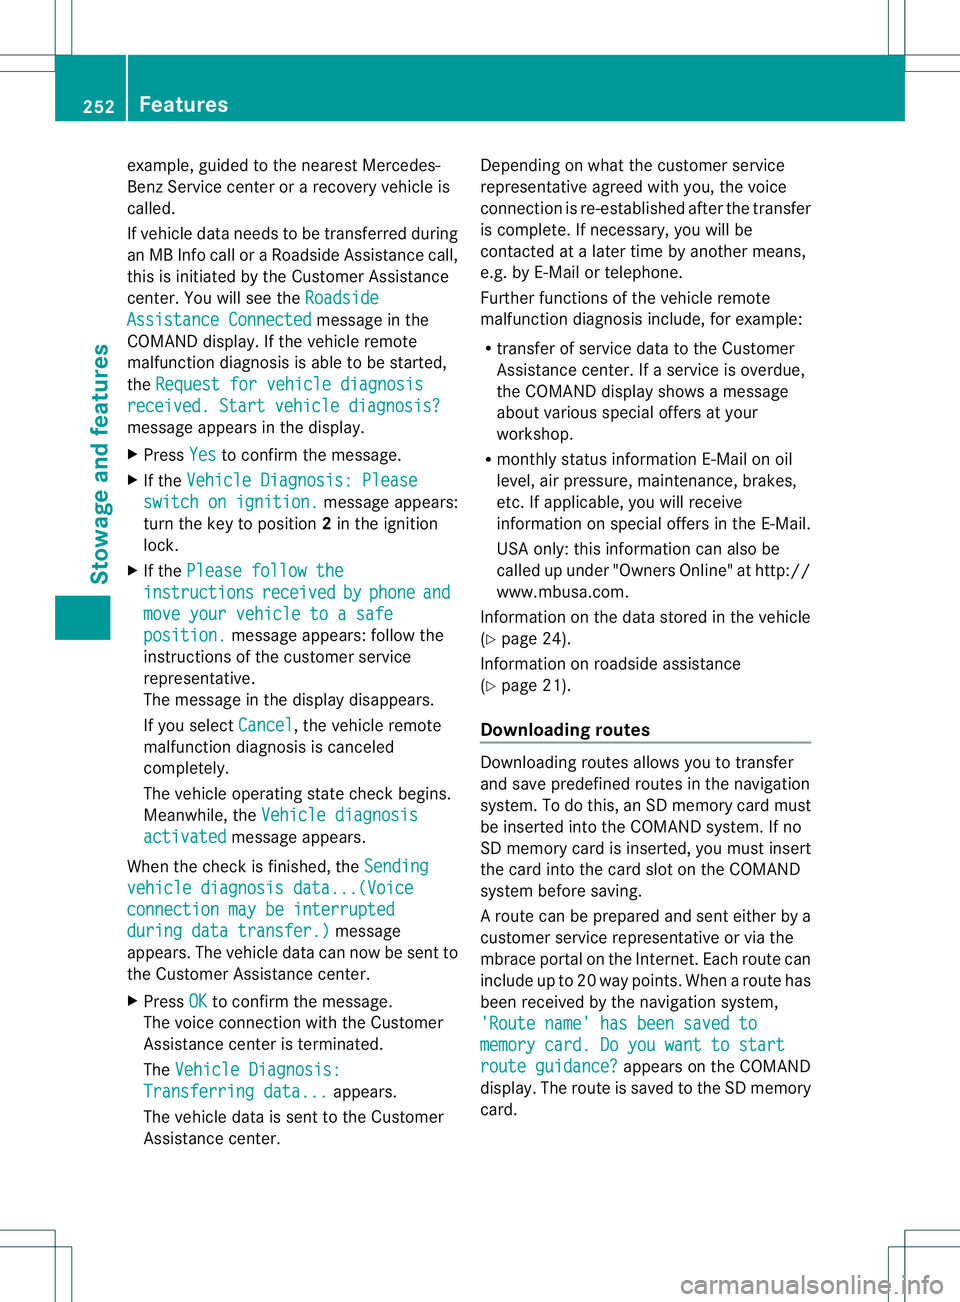
center. You will see the
RoadsideAssistance Connected message in the
COMAND display. If the vehicle remote
malfunction diagnosis is able to be started,
the Request for vehicle diagnosis received. Start vehicle diagnosis?
message appears in the display.
X
Press Yes to confirm the message.
X If the Vehicle Diagnosis: Please switch on ignition. message appears:
turn the key to position 2in the ignition
lock.
X If the Please follow the instructions received by phone and
move your vehicle to a safe
position. message appears: follow the
instructions of the customer service
representative.
The message in the display disappears.
If you select Cancel , the vehicle remote
malfunction diagnosis is canceled
completely.
The vehicle operating state chec kbegins.
Meanwhile, the Vehicle diagnosis activated message appears.
When the chec kis finished, the Sending vehicle diagnosis data...(Voice
connection may be interrupted
during data transfer.) message
appears. The vehicle data can now be sent to
the Customer Assistance center.
X Press OK to confirm the message.
The voice connection with the Customer
Assistance center is terminated.
The Vehicle Diagnosis: Transferring data... appears.
The vehicle data is sent to the Customer
Assistance center. Depending on what the customer service
representative agreed with you, the voice
connection is re-established after the transfer
is complete. If necessary, you will be
contacted at a later time by another means,
e.g. by E-Mail or telephone.
Further functions of the vehicle remote
malfunction diagnosis include, for example:
R
transfer of service data to the Customer
Assistance center. If aservice is overdue,
the COMAND display shows a message
about various special offers at your
workshop.
R monthly status information E-Mail on oil
level, air pressure, maintenance, brakes,
etc.Ifa pplicable, you will receive
information on special offers in the E-Mail.
USA only: this information can also be
called up under "Owners Online" at http://
www.mbusa.com.
Information on the data stored in the vehicle
(Y page 24).
Information on roadside assistance
(Y page 21).
Downloading routes Downloading routes allows you to transfer
and save predefined routes in the navigation
system. To do this, an SD memory card must
be inserted into the COMAND system. If no
SD memory card is inserted, you must insert
the card into the card slot on the COMAND
system before saving.
Ar
oute can be prepared and sent either by a
customer service representative or via the
mbrace portal on the Internet. Each route can
include up to 20 way points. When a route has
been received by the navigation system,
'Route name' has been saved to memory card. Do you want to start
route guidance? appears on the COMAND
display .The route is saved to the SD memory
card. 252
FeaturesStowage and features
Page 256 of 336

X
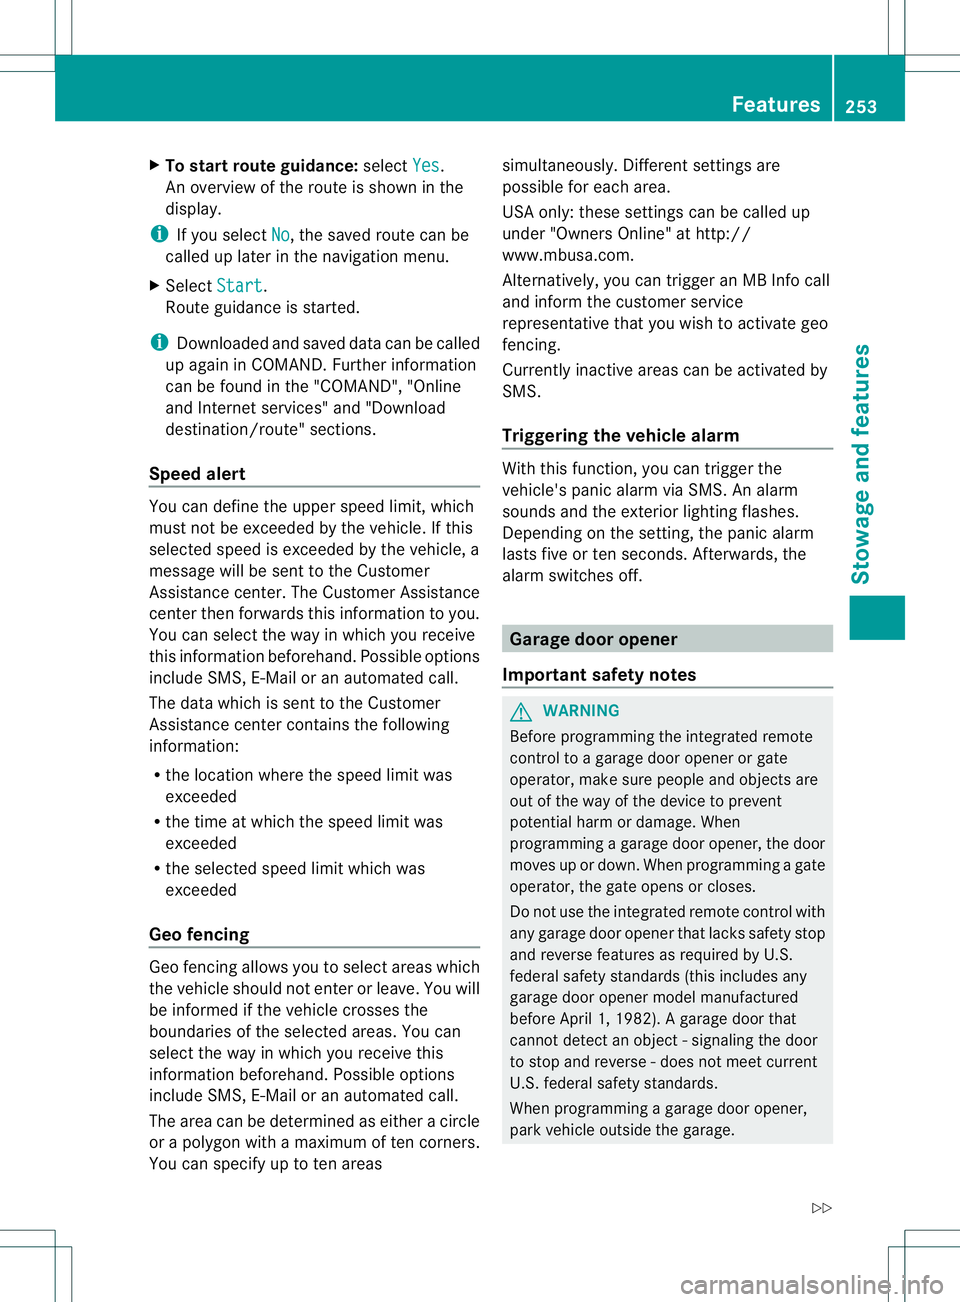
To start route guidance: selectYes .
An overview of the route is shown in the
display.
i If you select No , the saved route can be
called up later in the navigation menu.
X Select Start .
Route guidance is started.
i Downloaded and saved data can be called
up again in COMAND. Further information
can be found in the "COMAND", "Online
and Internet services" and "Download
destination/route" sections.
Speed alert You can define the uppe
rspeed limit, which
must not be exceeded by the vehicle. If this
selected speed is exceeded by the vehicle, a
message will be sent to the Customer
Assistance center. The Customer Assistance
center then forwards this information to you.
You can select the way in which you receive
this information beforehand. Possible options
include SMS, E-Mail or an automated call.
The data which is sent to the Customer
Assistance center contains the following
information:
R the location where the speed limit was
exceeded
R the time at which the speed limit was
exceeded
R the selected speed limit which was
exceeded
Geo fencing Geo fencing allows you to select areas which
the vehicle should not enter or leave. You will
be informed if the vehicle crosses the
boundaries of the selected areas. You can
select the way in which you receive this
information beforehand. Possible options
include SMS, E-Mail or an automated call.
The area can be determined as either a circle
or a polygon with a maximum of ten corners.
You can specify up to ten areas simultaneously. Different settings are
possible for each area.
USA only: these settings can be called up
under "Owners Online" at http://
www.mbusa.com.
Alternatively, you can trigger an MB Info call
and inform the customer service
representative that you wish to activate geo
fencing.
Currently inactive areas can be activated by
SMS.
Triggering the vehicle alarm
With this function, you can trigger the
vehicle's panic alarm via SMS. An alarm
sounds and the exterior lighting flashes.
Depending on the setting, the panic alarm
lasts five or ten seconds. Afterwards, the
alarm switches off.
Garage door opener
Important safety notes G
WARNING
Before programming the integrated remote
control to a garage door opener or gate
operator, make sure people and objects are
out of the way of the device to prevent
potential harm or damage. When
programming a garage door opener, the door
moves up or down. When programming a gate
operator, the gate opens or closes.
Do not use the integrated remote control with
any garage door opener that lacks safety stop
and reverse features as required by U.S.
federal safety standards (this includes any
garage door opener model manufactured
before April 1, 1982). A garage door that
cannot detect an object - signaling the door
to stop and reverse - does not meet current
U.S .federal safety standards.
When programming a garage door opener,
park vehicle outside the garage. Features
253Stowage and features
Z