Page 182 of 336

X
Turn the brightness control knob clockwise
or counter-clockwise.
If the light switch is set to Ã,Tor
L, the brightness is dependent upon
the brightness of the ambient light.
i The light sensor in the instrument cluster
automatically controls the brightness of
the multifunction display.
In daylight, the displays in the instrument
cluster are not illuminated. Coolant temperature display
G
WARNING
Driving when your engine is overheated can
cause some fluids which may have leaked into
the engine compartment to catch fire. You
could be seriously burned.
Steam from an overheated engine can cause
serious burns which can occur just by opening
the engine hood. Stay away from the engine
if you see or hear steam coming from it.
Stop the vehicle in a safe location away from
other traffic. Turn off the engine, get out of the
vehicle and do not stand near the vehicle until
the engine has cooled down.
! Adisplay message is shown if the coolant
temperature is too high.
If the coolant temperature is over
248 ‡(120 †), do not continue driving. The
engine will otherwise be damaged.
The coolan ttemperature gage is in the
instrument cluster on the right-hand side.
Under normal operating conditions and with
the specified coolant level, the coolant
temperature may rise to 248 ‡ (120 †). Tachometer
! Do not drive in the overrevving range, as
this could damage the engine.
The red band in the tachometer indicates the
engine's overrevving range. The fuel supply is interrupted to protec
tthe
engine when the red band is reached. Outside temperature display
G
WARNING
The outside temperature indicator is not
designed to serve as an ice-warning device
and is therefore unsuitable for that purpose.
Indicated temperatures just above the
freezing point do not guarantee that the road
surface is free of ice. The road may still be icy,
especially in wooded areas or on bridges.
The outside temperature display is in the
multifunction display.
Changes in the outside temperature are
displayed after a short delay. Speedometer with segments
The segments in the speedometer indicate
which speed range is available.
R Cruise control activated (Y page 150):
The segments light up from the stored
speed to the maximum speed.
R DISTRONIC PLUS activated (Y page 152):
One or two segments in the set speed
range light up.
R DISTRONIC PLUS detectsav ehicle in front:
The segments between the speed of the
vehicle in fron tand the stored speed light
up. Displays and operation
179On-board computer and displays Z
Page 284 of 336

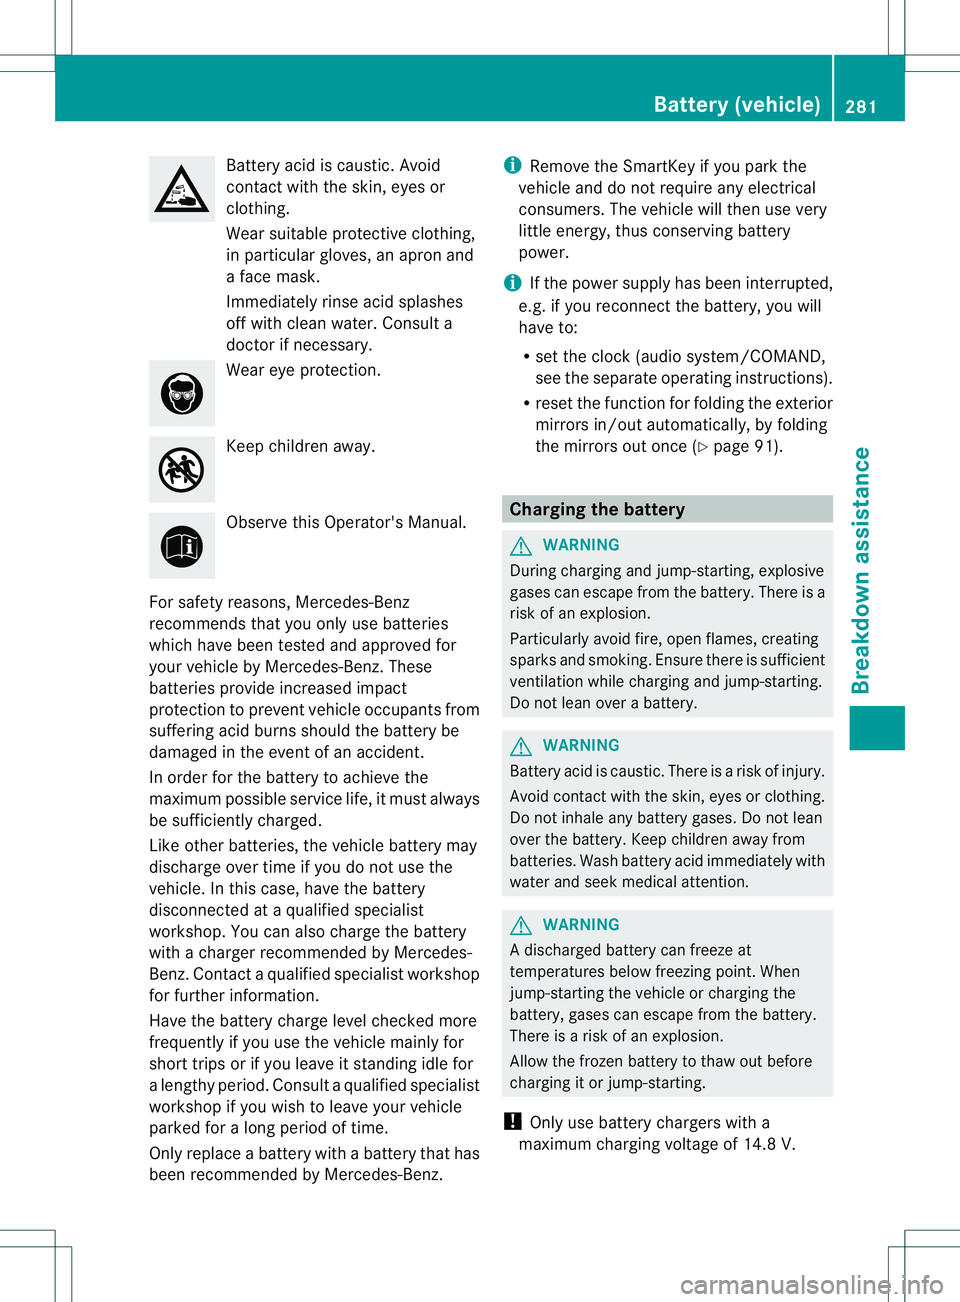
Battery acid is caustic. Avoid
contact with the skin, eyes or
clothing.
Wea
rsuitable protective clothing,
in particular gloves, an apro nand
a face mask.
Immediately rinse acid splashes
off with clean water. Consult a
doctor if necessary. Wear eye protection.
Keep children away.
Observe this Operator's Manual.
For safety reasons, Mercedes-Benz
recommends tha tyou only use batteries
which have been tested and approved for
your vehicle by Mercedes-Benz. These
batteries provide increased impact
protection to prevent vehicle occupants from
suffering acid burns should the battery be
damaged in the event of an accident.
In order for the battery to achieve the
maximum possible service life, it must always
be sufficiently charged.
Like other batteries, the vehicle battery may
discharge over time if you do not use the
vehicle. In this case, have the battery
disconnected at a qualified specialist
workshop. You can also charge the battery
with a charger recommended by Mercedes-
Benz.C ontact a qualified specialist workshop
for further information.
Have the battery charge level checked more
frequently if you use the vehicle mainly for
short trips or if you leave it standing idle for
a lengthy period. Consult a qualified specialist
workshop if you wish to leave your vehicle
parked for a long period of time.
Only replace a battery with a battery that has
been recommended by Mercedes-Benz. i
Remove the SmartKey if you park the
vehicle and do not require any electrical
consumers. The vehicle will then use very
little energy, thus conserving battery
power.
i If the power supply has been interrupted,
e.g. if you reconnect the battery, you will
have to:
R set the clock (audio system/COMAND,
see the separate operating instructions).
R reset the function for folding the exterior
mirrors in/out automatically, by folding
the mirrors out once (Y page 91). Charging the battery
G
WARNING
During charging and jump-starting, explosive
gases can escape from the battery. There is a
risk of an explosion.
Particularly avoid fire, open flames, creating
sparks and smoking. Ensure there is sufficient
ventilation while charging and jump-starting.
Do not lean over a battery. G
WARNING
Battery acid is caustic. There is a risk of injury.
Avoid contact with the skin, eyes or clothing.
Do not inhale any battery gases. Do not lean
over the battery. Keep children away from
batteries. Wash battery acid immediately with
water and seek medical attention. G
WARNING
Ad ischarged battery can freeze at
temperatures below freezing point .When
jump-starting the vehicle or charging the
battery, gases can escape from the battery.
There is a risk of an explosion.
Allow the frozen battery to thaw out before
charging it or jump-starting.
! Only use battery chargers with a
maximum charging voltage of 14.8 V. Battery (vehicle)
281Breakdown assistance Z
Page 289 of 336

Installing/removing the towing eye
Installing the towing eye X
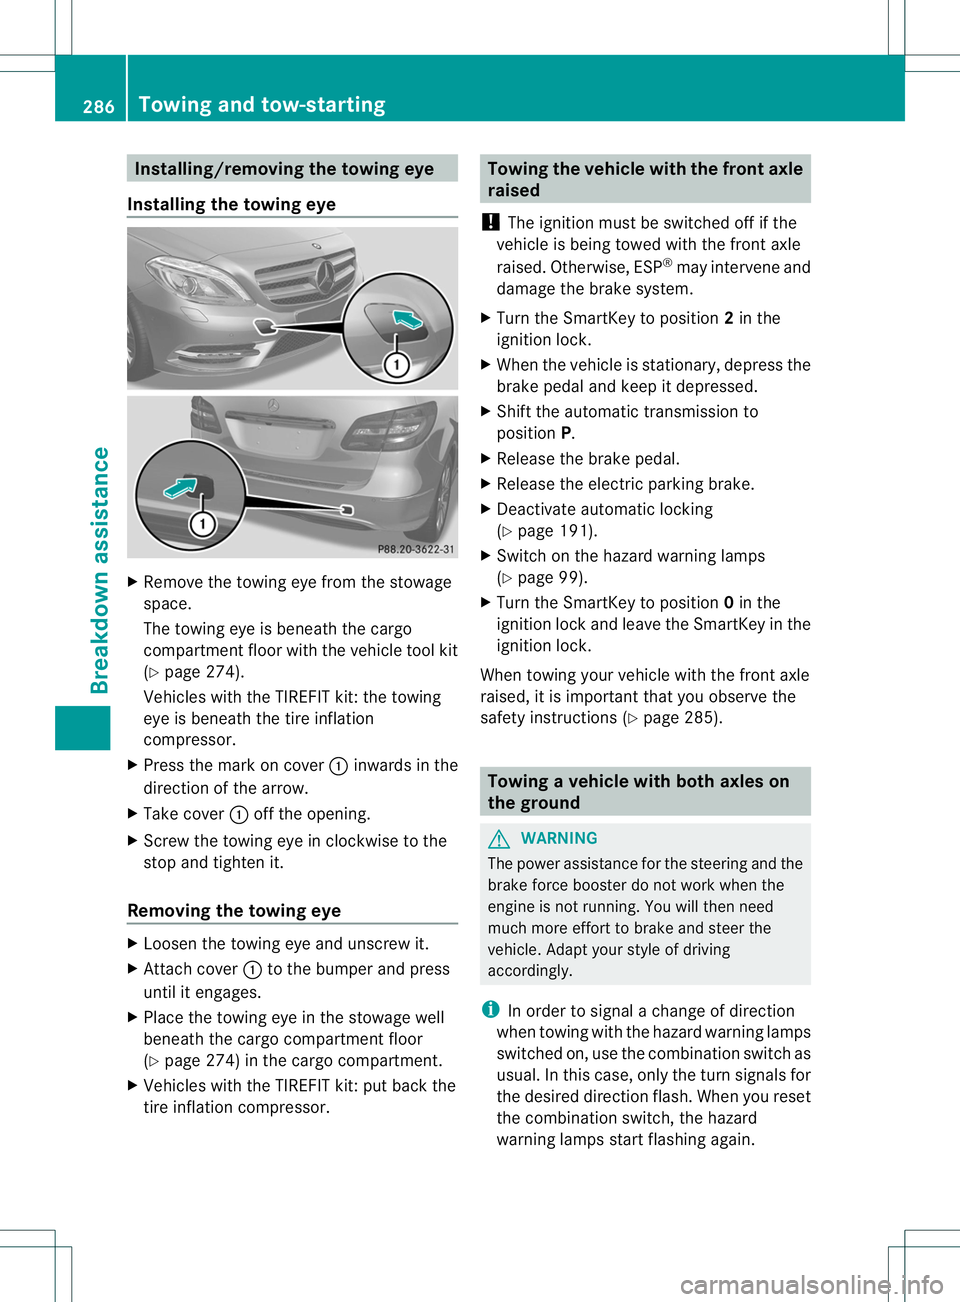
Remove the towing eye from the stowage
space.
The towing eye is beneath the cargo
compartmen tfloor with the vehicle tool kit
(Y page 274).
Vehicles with the TIREFIT kit :the towing
eye is beneath the tire inflation
compressor.
X Press the mark on cover :inwards in the
direction of the arrow.
X Take cover :off the opening.
X Screw the towing eye in clockwise to the
stop and tighten it.
Removing the towing eye X
Loosen the towing eye and unscrew it.
X Attach cover :to the bumper and press
until it engages.
X Place the towing eye in the stowage well
beneath the cargo compartmentf loor
(Y page 274) in the cargo compartment.
X Vehicles with the TIREFIT kit: put back the
tire inflation compressor. Towing the vehicle with the front axle
raised
! The ignition must be switched off if the
vehicle is being towed with the front axle
raised. Otherwise, ESP ®
may intervene and
damage the brake system.
X Turn the SmartKey to position 2in the
ignition lock.
X When the vehicle is stationary, depress the
brake pedal and keep it depressed.
X Shift the automatic transmission to
position P.
X Release the brake pedal.
X Release the electric parking brake.
X Deactivate automatic locking
(Y page 191).
X Switch on the hazard warning lamps
(Y page 99).
X Turn the SmartKey to position 0in the
ignition lock and leave the SmartKey in the
ignition lock.
When towing your vehicle with the front axle
raised, it is importan tthat you observe the
safety instructions (Y page 285). Towing
avehicle with both axles on
the ground G
WARNING
The power assistance for the steering and the
brake force booster do not work when the
engine is not running. You will then need
much more effort to brake and steer the
vehicle .Adapt your style of driving
accordingly.
i In order to signal a change of direction
when towing with the hazard warning lamps
switched on, use the combination switch as
usual. In this case, only the turn signals for
the desired direction flash. When you reset
the combination switch, the hazard
warning lamps start flashing again. 286
Towing and tow-startingBreakdown assistance