2013 LINCOLN MKZ HYBRID lock
[x] Cancel search: lockPage 123 of 475

Blind Spot Information and Cross Traffic Alert System
Action
Message
Displayed when a fault with the system has occurred.Contact your authorized dealer as soon as possible.
Blindspot System
Fault
Displayed when the system sensors are blocked.
Contact your authorized dealer as soon as possible. See Blind Spot Monitor (page 225).
Blindspot Not Avail-
able Sensor Blocked See Manual
Displayed when the system detects a vehicle. SeeBlind Spot Monitor
(page 225).
Cross Traffic Vehicle
Coming From X
Displayed when the system sensors are blocked. SeeBlind Spot Monitor
(page 225).
Cross Traffic Not
Available Sensor
Blocked See Manual
Displays when a fault with the system has occurred.Contact your authorized dealer as soon as possible.
Cross Traffic System
Fault
Collision Warning System Action
Message
Displayed when there is a system malfunction with the
collision warning system. The system will be disabled.Contact your authorized dealer as soon as possible.
Collision Warning
Malfunction
Displayed when the collision warning system radar isblocked because of poor radar visibility due to bad
weather or ice/mud/water in front of the radar. Driver
can typically clean the sensor to resolve. Contact your authorized dealer as soon as possible.
Collision Warning Not
Available Sensor
Blocked See Manual
Displayed when there is a system malfunction with the
collision warning system. The system will be disabled.Contact your authorized dealer as soon as possible.
Collision Warning Not
Available
121
MKZ (CC9) Information Displays
Page 124 of 475

Doors and Locks
Action
Message
Displays when the door(s) listed is not completelyclosed and the vehicle is moving.
X Door Ajar
Displays when the door(s) listed is not completely closed.
Displays when the luggage compartment is not completely closed.
Trunk Ajar
Displays when the door switches have been disabled.
Switches Inhibited
Security Mode
Displays the factory keypad code after the keypad hasbeen reset. See Keyless Entry (page 67).
Factory Keypad Code
XXXXX
Driver Alert Action
Message
Stop and rest as soon as it is safe to do so.
Driver Alert Warning
Rest Now
Take a rest break soon.
Driver Alert Warning
Rest Suggested
Fuel Action
Message
Displayed as an early reminder of a low fuel condition.
Fuel Level Low
Displayed when the fuel fill inlet may not be properly closed.
Check Fuel Fill Inlet
122
MKZ (CC9) Information Displays
Page 133 of 475

Transmission
Action
Message
See your authorized dealer.
Transmission
Malfunction Service Now
The transmission is overheating and needs to cool.Stop in a safe place as soon as it’ s possible.
Transmission Over-
heating Stop Safely
The transmission has overheated and needs to cool.Stop in a safe place as soon as it’ s possible.
Transmission Over-
temperature Stop Safely
See your authorized dealer.
Transmission Service
Required
Transmission is getting hot. Stop to let it cool.
Transmission Too Hot
Press Brake
Displays when the transmission has overheated and
has limited functionality. See Automatic Transmis-
sion (page 185).
Transmission Limited
Function See Manual
Transmission is too cold. Wait for it to warm up beforeyou drive.
Transmission
Warming Up Please Wait
Displays as a reminder to shift into park.
Transmission Not in
Park
Displays when the transmission has adjusted the shift strategy.
Transmission
Adjusted
Displays when the transmission is adjusting the shift strategy.
Transmission Adapt
Mode
Displays when the transmission shift lever is lockedand unable to select gears.
Transmission Indicate
Mode Lockup On
Displays when the transmission shift lever is unlockedand free to select gears.
Transmission Indicate
Mode Lockup Off
Displays when an invalid gear has been selected.
Invalid Gear Selection
131
MKZ (CC9) Information Displays
Page 146 of 475

WARNINGS
The head restraint is a safety
device. Whenever possible it
should be installed and properly
adjusted when the seat is occupied. Install the head restraint properly
to help minimize the risk of neck
injury in the event of a crash. Note:
Adjust the seatback to an
upright driving position before adjusting
the head restraint. Adjust the head
restraint so that the top of it is level
with the top of your head and as far
forward as possible. Make sure that you
remain comfortable. If you are
extremely tall, adjust the head restraint
to its highest position.
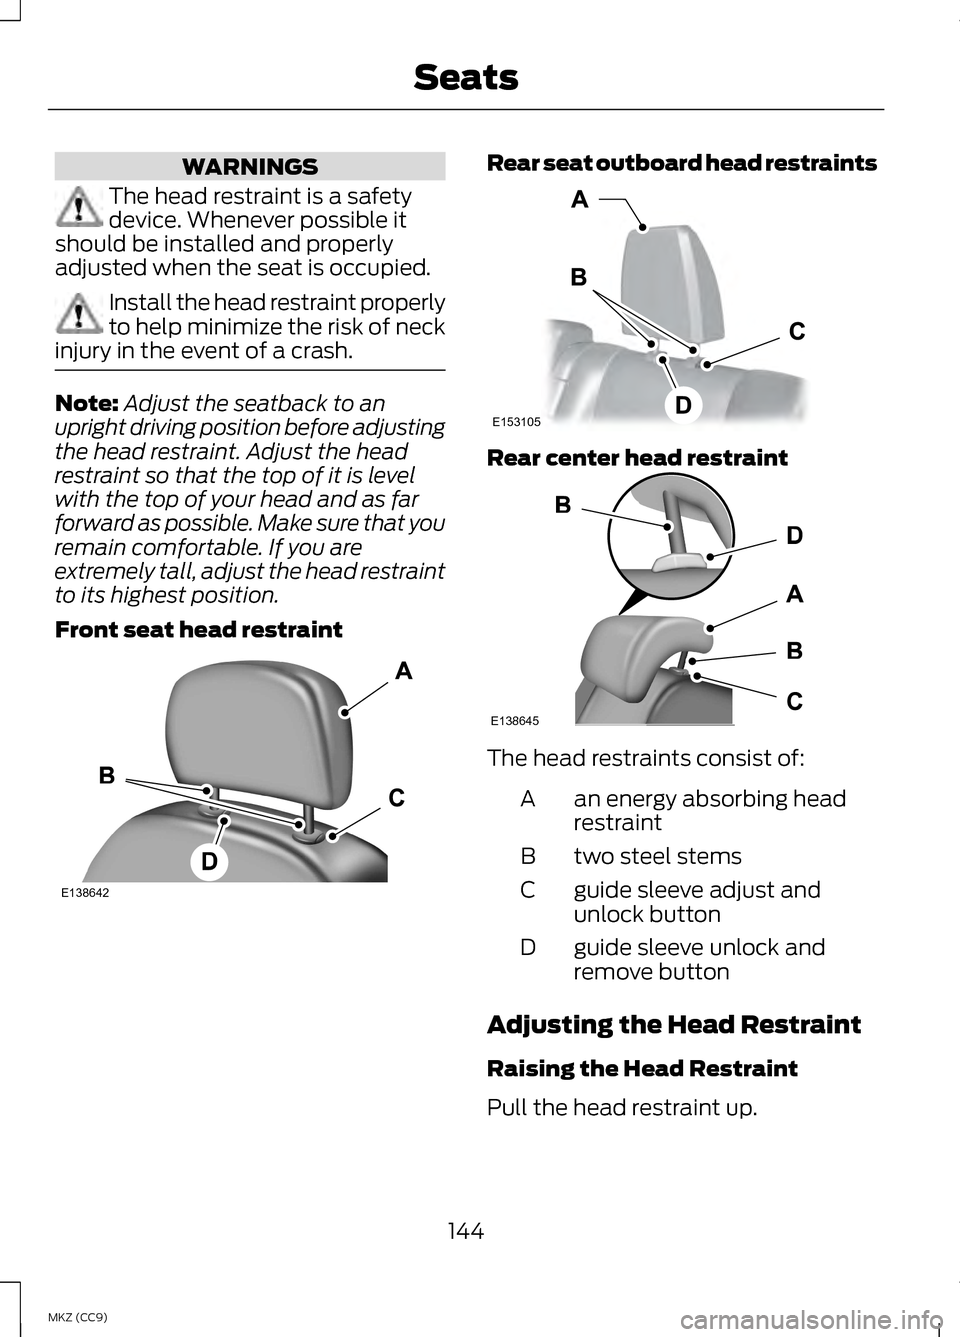
Front seat head restraint Rear seat outboard head restraints
Rear center head restraint
The head restraints consist of:
an energy absorbing head
restraint
A
two steel stems
B
guide sleeve adjust and
unlock button
C
guide sleeve unlock and
remove button
D
Adjusting the Head Restraint
Raising the Head Restraint
Pull the head restraint up.
144
MKZ (CC9) SeatsE138642 E153105 E138645
Page 147 of 475

Lowering the Head Restraint
1. Press and hold button C.
2. Push the head restraint down.
Removing the Head Restraint
1. Pull the head restraint up until it
reaches its highest position.
2. Press and hold buttons C and D.
3. Pull the head restraint up.
Installing the Head Restraint
Align the steel stems into the guide
sleeves and push the head restraint
down until it locks.
Tilting Head Restraints
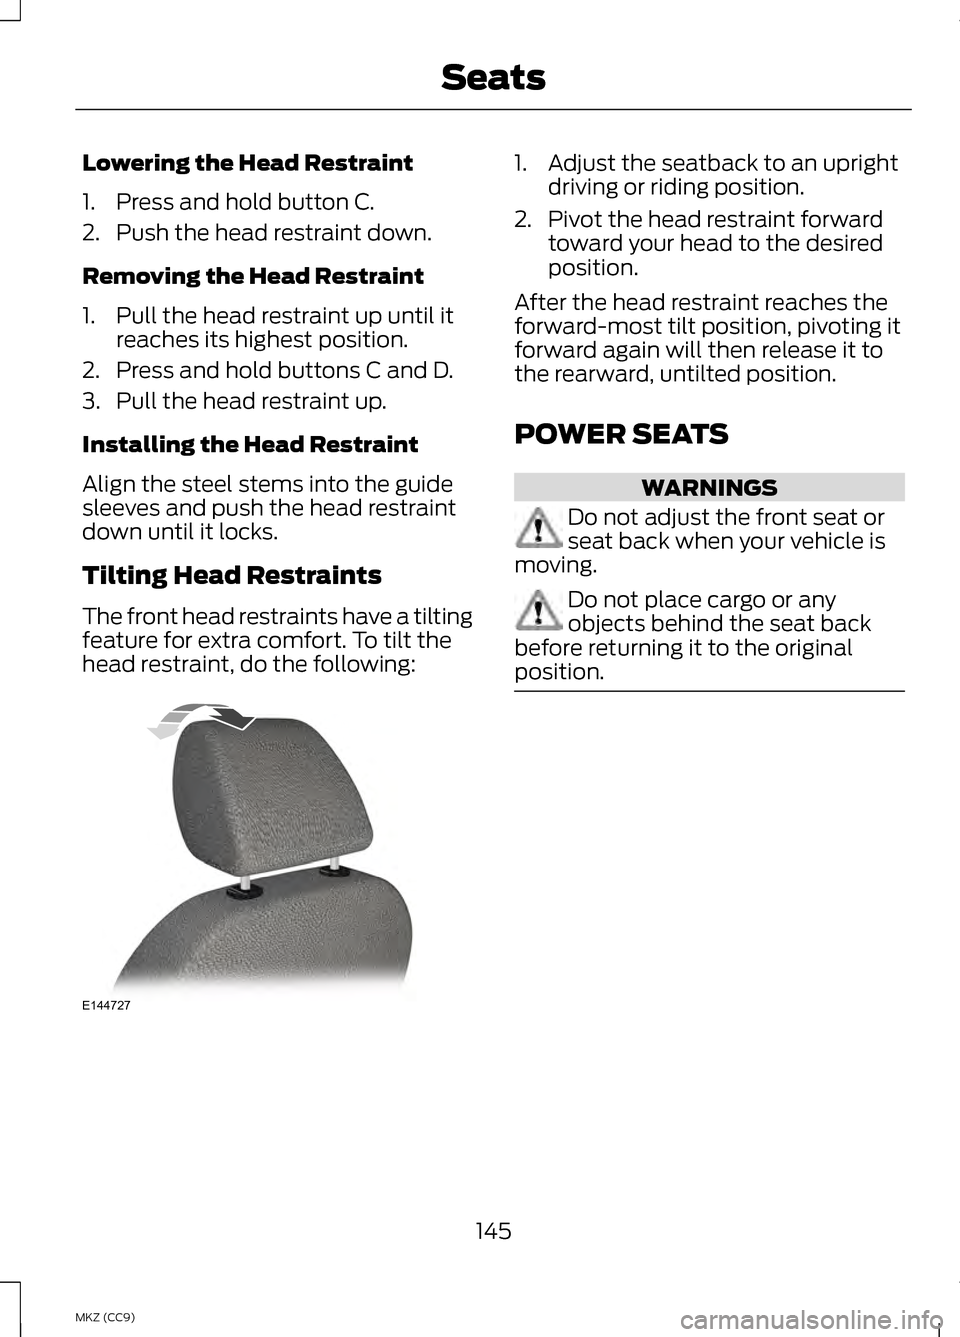
The front head restraints have a tilting
feature for extra comfort. To tilt the
head restraint, do the following: 1. Adjust the seatback to an upright
driving or riding position.
2. Pivot the head restraint forward toward your head to the desired
position.
After the head restraint reaches the
forward-most tilt position, pivoting it
forward again will then release it to
the rearward, untilted position.
POWER SEATS WARNINGS
Do not adjust the front seat or
seat back when your vehicle is
moving. Do not place cargo or any
objects behind the seat back
before returning it to the original
position. 145
MKZ (CC9) SeatsE144727
Page 150 of 475

Saving a Pre-Set Position
1. Switch the ignition on.
2. Adjust the seat, exterior mirrors
and power steering column to your
desired position.
3. Press and hold the desired pre-set
button until you hear a single
chime.
Up to three pre-set memory positions
may be saved. A memory pre-set may
be saved at any time.
Recalling a Pre-Set Position
Press and release the pre-set button
associated with your desired driving
position. The seat, mirrors and
steering column will move to the
position stored for that pre-set.
Note: A pre-set memory position can
only be recalled when the ignition is off,
or when the transmission selector lever
is in position P or N (and your vehicle
is not moving) if the ignition is on.
A pre-set memory position can also
be recalled by pressing the unlock
button on your remote control or
intelligent access key if it is linked to
a pre-set position. Linking a Pre-Set Position to
your Remote Control or
Intelligent Access Key
Your vehicle can save the pre-set
memory positions for up to three
remote controls or intelligent access
(IA) keys.
1. With the ignition on, move the
memory positions to the desired
positions.
2. Press and hold the desired pre-set
button for about five seconds. A
chime will sound after about two
seconds. Continue holding until a
second chime is heard.
3. Within three seconds, press the lock button on the remote control
you are linking.
To unlink a remote control, follow the
same procedure – except in step 3,
press the unlock button on the remote
control.
Note: To stop seat movement during
a recall, press any driver seat
adjustment control, any of the memory
buttons, or any mirror control switch.
Seat movement will also stop if you
move your vehicle.
Note: If more than one linked remote
control or IA key is in range, the memory
function will move to the settings of
the first key stored.
148
MKZ (CC9) SeatsE142554
Page 155 of 475

HomeLink Wireless Control
System (If Equipped)
WARNING
Do not use the system with any
garage door opener that does
not have the safety stop and reverse
feature as required by U.S. Federal
Safety Standards (this includes any
garage door opener manufactured
before April 1, 1982). A garage door
opener which cannot detect an object,
signaling the door to stop and reverse,
does not meet current federal safety
standards. Using a garage door opener
without these features increases the
risk of serious injury or death. Note:
Make sure that the garage door
and security device are free from
obstruction when you are
programming. Do not program the
system with the vehicle in the garage.
Note: Make sure you keep the original
remote control transmitter for use in
other vehicles as well as for future
system programming.
Note: We recommend that upon the
sale or lease termination of your
vehicle, you erase the programmed
function buttons for security reasons.
See Erasing the function button codes
later in this section.
Note: You can program a maximum
of three devices. To change or replace
any of the three devices after it has
been initially programmed, you must
first erase the current settings. See
Erasing the function button codes later
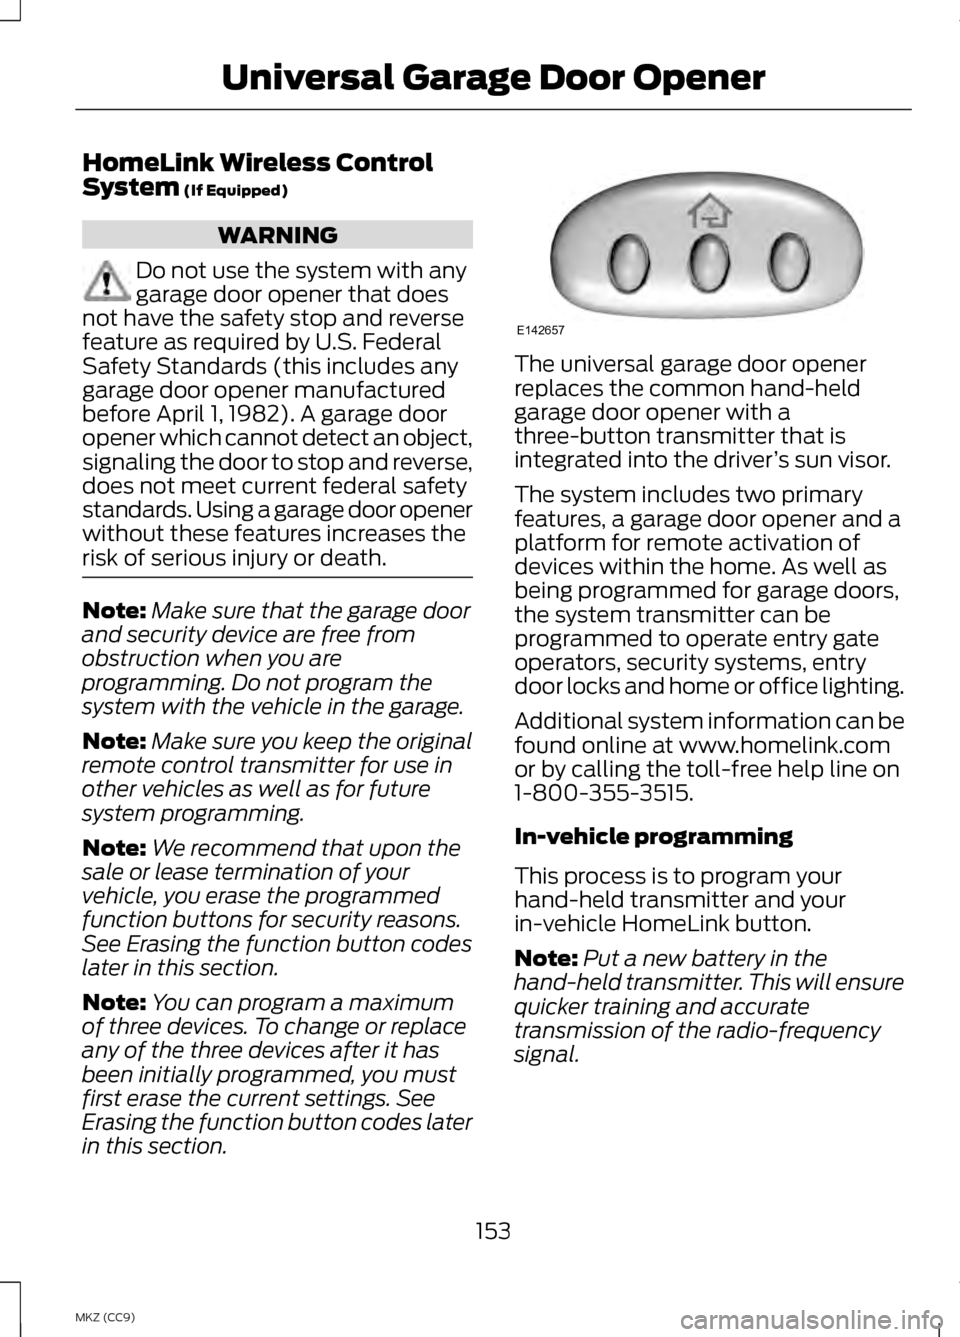
in this section. The universal garage door opener
replaces the common hand-held
garage door opener with a
three-button transmitter that is
integrated into the driver
’s sun visor.
The system includes two primary
features, a garage door opener and a
platform for remote activation of
devices within the home. As well as
being programmed for garage doors,
the system transmitter can be
programmed to operate entry gate
operators, security systems, entry
door locks and home or office lighting.
Additional system information can be
found online at www.homelink.com
or by calling the toll-free help line on
1-800-355-3515.
In-vehicle programming
This process is to program your
hand-held transmitter and your
in-vehicle HomeLink button.
Note: Put a new battery in the
hand-held transmitter. This will ensure
quicker training and accurate
transmission of the radio-frequency
signal.
153
MKZ (CC9) Universal Garage Door OpenerE142657
Page 165 of 475

1.
Remove the rubber covering (A) in
the cupholder. Place the remote in
the backup slot (B) at the bottom
of the cupholder.
2. With the key in this position, press
the brake pedal, then the START
button to switch the ignition on
and start your vehicle.
Fast Restart
The fast restart feature allows you to
restart the engine within 20 seconds
of switching it off, even if a valid key
is not present.
Within 20 seconds of switching the
engine off, press the brake pedal and
press the button. After 20 seconds
have expired, you can no longer restart
the vehicle without the key present
inside your vehicle.
Once the vehicle has started, it
remains running until you press the
button, even if the system does not
detect a valid key. If you open and
close a door while the vehicle is
running, the system searches for a
valid key. You cannot restart the
engine if the system does not detect
a valid key within 20 seconds.
Switching Off the Vehicle
When It Is Stationary
1. Put the transmission in position P.
2. Press the button once.
3. Apply the parking brake.
Note: This switches off the ignition, all
electrical circuits, warning lamps and
indicators. Note:
If the engine is idling for 30
minutes, the ignition and engine
automatically shut down.
Switching Off the Vehicle
When It Is Moving WARNING
Switching off the engine when
the vehicle is still moving will
result in a loss of brake and steering
assistance. The steering will not lock,
but higher effort will be required.
When the ignition is switched off,
some electrical circuits, warning
lamps and indicators may also be off. 1.
Put the transmission in position N
and use the brakes to bring your
vehicle to a safe stop.
2. When your vehicle has stopped, put the transmission in position P.
3. Press and hold the button for one second, or press it three times
within two seconds.
4. Apply the parking brake.
Guarding Against Exhaust
Fumes WARNING
If you smell exhaust fumes inside
your vehicle, have your vehicle
checked by your authorized dealer
immediately. Do not drive your vehicle
if you smell exhaust fumes. Carbon
monoxide is present in exhaust fumes.
Take precautions to avoid its
dangerous effects. 163
MKZ (CC9) Starting and Stopping the Engine