Page 343 of 661

Engine Oil Change Indicator System
Oil Change Due
Your vehicle is equipped with an engine oil change
indicator system. The “Oil Change Due” message will
flash in the EVIC display for approximately 10 seconds
after a single chime has sounded, to indicate the next
scheduled oil change interval. The engine oil change
indicator system is duty cycle based, which means the
engine oil change interval may fluctuate, dependent
upon your personal driving style.
Unless reset, this message will continue to display each
time you turn the ignition switch to the ON/RUN
position or cycle the ignition to the ON/RUN position if
equipped with Keyless Enter-N-Go™. To turn off the
message temporarily, press and release the MENU but-
ton. To reset the oil change indicator system (after
performing the scheduled maintenance) refer to the fol-
lowing procedure.Vehicles Equipped With Keyless Enter-N-Go™
1. Without pressing the brake pedal, push the ENGINE
START/STOP button and cycle the ignition to the
ON/ RUN position (Do not start the engine).
2. Fully depress the accelerator pedal, slowly, three times within 10 seconds.
3. Without pressing the brake pedal, push the ENGINE START/STOP button once to return the ignition to the
OFF/LOCK position.
Vehicles Not Equipped With Keyless Enter-N-Go™
1. Turn the ignition switch to the ON/RUN position (Do not start the engine).
2. Fully depress the accelerator pedal, slowly, three times within 10 seconds.
3. Turn the ignition switch to the OFF/LOCK position.
4
UNDERSTANDING YOUR INSTRUMENT PANEL 341
Page 347 of 661

Elapsed Time
Shows the total elapsed time of travel since the last reset
when the ignition switch is in the ACC position. Elapsed
time will increment when the ignition switch is in the ON
or START position.
To Reset The Display
Press and release the UP or DOWN button until “Vehicle
Info” displays in the EVIC and press the SELECT button.
Press the UP and DOWN button to scroll through the
available information displays, then press SELECT to
display any one of the following choices.
Units
Press and release the UP or DOWN button until “Units”
displays highlighted in the EVIC and press the SELECT
button. The EVIC, odometer, and navigation system (if
equipped) can be changed between English and Metric
units of measure. To make your selection, scroll up ordown until the preferred setting is highlighted, then
press and release the SELECT button until a check-mark
appears next to the setting, showing that the setting has
been selected.
Performance Features
WARNING!
Measurement of vehicle statistics with the performance
pages is intended for off-highway or off-road use only
and should not be done on any public roadways. It is
recommended that these features be used in a con-
trolled environment and within the limits of the law.
The capabilities of the vehicle as measured by the
performance pages must never be exploited in a reck-
less or dangerous manner which can jeopardize the
users safety or the safety of others. Only a safe, atten-
tive, and skillful driver can prevent accidents.
4
UNDERSTANDING YOUR INSTRUMENT PANEL 345
Page 352 of 661
•System Warnings Displayed (will display all currently
active System Warnings)
• Tire Pressure Monitor System (shows the current pres-
sure of all four road tires). For additional information,
refer to “Tire Pressure Monitor System” in “Starting
And Operating”. NOTE:
•
Tires heat up during normal driving conditions. Heat
will cause the tire pressure to increase from 2 to 6 psi
(14 to 41 kPa) during normal driving conditions. Refer
to “Tires-General Information/Tire Inflation Pres-
sures” in “Starting And Operating” for additional
information.
• Your system can be set to display pressure units in PSI,
kPa, or BAR.
Keyless Enter-N-Go™ Display — If Equipped
When the ENGINE START/STOP button is pressed to
change ignition switch positions, the Keyless Enter-N-
Go™ icon momentarily appears in the lower right corner
of the EVIC display showing the new ignition switch
position.
Tire Pressure Display
350 UNDERSTANDING YOUR INSTRUMENT PANEL
Page 353 of 661

Refer to “Keyless Enter-N-Go™” in “Starting And Oper-
ating” for more information.
NOTE:Under certain conditions, the display may be
superseded by another display of higher priority. But
when the ignition switch position is changed, the display
always re-appears.
Compass / Temperature Display
The compass readings indicate the direction the vehicle is
facing. The EVIC will display one of eight compass
readings and the outside temperature.
NOTE: The system will display the last known outside
temperature when starting the vehicle and may need to
be driven several minutes before the updated tempera-
ture is displayed. Engine temperature can also affect the
displayed temperature; therefore, temperature readings
are not updated when the vehicle is not moving.
Automatic Compass Calibration
This compass is self-calibrating, which eliminates the
need to manually reset the compass. When the vehicle is
new, the compass may appear erratic and the EVIC will
display CAL until the compass is calibrated. You may
also calibrate the compass by completing one or more
360–degree turns (in an area free from large metal or
metallic objects) until the CAL indicator displayed in the
EVIC turns off. The compass will now function normally.
NOTE: A good calibration requires a level surface and
an environment free from large metallic objects such as
buildings, bridges, underground cables, railroad tracks,
etc.
4
UNDERSTANDING YOUR INSTRUMENT PANEL 351
Page 354 of 661
Compass Variance
Compass Variance is the difference between Magnetic
North and Geographic North. To compensate for the
differences the variance should be set for the zone where
the vehicle is driven, per the zone map. Once properly
set, the compass will automatically compensate for the
differences, and provide the most accurate compass
heading. For the most accurate compass performance, the
compass must be set using the following steps.
NOTE:Keep magnetic materials away from the top of
the instrument panel, such as iPod’s, Mobile Phones,
Laptops and Radar Detectors. This is where the compass
module is located, and it can cause interference with the
compass sensor, and it may give false readings. 1. Turn the ignition switch ON.
2. Press the UP or DOWN button until the Setup
(Customer-Programmable Features) menu is reached,
then press the SELECT button.
Compass Variance Map
352 UNDERSTANDING YOUR INSTRUMENT PANEL
Page 355 of 661

3. Press the DOWN button until the “Compass Variance”message is displayed in the EVIC, then press the
SELECT button. The last variance zone number dis-
plays in the EVIC.
4. Press and release the SELECT button until the proper variance zone is selected, according to the map.
5. Press and release the BACK button to exit.
Manual Compass Calibration
If the compass appears erratic and the CAL indicator
does not appear in the EVIC display, you must put the
compass into the Calibration Mode manually, as follows:
NOTE: For the most accurate compass performance, the
compass variance must be set before performing the
manual compass calibration. The variance should be set
for the zone where the vehicle is driven, per the zone
map. For further information, refer to “Compass Vari-
ance.” 1. Turn ON the ignition switch.
2. Press the UP or DOWN button until the Setup
(Customer-Programmable Features) menu is reached,
then press the SELECT button.
3. Press the DOWN button until “Calibrate Compass” is displayed in the EVIC.
4. Press and release the SELECT button to start the calibration. The “CAL” indicator will be displayed in
the EVIC.
5. Complete one or more 360–degree turns (in an area free from large metal or metallic objects) until the
“CAL” indicator turns off. The compass will now
function normally.
4
UNDERSTANDING YOUR INSTRUMENT PANEL 353
Page 360 of 661

This feature provides automatic driver seat positioning to
enhance driver mobility when entering and exiting the
vehicle. To make your selection,")
Easy Entry/Exit Seat (Available with Memory Seat
Only)
This feature provides automatic driver seat positioning to
enhance driver mobility when entering and exiting the
vehicle. To make your selection, press and release the
SELECT button until a check-mark appears next to the
feature showing the system has been activated or the
check-mark is removed showing the system has been
deactivated.
NOTE:The seat will return to the memorized seat
location (if Recall Memory with Remote Key Unlock is set
to ON) when the RKE transmitter is used to unlock the
door. Refer to “Driver Memory Seat” in “Understanding
The Features Of Your Vehicle” for further information.
Tilt Mirror In Reverse
When this feature is selected, the outside rearview mir-
rors will tilt downward when the ignition switch is in the
RUN position and the transmission shift lever is in the REVERSE position. The mirrors will move back to their
previous position when the transmission is shifted out of
REVERSE. To make your selection, press and release the
SELECT button until a check-mark appears next to the
feature showing the system has been activated or the
check-mark is removed showing the system has been
deactivated.
Key-Off Power Delay
When this feature is selected, the power window
switches, radio, hands-free system (if equipped), DVD
video system (if equipped), power sunroof (if equipped),
and power outlets will remain active for up to 10 minutes
after the ignition switch is turned OFF. Opening either
front vehicle door will cancel this feature. To make your
selection, scroll up or down until the preferred setting is
highlighted, then press and release the SELECT button
until a check-mark appears next to the setting, showing
that the setting has been selected.
358 UNDERSTANDING YOUR INSTRUMENT PANEL
Page 365 of 661
UCONNECT�130
Operating Instructions — Radio Mode
NOTE: The ignition switch must be in the ON or ACC
position to operate the radio.
Power Switch/Volume Control (Rotary)
Push the ON/VOLUME control knob to turn on the
radio. Push the ON/VOLUME control knob a second
time to turn off the radio.
Electronic Volume Control
The electronic volume control turns continuously (360
degrees) in either direction, without stopping. Turning
the ON/VOLUME control knob to the right increases the
volume, and to the left decreases it.
When the audio system is turned on, the sound will be
set at the same volume level as last played.
SEEK Buttons
Press and release the SEEK buttons to search for the next
listenable station in AM/FM mode. Press the right switch
to seek up and the left switch to seek down. The radio
will remain tuned to the new station until you make
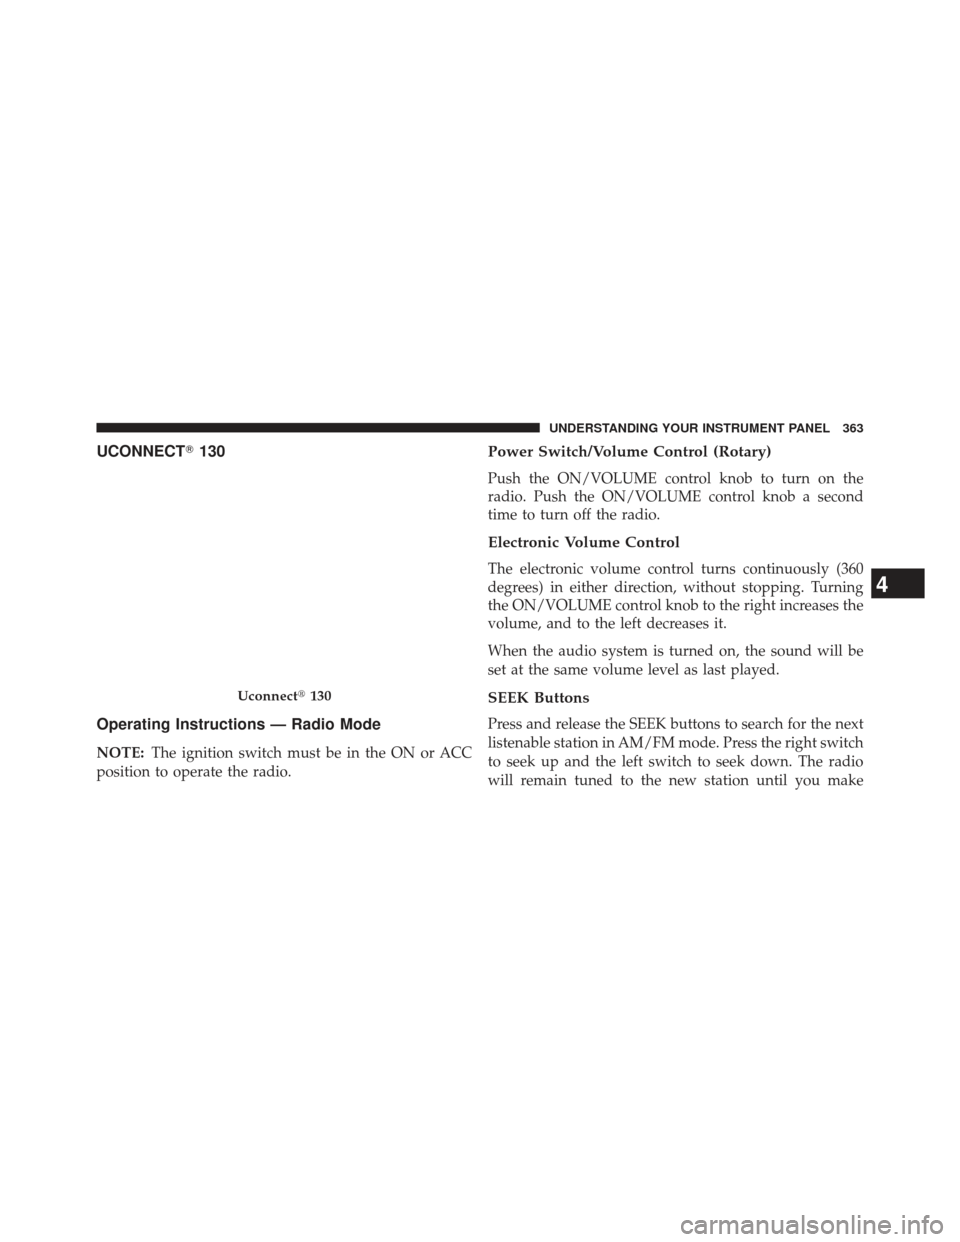
Uconnect� 130
4
UNDERSTANDING YOUR INSTRUMENT PANEL 363

• Tire Pressure Monitor System (shows the current pres-
sure of all four road tires). For additional information,
ref")