2013 FORD FUSION (AMERICAS) reset
[x] Cancel search: resetPage 110 of 458
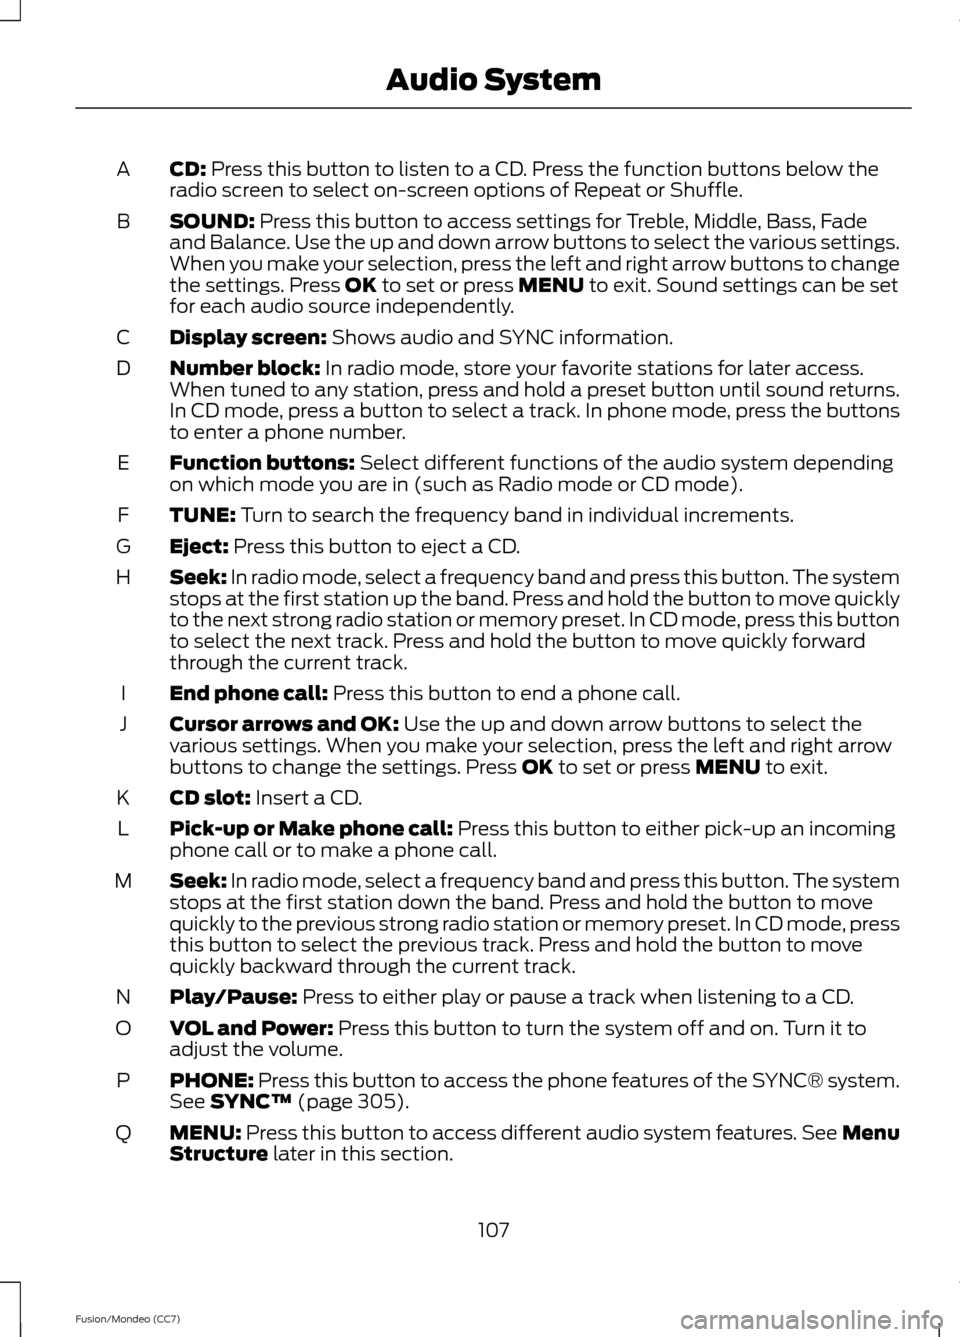
CD: Press this button to listen to a CD. Press the function buttons below the
radio screen to select on-screen options of Repeat or Shuffle.
A
SOUND:
Press this button to access settings for Treble, Middle, Bass, Fade
and Balance. Use the up and down arrow buttons to select the various settings.
When you make your selection, press the left and right arrow buttons to change
the settings. Press
OK to set or press MENU to exit. Sound settings can be set
for each audio source independently.
B
Display screen:
Shows audio and SYNC information.
C
Number block:
In radio mode, store your favorite stations for later access.
When tuned to any station, press and hold a preset button until sound returns.
In CD mode, press a button to select a track. In phone mode, press the buttons
to enter a phone number.
D
Function buttons:
Select different functions of the audio system depending
on which mode you are in (such as Radio mode or CD mode).
E
TUNE:
Turn to search the frequency band in individual increments.
F
Eject:
Press this button to eject a CD.
G
Seek:
In radio mode, select a frequency band and press this button. The system
stops at the first station up the band. Press and hold the button to move quickly
to the next strong radio station or memory preset. In CD mode, press this button
to select the next track. Press and hold the button to move quickly forward
through the current track.
H
End phone call:
Press this button to end a phone call.
I
Cursor arrows and OK:
Use the up and down arrow buttons to select the
various settings. When you make your selection, press the left and right arrow
buttons to change the settings. Press
OK to set or press MENU to exit.
J
CD slot:
Insert a CD.
K
Pick-up or Make phone call:
Press this button to either pick-up an incoming
phone call or to make a phone call.
L
Seek:
In radio mode, select a frequency band and press this button. The system
stops at the first station down the band. Press and hold the button to move
quickly to the previous strong radio station or memory preset. In CD mode, press
this button to select the previous track. Press and hold the button to move
quickly backward through the current track.
M
Play/Pause:
Press to either play or pause a track when listening to a CD.
N
VOL and Power:
Press this button to turn the system off and on. Turn it to
adjust the volume.
O
PHONE:
Press this button to access the phone features of the SYNC® system.
See SYNC™ (page 305).
P
MENU:
Press this button to access different audio system features. See Menu
Structure later in this section.
Q
107
Fusion/Mondeo (CC7) Audio System
Page 112 of 458
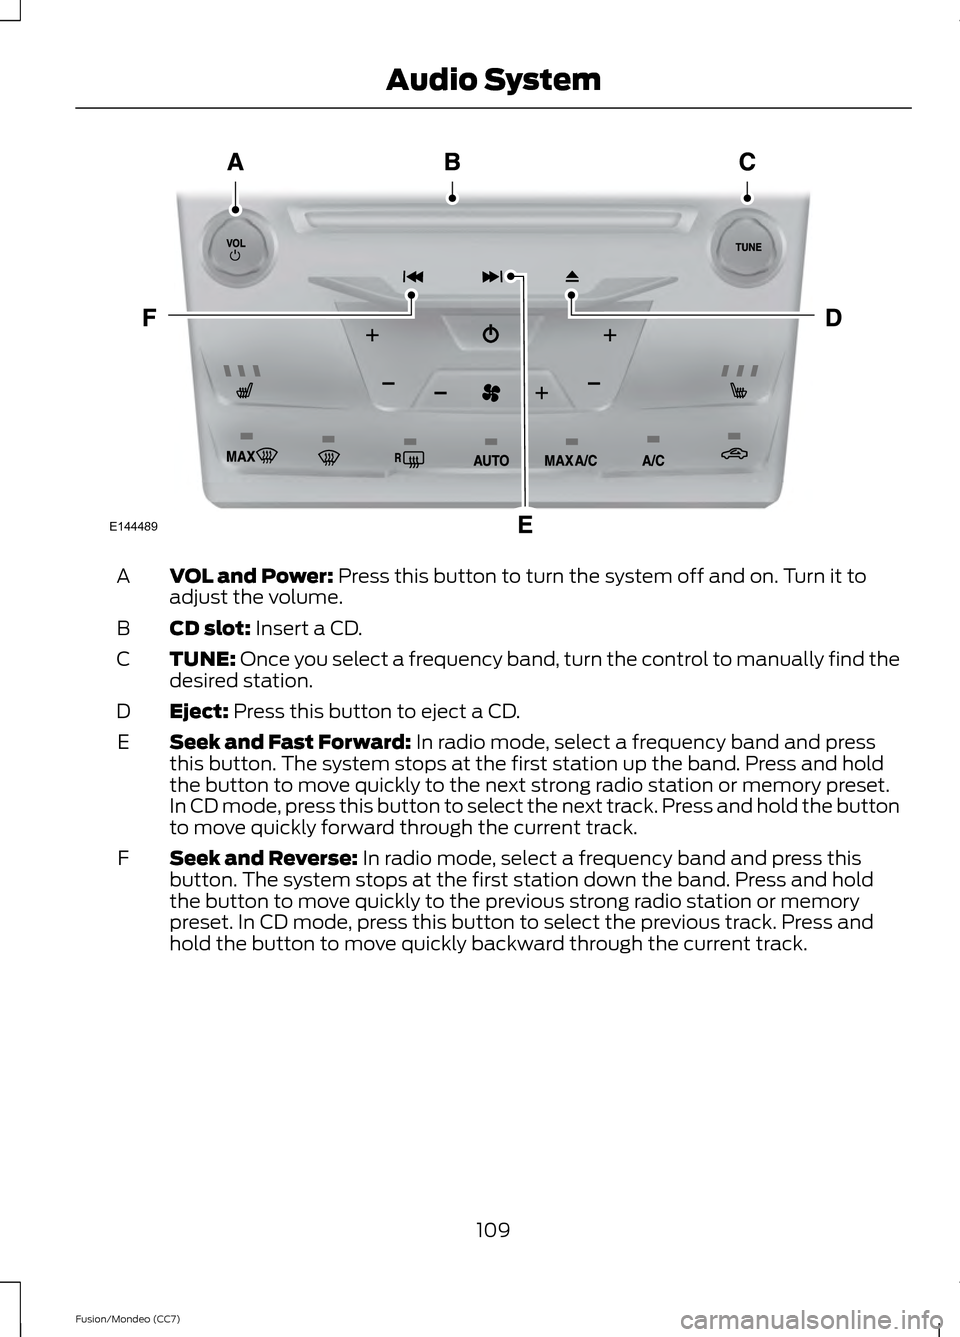
VOL and Power: Press this button to turn the system off and on. Turn it to
adjust the volume.
A
CD slot:
Insert a CD.
B
TUNE:
Once you select a frequency band, turn the control to manually find the
desired station.
C
Eject:
Press this button to eject a CD.
D
Seek and Fast Forward:
In radio mode, select a frequency band and press
this button. The system stops at the first station up the band. Press and hold
the button to move quickly to the next strong radio station or memory preset.
In CD mode, press this button to select the next track. Press and hold the button
to move quickly forward through the current track.
E
Seek and Reverse:
In radio mode, select a frequency band and press this
button. The system stops at the first station down the band. Press and hold
the button to move quickly to the previous strong radio station or memory
preset. In CD mode, press this button to select the previous track. Press and
hold the button to move quickly backward through the current track.
F
109
Fusion/Mondeo (CC7) Audio SystemE144489
Page 114 of 458
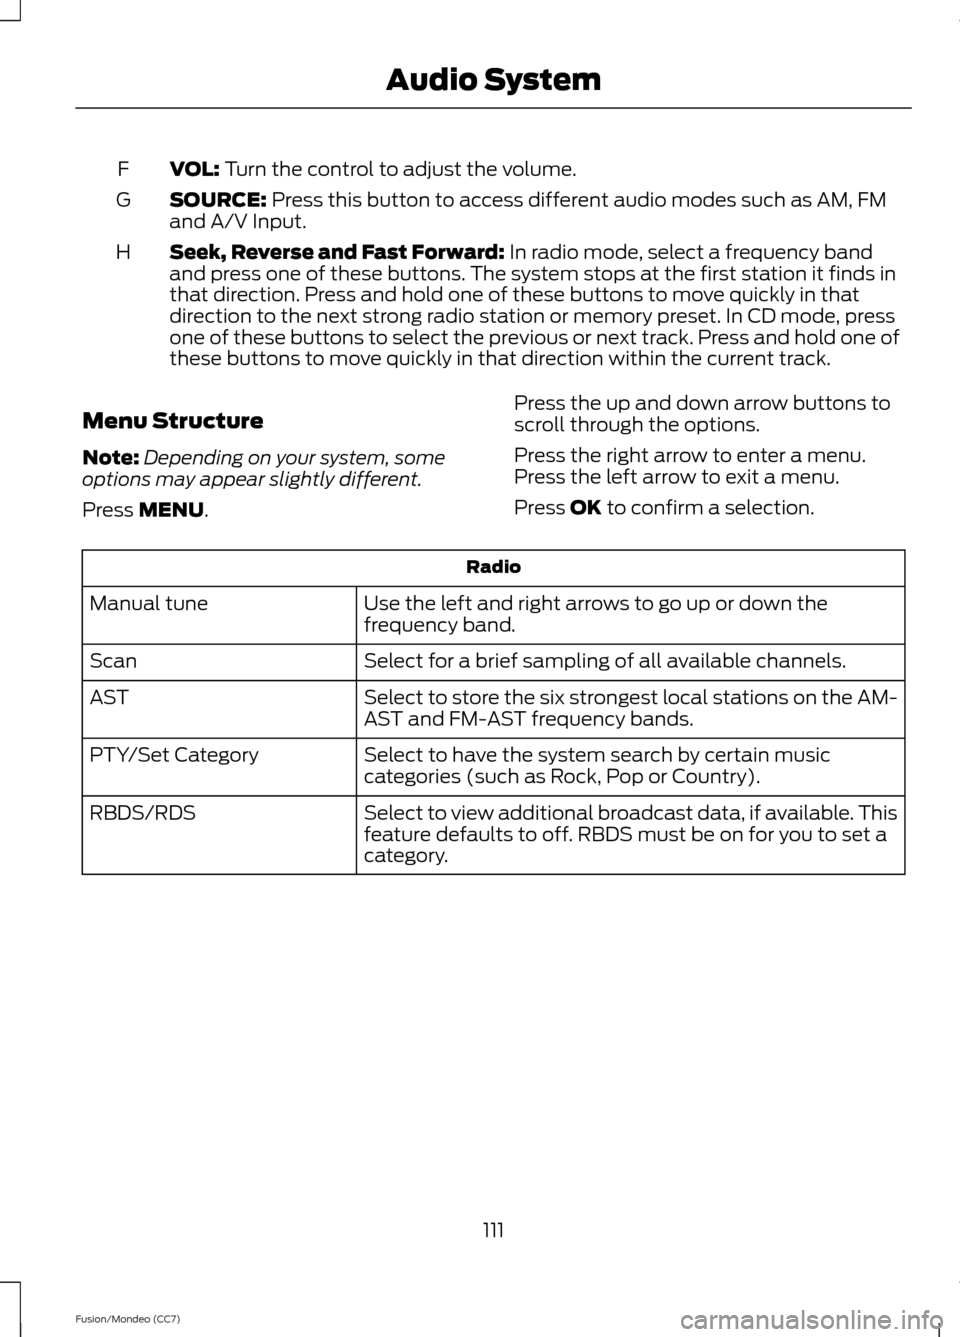
VOL: Turn the control to adjust the volume.
F
SOURCE:
Press this button to access different audio modes such as AM, FM
and A/V Input.
G
Seek, Reverse and Fast Forward:
In radio mode, select a frequency band
and press one of these buttons. The system stops at the first station it finds in
that direction. Press and hold one of these buttons to move quickly in that
direction to the next strong radio station or memory preset. In CD mode, press
one of these buttons to select the previous or next track. Press and hold one of
these buttons to move quickly in that direction within the current track.
H
Menu Structure
Note: Depending on your system, some
options may appear slightly different.
Press
MENU. Press the up and down arrow buttons to
scroll through the options.
Press the right arrow to enter a menu.
Press the left arrow to exit a menu.
Press OK to confirm a selection. Radio
Use the left and right arrows to go up or down the
frequency band.
Manual tune
Select for a brief sampling of all available channels.
Scan
Select to store the six strongest local stations on the AM-
AST and FM-AST frequency bands.
AST
Select to have the system search by certain music
categories (such as Rock, Pop or Country).
PTY/Set Category
Select to view additional broadcast data, if available. This
feature defaults to off. RBDS must be on for you to set a
category.
RBDS/RDS
111
Fusion/Mondeo (CC7) Audio System
Page 118 of 458
Troubleshooting
Possible Action
Condition
Radio Display
No action required. This
message should disappear
shortly.
Radio requires more than
two seconds to produce
audio for the selected
channel.
Acquiring
If this message does not
clear shortly, or with an igni-
tion key cycle, your receiver
may have a fault. See an
authorized dealer for service.
There is an internal module
or system failure present.
Sat Fault/SIRIUS system
failure
Tune to another channel or
choose another preset.
The channel is no longer
available.
Invalid Channel
Contact SIRIUS at 1-888-
539-7474 to subscribe to
the channel, or tune to
another channel.
Your subscription does not
include this channel.
Unsubscribed Channel
The signal is blocked. When
you move into an open area,
the signal should return.
The signal is lost from the
SIRIUS satellite or SIRIUS
tower to your vehicle
antenna.
No Signal
No action required. The
process may take up to
three minutes.
Update of channel
programming in progress.
Updating
Contact SIRIUS at 1-888-
539-7474 to resolve
subscription issues.
Your satellite service is no
longer available.
Call SIRIUS 1-888-539-7474
Use the channel guide to
turn off the Lock or Skip
function on that station.
All the channels in the
selected category are either
skipped or locked.
None found. Check Channel
Guide.
No action required.
SIRIUS has updated the
channels available for your
vehicle.
Subscription Updated
115
Fusion/Mondeo (CC7) Audio System
Page 150 of 458
You can stop the engine shutdown, or reset
the timer, at any point before the
30-second countdown has expired by
doing any of the following:
•
You can reset the timer by interacting
with your vehicle (such as pressing the
brake pedal or accelerator pedal).
• You can temporarily switch off the
shutdown feature any time the ignition
is on (for the current ignition cycle
only). Use the information display to
do so. See Information Displays
(page 83).
• During the countdown before engine
shutdown, you are prompted to press
OK or RESET (depending on your type
of information display) to temporarily
switch the feature off (for the current
ignition cycle only).
Stopping the Engine When Your
Vehicle is Stationary
Vehicles with an Ignition Key
1. Move the transmission selector lever to position P (automatic transmission)
or
1 (manual transmission).
2. Turn the key to position
0.
3. Apply the parking brake.
Vehicles with Keyless Start
1. Move the transmission selector lever to position
P.
2. Press the button once.
3. Apply the parking brake.
Note: This switches off the ignition, all
electrical circuits, warning lamps and
indicators.
Note: If the engine is idling for 30 minutes,
the ignition and engine automatically shut
down. Stopping the Engine When Your
Vehicle is Moving WARNING
Switching off the engine when the
vehicle is still moving will result in a
loss of brake and steering assistance.
The steering will not lock, but higher effort
will be required. When the ignition is
switched off, some electrical circuits,
warning lamps and indicators may also be
off. Vehicles with an Ignition Key
1. Move the transmission selector lever
to position N (automatic transmission)
or neutral (manual transmission) and
use the brakes to bring your vehicle to
a safe stop.
2. When your vehicle has stopped, move the transmission selector lever to
position
P (automatic transmission)
or 1 (manual transmission) and turn
the key to position 0.
3. Apply the parking brake.
Vehicles with Keyless Start
1. Move the transmission selector lever to position
N and use the brakes to
bring your vehicle to a safe stop.
2. When your vehicle has stopped, move the transmission selector lever to
position
P.
3. Press and hold the button for one second, or press it three times within
two seconds.
4. Apply the parking brake.
147
Fusion/Mondeo (CC7) Starting and Stopping the Engine
Page 157 of 458
Easy Fuel
™ Capless Fuel System WARNING
The fuel system may be under
pressure. If you hear a hissing sound
near the fuel filler door, do not refuel
until the sound stops. Otherwise, fuel may
spray out, which could cause serious
personal injury. When fueling your vehicle:
1.
Put the vehicle in P (Park) and turn the
ignition off.
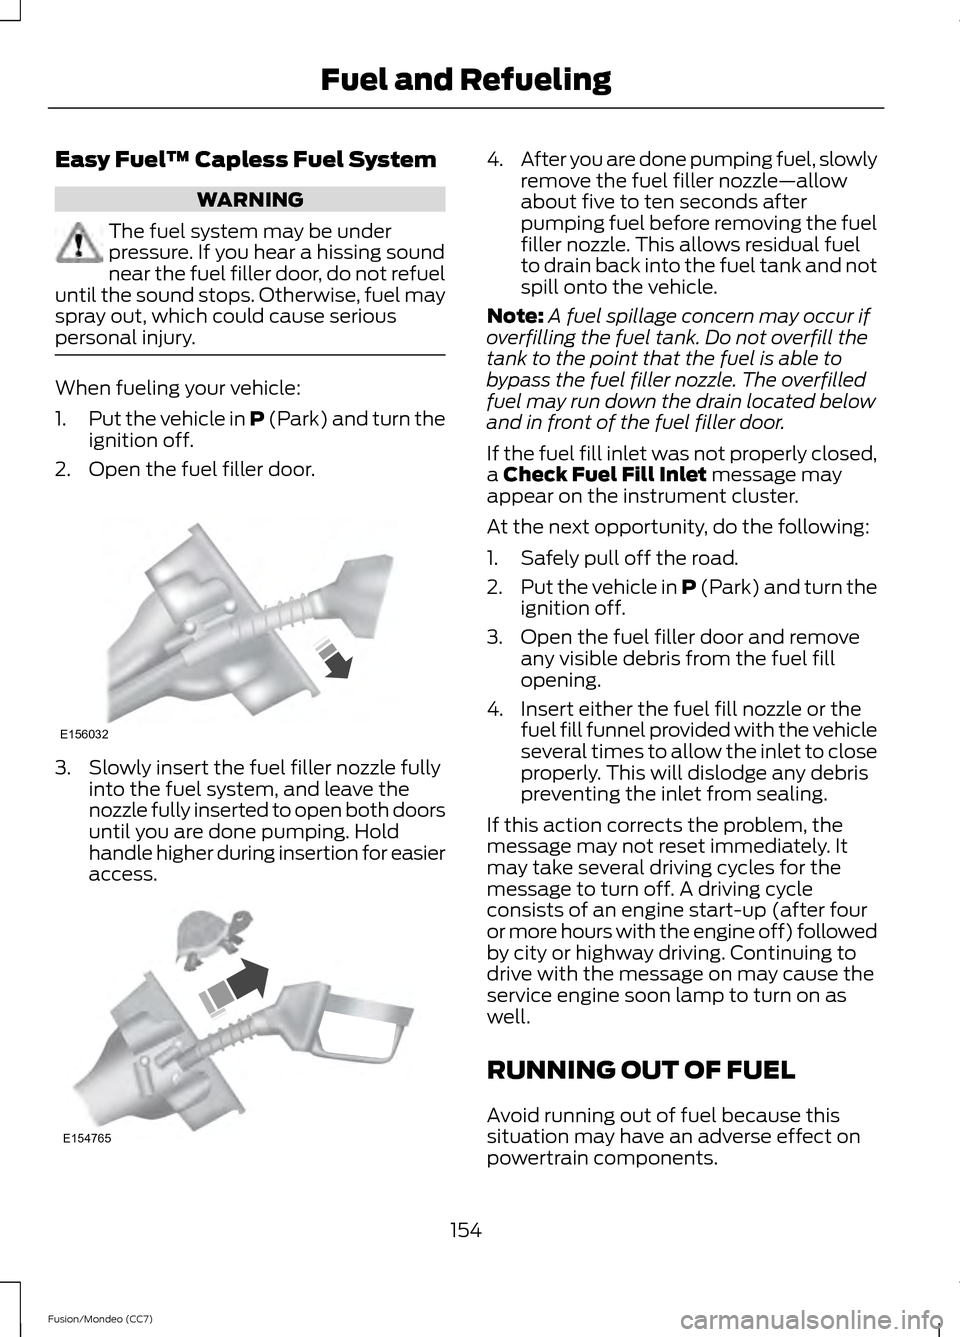
2. Open the fuel filler door. 3. Slowly insert the fuel filler nozzle fully
into the fuel system, and leave the
nozzle fully inserted to open both doors
until you are done pumping. Hold
handle higher during insertion for easier
access. 4.
After you are done pumping fuel, slowly
remove the fuel filler nozzle—allow
about five to ten seconds after
pumping fuel before removing the fuel
filler nozzle. This allows residual fuel
to drain back into the fuel tank and not
spill onto the vehicle.
Note: A fuel spillage concern may occur if
overfilling the fuel tank. Do not overfill the
tank to the point that the fuel is able to
bypass the fuel filler nozzle. The overfilled
fuel may run down the drain located below
and in front of the fuel filler door.
If the fuel fill inlet was not properly closed,
a Check Fuel Fill Inlet message may
appear on the instrument cluster.
At the next opportunity, do the following:
1. Safely pull off the road.
2. Put the vehicle in P (Park) and turn the
ignition off.
3. Open the fuel filler door and remove any visible debris from the fuel fill
opening.
4. Insert either the fuel fill nozzle or the fuel fill funnel provided with the vehicle
several times to allow the inlet to close
properly. This will dislodge any debris
preventing the inlet from sealing.
If this action corrects the problem, the
message may not reset immediately. It
may take several driving cycles for the
message to turn off. A driving cycle
consists of an engine start-up (after four
or more hours with the engine off) followed
by city or highway driving. Continuing to
drive with the message on may cause the
service engine soon lamp to turn on as
well.
RUNNING OUT OF FUEL
Avoid running out of fuel because this
situation may have an adverse effect on
powertrain components.
154
Fusion/Mondeo (CC7) Fuel and RefuelingE156032 E154765
Page 188 of 458
This allows you to get a closer view of an
object behind the vehicle. The zoomed
image keeps the bumper in the image to
provide a reference. The zoom is only
active while the transmission is in R
(Reverse). When the transmission is
shifted out of R (Reverse), the feature
automatically turns off and must be reset
when it is used again.
Selectable settings for this feature are OFF,
Level 1, Level 2 or Level 3. Press the up and
down arrows to change the view. The
selection level appears between the
buttons (i.e. Level 1). The default setting
for the manual zoom is OFF.
Rear Camera Delay
The camera image will be displayed upon
shifting out of R (Reverse) until the vehicle
speed reaches 5 mph (8 km/h). This will
occur when the rear camera delay feature
is on, or until the radio button is selected.
Selectable settings for this feature are ON
and OFF. The default setting for the rear
camera delay is OFF.
185
Fusion/Mondeo (CC7) Parking Aids
Page 191 of 458

5. A lead vehicle graphic will illuminate if
there is a vehicle detected in front of
you.
Note: When adaptive cruise control is
active, the set speed displayed in the
information display may vary slightly from
the speedometer.
Following a Vehicle WARNINGS
When following a vehicle in front of
you, the vehicle will not decelerate
automatically to a stop, nor will the
vehicle always decelerate quickly enough
to avoid a collision without driver
intervention. Always apply the brakes when
necessary. Failing to do so may result in a
collision, serious injury or death. Adaptive cruise control only warns
of vehicles detected by the radar
sensor. In some cases there may be
no warning or the warning may be delayed.
The driver should always apply the brakes
when necessary. Failing to do so may result
in a collision, serious injury or death. Note:
The brakes may emit a sound when
they are being modulated by the adaptive
cruise control system.
When a vehicle ahead of you enters the
same lane or a slower vehicle is ahead in
the same lane, the vehicle speed adjusts
to maintain a preset gap distance. The
distance setting is adjustable.
The lead vehicle graphic will illuminate. The vehicle will maintain a constant
distance between the vehicle ahead until:
•
the vehicle in front of you accelerates
to a speed above the set speed
• the vehicle in front of you moves out of
your lane or out of view
• the vehicle speed falls below 12 mph
(20 km/h)
• a new gap distance is set.
The vehicle will apply the brakes to slow
the vehicle to maintain a safe distance
from the vehicle in front. The maximum
braking which the system can apply is
limited. You can override the system by
applying the brakes.
If the system predicts that its maximum
braking level will not be sufficient, an
audible warning will sound while the
system continues to brake. This is
accompanied by a heads-up display; a red
warning bar illuminating on the windshield.
You should take immediate action.
Setting the Gap Distance
Note: It is your responsibility to select a gap
appropriate to the driving conditions. Gap decrease
A
Gap increase
B
188
Fusion/Mondeo (CC7) Cruise ControlE82312 E144502