2013 FORD F250 lock
[x] Cancel search: lockPage 187 of 577
Important Ventilating Information
If you stop your vehicle and leave the engine idling for long periods of
time, we recommend that you do one of the following:
•Open the windows at least 1 inch (2.5 centimeters).
•Set your climate control to outside air.
ENGINE BLOCK HEATER (IF EQUIPPED)
WARNING:Failure to follow engine block heater instructions
could result in property damage or physical injury.
WARNING:Do not use your heater with ungrounded electrical
systems or two-pronged (cheater) adapters. There is a risk of
electrical shock.
Note:The heater is most effective when outdoor temperatures are below
0°F (-18°C).
The heater acts as a starting aid by warming the engine coolant. This
allows the climate control system to respond quickly. The equipment
includes a heater element (installed in the engine block) and a wire
harness. You can connect the system to a grounded 120–volt A/C
electrical source.
We recommend that you do the following for safe and correct operation:
•Use a 16-gauge outdoor extension cord that is product certified
by Underwriter’s Laboratory or Canadian Standards Association.
This extension cord must be suitable for use outdoors, in cold
temperatures, and be clearly markedSuitable for Use with Outdoor
Appliances.Never use an indoor extension cord outdoors; it could
result in an electric shock or become a fire hazard.
•Use as short an extension cord as possible.
•Do not use multiple extension cords.
186Starting and Stopping the Engine
2013 F-250/350/450/550(f23)
Owners Guide gf, 3rd Printing, December 2012
USA(fus)
Page 188 of 577
•Make sure that when in operation, the extension cord plug and the
heater cord plug connections are free and clear of water. This could
cause an electric shock or fire.
•Make sure your vehicle is parked in a clean area, clear of
combustibles.
•Make sure the heater, heater cord and extension cord are firmly
connected.
•Check for heat anywhere in the electrical hookup once the system has
been operating for approximately 30 minutes.
•Make sure the system is unplugged and properly stowed before driving
your vehicle. Make sure the protective cover seals the prongs of the
block heater cord plug when not in use.
•Keep plug terminals clean and free of dirt and corrosion.
•Make sure the heater system is checked for proper operation before
winter.
Using the Engine Block Heater
Make sure the receptacle terminals are clean and dry prior to use.
Clean them with a dry cloth, if necessary.
The heater uses 0.4 to 1.0 kilowatt-hours of energy per hour of use.
The system does not have a thermostat. It achieves maximum
temperature after approximately three hours of operation. Using the
heater longer than three hours does not improve system performance
and unnecessarily uses electricity.
Starting and Stopping the Engine187
2013 F-250/350/450/550(f23)
Owners Guide gf, 3rd Printing, December 2012
USA(fus)
Page 193 of 577
RUNNING OUT OF FUEL
Avoid running out of fuel because this situation may have an adverse
effect on powertrain components.
If you have run out of fuel:
•You may need to cycle the ignition from off to on several times after
refueling to allow the fuel system to pump the fuel from the tank to
the engine. On restarting, cranking time will take a few seconds longer
than normal.
•Normally, adding 1 gallon (3.8L) of fuel is enough to restart the
engine. If the vehicle is out of fuel and on a steep grade, more than
1 gallon (3.8L) may be required.
•The service engine soon indicator may come on. For more information
on the service engine soon indicator, refer to theInstrument Cluster
chapter.
SeeSettingsin theInstrument Clusterchapter for information on
calculating DTE (Distance to empty).
Refilling With a Portable Fuel Container
WARNING:Do not insert the nozzle of portable fuel containers
or aftermarket funnels the fuel system. This could damage the
fuel system and its seal, and may cause fuel to run onto the ground
instead of filling the tank, which could result in serious personal injury.
WARNING:Do not try to pry open or push open the fuel system
with foreign objects. This could damage the fuel system and its
seal and cause injury to you or others.
Use the following directions when filling from a portable fuel container:
1. Remove the fuel cap by rotating it counter clockwise.
2. Slowly insert the portable fuel container into the fuel filler opening.
3. Fill the vehicle with fuel from the portable fuel container.
4. When done, remove the portable fuel container nozzle and reinstall
fuel cap. Insert fuel cap into fuel filler opening and turn clockwise until a
click is heard.
192Fuel and Refueling
2013 F-250/350/450/550(f23)
Owners Guide gf, 3rd Printing, December 2012
USA(fus)
Page 195 of 577
Note:If you must replace the fuel filler cap, replace it with a fuel filler
cap that is designed for your vehicle. The customer warranty may be
void for any damage to the fuel tank or fuel system if the correct
genuine Ford, Motorcraft® or other certified fuel filler cap is not used.
Your fuel tank filler cap has an indexed design with a 1/4th turn on and
off feature. When fueling your vehicle:
1. Turn the engine off.
2. Carefully turn the filler cap counterclockwise until it spins off.
3. Pull to remove the cap from the fuel filler pipe.
4. To install the cap, align the tabs on the cap with the notches on the
filler pipe.
5. Turn the filler cap clockwise 1/4 of a turn clockwise until it clicks at
least once.
If the Check Fuel Cap light or a Check Fuel Cap message appears in the
instrument cluster and stays on after you start the engine, the fuel filler
cap may not be properly installed.
If the fuel cap light remains on, at the next opportunity, safely pull off of
the road, remove the fuel filler cap, align the cap properly and reinstall
it. The check fuel cap light or Check fuel cap message may not reset
immediately; it may take several driving cycles for the indicators to turn
off. A driving cycle consists of an engine start-up (after four or more
hours with the engine off) followed by normal city and highway driving.
FUEL CONSUMPTION
Filling the Tank
The advertised capacity is the indicated capacity and the empty reserve
combined. Indicated capacity is the difference in the amount of fuel in a
full tank and a tank when the fuel gauge indicates empty. Empty reserve
is the amount of fuel in the tank after the fuel gauge indicates empty.
Note:The amount of usable fuel in the empty reserve varies and should
not be relied upon to increase driving range. When refueling your vehicle
after the fuel gauge indicates empty, you might not be able to refuel the
full amount of the advertised capacity of the fuel tank due to the empty
reserve still present in the tank.
194Fuel and Refueling
2013 F-250/350/450/550(f23)
Owners Guide gf, 3rd Printing, December 2012
USA(fus)
Page 200 of 577
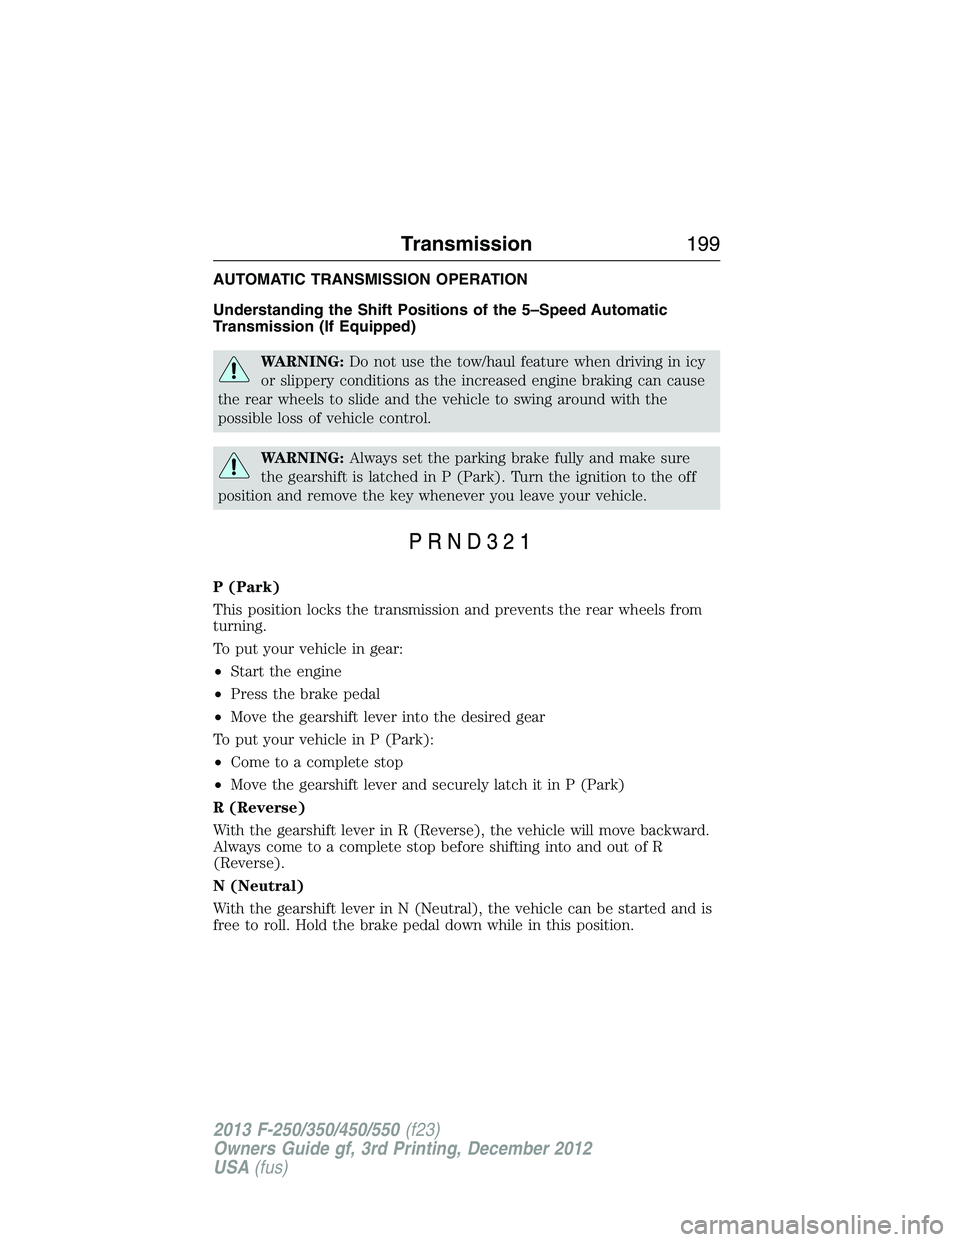
AUTOMATIC TRANSMISSION OPERATION
Understanding the Shift Positions of the 5–Speed Automatic
Transmission (If Equipped)
WARNING:Do not use the tow/haul feature when driving in icy
or slippery conditions as the increased engine braking can cause
the rear wheels to slide and the vehicle to swing around with the
possible loss of vehicle control.
WARNING:Always set the parking brake fully and make sure
the gearshift is latched in P (Park). Turn the ignition to the off
position and remove the key whenever you leave your vehicle.
P (Park)
This position locks the transmission and prevents the rear wheels from
turning.
To put your vehicle in gear:
•Start the engine
•Press the brake pedal
•Move the gearshift lever into the desired gear
To put your vehicle in P (Park):
•Come to a complete stop
•Move the gearshift lever and securely latch it in P (Park)
R (Reverse)
With the gearshift lever in R (Reverse), the vehicle will move backward.
Always come to a complete stop before shifting into and out of R
(Reverse).
N (Neutral)
With the gearshift lever in N (Neutral), the vehicle can be started and is
free to roll. Hold the brake pedal down while in this position.
Transmission199
2013 F-250/350/450/550(f23)
Owners Guide gf, 3rd Printing, December 2012
USA(fus)
Page 202 of 577
1 (First)
•Provides maximum engine braking.
•Allows upshifts by moving gearshift lever.
•The transmission will not downshift into 1 (First) at high speeds; it
will downshift to a lower gear and then shift into 1 (First) when the
vehicle reaches slower speeds.
Forced downshifts
•Allowed in D (Overdrive) or D (Drive).
•Press the accelerator to the floor.
•Allows transmission to select an appropriate gear.
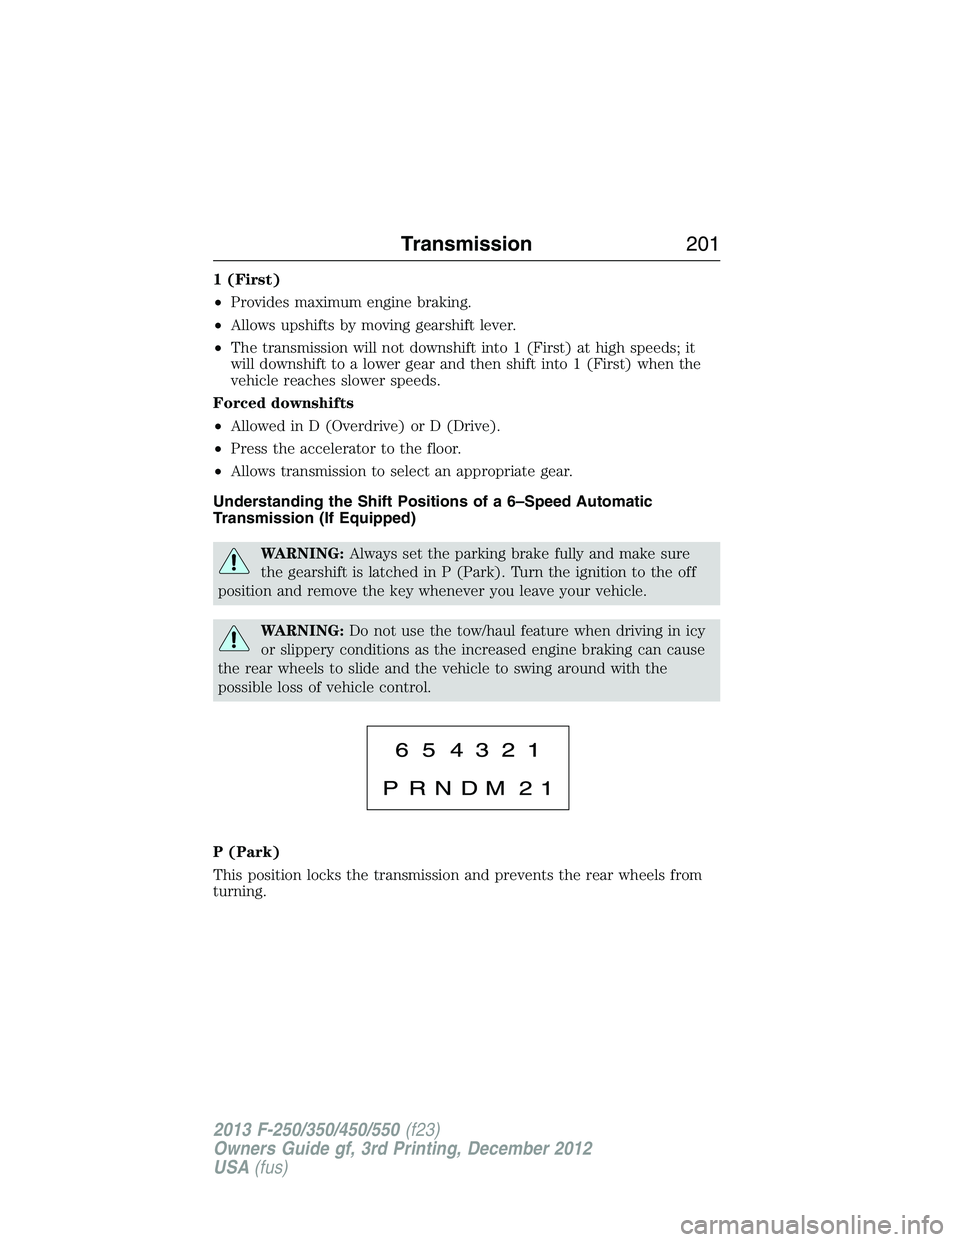
Understanding the Shift Positions of a 6–Speed Automatic
Transmission (If Equipped)
WARNING:Always set the parking brake fully and make sure
the gearshift is latched in P (Park). Turn the ignition to the off
position and remove the key whenever you leave your vehicle.
WARNING:Do not use the tow/haul feature when driving in icy
or slippery conditions as the increased engine braking can cause
the rear wheels to slide and the vehicle to swing around with the
possible loss of vehicle control.
P (Park)
This position locks the transmission and prevents the rear wheels from
turning.
Transmission201
2013 F-250/350/450/550(f23)
Owners Guide gf, 3rd Printing, December 2012
USA(fus)
Page 205 of 577
Forced downshifts
•Allowed in D (Overdrive).
•Press the accelerator to the floor.
•Allows transmission to select an appropriate gear.
Understanding your SelectShift Automatic® transmission
This vehicle is equipped with a SelectShift Automatic™ transmission
gearshift lever. SelectShift Automatic™ transmission gives you the ability
to change gears up or down (without a clutch) as desired.
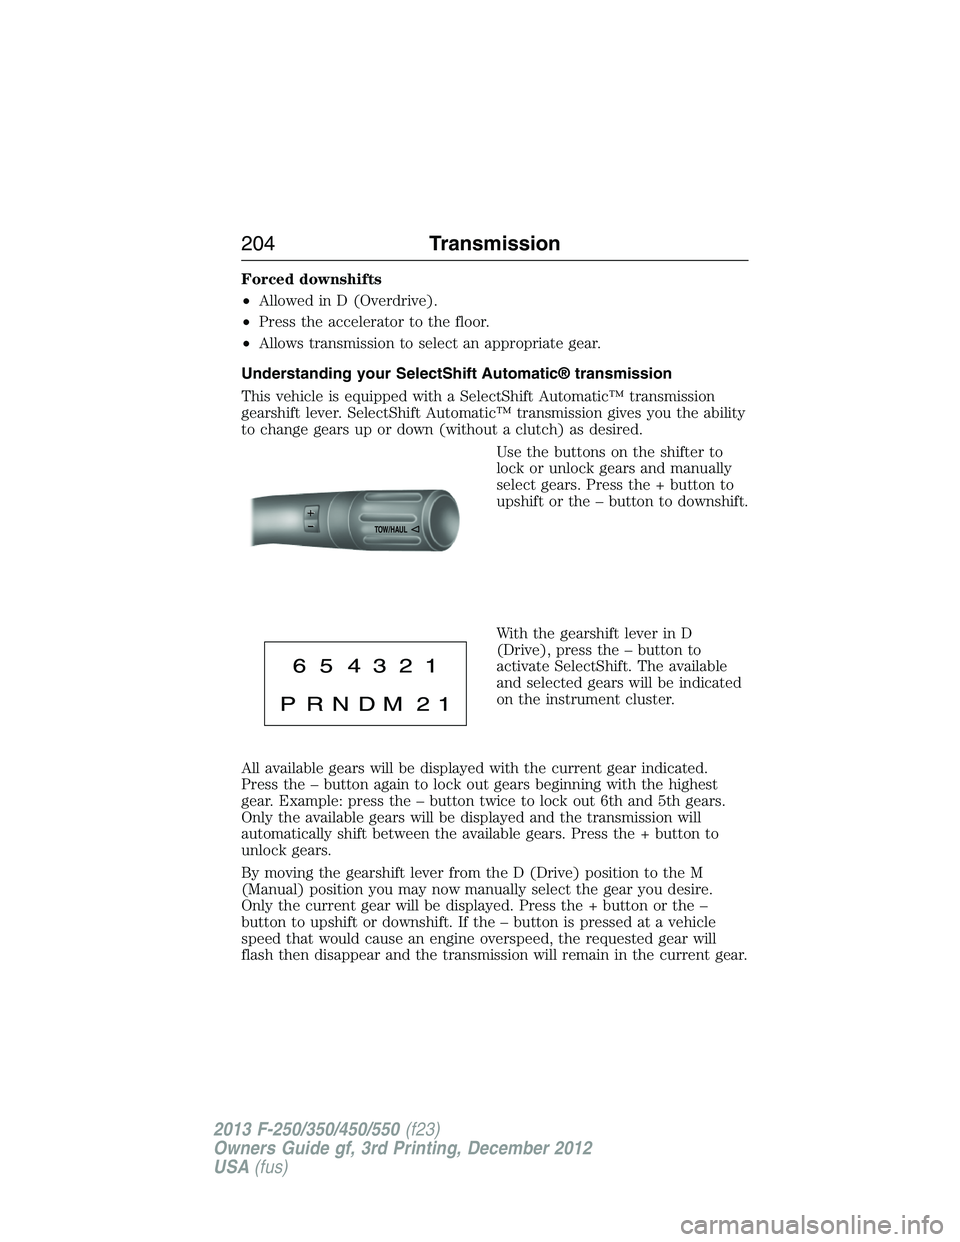
Use the buttons on the shifter to
lock or unlock gears and manually
select gears. Press the + button to
upshift or the – button to downshift.
With the gearshift lever in D
(Drive), press the – button to
activate SelectShift. The available
and selected gears will be indicated
on the instrument cluster.
All available gears will be displayed with the current gear indicated.
Press the – button again to lock out gears beginning with the highest
gear. Example: press the – button twice to lock out 6th and 5th gears.
Only the available gears will be displayed and the transmission will
automatically shift between the available gears. Press the + button to
unlock gears.
By moving the gearshift lever from the D (Drive) position to the M
(Manual) position you may now manually select the gear you desire.
Only the current gear will be displayed. Press the + button or the –
button to upshift or downshift. If the – button is pressed at a vehicle
speed that would cause an engine overspeed, the requested gear will
flash then disappear and the transmission will remain in the current gear.
TOW/H
AUL
204Transmission
2013 F-250/350/450/550(f23)
Owners Guide gf, 3rd Printing, December 2012
USA(fus)
Page 207 of 577

Brake-shift interlock
WARNING:Do not drive your vehicle until you verify that the
brake lamps are working.
WARNING:When doing this procedure, you will be taking
the vehicle out of park which means the vehicle can roll freely.
To avoid unwanted vehicle movement, always fully set the parking
brake prior to doing this procedure. Use wheel chocks if appropriate.
WARNING:If the parking brake is fully released, but the brake
warning lamp remains illuminated, the brakes may not be
working properly. See your authorized dealer as soon as possible.
This vehicle is equipped with a brake-shift interlock feature that prevents
the gearshift lever from being moved from P (Park) when the ignition is
in the 3 (on) position and the brake pedal is not pressed.
If you cannot move the gearshift lever out of P (Park) with ignition in
the on position and the brake pedal pressed, it is possible that a fuse has
blown or the vehicle’s brake lamps are not operating properly. Refer to
theFuseschapter.
If the fuse is not blown and the brake lamps are working properly, the
following procedure will allow you to move the gearshift lever from P
(Park):
1. Apply the parking brake. Turn the ignition key to 1 (off), then remove
the key.
2. Move the steering column to the full down and full rearward position
(toward the driver’s seat).
3. Remove the gearshift lever boot.
4. Place fingers into hole where the gearshift lever boot was removed
from and pull top half of shroud up and forward to separate it from the
lower half of the shroud. There is a hinge at the forward edge of the top
shroud. Roll the top half of the shroud upward on the hinge point to
clear the hazard flasher button, then pull straight rearward toward the
driver’s seat to remove.
5. Remove the top half of the shroud.
206Transmission
2013 F-250/350/450/550(f23)
Owners Guide gf, 3rd Printing, December 2012
USA(fus)