Page 78 of 577
SECURILOCK® PASSIVE ANTI-THEFT SYSTEM (IF EQUIPPED)
Note:The system is not compatible with non-Ford aftermarket remote
start systems. Use of these systems may result in vehicle starting
problems and a loss of security protection.
Note:Metallic objects, electronic devices or a second coded key on the
same key chain may cause vehicle starting issues if they are too close to
the key when starting the engine. Prevent these objects from touching
the coded key while starting the engine. Switch the ignition off, move all
objects on the key chain away from the coded key and restart the engine
if a problem occurs.
Note:Do not leave a duplicate coded key in the vehicle. Always take
your keys and lock all doors when leaving the vehicle.
The system is an engine immobilization system. It helps prevent the
engine from starting unless a coded key programmed to your vehicle
is used. Using the wrong key may prevent the engine from starting.
A message may appear in the information display.
If you are unable to start the engine with a correctly coded key, a
malfunction has happened and a message may appear in the information
display.
Automatic Arming
Your vehicle arms immediately after you switch the ignition off.
Automatic Disarming
Your vehicle disarms when you switch the ignition on with a coded key.
Replacement Keys
Note:Your vehicle may come with two integrated keyhead transmitters.
The integrated keyhead transmitter functions as a programmed ignition
key that operates all the locks and starts the vehicle, as well as a remote
control.
If your programmed transmitters or standard SecuriLock coded keys are
lost or stolen and you do not have an extra coded key, you will need to
have your vehicle towed to an authorized dealer. The key codes need
to be erased from your vehicle and new coded keys will need to be
programmed.
Store an extra programmed key away from the vehicle in a safe place to
help prevent any inconveniences. See an authorized dealer to purchase
additional spare or replacement keys.
Security77
2013 F-250/350/450/550(f23)
Owners Guide gf, 3rd Printing, December 2012
USA(fus)
Page 79 of 577
Programming a Spare Key
Note:A maximum of eight coded keys can be programmed to your
vehicle. Only four of these eight can be integrated keyhead transmitters.
You can program your own integrated keyhead transmitters or standard
SecuriLock coded keys to your vehicle. This procedure will program both
the engine immobilizer key code and the remote entry portion of the
remote control to your vehicle.
Only use integrated keyhead transmitters or standard SecuriLock keys.
You must have two previously programmed coded keys and the new
unprogrammed key readily accessible. See your authorized dealer to have
the spare key programmed if two previously programmed coded keys are
not available
Read and understand the entire procedure before you begin.
1. Insert the first previously programmed coded key into the ignition.
2. Turn the ignition from off to on. Keep the ignition on for at least three
seconds, but no more than 10 seconds.
3. Turn the ignition off and remove the first coded key from the ignition.
4. After three seconds but within 10 seconds of removing the first coded
key, insert the second previously coded key into the ignition.
5. Turn the ignition from off to on. Keep the ignition on for at least one
second, but no more than 10 seconds.
6. Turn the ignition off and remove the second previously programmed
coded key from the ignition.
7. After three seconds but within 10 seconds of turning the ignition off
and removing the previously programmed coded key, insert the new
unprogrammed key into the ignition.
8. Turn the ignition from off to on. Keep the ignition on for at least
one second, but no more than 10 seconds.
9. Remove the newly programmed coded key from the ignition.
The key will start the vehicle’s engine and will operate the remote entry
system (if the new key is an integrated keyhead transmitter) if it has
been successfully programmed.
If the key was not successfully programmed, wait 20 seconds and repeat
Steps 1 through 8. Take your vehicle to your authorized dealer to have
the new key programmed if you are still unsuccessful.
Wait 20 seconds and then repeat this procedure from Step 1 to program
an additional key.
78Security
2013 F-250/350/450/550(f23)
Owners Guide gf, 3rd Printing, December 2012
USA(fus)
Page 80 of 577
ANTI-THEFT ALARM (IF EQUIPPED)
The system will warn you of unauthorized entry to your vehicle.
The turn signal lamps will flash and the horn will sound when:
•any door or the hood is opened without using the key or the remote
control
•the ignition is turned on with an invalid key.
Take all keys and remote controls to your authorized dealer if there is
any potential alarm problem with your vehicle.
Arming the Alarm
The system is ready to arm whenever the ignition is off. Lock the vehicle
to arm the alarm.
The turn signal lamps will flash once after locking the vehicle to indicate
the alarm is in the pre-armed mode and will become fully armed in
20 seconds.
Disarming the Alarm
To disarm the alarm, do any of the following:
•Press the power door unlock button within the 20-second pre-armed
mode.
•Press the unlock button on the remote control.
•Unlock the doors with the keyless entry pad.
•Turn the ignition on with a valid key.
•Press the panic button on the remote control. The alarm system will
still be armed, but this shuts off the horn and turn lamps when the
alarm is sounding.
Note:If the driver’s door is unlocked with a key, a chime will sound
when you open the door. You will have 12 seconds to disarm the alarm
using any of the actions above, otherwise the alarm will trigger.
Security79
2013 F-250/350/450/550(f23)
Owners Guide gf, 3rd Printing, December 2012
USA(fus)
Page 81 of 577
ADJUSTING THE STEERING WHEEL
WARNING:Do not adjust the steering wheel when your vehicle
is moving.
Note:Make sure that you are sitting in the correct position. SeeSitting
in the Correct Positionin theSeatschapter.
1. Unlock the steering column.
2. Adjust the steering wheel to the
desired position.
3. Lock the steering column.
AUDIO CONTROL (IF EQUIPPED)
A. Media
B. Volume up
C. Volume down
D. Seek down or previous
E. Seek up or next
80Steering Wheel
2013 F-250/350/450/550(f23)
Owners Guide gf, 3rd Printing, December 2012
USA(fus)
Page 86 of 577
LIGHTING CONTROL
•Rotate the headlamp control
clockwise to the first position to
turn on the parking lamps.
•Rotate clockwise to the second
position to also turn on the
headlamps.
High Beams
Pull the lever fully past the detent
to switch the high beams on.
Pull the lever fully again switch the
high beams off.
Headlamp Flasher
Pull the lever toward you slightly
and release it to flash the
headlamps.
OF
F
OF
F
Lighting85
2013 F-250/350/450/550(f23)
Owners Guide gf, 3rd Printing, December 2012
USA(fus)
Page 89 of 577

FRONT FOG LAMPS (IF EQUIPPED)
The headlamp control also operates
the fog lamps. The fog lamps can be
turned on only when the headlamp
control is in the parking lamp
(second) position, headlamps on
(third) position, or autolamp
(fourth) position, and the high
beams are not turned on.
Pull headlamp control towards you
to turn fog lamps on. The fog lamp
indicator light will illuminate.
DIRECTION INDICATORS
The turn signal lever does not mechanically lock in the upward or
downward position when activated. The turn signal control activation and
cancellation is electronic.
•To operate the left turn signal,
push the lever down until it stops
and release.
•To operate the right turn signal,
push the lever up until it stops
and release.
•To manually cancel turn signal
operation, push the lever again in
either direction.
Lane Change
To indicate a left or right lane change:
•Push the lever up/down to the first stop position and release. The turn
signals will flash three times and stop.
•Push the lever up/down to the first stop position and hold. The turn
signals will flash for as long as the lever is held in this position.
A
OF
F
88Lighting
2013 F-250/350/450/550(f23)
Owners Guide gf, 3rd Printing, December 2012
USA(fus)
Page 92 of 577
Bounce-Back (One-Touch Up or Down Windows Only)
The window will stop automatically while closing and reverse some
distance if there is an obstacle in the way.
Overriding the Bounce-Back Feature
WARNING:When you override the bounce-back feature the
window will not reverse if it detects an obstacle. Take care when
closing the windows to avoid personal injury.
Pull up the window switch and hold within two seconds of the window
reaching the bounce-back position. The window will travel up with no
bounce-back protection. The window will stop if you release the switch
before the window is fully closed.
Global Open Windows (If Equipped)
Note:The ignition must be off and the accessory delay feature must not
be activated in order for this feature to operate.
Note:
This feature can be disabled or enabled by your authorized dealer or
through the information display. Refer toInformation Displayschapter.
Press and hold the unlock button on the remote control to begin opening
the windows.
Press the lock or unlock button on the remote control to stop motion.
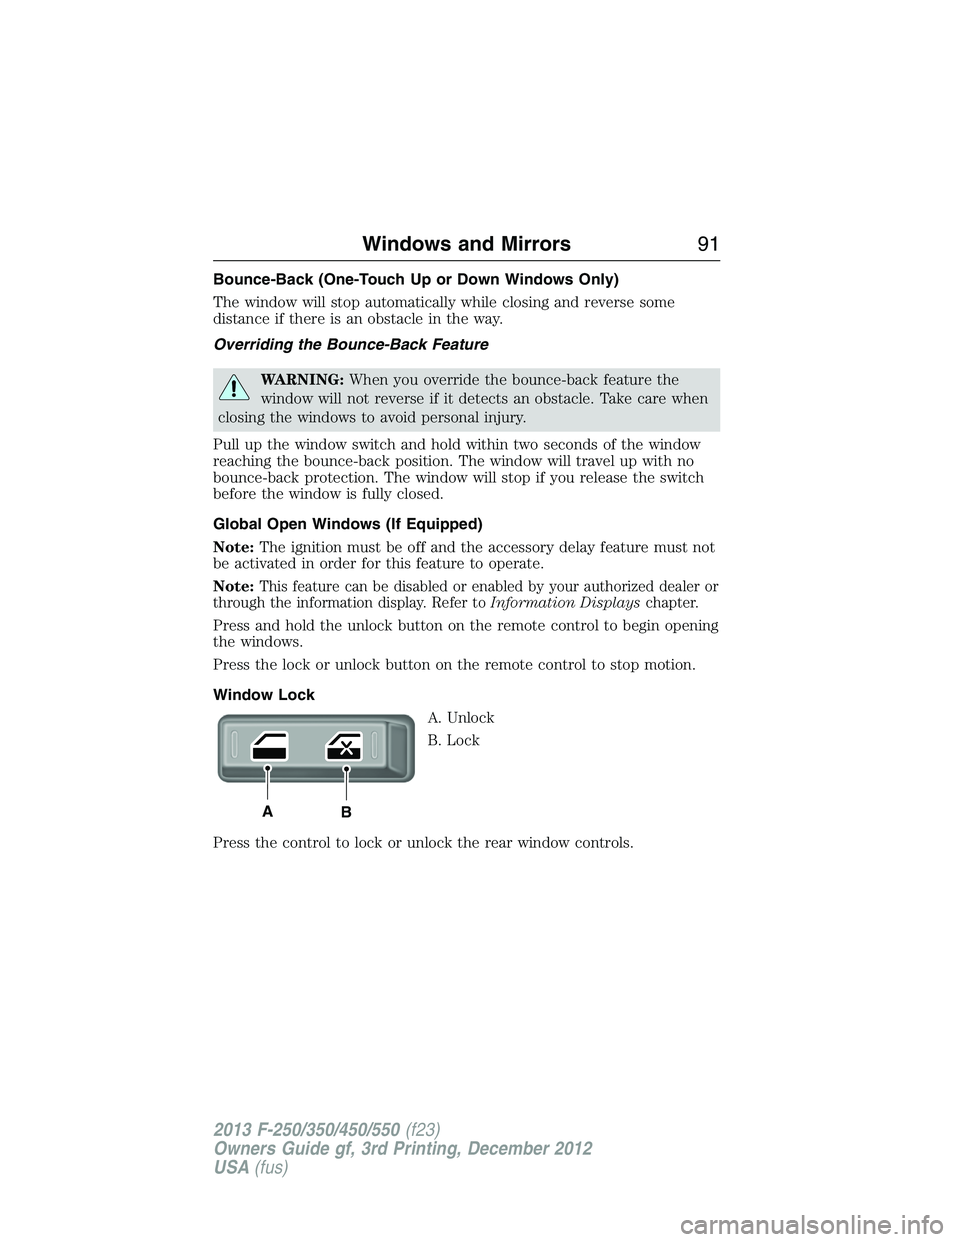
Window Lock
A. Unlock
B. Lock
Press the control to lock or unlock the rear window controls.
AB
Windows and Mirrors91
2013 F-250/350/450/550(f23)
Owners Guide gf, 3rd Printing, December 2012
USA(fus)
Page 93 of 577
Power Sliding Back Window (If Equipped)
WARNING:When operating the power sliding back window you
must ensure all rear seat occupants and/or cargo are not in the
proximity of the back window.
WARNING:Do not leave children unattended in the vehicle and
do not let children play with the power sliding back window.
They may seriously injure themselves.
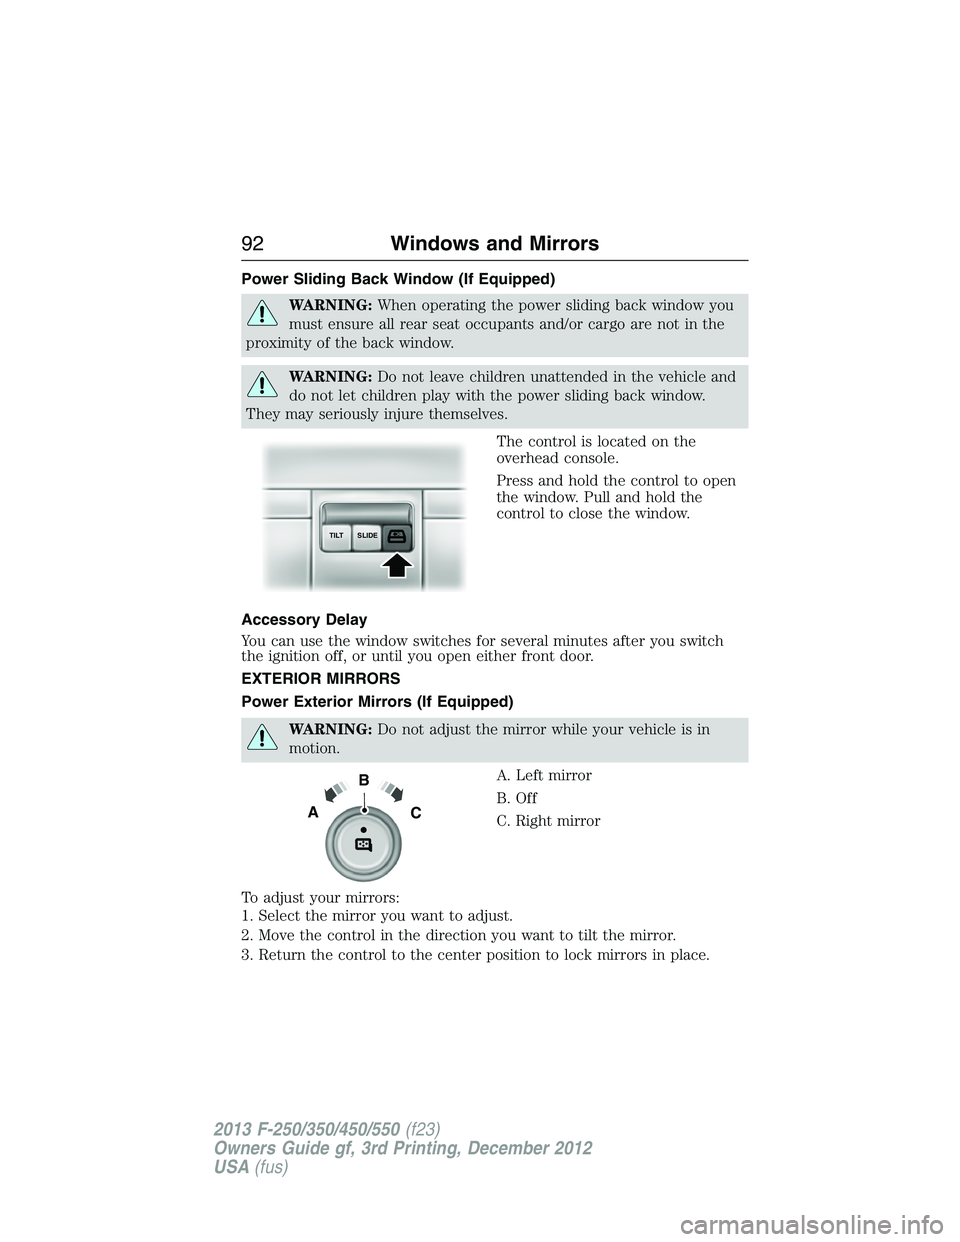
The control is located on the
overhead console.
Press and hold the control to open
the window. Pull and hold the
control to close the window.
Accessory Delay
You can use the window switches for several minutes after you switch
the ignition off, or until you open either front door.
EXTERIOR MIRRORS
Power Exterior Mirrors (If Equipped)
WARNING:Do not adjust the mirror while your vehicle is in
motion.
A. Left mirror
B. Off
C. Right mirror
To adjust your mirrors:
1. Select the mirror you want to adjust.
2. Move the control in the direction you want to tilt the mirror.
3. Return the control to the center position to lock mirrors in place.
SLIDE TILT
B
AC
92Windows and Mirrors
2013 F-250/350/450/550(f23)
Owners Guide gf, 3rd Printing, December 2012
USA(fus)