2013 FORD F SERIES MOTORHOME AND COMMERCIAL CHASSIS brake light
[x] Cancel search: brake lightPage 2 of 157
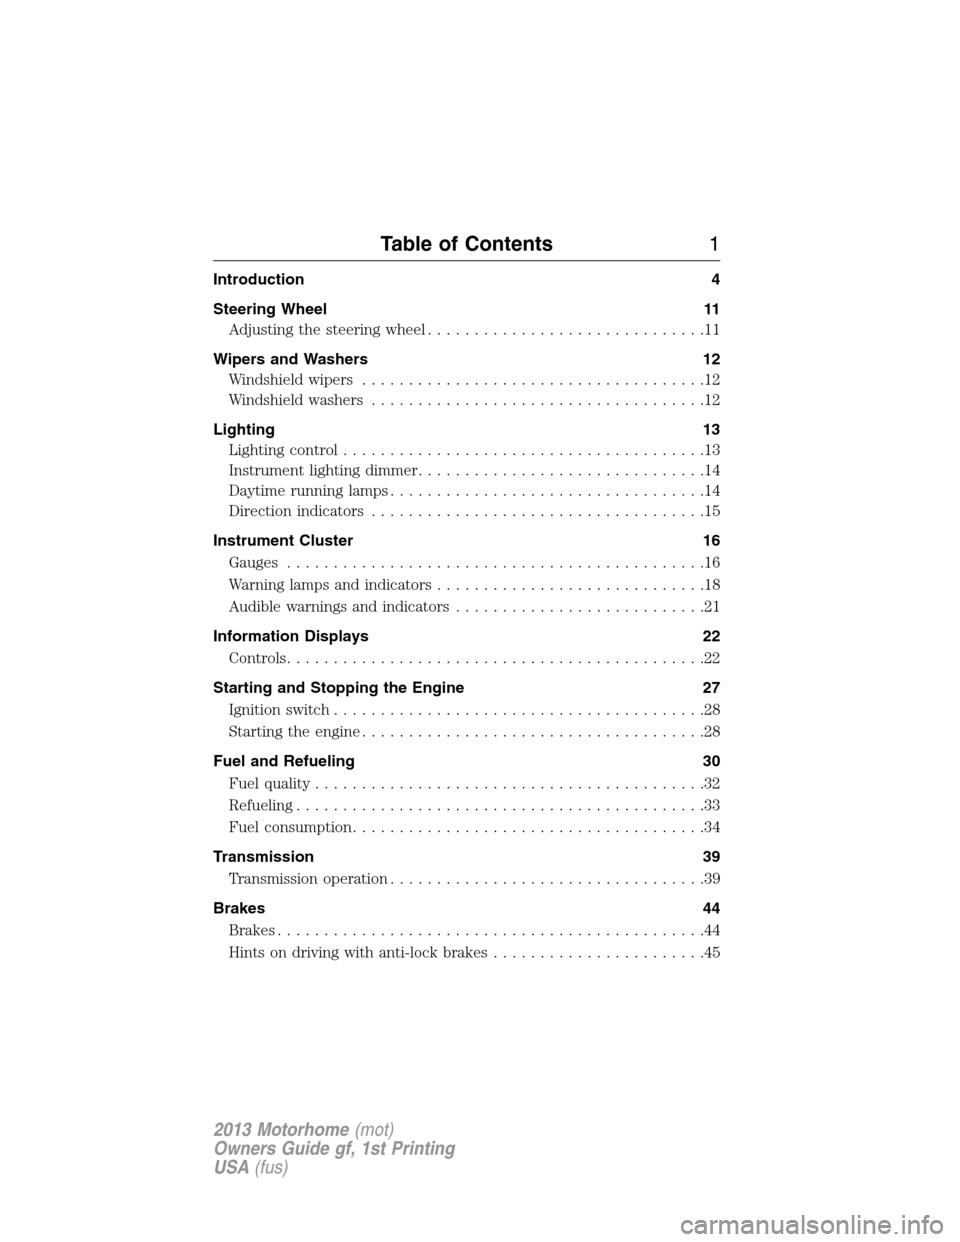
Introduction 4
Steering Wheel 11
Adjusting the steering wheel..............................11
Wipers and Washers 12
Windshield wipers.....................................12
Windshield washers....................................12
Lighting 13
Lighting control.......................................13
Instrument lighting dimmer...............................14
Daytime running lamps..................................14
Directionindicators ....................................15
Instrument Cluster 16
Gauges.............................................16
Warning lamps and indicators.............................18
Audible warnings and indicators...........................21
Information Displays 22
Controls.............................................22
Starting and Stopping the Engine 27
Ignition switch........................................28
Starting the engine.....................................28
Fuel and Refueling 30
Fuel quality..........................................32
Refueling............................................33
Fuel consumption......................................34
Transmission 39
Transmission operation..................................39
Brakes 44
Brakes..............................................44
Hints on driving with anti-lock brakes.......................45
Table of Contents1
2013 Motorhome(mot)
Owners Guide gf, 1st Printing
USA(fus)
Page 6 of 157
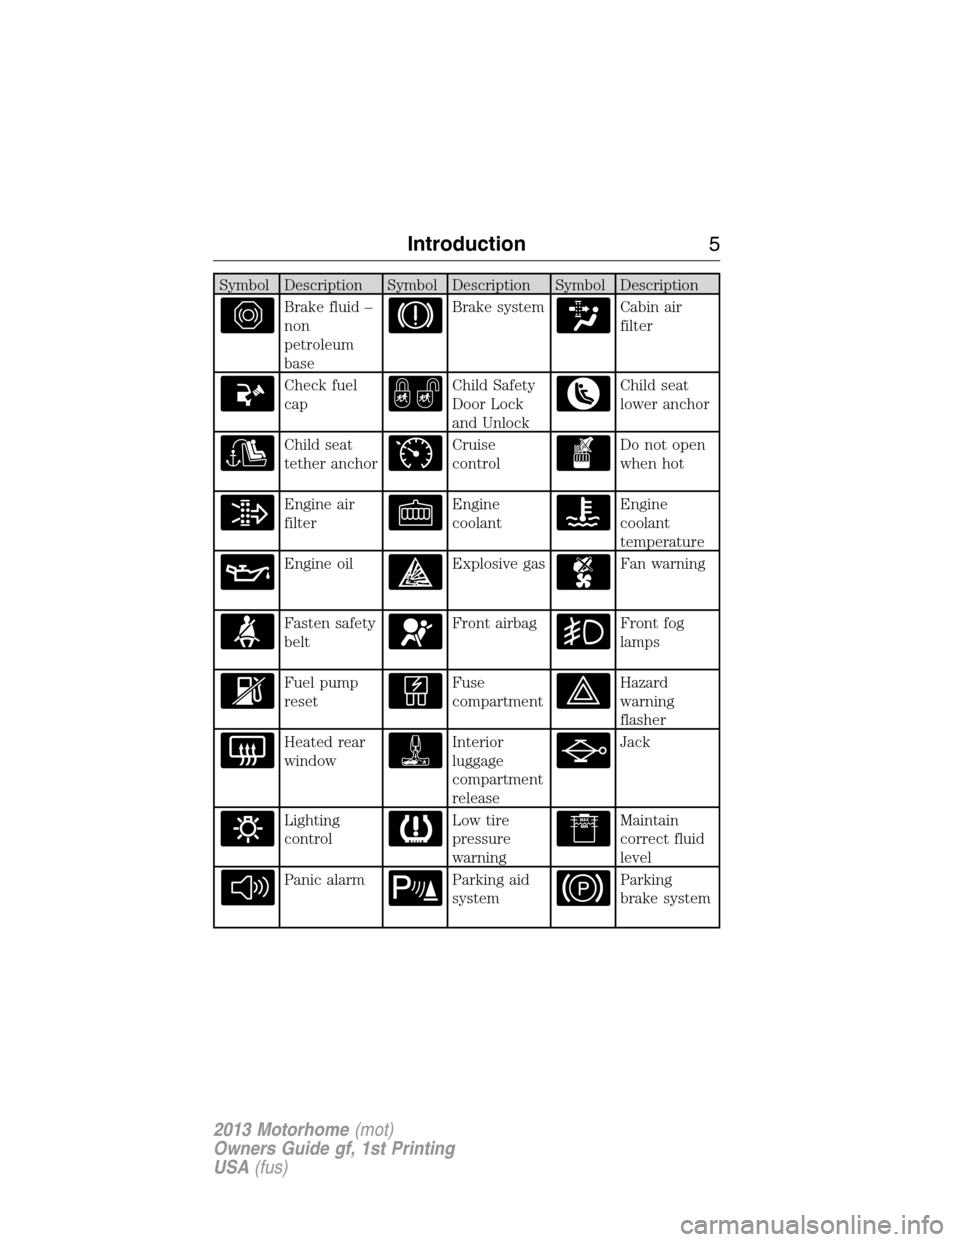
Symbol Description Symbol Description Symbol Description
Brake fluid –
non
petroleum
baseBrake systemCabin air
filter
Check fuel
capChild Safety
Door Lock
and UnlockChild seat
lower anchor
Child seat
tether anchorCruise
controlDo not open
when hot
Engine air
filterEngine
coolantEngine
coolant
temperature
Engine oilExplosive gasFan warning
Fasten safety
beltFront airbagFront fog
lamps
Fuel pump
resetFuse
compartmentHazard
warning
flasher
Heated rear
windowInterior
luggage
compartment
releaseJack
Lighting
controlLow tire
pressure
warningMaintain
correct fluid
level
Panic alarmParking aid
systemParking
brake system
Introduction5
2013 Motorhome(mot)
Owners Guide gf, 1st Printing
USA(fus)
Page 19 of 157
WARNING LAMPS AND INDICATORS
The following warning lamps and indicators will alert you to a vehicle
condition that may become serious. Some lamps will illuminate when you
start your vehicle to make sure they work. If any lamps remain on after
starting your vehicle, refer to the respective system warning lamp for
further information.
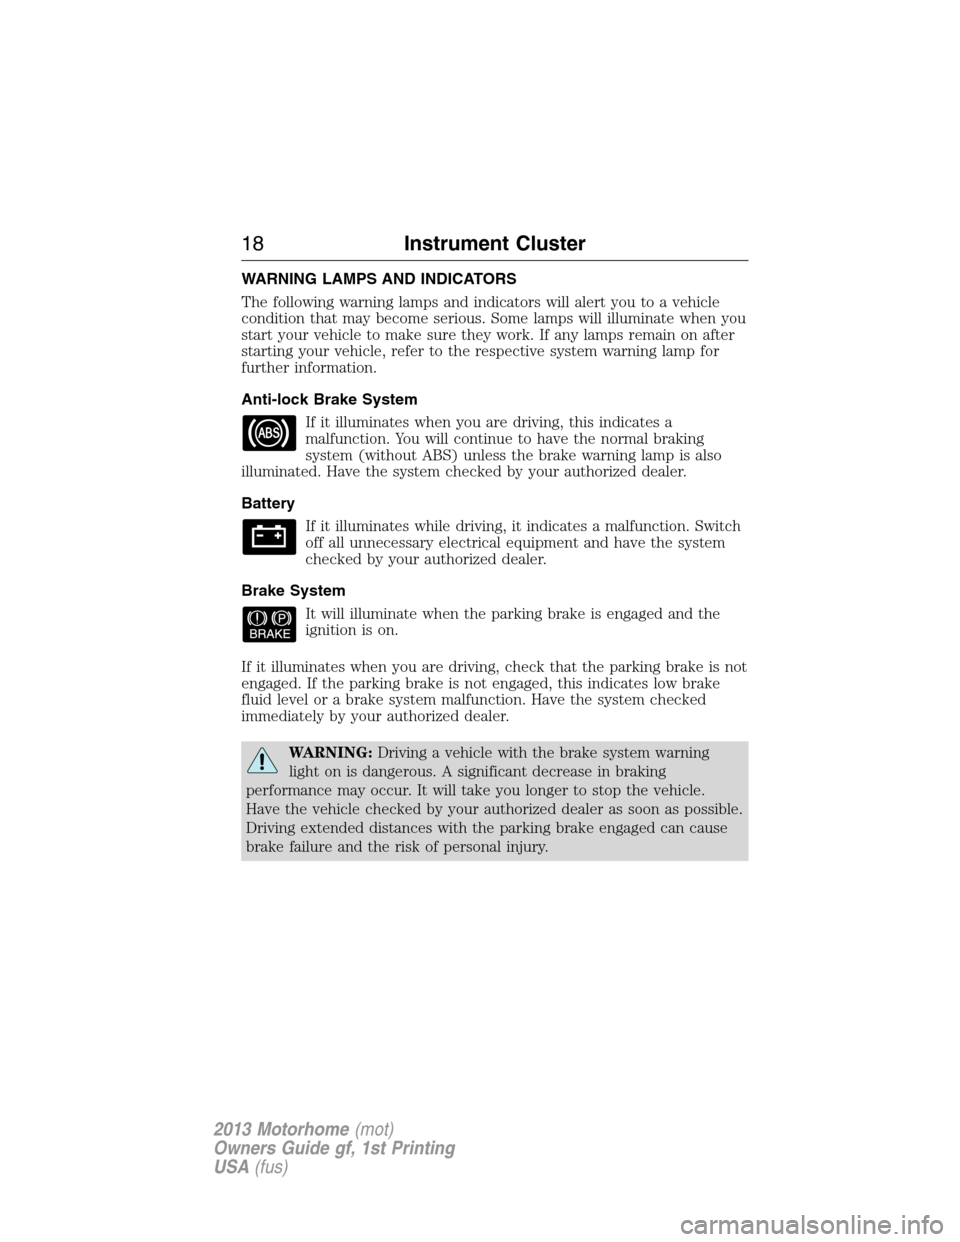
Anti-lock Brake System
If it illuminates when you are driving, this indicates a
malfunction. You will continue to have the normal braking
system (without ABS) unless the brake warning lamp is also
illuminated. Have the system checked by your authorized dealer.
Battery
If it illuminates while driving, it indicates a malfunction. Switch
off all unnecessary electrical equipment and have the system
checked by your authorized dealer.
Brake System
It will illuminate when the parking brake is engaged and the
ignition is on.
If it illuminates when you are driving, check that the parking brake is not
engaged. If the parking brake is not engaged, this indicates low brake
fluid level or a brake system malfunction. Have the system checked
immediately by your authorized dealer.
WARNING:Driving a vehicle with the brake system warning
light on is dangerous. A significant decrease in braking
performance may occur. It will take you longer to stop the vehicle.
Have the vehicle checked by your authorized dealer as soon as possible.
Driving extended distances with the parking brake engaged can cause
brake failure and the risk of personal injury.
18Instrument Cluster
2013 Motorhome(mot)
Owners Guide gf, 1st Printing
USA(fus)
Page 20 of 157
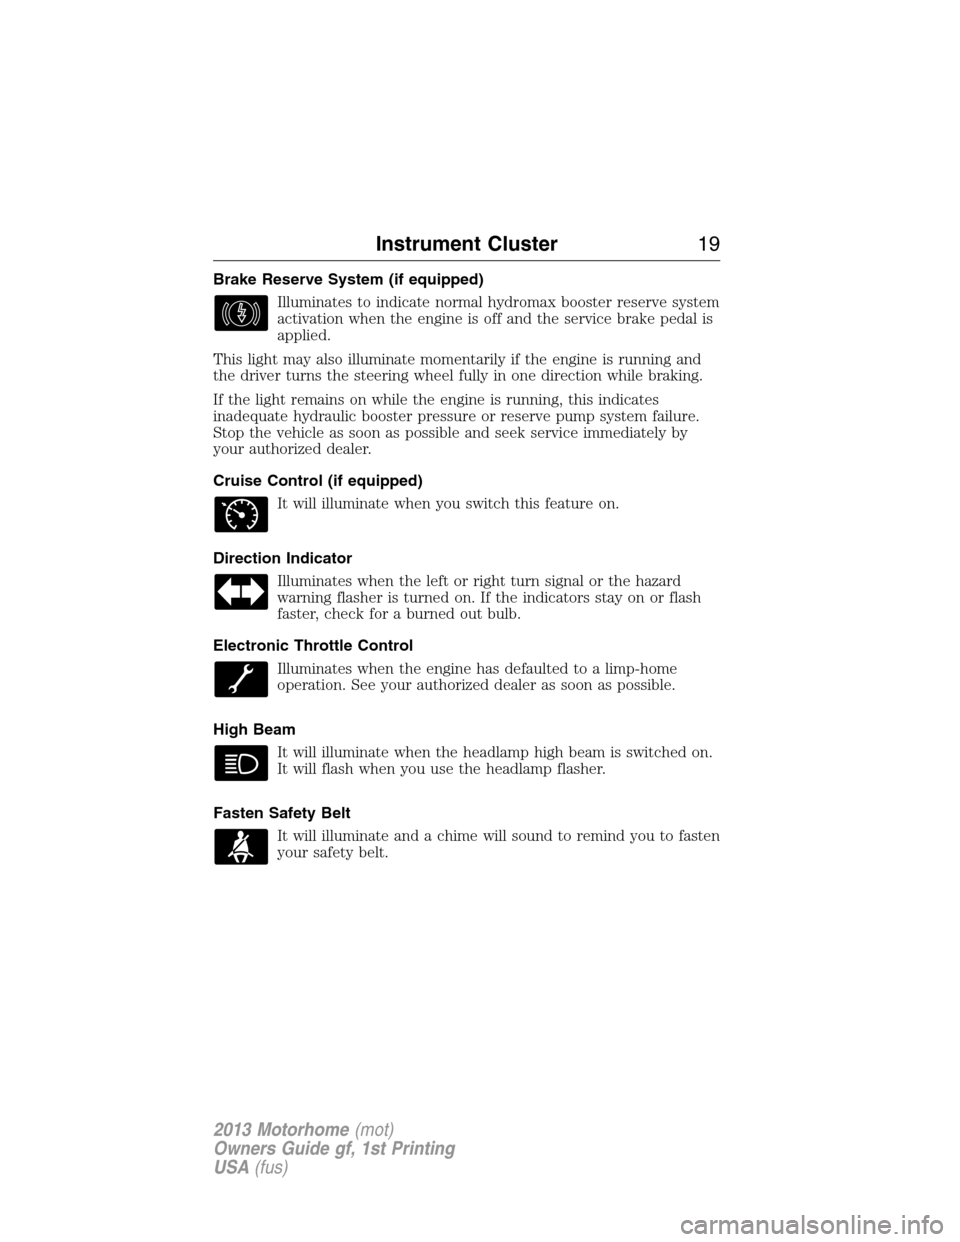
Brake Reserve System (if equipped)
Illuminates to indicate normal hydromax booster reserve system
activation when the engine is off and the service brake pedal is
applied.
This light may also illuminate momentarily if the engine is running and
the driver turns the steering wheel fully in one direction while braking.
If the light remains on while the engine is running, this indicates
inadequate hydraulic booster pressure or reserve pump system failure.
Stop the vehicle as soon as possible and seek service immediately by
your authorized dealer.
Cruise Control (if equipped)
It will illuminate when you switch this feature on.
Direction Indicator
Illuminates when the left or right turn signal or the hazard
warning flasher is turned on. If the indicators stay on or flash
faster, check for a burned out bulb.
Electronic Throttle Control
Illuminates when the engine has defaulted to a limp-home
operation. See your authorized dealer as soon as possible.
High Beam
It will illuminate when the headlamp high beam is switched on.
It will flash when you use the headlamp flasher.
Fasten Safety Belt
It will illuminate and a chime will sound to remind you to fasten
your safety belt.
Instrument Cluster19
2013 Motorhome(mot)
Owners Guide gf, 1st Printing
USA(fus)
Page 40 of 157
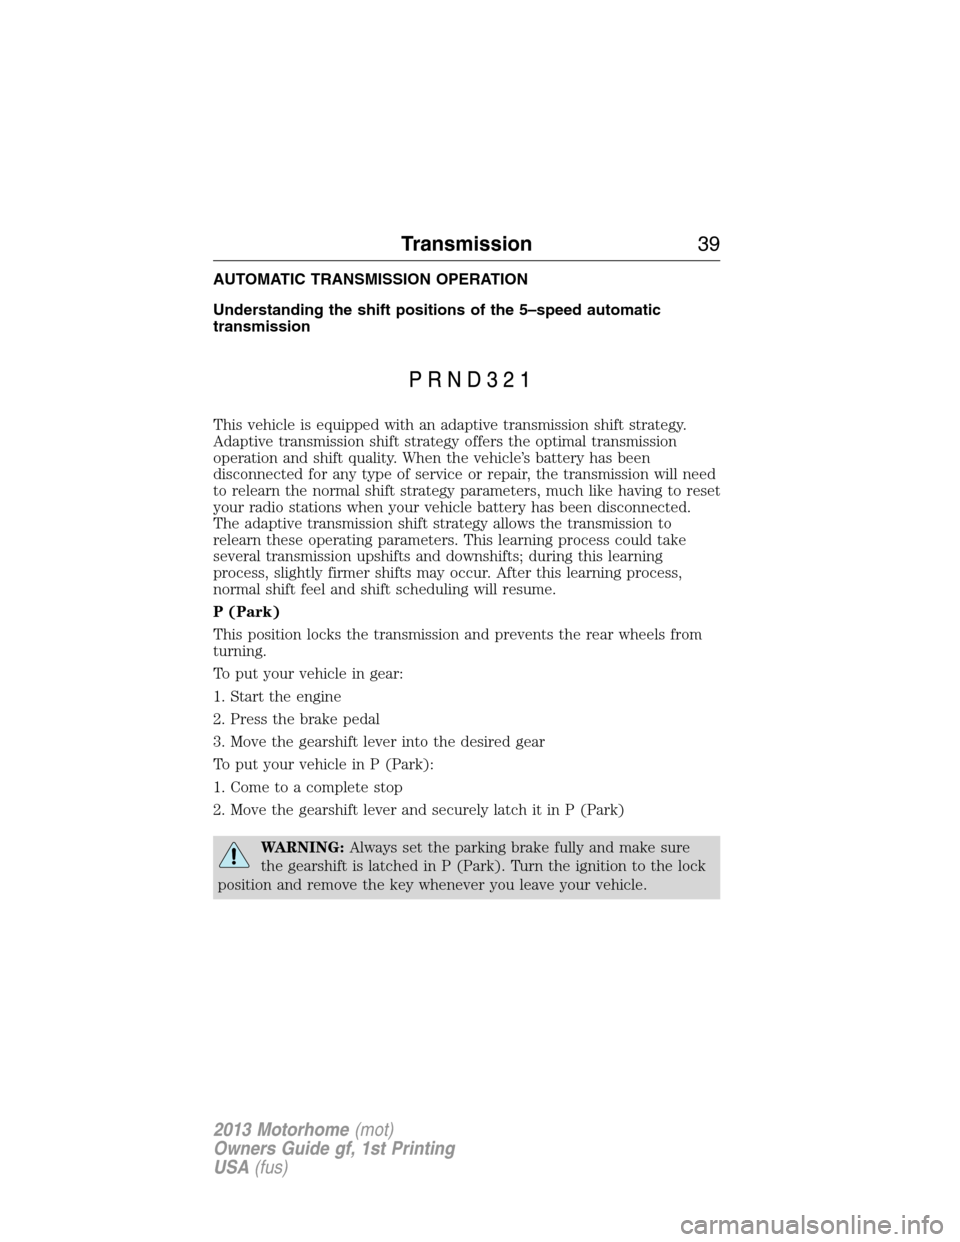
AUTOMATIC TRANSMISSION OPERATION
Understanding the shift positions of the 5–speed automatic
transmission
This vehicle is equipped with an adaptive transmission shift strategy.
Adaptive transmission shift strategy offers the optimal transmission
operation and shift quality. When the vehicle’s battery has been
disconnected for any type of service or repair, the transmission will need
to relearn the normal shift strategy parameters, much like having to reset
your radio stations when your vehicle battery has been disconnected.
The adaptive transmission shift strategy allows the transmission to
relearn these operating parameters. This learning process could take
several transmission upshifts and downshifts; during this learning
process, slightly firmer shifts may occur. After this learning process,
normal shift feel and shift scheduling will resume.
P (Park)
This position locks the transmission and prevents the rear wheels from
turning.
To put your vehicle in gear:
1. Start the engine
2. Press the brake pedal
3. Move the gearshift lever into the desired gear
To put your vehicle in P (Park):
1. Come to a complete stop
2. Move the gearshift lever and securely latch it in P (Park)
WARNING:Always set the parking brake fully and make sure
the gearshift is latched in P (Park). Turn the ignition to the lock
position and remove the key whenever you leave your vehicle.
Transmission39
2013 Motorhome(mot)
Owners Guide gf, 1st Printing
USA(fus)
Page 41 of 157
R (Reverse)
With the gearshift lever in R (Reverse), the vehicle will move backward.
Always come to a complete stop before shifting into and out of R
(Reverse).
N (Neutral)
With the gearshift lever in N (Neutral), the vehicle can be started and is
free to roll. Hold the brake pedal down while in this position.
D (Overdrive) with tow/haul off
D (Overdrive) with tow/haul off is the normal driving position for the
best fuel economy. The overdrive function allows automatic upshifts and
downshifts through gears one through five.
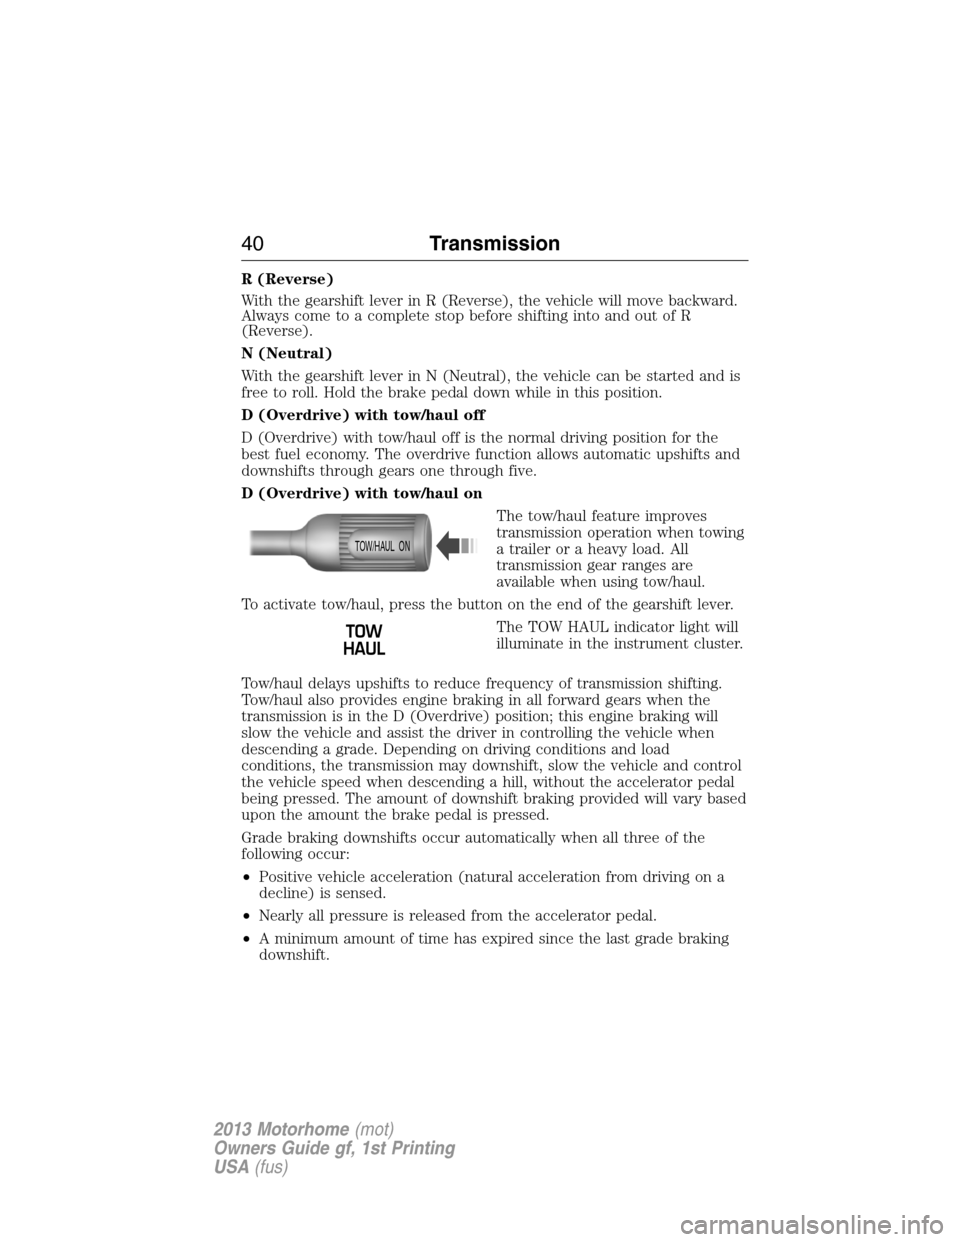
D (Overdrive) with tow/haul on
The tow/haul feature improves
transmission operation when towing
a trailer or a heavy load. All
transmission gear ranges are
available when using tow/haul.
To activate tow/haul, press the button on the end of the gearshift lever.
The TOW HAUL indicator light will
illuminate in the instrument cluster.
Tow/haul delays upshifts to reduce frequency of transmission shifting.
Tow/haul also provides engine braking in all forward gears when the
transmission is in the D (Overdrive) position; this engine braking will
slow the vehicle and assist the driver in controlling the vehicle when
descending a grade. Depending on driving conditions and load
conditions, the transmission may downshift, slow the vehicle and control
the vehicle speed when descending a hill, without the accelerator pedal
being pressed. The amount of downshift braking provided will vary based
upon the amount the brake pedal is pressed.
Grade braking downshifts occur automatically when all three of the
following occur:
•Positive vehicle acceleration (natural acceleration from driving on a
decline) is sensed.
•Nearly all pressure is released from the accelerator pedal.
•A minimum amount of time has expired since the last grade braking
downshift.
TOW/HAUL ON
40Transmission
2013 Motorhome(mot)
Owners Guide gf, 1st Printing
USA(fus)
Page 44 of 157
In an emergency, to disable the malfunctioning brake-shift interlock
feature in order to shift the vehicle from P (Park) follow these steps:
1. Apply the parking brake. Turn key to the lock position, and then
remove the key.
2. Disconnect the negative (black) battery cable from the battery.
3. Insert the key and turn to the off position. Shift to N (Neutral).
4. Reconnect the negative (black) battery cable to the battery.
5. Start the vehicle.
See your authorized dealer for service immediately.
If Your Vehicle Gets Stuck in Mud or Snow
Note:Do not rock the vehicle if the engine is not at normal operating
temperature or damage to the transmission may occur.
Note:Do not rock the vehicle for more than a minute or damage to the
transmission and tires may occur, or the engine may overheat.
If your vehicle gets stuck in mud or snow, it may be rocked out by
shifting between forward and reverse gears, stopping between shifts in a
steady pattern. Press lightly on the accelerator in each gear.
Transmission43
2013 Motorhome(mot)
Owners Guide gf, 1st Printing
USA(fus)
Page 45 of 157
GENERAL INFORMATION
Note:Occasional brake noise is normal. If a metal-to-metal, continuous
grinding or continuous squeal sound is present, the brake linings may be
worn-out and should be inspected by an authorized dealer. If the vehicle
has continuous vibration or shudder in the steering wheel while braking,
the vehicle should be inspected by an authorized dealer.
Note:Brake dust may accumulate on the wheels, even under normal
driving conditions. Some dust is inevitable as the brakes wear and does
not contribute to brake noise. Refer to theVehicle Carechapter for
wheel cleaning instructions.
Refer to theInstrument Clusterchapter for information on the
brake system warning light.
Wet brakes result in reduced braking efficiency. Gently press the brake
pedal a few times when driving from a car wash or standing water to dry
the brakes.
Brake Over Accelerator
In the event the accelerator pedal becomes stuck or entrapped, apply
steady and firm pressure to the brake pedal to slow the vehicle and
reduce engine power. If you experience this condition, apply the brakes
and bring your vehicle to a safe stop. Turn the engine off, shift to P
(Park) and apply the parking brake, and then inspect the accelerator
pedal for any interferences. If none are found and the condition persists,
have your vehicle towed to the nearest authorized dealer.
Hydraulic brake booster system (Hydroboost or Hydromax)
The Hydroboost and Hydromax systems receive fluid pressure from the
power steering pump to provide power assist during braking.
The Hydromax booster receives backup pressure from the reserve
system electric pump whenever the fluid in the power steering system is
not flowing. When the engine is off, the pump will turn on if the brake
pedal is applied, or if the ignition is turned to the on position.
The sound of the pump operating may be heard by the driver, but this is
a normal characteristic of the system.
The reserve system provides reduced braking power, so the vehicle
should be operated under these conditions with caution, and only to seek
service repair and remove the vehicle from the roadway.
44Brakes
2013 Motorhome(mot)
Owners Guide gf, 1st Printing
USA(fus)