Page 46 of 576

REAR INFLATABLE SAFETY BELT (IF EQUIPPED)
WARNING:Do not attempt to service, repair, or modify the rear
inflatable safety belt.
The rear inflatable safety belts are fitted in the shoulder portion of the
safety belts of the second-row outboard seating positions.
Note:The rear inflatable safety belts are compatible with most infant
and child safety car seats and belt positioning booster seats when
properly installed. This is because they are designed to fill with a cooled
gas at a lower pressure and at a slower rate than traditional airbags.
After inflation, the shoulder portion of the safety belt remains cool to the
touch.
The rear inflatable safety belt consists of the following:
•An inflatable bag located in the shoulder safety belt webbing.
•Lap safety belt webbing with automatic locking mode.
•Safety belt warning light and chime. SeeSafety belt warning
lights and indicatorsin this chapter.
•Crash Sensors and Airbag Indicator. SeeCrash sensors and
Airbag Indicatorin theSupplemental Restraint System
chapter.
How Does the Rear Inflatable Safety Belt System Work?
WARNING:If the rear inflatable safety belt has deployed,it will
not function again. The rear inflatable safety belt system
must be replaced by an authorized dealer.
•The rear inflatable safety belts will function like standard restraints in
everyday usage.
46Safety Belts
2013 Explorer(exp)
Owners Guide gf, 1st Printing
USA(fus)
Page 48 of 576

PERSONAL SAFETY SYSTEM™
The Personal Safety System provides an improved overall level of frontal
crash protection to front seat occupants and is designed to help further
reduce the risk of airbag-related injuries. The system is able to analyze
different occupant conditions and crash severity before activating the
appropriate safety devices to help better protect a range of occupants in
a variety of frontal crash situations.
Your vehicle’s Personal Safety System consists of:
•Driver and passenger dual-stage airbag supplemental restraints.
•Front outboard safety belts with pretensioners, energy management
retractors (first row only), and safety belt usage sensors.
•Driver’s seat position sensor
•Front passenger sensing system
•Passenger airbag off/on indicator lamp
•Front crash severity sensors.
•Restraints Control Module (RCM) with impact and safing sensors.
•Restraint system warning light and backup tone.
•The electrical wiring for the airbags, crash sensor(s), safety belt
pretensioners, front safety belt usage sensors, driver seat position
sensor, front passenger sensing system, and indicator lights.
How does the Personal Safety System work?
The Personal Safety System can adapt the deployment strategy of your
vehicle’s safety devices according to crash severity and occupant
conditions. A collection of crash and occupant sensors provides
information to the Restraints Control Module. During a crash, the
Restraints Control Module may activate the safety belt pretensioners
and/or either one or both stages of the dual-stage airbag supplemental
restraints based on crash severity and occupant conditions.
48Personal Safety System
2013 Explorer(exp)
Owners Guide gf, 1st Printing
USA(fus)
Page 99 of 576

AUTOLAMPS
WARNING:In severe weather conditions, it may be necessary to
switch your headlamps on manually.
Note:If the vehicle is equipped with autolamps, it will have the
windshield wiper rainlamp feature.When the windshield wipers are
turned to low- or high-speed wiping during daylight, and the headlamp
control is in the autolamp position, the exterior lamps will turn on after a
brief delay and will remain on until the wipers are turned off.
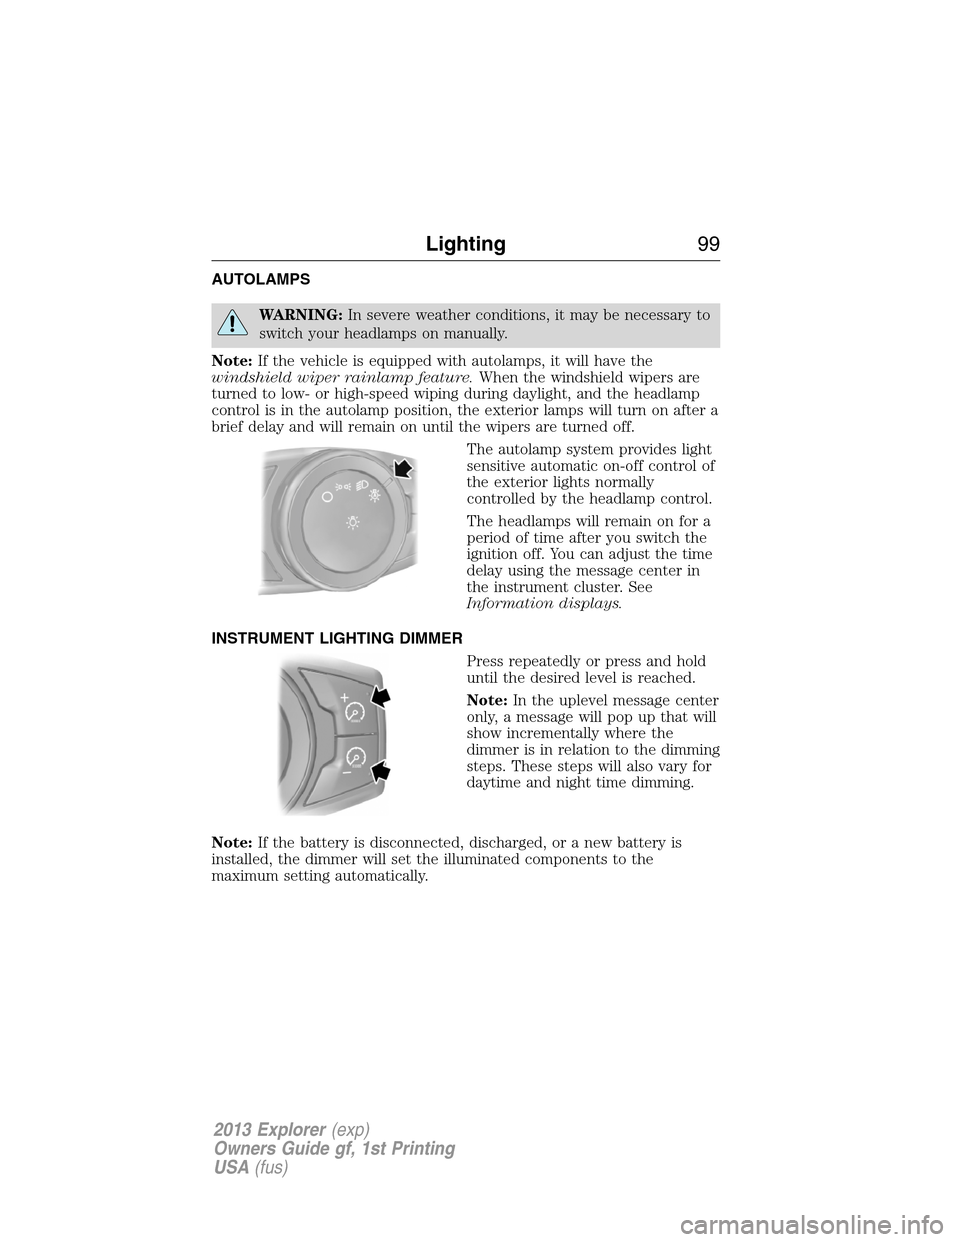
The autolamp system provides light
sensitive automatic on-off control of
the exterior lights normally
controlled by the headlamp control.
The headlamps will remain on for a
period of time after you switch the
ignition off. You can adjust the time
delay using the message center in
the instrument cluster. See
Information displays.
INSTRUMENT LIGHTING DIMMER
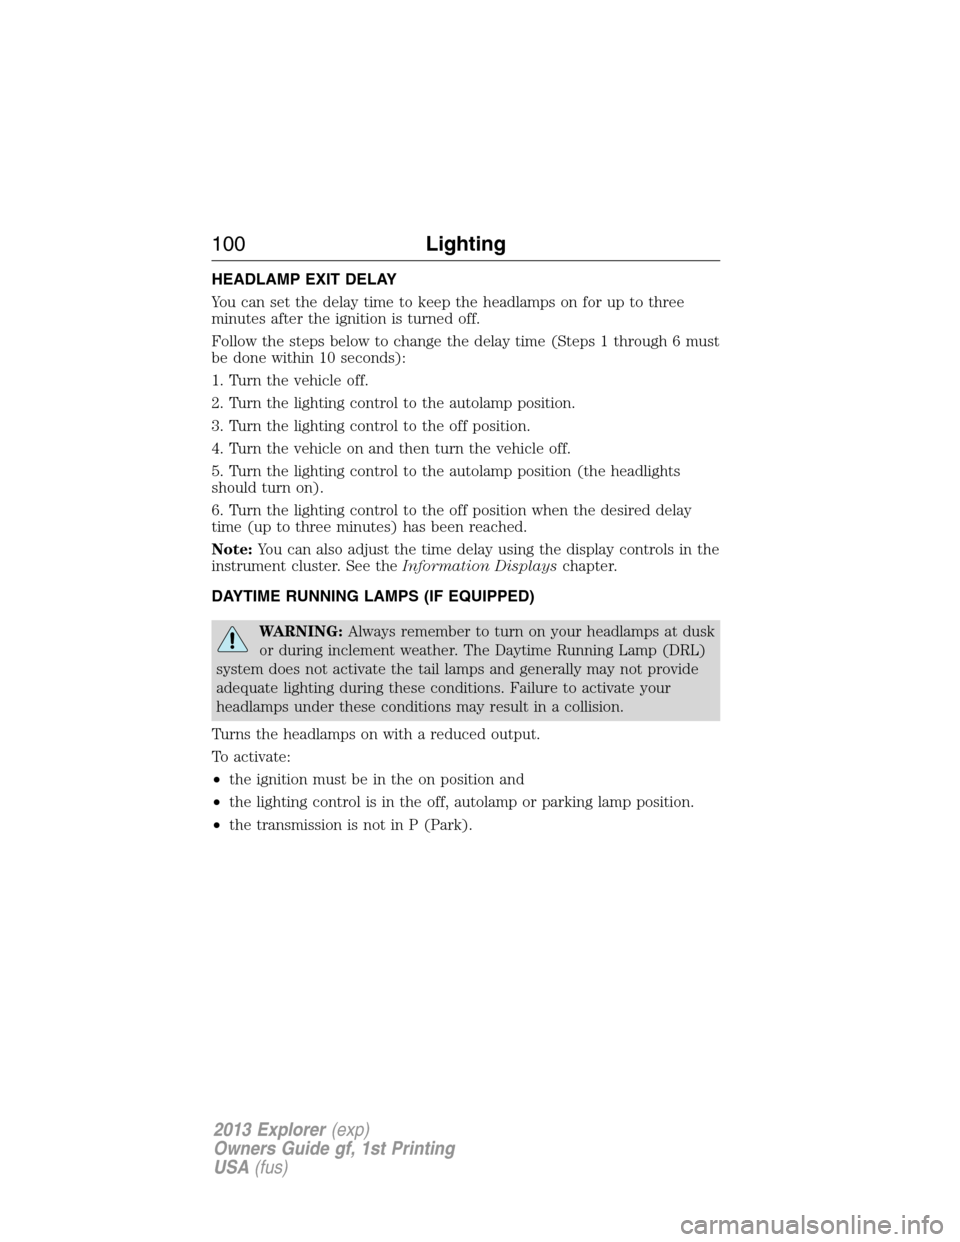
Press repeatedly or press and hold
until the desired level is reached.
Note:In the uplevel message center
only, a message will pop up that will
show incrementally where the
dimmer is in relation to the dimming
steps. These steps will also vary for
daytime and night time dimming.
Note:If the battery is disconnected, discharged, or a new battery is
installed, the dimmer will set the illuminated components to the
maximum setting automatically.
Lighting99
2013 Explorer(exp)
Owners Guide gf, 1st Printing
USA(fus)
Page 100 of 576

HEADLAMP EXIT DELAY
You can set the delay time to keep the headlamps on for up to three
minutes after the ignition is turned off.
Follow the steps below to change the delay time (Steps 1 through 6 must
be done within 10 seconds):
1. Turn the vehicle off.
2. Turn the lighting control to the autolamp position.
3. Turn the lighting control to the off position.
4. Turn the vehicle on and then turn the vehicle off.
5. Turn the lighting control to the autolamp position (the headlights
should turn on).
6. Turn the lighting control to the off position when the desired delay
time (up to three minutes) has been reached.
Note:You can also adjust the time delay using the display controls in the
instrument cluster. See theInformation Displayschapter.
DAYTIME RUNNING LAMPS (IF EQUIPPED)
WARNING:Always remember to turn on your headlamps at dusk
or during inclement weather. The Daytime Running Lamp (DRL)
system does not activate the tail lamps and generally may not provide
adequate lighting during these conditions. Failure to activate your
headlamps under these conditions may result in a collision.
Turns the headlamps on with a reduced output.
To activate:
•the ignition must be in the on position and
•the lighting control is in the off, autolamp or parking lamp position.
•the transmission is not in P (Park).
100Lighting
2013 Explorer(exp)
Owners Guide gf, 1st Printing
USA(fus)
Page 105 of 576
Third row cargo lamp
The dome lamp lights when:
•any door is opened.
•the instrument panel dimmer button is pressed until the
courtesy lamp comes on.
•any of the remote entry controls are pressed and the
ignition is off.
The courtesy lamp can also be turned on and off manually by pressing
the control switch.
Battery saver
The battery saver will shut off the exterior lamps and interior lamps,
except the hazard warning lamps if activated, 10 minutes after the
ignition control has been turned off. The system will not turn off the
parking lamps if the lighting control is in the parking lamps on position.
Lighting105
2013 Explorer(exp)
Owners Guide gf, 1st Printing
USA(fus)
Page 111 of 576

INTERIOR MIRROR
WARNING:Do not adjust the mirror when your vehicle is
moving.
Note:Do not clean the housing or glass of any mirror with harsh
abrasives, fuel or other petroleum or ammonia based cleaning products.
You can adjust the interior mirror to your preference. Some mirrors also
have a second pivot point. This lets you move the mirror head up or
down and from side to side.
Pull the tab below the mirror toward you to reduce glare at night.
Auto-Dimming Mirror (If Equipped)
Note:Do not block the sensors on the front and back of the mirror.
Mirror performance may be affected. A rear center passenger or raised
rear center head restraint may also block light from reaching the sensor.
The mirror will dim automatically to reduce glare when bright lights are
detected from behind your vehicle. It will automatically return to normal
reflection when you select reverse gear to make sure you have a clear
view when backing up.
SUN VISORS
Slide-On-Rod
Rotate the visor toward the side
window and extend it rearward for
extra sunlight coverage.
Retract the visor before moving it
back toward the windshield and
storing it.
Windows and Mirrors111
2013 Explorer(exp)
Owners Guide gf, 1st Printing
USA(fus)
Page 115 of 576
Type 2
Cluster shown in standard measure – metric clusters similar.
A. Information display. SeeInformation displaysfor more information.
B. Speedometer
C. Infotainment display. SeeMyFord Touch™for more information.
WARNING LAMPS AND INDICATORS
There indicators can alert you to a vehicle condition that may become
serious enough to cause expensive repairs. Many lights will illuminate
when you start your vehicle to make sure they work. If any light remains
on after starting the vehicle, refer to the respective system warning light
for additional information.
Note:Some warning indicators are reconfigurable telltales (RTT). These
indicators appear in the information display and function the same as a
warning light, but do not display on startup.
ABC
Instrument Cluster11 5
2013 Explorer(exp)
Owners Guide gf, 1st Printing
USA(fus)
Page 118 of 576
Engine coolant temperature (RTT)
Illuminates when the engine coolant temperature is high. Stop
the vehicle as soon as possible, switch off the engine and let
cool.
Fog lamps
Illuminates when the fog lamps are turned on.
Grade assist (if equipped) (RTT)
Illuminates when grade assist is turned on.
Heads up display (if equipped)
A red beam of lights will illuminate on the windshield in certain
instances when using adaptive cruise control and/or the collision
warning system. It will also illuminate momentarily when you
start your vehicle to make sure the display works.
Hill descent (if equipped) (RTT)
Illuminates when hill descent is turned on.
High beams
Illuminates when the high-beam headlamps are on.
Lane keeping system (if equipped) (RTT)
Illuminates when the lane keeping system is activated.
Low fuel (RTT)
Illuminates when the fuel level in the fuel tank is at or near
empty.
11 8Instrument Cluster
2013 Explorer(exp)
Owners Guide gf, 1st Printing
USA(fus)