2013 FORD ESCAPE warning
[x] Cancel search: warningPage 228 of 423

1. Lift the wiper arm.
2.Slightly rotate the wiper blade from the
wiper arm.
3. Disengage the wiper blade from the wiper arm.
4. Remove the wiper blade.
5. Install in the reverse order.
Note: Make sure that the wiper blade locks
into place.
Replace wiper blades at least once per
year for optimum performance.
Poor wiper quality can be improved by
cleaning the wiper blades and the
windshield.
CHANGING THE ENGINE AIR
FILTER
WARNING
To reduce the risk of vehicle damage
and/or personal burn injuries do not
start your engine with the air cleaner
removed and do not remove it while the
engine is running.
When changing the air filter element, use
only the air filter element listed. See
Capacities and Specifications (page
267).
For EcoBoost® equipped vehicles: When
servicing the air cleaner, it is important that
no foreign material enter the air induction
system. The engine and turbocharger are
susceptible to damage from even small
particles.
Change the air filter element at the proper
interval. See Scheduled Maintenance
(page 396).
Note: Failure to use the correct air filter
element may result in severe engine
damage. The customer warranty may be
void for any damage to the engine if the
correct air filter element is not used.
1.6L and 2.0L EcoBoost® Engines
228
Maintenance
E130060
3
2
E142710
Page 232 of 423

Replacing Headlamp Bulbs
WARNING
Handle a halogen headlamp bulb
carefully and keep out of children’s
reach. Grasp the bulb by only its
plastic base and do not touch the glass.
The oil from your hand could cause the
bulb to break the next time the headlamps
are operated.
Note: If the bulb is accidentally touched, it
should be cleaned with rubbing alcohol
before being used.
Headlamp:
Side marker
A
Low beam headlamp
B
High beam headlamp
C
High beam headlamp:
1. Remove the headlamp.
2. Remove service cap.
3. Disconnect the electrical connector.
4. Remove bulb from the headlamp assembly by turning it
counterclockwise, then pull it straight
out.
Low beam headlamp:
1. Remove the headlamp.
2. Remove service cap.
3. Disconnect the electrical connector.
4. Remove bulb from the headlamp assembly by turning it
counterclockwise, then pull it straight
out.
Install the new bulbs in reverse order from
the steps above. Be sure that the spring
clip is not damaged or detached from the
headlamp assembly during the
replacement procedure.
Replacing HID Headlamp Bulbs (If
Equipped)
The low beam headlamps on your vehicle
use a high intensity discharge source.
These lamps operate at a high voltage.
When the bulb is burned out, the bulb and
starter capsule assembly must be replaced
by your authorized dealer.
232
Maintenance
ABC
E142469
24
E142470
24
E142471
Page 238 of 423

•Never wash or rinse any ignition coil,
spark plug wire or spark plug well, or
the area in and around these locations.
• Cover the battery, power distribution
box, and air filter assembly to prevent
water damage when cleaning the
engine.
CLEANING THE WINDOWS AND
WIPER BLADES
The windows and wiper blades should be
cleaned regularly. If the wipers do not wipe
properly, substances on the vehicle ’s glass
or the wiper blades may cause squeaking
or chatter noise from the blades, and
streaking and smearing of the windshield.
To clean these items, follow these tips:
• The windows may be cleaned with a
non-abrasive cleaner such as
Motorcraft® Ultra-Clear Spray Glass
Cleaner.
• The wiper blades can be cleaned with
isopropyl (rubbing) alcohol or
Motorcraft® Premium Windshield
Washer Concentrate in the U.S., or
Premium Quality Windshield Washer
Fluid in Canada. Be sure to replace
wiper blades when they appear worn
or do not function properly.
• Do not use abrasives, as they may
cause scratches
• Do not use fuel, kerosene, or paint
thinner to clean any parts. If you cannot remove those streaks after
cleaning with the glass cleaner or if the
wipers chatter and move in a jerky motion,
clean the outer surface of the windshield
and the wiper blades using a sponge or
soft cloth with a neutral detergent or
mild-abrasive cleaning solution. After
cleaning, rinse the windshield and wiper
blades with clean water. The windshield
is clean if beads do not form when you
rinse the windshield with water.
Note:
Do not use sharp objects, such as a
razor blade, to clean the inside of the rear
window or to remove decals, as it may cause
damage to the rear window defroster ’s
heated grid lines.
CLEANING THE INTERIOR
WARNINGS
Do not use cleaning solvents, bleach
or dye on the vehicle ’s safety belts,
as these actions may weaken the
belt webbing.
On vehicles equipped with
seat-mounted airbags, do not use
chemical solvents or strong
detergents. Such products could
contaminate the side airbag system and
affect performance of the side airbag in a
collision.
For fabric, carpets, cloth seats, safety belts
and seats equipped with side airbags:
• Remove dust and loose dirt with a
vacuum cleaner.
• Remove light stains and soil with
Motorcraft® Professional Strength
Carpet & Upholstery Cleaner.
238
Vehicle Care
Page 239 of 423

•If grease or tar is present on the
material, spot-clean the area first with
Motorcraft® Spot and Stain Remover.
In Canada, use Motorcraftt
Multi-Purpose Cleaner.
• If a ring forms on the fabric after spot
cleaning, clean the entire area
immediately (but do not oversaturate)
or the ring will set.
• Do not use household cleaning
products or glass cleaners, which can
stain and discolor the fabric and affect
the flame retardant abilities of the seat
materials.
CLEANING THE INSTRUMENT
PANEL AND INSTRUMENT
CLUSTER LENS
WARNING
Do not use chemical solvents or
strong detergents when cleaning the
steering wheel or instrument panel
to avoid contamination of the airbag
system.
Clean the instrument panel and cluster
lens with a clean, damp, white cotton
cloth, then use a clean and dry white
cotton cloth to dry these areas.
• Avoid cleaners or polishes that increase
the gloss of the upper portion of the
instrument panel. The dull finish in this
area helps protect the driver from
undesirable windshield reflection.
• Be certain to wash or wipe your hands
clean if you have been in contact with
certain products such as insect
repellent and suntan lotion in order to
avoid possible damage to the interior
painted surfaces. •
Do not use household or glass cleaners
as these may damage the finish of the
instrument panel, interior trim and
cluster lens.
• Do not allow air fresheners and hand
sanitizers to spill on interior surfaces.
If a spill occurs, wipe off immediately.
Damage may not be covered by your
warranty.
If a staining liquid like coffee/juice has
been spilled on the instrument panel or on
interior trim surfaces, clean as follows:
1. Wipe up spilled liquid using a clean, white, cotton cloth.
2. Wipe the surface with a damp, clean, white cotton cloth. For more thorough
cleaning, use a mild soap and water
solution. If the spot cannot be
completely cleaned by this method,
the area may be cleaned using a
commercially available cleaning
product designed for automotive
interiors.
3. If necessary, apply more soap and water solution or cleaning product to
a clean, white, cotton cloth and press
the cloth onto the soiled area–allow
this to set at room temperature for 30
minutes.
4. Remove the soaked cloth, and if it is not soiled badly, use this cloth to clean
the area by using a rubbing motion for
60 seconds.
5. Following this, wipe area dry with a clean, white, cotton cloth.
CLEANING LEATHER SEATS (IF
EQUIPPED)
• Remove dust and loose dirt with a
vacuum cleaner.
• Clean spills and stains as quickly as
possible.
239
Vehicle Care
Page 243 of 423

GENERAL INFORMATION
Notice to utility vehicle and truck
owners
WARNINGS
Utility vehicles have a significantly
higher rollover rate than other types
of vehicles. To reduce the risk of
serious injury or death from a rollover or
other crash you must avoid sharp turns and
abrupt maneuvers, drive at safe speeds for
the conditions, keep tires properly inflated,
never overload or improperly load your
vehicle, and make sure every passenger is
properly restrained.
In a rollover crash, an unbelted
person is significantly more likely to
die than a person wearing a seat belt.
All occupants must wear seat belts and
children/infants must use appropriate
restraints to minimize the risk of injury or
ejection.
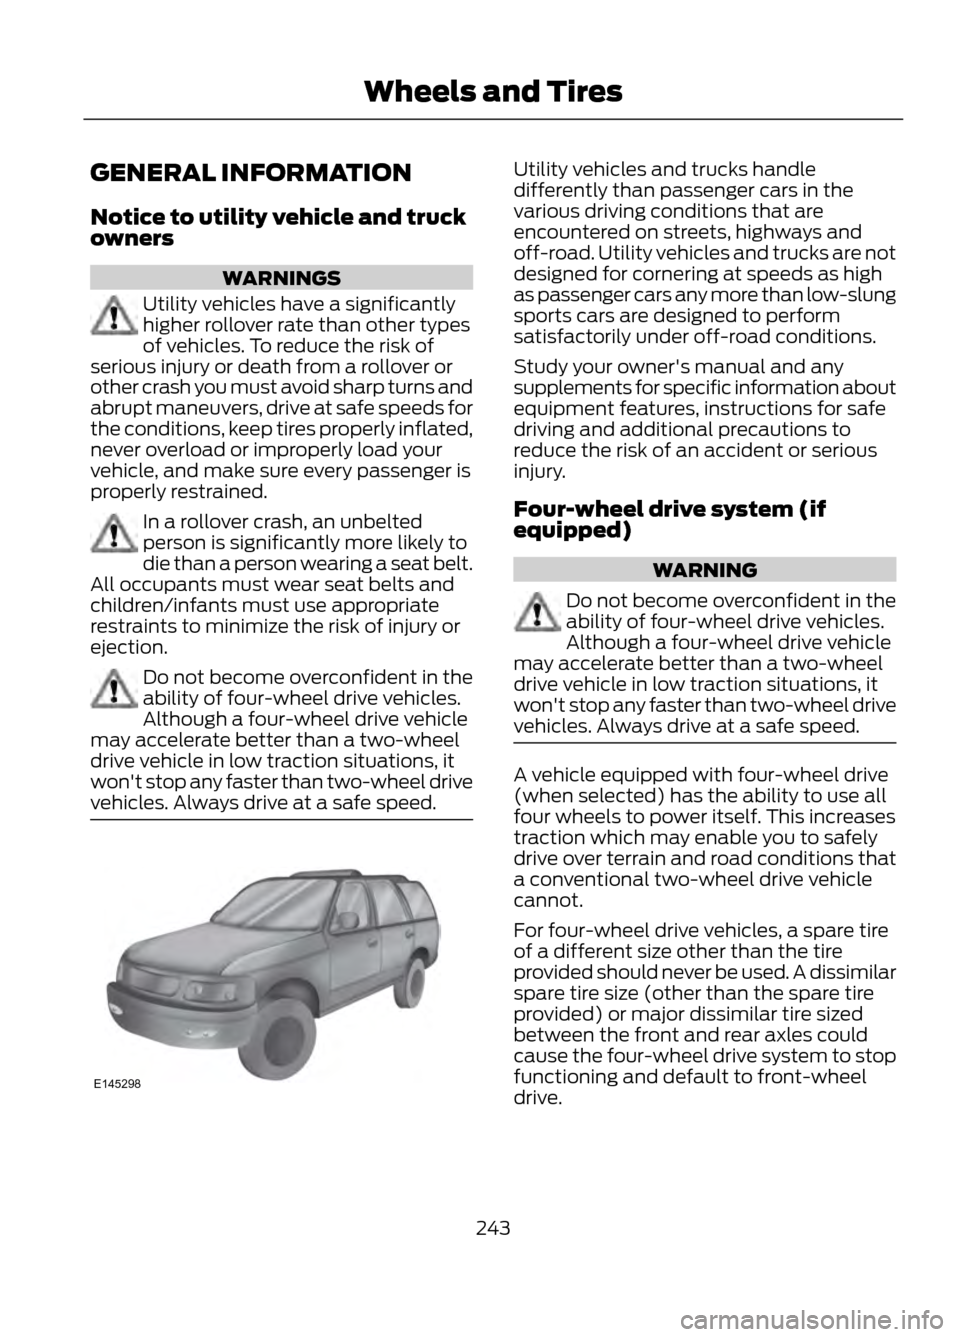
Do not become overconfident in the
ability of four-wheel drive vehicles.
Although a four-wheel drive vehicle
may accelerate better than a two-wheel
drive vehicle in low traction situations, it
won't stop any faster than two-wheel drive
vehicles. Always drive at a safe speed.
Utility vehicles and trucks handle
differently than passenger cars in the
various driving conditions that are
encountered on streets, highways and
off-road. Utility vehicles and trucks are not
designed for cornering at speeds as high
as passenger cars any more than low-slung
sports cars are designed to perform
satisfactorily under off-road conditions.
Study your owner's manual and any
supplements for specific information about
equipment features, instructions for safe
driving and additional precautions to
reduce the risk of an accident or serious
injury.
Four-wheel drive system (if
equipped)
WARNING
Do not become overconfident in the
ability of four-wheel drive vehicles.
Although a four-wheel drive vehicle
may accelerate better than a two-wheel
drive vehicle in low traction situations, it
won't stop any faster than two-wheel drive
vehicles. Always drive at a safe speed.
A vehicle equipped with four-wheel drive
(when selected) has the ability to use all
four wheels to power itself. This increases
traction which may enable you to safely
drive over terrain and road conditions that
a conventional two-wheel drive vehicle
cannot.
For four-wheel drive vehicles, a spare tire
of a different size other than the tire
provided should never be used. A dissimilar
spare tire size (other than the spare tire
provided) or major dissimilar tire sized
between the front and rear axles could
cause the four-wheel drive system to stop
functioning and default to front-wheel
drive.
243
Wheels and Tires
E145298
Page 245 of 423

TIRE CARE
Information About Uniform Tire
Quality Grading
Tire Quality Grades apply to new
pneumatic passenger car tires. The Quality
grades can be found where applicable on
the tire sidewall between tread shoulder
and maximum section width. For example:
Treadwear 200 Traction AA
Temperature A.
These Tire Quality Grades are determined
by standards that the United States
Department of Transportation has set.
Tire Quality Grades apply to new
pneumatic passenger car tires. They do
not apply to deep tread, winter-type snow
tires, space-saver or temporary use spare
tires, light truck or LT type tires, tires with
nominal rim diameters of 10 to 12 inches
or limited production tires as defined in
Title 49 Code of Federal Regulations Part
575.104 (c)(2).
U.S. Department of Transportation Tire
quality grades: The U.S. Department of
Transportation requires Ford Motor
Company to give you the following
information about tire grades exactly as
the government has written it.Treadwear
The treadwear grade is a comparative
rating based on the wear rate of the tire
when tested under controlled conditions
on a specified government test course. For
example, a tire graded 150 would wear one
and one-half (11⁄2) times as well on the
government course as a tire graded 100.
The relative performance of tires depends
upon the actual conditions of their use,
however, and may depart significantly from
the norm due to variations in driving habits,
service practices, and differences in road
characteristics and climate.
Traction AA A B CWARNING
The traction grade assigned to this
tire is based on straight-ahead
braking traction tests, and does not
include acceleration, cornering,
hydroplaning or peak traction
characteristics.
The traction grades, from highest to lowest
are AA, A, B, and C. The grades represent
the tire ’s ability to stop on wet pavement
as measured under controlled conditions
on specified government test surfaces of
asphalt and concrete. A tire marked C may
have poor traction performance.
Temperature A B C
WARNING
The temperature grade for this tire
is established for a tire that is
properly inflated and not overloaded.
Excessive speed, underinflation, or
excessive loading, either separately or in
combination, can cause heat buildup and
possible tire failure.
245
Wheels and Tires
E142542
Page 249 of 423

M.Maximum Permissible Inflation
Pressure: Indicates the tire
manufacturers' maximum permissible
pressure or the pressure at which the
maximum load can be carried by the tire.
This pressure is normally higher than the
manufacturer's recommended cold
inflation pressure which can be found on
the Safety Compliance Certification Label
(affixed to either the door hinge pillar,
door-latch post, or the door edge that
meets the door-latch post, next to the
driver's seating position), or Tire Label
which is located on the B-Pillar or the edge
of the driver ’s door. The cold inflation
pressure should never be set lower than
the recommended pressure on the vehicle
label.
The tire suppliers may have additional
markings, notes or warnings such as
standard load, radial tubeless, etc.
Additional Information Contained on
the Tire Sidewall for LT Type Tires
Note: Tire Quality Grades do not apply to
this type of tire.LT type tires have some additional
information beyond those of P type tires;
these differences are described below.
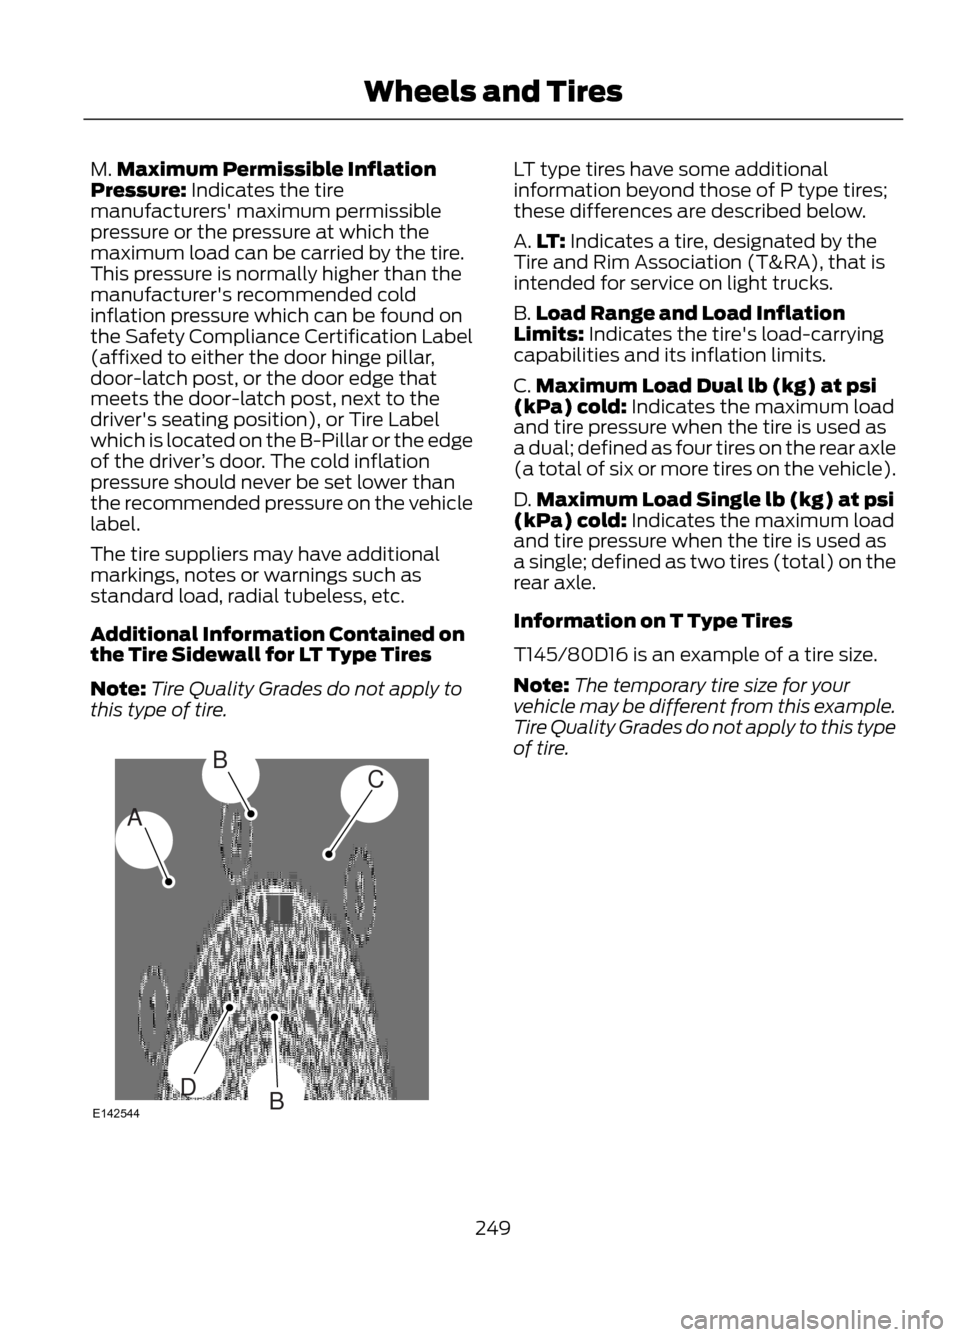
A. LT: Indicates a tire, designated by the
Tire and Rim Association (T&RA), that is
intended for service on light trucks.
B. Load Range and Load Inflation
Limits: Indicates the tire's load-carrying
capabilities and its inflation limits.
C. Maximum Load Dual lb (kg) at psi
(kPa) cold: Indicates the maximum load
and tire pressure when the tire is used as
a dual; defined as four tires on the rear axle
(a total of six or more tires on the vehicle).
D. Maximum Load Single lb (kg) at psi
(kPa) cold: Indicates the maximum load
and tire pressure when the tire is used as
a single; defined as two tires (total) on the
rear axle.
Information on T Type Tires
T145/80D16 is an example of a tire size.
Note: The temporary tire size for your
vehicle may be different from this example.
Tire Quality Grades do not apply to this type
of tire.
249
Wheels and Tires
A
BC
BDE142544
Page 251 of 423

WARNING
Under-inflation is the most common
cause of tire failures and may result
in severe tire cracking, tread
separation or blowout, with unexpected
loss of vehicle control and increased risk
of injury. Under-inflation increases sidewall
flexing and rolling resistance, resulting in
heat buildup and internal damage to the
tire. It also may result in unnecessary tire
stress, irregular wear, loss of vehicle
control and accidents. A tire can lose up
to half of its air pressure and not appear
to be flat!
Always inflate your tires to the Ford
recommended inflation pressure even if it
is less than the maximum inflation
pressure information found on the tire. The
Ford recommended tire inflation pressure
is found on the Safety Compliance
Certification Label (affixed to either the
door hinge pillar, door-latch post, or the
door edge that meets the door-latch post,
next to the driver's seating position), or Tire
Label which is located on the B-Pillar or
the edge of the driver ’s door. Failure to
follow the tire pressure recommendations
can cause uneven treadwear patterns and
adversely affect the way your vehicle
handles Maximum Permissible Inflation
Pressure is the tire manufacturer's
maximum permissible pressure and the
pressure at which the maximum load can
be carried by the tire. This pressure is
normally higher than the manufacturer
’s
recommended cold inflation pressure
which can be found on the Safety
Compliance Certification Label (affixed to
either the door hinge pillar, door-latch post,
or the door edge that meets the door-latch
post, next to the driver's seating position),
or Tire Label which is located on the
B-Pillar or the edge of the driver ’s door. The
cold inflation pressure should never be set
lower than the recommended pressure on
the Safety Compliance Certification Label
or Tire Label.
When weather temperature changes
occur, tire inflation pressures also change.
A 10°F (6°C) temperature drop can cause
a corresponding drop of 1 psi (7 kPa) in
inflation pressure. Check your tire pressures
frequently and adjust them to the proper
pressure which can be found on the Safety
Compliance Certification Label or Tire
Label.
To check the pressure in your tire(s):
1. Make sure the tires are cool, meaning they are not hot from driving even a
mile.
Note: If you are checking tire pressure when
the tire is hot, (i.e. driven more than 1 mile
[1.6 km]), never bleed or reduce air pressure.
The tires are hot from driving and it is normal
for pressures to increase above
recommended cold pressures. A hot tire at
or below recommended cold inflation
pressure could be significantly
under-inflated.
Note: If you have to drive a distance to get
air for your tire(s), check and record the tire
pressure first and add the appropriate air
pressure when you get to the pump. It is
normal for tires to heat up and the air
pressure inside to go up as you drive.
251
Wheels and Tires