2013 DODGE VIPER warning
[x] Cancel search: warningPage 16 of 100

NOTE:
While the child tether is in use, keep the
access cover in a safe place so that it can be
replaced after use of the child tether.
4.
Pass the child restraint tether hook
through either opening in the seatback
underneath the head restraint.
5.Attach the tether hook to the anchor loop.
6.Move the seat to its farthest rearward
position. Apply body pressure to the seat
to be sure the seat adjusters have latched.
7. Return the seatback to an upright position.
8. Install the child restraint according to the manufacturer's directions.
9. Remove slack from the tether strap according to the child restraint manufacturer's directions.
WARNING!
An incorrectly anchored tether strap could lead to increased head motion and possible
injury to the child. Use only the anchor position directly behind the child seat to secure
a child restraint top tether strap.
FRONT SEATS
Power Seats
•The power seat switches are located on the
outboard side of the front seat cushions.
• The power seat switch controls forward, rearward, up and down adjustments.
Push the switch forward, rearward, up or
down and the seat will move in the direc-
tion of the switch. Release the switch
when the desired position has been
reached.
• The recline switch controls the angle of the seatback. Press the switch forward or
rearward and the seatback will move in
either direction.
GETTING STARTED
14
Page 17 of 100

Manual Seats
Forward/Rearward
• Lift up on the adjusting bar located atthe front of the seat near the floor and
release at the desired position. Then,
using body pressure, move forward and
backward on the seat to be sure that the
seat adjusters have latched.
Recliner
• Lean forward in the seat and lift the recliner lever, then lean back to the de-
sired position and release the lever.
• Lift the lever to return the seatback to an upright position.
Height Adjustment
• Ratchet the front lever, located on the outboard side of the seat, upward to raise the seat height.
• Ratchet the lever downward to lower the seat height.
CAUTION!
Do not place any article under a power seat or impede its ability to move as it may cause
damage to the seat controls. Seat travel may become limited if movement is stopped
by an obstruction in the seat's path.
WARNING!
• Adjusting a seat while the vehicle is moving is dangerous. The sudden movement of the seat could cause you to lose control. The seat belt might not be properly
adjusted, and you could be severely injured or killed. Only adjust a seat while the
vehicle is parked.
• Do not ride with the seatback reclined so that the seat belt is no longer resting
against your chest. In a collision, you could slide under the seat belt and be severely
injured or killed. Use the recliner only when the vehicle is parked.
GETTING STARTED
15
Page 18 of 100

ADJUSTABLE PEDALS
• The adjustable pedal switch is located tothe left side of the steering column.
• Press the switch forward to move the pedals forward (toward the front of the
vehicle).
• Press the switch rearward to move the pedals rearward (toward the driver).
CAUTION!
Do not place any article under the adjustable pedals or impede its ability to move, as it
may cause damage to the pedal controls. Pedal travel may become limited if movement
is stopped by an obstruction in the adjustable pedal's path.
WARNING!
Do not adjust the pedals while the vehicle is moving. You could lose control and have
a collision. Always adjust the pedals while the vehicle is parked.
ADJUSTABLE FOOT REST
• The adjustable foot rest can be adjustedforward or rearward and rotated upward
or downward to allow for greater driving
comfort.
• To adjust the pedal:
1. Adjust the seat and steering column to a comfortable position.
2. Using a 13 mm socket wrench, loosen the nut on the pedal.
3. Slide the pedal either forward or rear- ward and rotate it upward or downward
as desired.
4. Tighten the nut, being careful not to over tighten it.
GETTING STARTED
16
Page 19 of 100

TILT / TELESCOPING STEERING COLUMN
• The tilt release lever is located below themultifunction lever on the left side of the
steering column.
• To tilt the column, simply pull the re- lease lever rearward toward you and then
move the steering wheel upward or down-
ward as desired.
• Push the release lever forward to lock the column firmly in place.
WARNING!
Do not adjust the steering wheel while driving. The tilt adjustment must be locked
while driving. Adjusting the steering wheel while driving or driving without the tilt
adjustment locked could cause the driver to lose control of the vehicle. Failure to follow
this warning may result in you and others being severely injured or killed.
GETTING STARTED
17
Page 23 of 100

Accel/Decel
• Once a speed is set, pushing the RES + button once or the SET – button once willincrease or decrease the set speed approximately 1 mph (2 km/h).
• Push and hold the RES + button to accelerate in 5 mph (8 km/h) increments or push and hold the SET – button to decelerate in 5 mph (8 km/h) increments; release the
button to save the new set speed.
Resume
• To resume a previously selected set speed in memory, push the RES + button andrelease.
Cancel
• Push the CANCEL button, or apply the brakes to cancel the set speed and maintain theset speed memory.
• Push the ON/OFF button to turn the system off and erase the set speed memory.
WARNING!
• Leaving the Electronic Speed Control system on when not in use is dangerous. You could accidentally set the system or cause it to go faster than you want. You could
lose control and have a collision. Always leave the Electronic Speed Control system
off when you are not using it.
• Electronic Speed Control can be dangerous where the system cannot maintain a constant speed. Your vehicle could go too fast for the conditions, and you could lose
control. A collision could be the result. Do not use Electronic Speed Control in
heavy traffic or on roads that are winding, icy, snow-covered or slippery.
MANUAL TRANSMISSION 1 TO 4 SKIP SHIFT
• Skip Shift is enabled when vehicle speed is greater than 16 MPH(26 km/h) but less than 18 MPH (29 km/h) and the accelerator is
at 20% or less.
• For optimal fuel economy, under low acceleration conditions, your vehicle will only allow you to shift from first gear to fourth gear.
Additionally, the skip shift message will appear in the tachometer.
• Refer to your Owner's Manual on the DVD for further information.
OPERATING YOUR VEHICLE
21
Page 25 of 100

PARKVIEW®REAR BACK-UP CAMERA
• You can see an on-screen image of the rear surroundings of your vehicle whenever theshift lever is put into REVERSE. The ParkView®Rear Back-Up Camera image will be
displayed in the rearview mirror or touchscreen display along with a caution note to
“check entire surroundings” across the top of the screen. After five seconds this note
will disappear.
• If the rearview mirror or touchscreen display appears foggy, clean the ParkView
®
camera located to the left of the tailgate handle.
WARNING!
Drivers must be careful when backing up; even when using the ParkView®Rear
Back-Up Camera. Always check carefully behind your vehicle, and be sure to check for
pedestrians, animals, other vehicles, obstructions, or blind spots before backing up.
You must continue to pay attention while backing up. Failure to do so can result in
serious injury or death.
OPERATING YOUR VEHICLE
23
Page 44 of 100

WARNING!
• Any voice commanded system should be used only in safe driving conditionsfollowing applicable laws regarding phone use. Your attention should be focused on
safely operating the vehicle. Failure to do so may result in a collision causing you
and others to be severely injured or killed.
• In an emergency, to use Uconnect™ Phone, your mobile phone must be:
• turned on,
• paired to Uconnect™ Phone,
• and have network coverage.
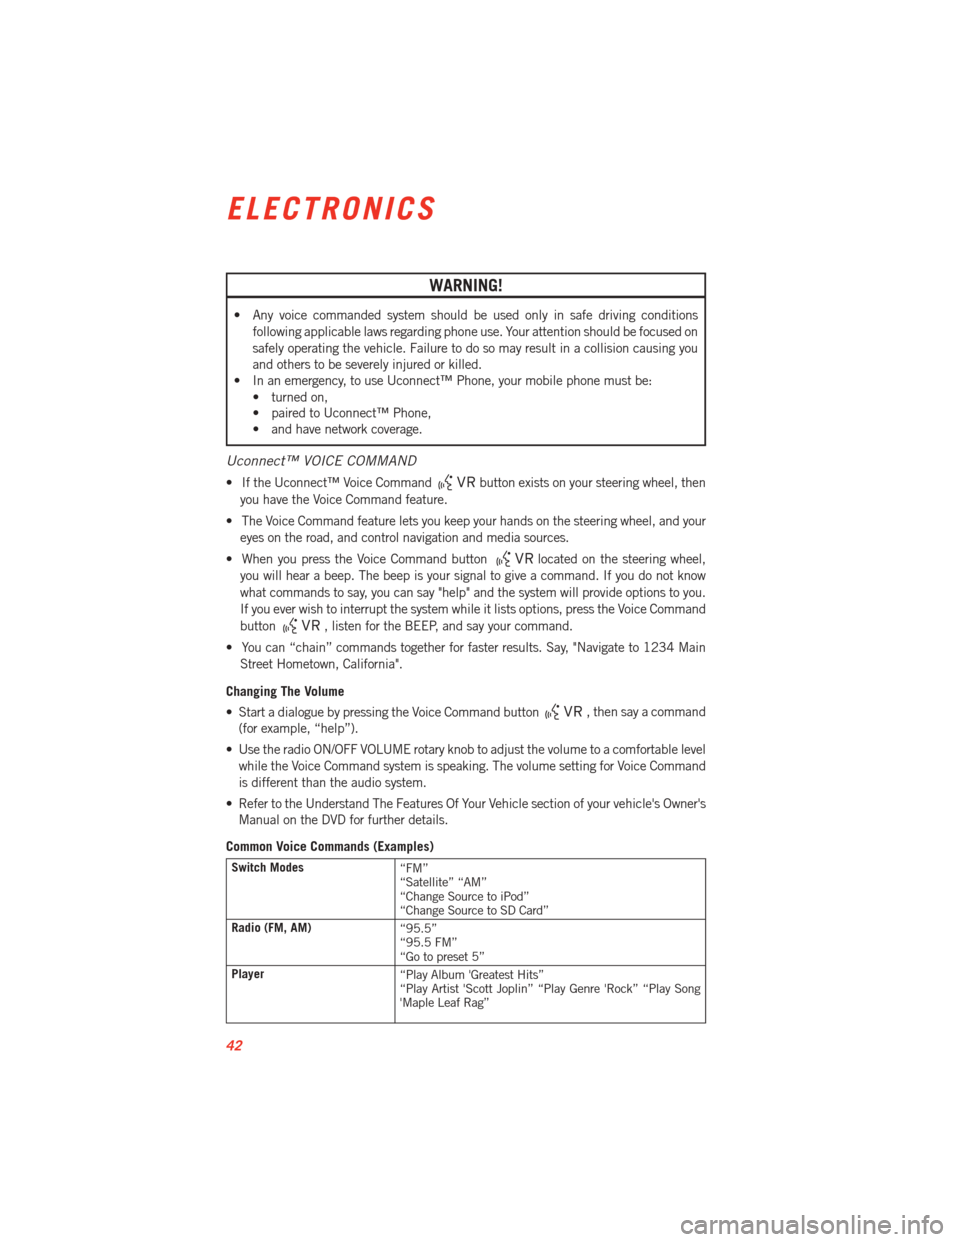
Uconnect™ VOICE COMMAND
• If the Uconnect™ Voice Commandbutton exists on your steering wheel, then
you have the Voice Command feature.
• The Voice Command feature lets you keep your hands on the steering wheel, and your eyes on the road, and control navigation and media sources.
• When you press the Voice Command button
located on the steering wheel,
you will hear a beep. The beep is your signal to give a command. If you do not know
what commands to say, you can say "help" and the system will provide options to you.
If you ever wish to interrupt the system while it lists options, press the Voice Command
button
, listen for the BEEP, and say your command.
• You can “chain” commands together for faster results. Say, "Navigate to 1234 Main Street Hometown, California".
Changing The Volume
• Start a dialogue by pressing the Voice Command button
, then say a command
(for example, “help”).
• Use the radio ON/OFF VOLUME rotary knob to adjust the volume to a comfortable level while the Voice Command system is speaking. The volume setting for Voice Command
is different than the audio system.
• Refer to the Understand The Features Of Your Vehicle section of your vehicle's Owner's Manual on the DVD for further details.
Common Voice Commands (Examples)
Switch Modes “FM”
“Satellite” “AM”
“Change Source to iPod”
“Change Source to SD Card”
Radio (FM, AM) “95.5”
“95.5 FM”
“Go to preset 5”
Player “Play Album 'Greatest Hits”
“Play Artist 'Scott Joplin” “Play Genre 'Rock” “Play Song
'Maple Leaf Rag”
ELECTRONICS
42
Page 57 of 100

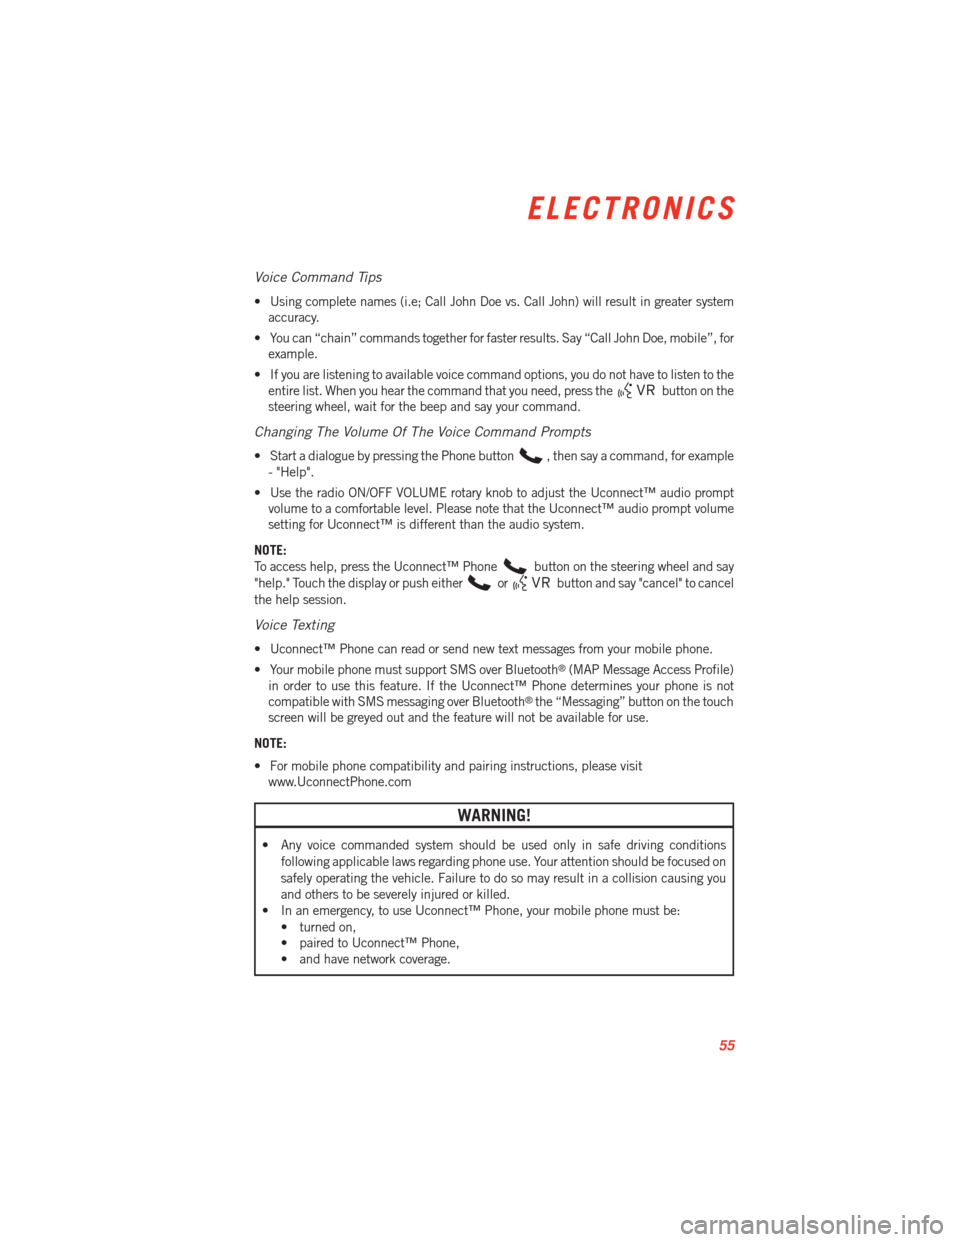
Voice Command Tips
• Using complete names (i.e; Call John Doe vs. Call John) will result in greater systemaccuracy.
• You can “chain” commands together for faster results. Say “Call John Doe, mobile”, for example.
• If you are listening to available voice command options, you do not have to listen to the entire list. When you hear the command that you need, press the
button on the
steering wheel, wait for the beep and say your command.
Changing The Volume Of The Voice Command Prompts
• Start a dialogue by pressing the Phone button, then say a command, for example
- "Help".
• Use the radio ON/OFF VOLUME rotary knob to adjust the Uconnect™ audio prompt volume to a comfortable level. Please note that the Uconnect™ audio prompt volume
setting for Uconnect™ is different than the audio system.
NOTE:
To access help, press the Uconnect™ Phone
button on the steering wheel and say
"help." Touch the display or push either
orbutton and say "cancel" to cancel
the help session.
Voice Texting
• Uconnect™ Phone can read or send new text messages from your mobile phone.
• Your mobile phone must support SMS over Bluetooth
®(MAP Message Access Profile)
in order to use this feature. If the Uconnect™ Phone determines your phone is not
compatible with SMS messaging over Bluetooth
®the “Messaging” button on the touch
screen will be greyed out and the feature will not be available for use.
NOTE:
• For mobile phone compatibility and pairing instructions, please visit www.UconnectPhone.com
WARNING!
• Any voice commanded system should be used only in safe driving conditions
following applicable laws regarding phone use. Your attention should be focused on
safely operating the vehicle. Failure to do so may result in a collision causing you
and others to be severely injured or killed.
• In an emergency, to use Uconnect™ Phone, your mobile phone must be:
• turned on,
• paired to Uconnect™ Phone,
• and have network coverage.
ELECTRONICS
55