Page 451 of 683
1. Press the Rear Temperature Lock button on the front
ATC panel. This turns off the Rear Temperature Lock
icon in the rear temperature knob.
2. Rotate the Rear Blower, Rear Temperature and the
Rear Mode Control knobs to suit your comfort needs.
3. ATC is selected by adjusting the rear blower knob
counterclockwise to AUTO.
Once the desired temperature is displayed, the ATC
System will automatically achieve and maintain that
comfort level. When the system is set up for your comfort
level, it is not necessary to change the settings. You will
experience the greatest efficiency by simply allowing the
system to function automatically.
Rear ATC Control Features
1 - Blower Speed 3 - Rear Mode
2 - Rear Temperature 4 - Rear Temperature Lock
4
UNDERSTANDING YOUR INSTRUMENT PANEL 449
Page 453 of 683

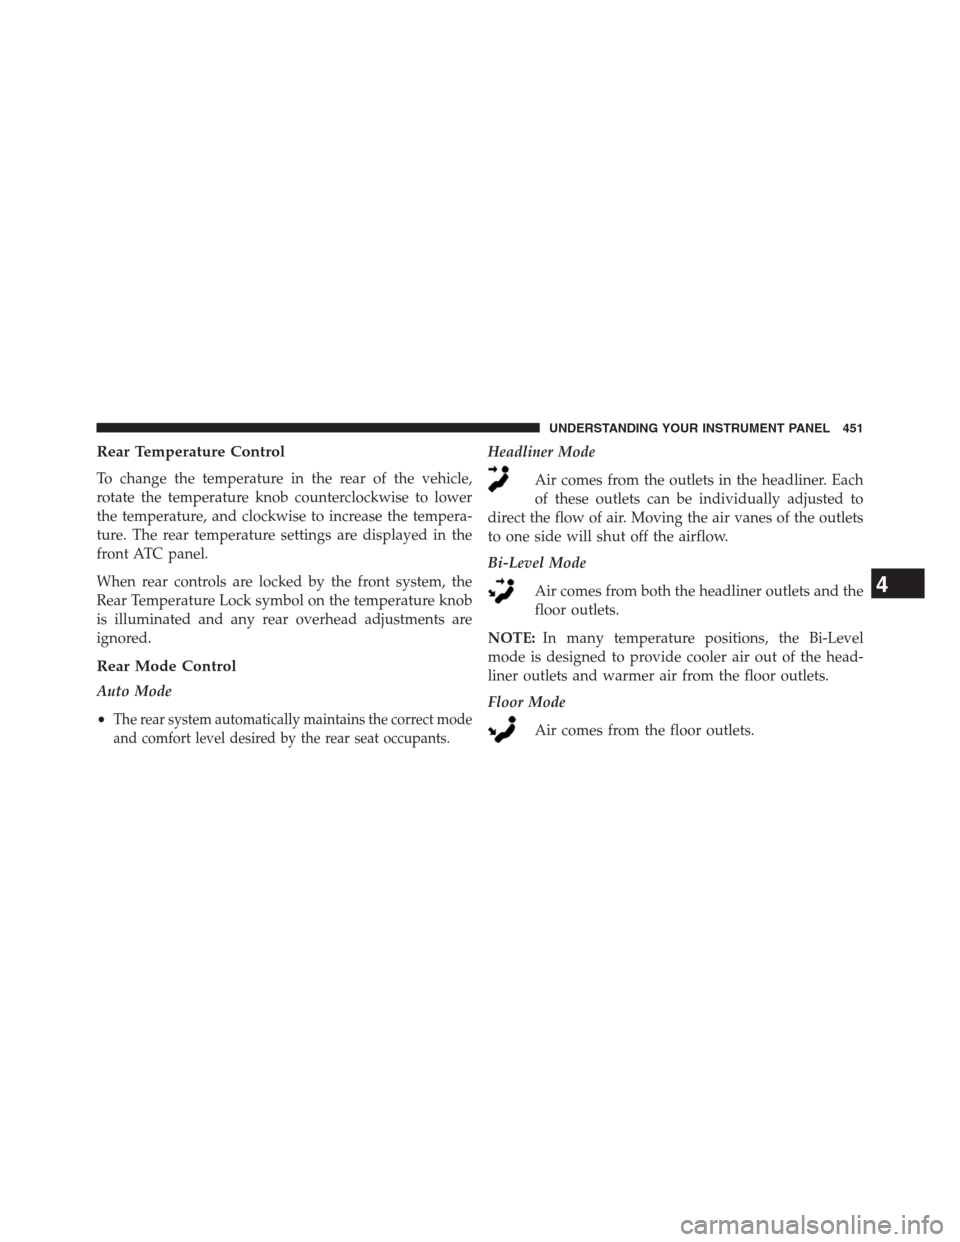
Rear Temperature Control
To change the temperature in the rear of the vehicle,
rotate the temperature knob counterclockwise to lower
the temperature, and clockwise to increase the tempera-
ture. The rear temperature settings are displayed in the
front ATC panel.
When rear controls are locked by the front system, the
Rear Temperature Lock symbol on the temperature knob
is illuminated and any rear overhead adjustments are
ignored.
Rear Mode Control
Auto Mode
•
The rear system automatically maintains the correct mode
and comfort level desired by the rear seat occupants.
Headliner Mode
Air comes from the outlets in the headliner. Each
of these outlets can be individually adjusted to
direct the flow of air. Moving the air vanes of the outlets
to one side will shut off the airflow.
Bi-Level Mode
Air comes from both the headliner outlets and the
floor outlets.
NOTE:In many temperature positions, the Bi-Level
mode is designed to provide cooler air out of the head-
liner outlets and warmer air from the floor outlets.
Floor Mode
Air comes from the floor outlets.
4
UNDERSTANDING YOUR INSTRUMENT PANEL 451
Page 581 of 683

WARNING!
To avoid the risk of forcing the vehicle off the jack,
do not tighten the wheel nuts fully until the vehicle
has been lowered. Failure to follow this warning may
result in personal injury.
3. Lower the vehicle to the ground by turning the jack
handle counterclockwise.
4.
Finish tightening the lug nuts. Push down on the
wrench while at the end of the handle for increased
leverage. Tighten the lug nuts in a star pattern until each
nut has been tightened twice. The correct tightness of
each lug nut is 100 ft/lbs (135 N·m). If in doubt about
the correct tightness, have them checked with a torque
wrench by your authorized dealer or service station.
5. After 25 miles (40 km) check the lug nut torque with a
torque wrench to ensure that all lug nuts are properly
seated against the wheel.
JUMP-STARTING
If your vehicle has a discharged battery it can be jump-
started using a set of jumper cables and a battery in
another vehicle or by using a portable battery booster
pack. Jump-starting can be dangerous if done improperly
so please follow the procedures in this section carefully.
NOTE:When using a portable battery booster pack
follow the manufacturer ’s operating instructions and
precautions.
CAUTION!
Do not use a portable battery booster pack or any
other booster source with a system voltage greater
than 12 Volts or damage to the battery, starter motor,
alternator or electrical system may occur.
6
WHAT TO DO IN EMERGENCIES 579
Page 678 of 683

Service Assistance.........................651
Service Contract..........................654
Service Engine Soon Light (Malfunction Indicator). . .317
Service Manuals..........................656
Settings, Personal.........................342
Setting the Clock..........................350
Shift Lever Override.......................585
Shoulder Belts............................60
Side Airbag..............................84
Signals, Turn............................120
Sliding Door.............................44
Snow Chains (Tire Chains)...................517
Snow Tires..............................510
Spare Tire...............................511
Speed Control (Cruise Control)................237
Speedometer.............................319
Starting................................461
Automatic Transmission..................461
Cold Weather..........................462Engine Fails to Start.....................462
Remote...............................30
Starting and Operating.....................461
Starting Procedures........................461
Steering
Power...............................480
Tilt Column...........................232
Wheel, Heated.........................234
Wheel, Tilt............................232
Steering Wheel Audio Controls...............429
Steering Wheel Mounted Sound System Controls . . .429
Storage................................633
Storage Bin..............................278
Storage, Vehicle...........................453
Storing Your Vehicle.......................633
Stow n Go (Fold in Floor) Seats...............196
Sunglasses Storage........................253
Sun Roof...............................265
Supplemental Restraint System - Airbag..........74
676 INDEX