Page 193 of 248
Page 194 of 248
9.42
09
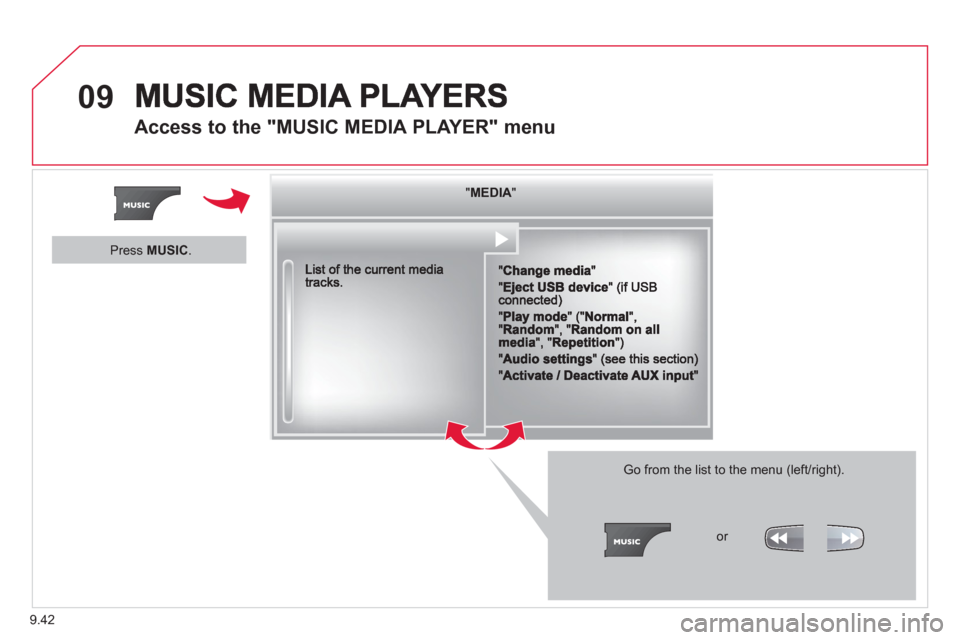
Access to the "MUSIC MEDIA PLAYER" menu
""""""""MEDIAMEDIAMEDIAMEDIAMEDIAMEDIAMEDIAMEDIAMEDIAMEDIAMEDIAMEDIAMEDIAMEDIAMEDIAMEDIAMEDIAMEDIAMEDIA""""""""
Go from the list to the menu (left/right).
or
Press MUSIC.
Page 195 of 248

9.43
09
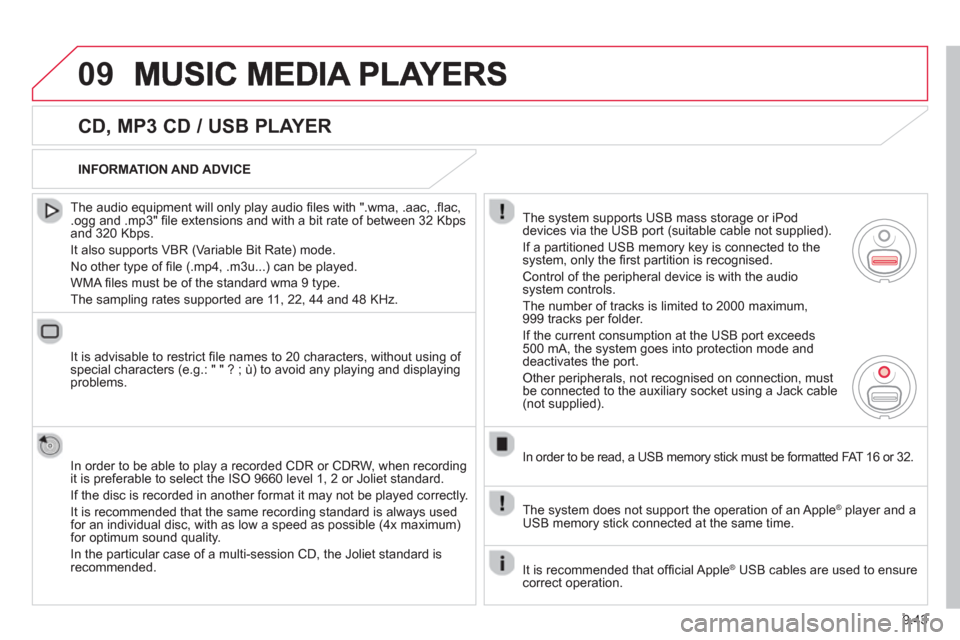
CD, MP3 CD / USB PLAYER
The audio equipment will only play audio fi les with ".wma, .aac, .fl ac, .ogg and .mp3" fi le extensions and with a bit rate of between 32 Kbps
and 320 Kbps.
It also supports VBR
(Variable Bit Rate) mode.
No other t
ype of fi le (.mp4, .m3u...) can be played.
WMA
fi les must be of the standard wma 9 type.
The samplin
g rates supported are 11, 22, 44 and 48 KHz.
It is advisable to restrict fi le names to 20 characters, without usin
g of special characters (e.g.: " " ? ; ù) to avoid any playing and displayingproblems.
In order to be able to pla
y a recorded CDR or CDRW, when recording
it is preferable to select the ISO 9660 level 1, 2 or Joliet standard.
If the disc is recorded in another format it ma
y not be played correctly.
It is recommended that the same recordin
g standard is always used
for an individual disc, with as low a speed as possible (4x maximum)for optimum sound quality.
In the particular case o
f a multi-session CD, the Joliet standard isrecommended.
INFORMATION AND ADVICE
The s
ystem supports USB mass storage or iPod
devices via the USB port (suitable cable not supplied).
I
f a partitioned USB memory key is connected to the system, only the fi rst partition is recognised.
Control of the peripheral device is with the audiosystem controls.
The number of tracks is limited to 2000 maximum,
999 tracks per folder.
I
f the current consumption at the USB port exceeds 500 mA, the system goes into protection mode and
deactivates the port.
Other peripherals, not recognised on connection, must
be connected to the auxiliary socket using a Jack cable (not supplied).
In order to be read, a USB memor
y stick must be formatted FAT 16 or 32.
The s
ystem does not support the operation of an Apple Æplayer and a USB memory stick connected at the same time.
It is recommended that o
ffi cial Apple Æ USB cables are used to ensure Æ
correct operation.
Page 196 of 248

9.44
09MUSIC MEDIA PLAYERS
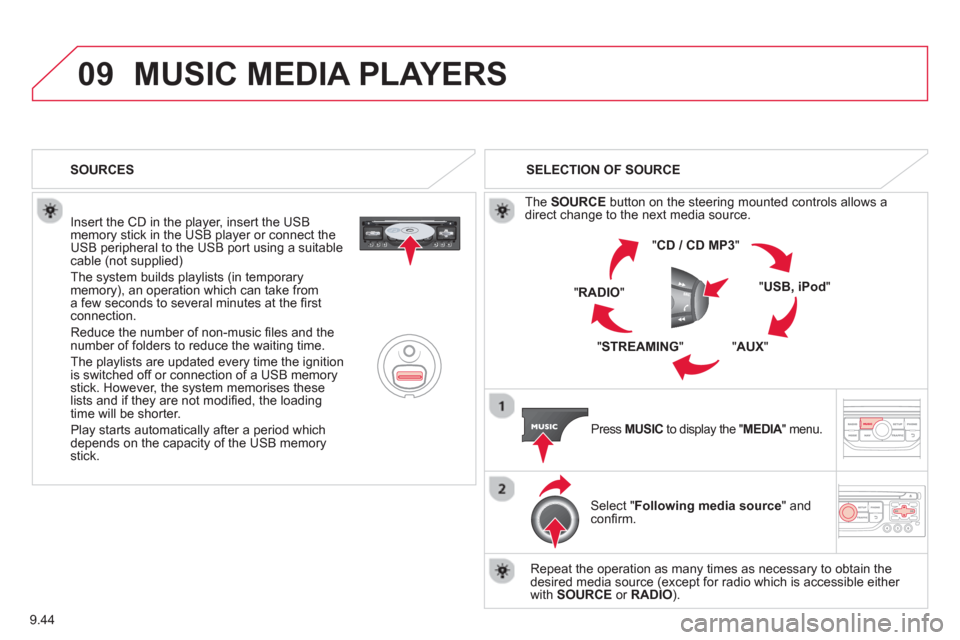
Insert the CD in the player, insert the USBmemory stick in the USB player or connect theUSB peripheral to the USB port using a suitablecable (not supplied)
The system builds playlists (in temporarymemory), an operation which can take froma few seconds to several minutes at the fi rstconnection.
R
educe the number of non-music fi les and the number of folders to reduce the waiting time.
The pla
ylists are updated every time the ignition
is switched off or connection of a USB memory stick. However, the system memorises these
lists and if they are not modifi ed, the loadingtime will be shorter.
Pla
y starts automatically after a period which
depends on the capacity of the USB memory stick. SELECTION OF SOURCE
Th
e SOURCE
button on the steering mounted controls allows a
direct change to the next media source.
" CD / CD MP
3
"
"
USB, iPod"
"AUX " "STREAMING "
"RADIO "
Press MUSICto display the " MEDIA
" menu. A
Select "Following media source " and confi rm.
Repeat the operation as man
y times as necessary to obtain the
desired media source (except for radio which is accessible either
with SOURCE
or RADIO). SOURCES
Page 197 of 248
9.45
09
/
/
//
//
/
+/
/
/
MUSIC MEDIA PLAYERS
SELECTING A TRACK
Previous track.
Next track.
Pr
evious folder.
N
ext folder.
F
ast forward.
F
ast backward.
Pause: lon
g press on SRC.
MUSIC: List of USB or CD tracks o
r folders
Up or down in the list.
Confi rm, next menu level.
Up one menu level.
Long press
Lon
g press
Page 198 of 248

9.46
09
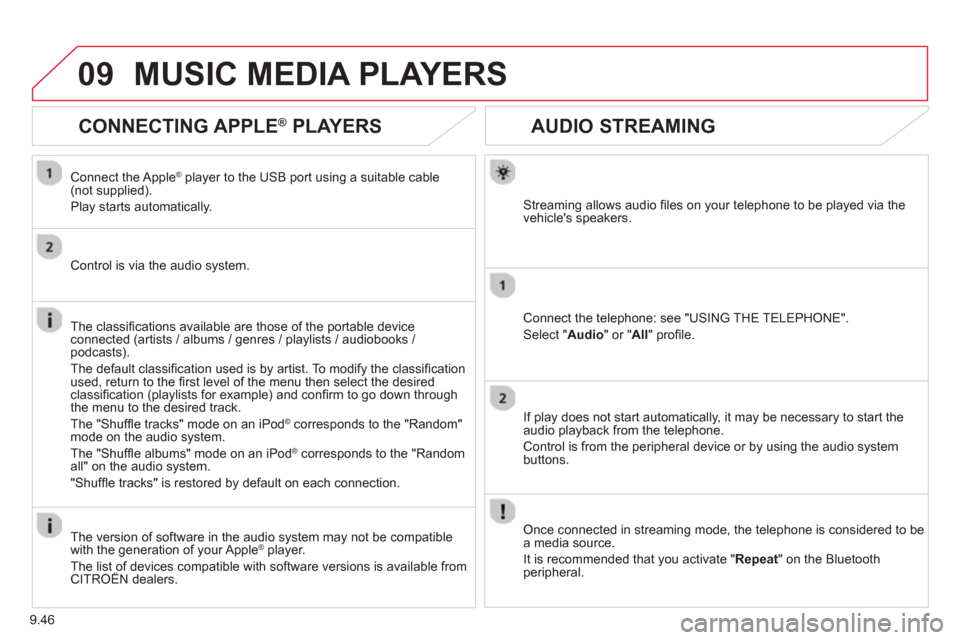
AUDIO STREAMING
Streaming allows audio fi les on your telephone to be played via the
vehicle's speakers.
Connect the telephone: see "USING THE TELEPHONE".
Select " Audio" or " All" profi le.
I
f play does not start automatically, it may be necessary to start the audio playback from the telephone.
Control is from the peripheral device or b
y using the audio system buttons.
Once connected in streaming mode, the telephone is considered to bea media source.
It is recommended that you activate "
Repeat" on the Bluetooth
peripheral.
MUSIC MEDIA PLAYERS
CONNECTING APPLE®
PLAYERS ®
Connect the Apple ®player to the USB port using a suitable cable (not supplied).
Pla
y starts automatically.
Control is via the audio system.
The classifi cations available are those of the portable device
connected (artists / albums / genres / playlists / audiobooks / podcasts).
The de
fault classifi cation used is by artist. To modify the classifi cationused, return to the fi rst level of the menu then select the desired classifi cation (playlists for example) and confi rm to go down through
the menu to the desired track.
The "
Shuffl e tracks" mode on an iPod
®
corresponds to the "Random" ®
mode on the audio system.
The "
Shuffl e albums" mode on an iPod®
corresponds to the "Random ®
all" on the audio system.
"
Shuffl e tracks" is restored by default on each connection.
The version of software in the audio s
ystem may not be compatible
with the generation of your Apple Æplayer.
The list of devices compatible with software versions is available from CITROÀN dealers.
Page 199 of 248
9.47
09MUSIC MEDIA PLAYERS
USING THE AUXILIARY INPUT (AUX)
JACK AUDIO/USB CABLE NOT SUPPLIED
Connect the portable device (MP3, WMA player…) to the JACK
auxiliary audio socket or USB port using a suitable cable.
Press MUSICto display the "MUSIC" menu.
Select "Activate / Deactivate AUXinput
" and confi rm.
First adjust the volume o
f your portable
device (to a high level). Then adjust the
volume of your audio system.
Displa
y and management of the controls are via the portable device.
Page 200 of 248
9.48
10CONFIGURATION
Press SETUP
to display the"Confi guration " menu.
Select " Choose colour" and confi rm torselect the screen colour harmony and
the map presentation mode:
-
day mode,
- night mode,
- automatic da
y/night mode,according to whether the
headlamps are on.
Select " Adjust luminosity" and confi rm
to adjust the screen brightness.
Pr
ess " OK" to save the changes.
The settin
gs for day and night are independent.
Select " Display confi guration" andconfi rm.
DISPLAY CONFIGURATION