2013 BMW 3 SERIES SEDAN sport
[x] Cancel search: sportPage 165 of 248

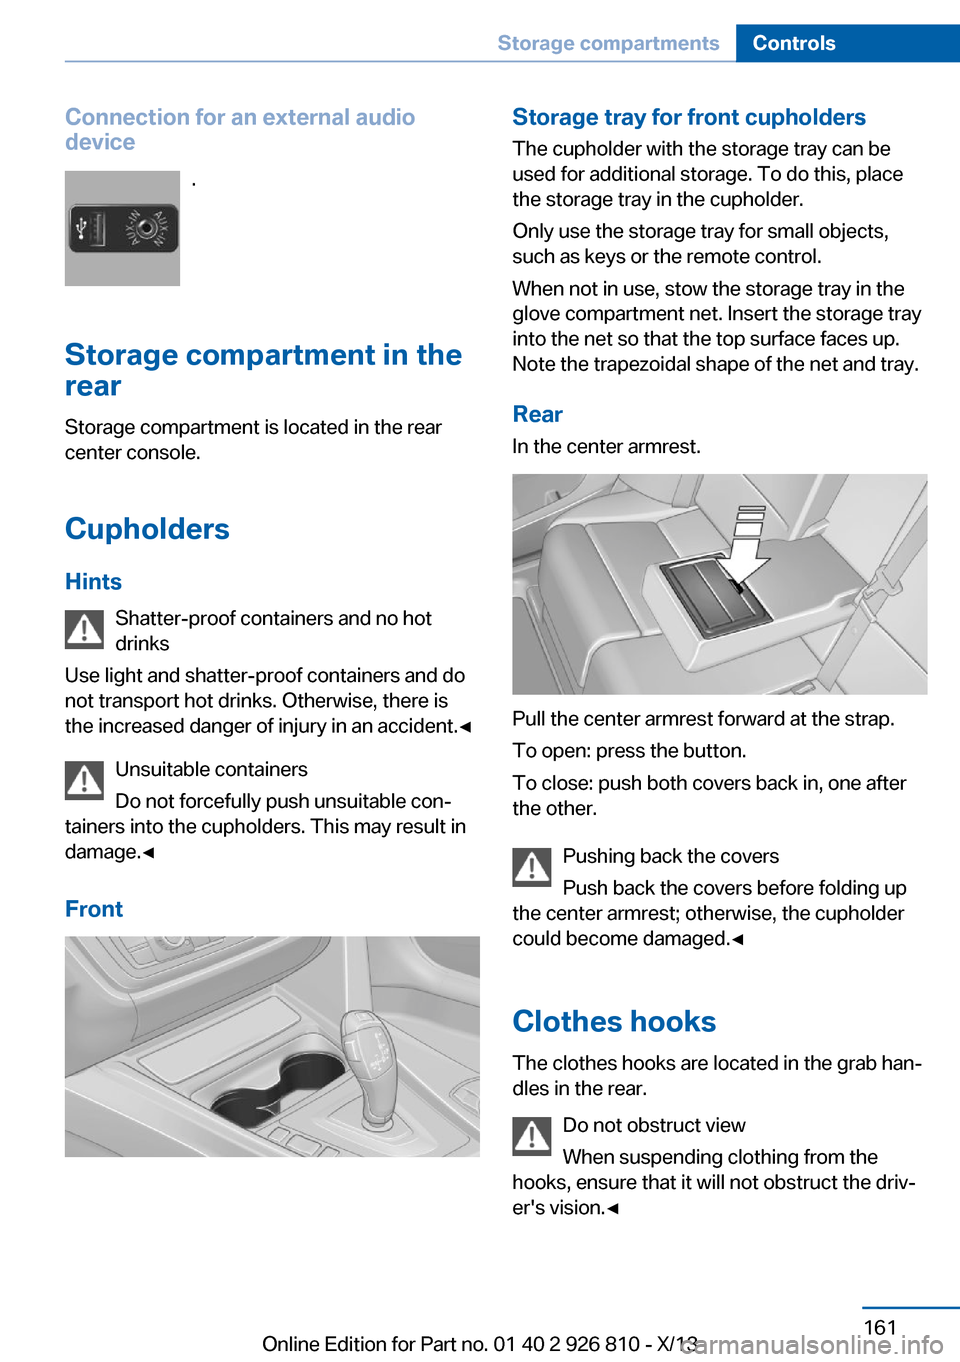
Connection for an external audio
device
.
Storage compartment in the
rear
Storage compartment is located in the rear
center console.
Cupholders
Hints Shatter-proof containers and no hot
drinks
Use light and shatter-proof containers and do
not transport hot drinks. Otherwise, there is
the increased danger of injury in an accident.◀
Unsuitable containers
Do not forcefully push unsuitable con‐
tainers into the cupholders. This may result in
damage.◀
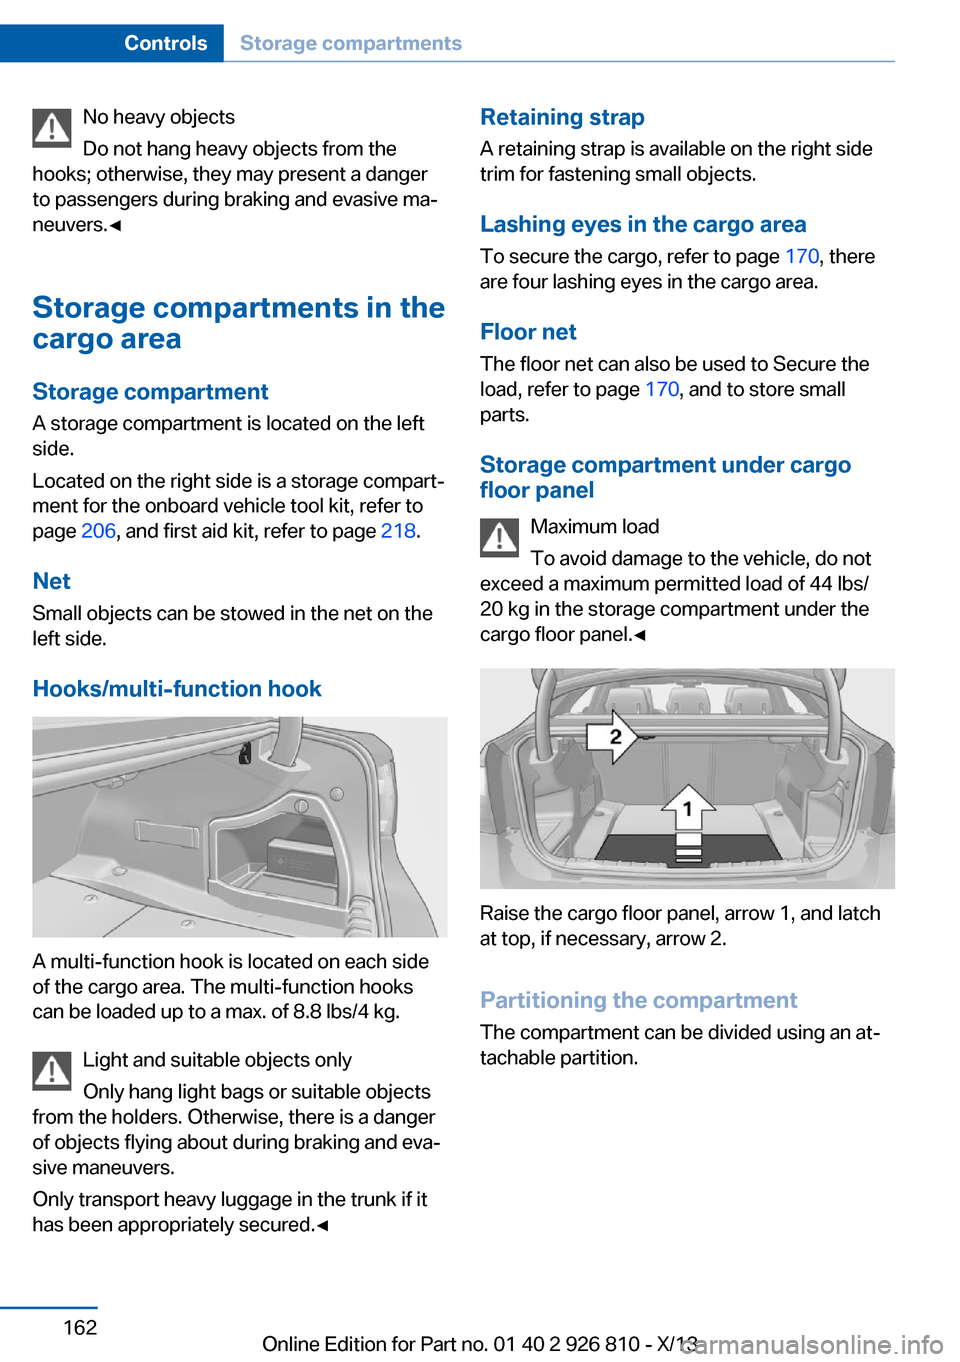
FrontStorage tray for front cupholders
The cupholder with the storage tray can be
used for additional storage. To do this, place
the storage tray in the cupholder.
Only use the storage tray for small objects,
such as keys or the remote control.
When not in use, stow the storage tray in the
glove compartment net. Insert the storage tray
into the net so that the top surface faces up.
Note the trapezoidal shape of the net and tray.
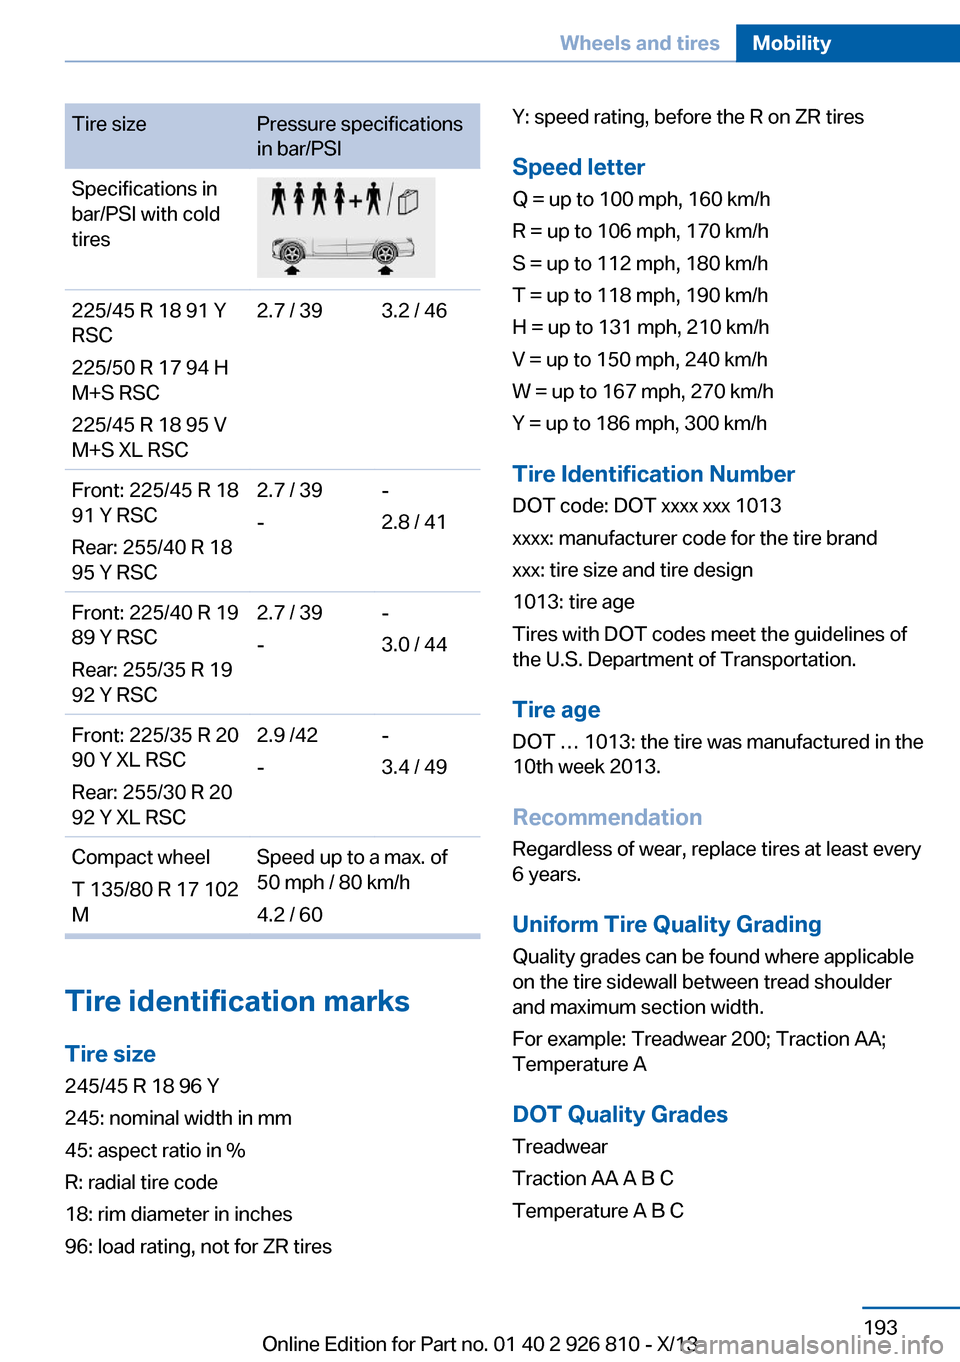
RearIn the center armrest.
Pull the center armrest forward at the strap.
To open: press the button.
To close: push both covers back in, one after
the other.
Pushing back the covers
Push back the covers before folding up
the center armrest; otherwise, the cupholder
could become damaged.◀
Clothes hooks
The clothes hooks are located in the grab han‐
dles in the rear.
Do not obstruct view
When suspending clothing from the
hooks, ensure that it will not obstruct the driv‐
er's vision.◀
Seite 161Storage compartmentsControls161
Online Edition for Part no. 01 40 2 926 810 - X/13
Page 166 of 248

No heavy objects
Do not hang heavy objects from the
hooks; otherwise, they may present a danger
to passengers during braking and evasive ma‐
neuvers.◀
Storage compartments in the
cargo area
Storage compartment A storage compartment is located on the left
side.
Located on the right side is a storage compart‐
ment for the onboard vehicle tool kit, refer to
page 206, and first aid kit, refer to page 218.
Net
Small objects can be stowed in the net on the
left side.
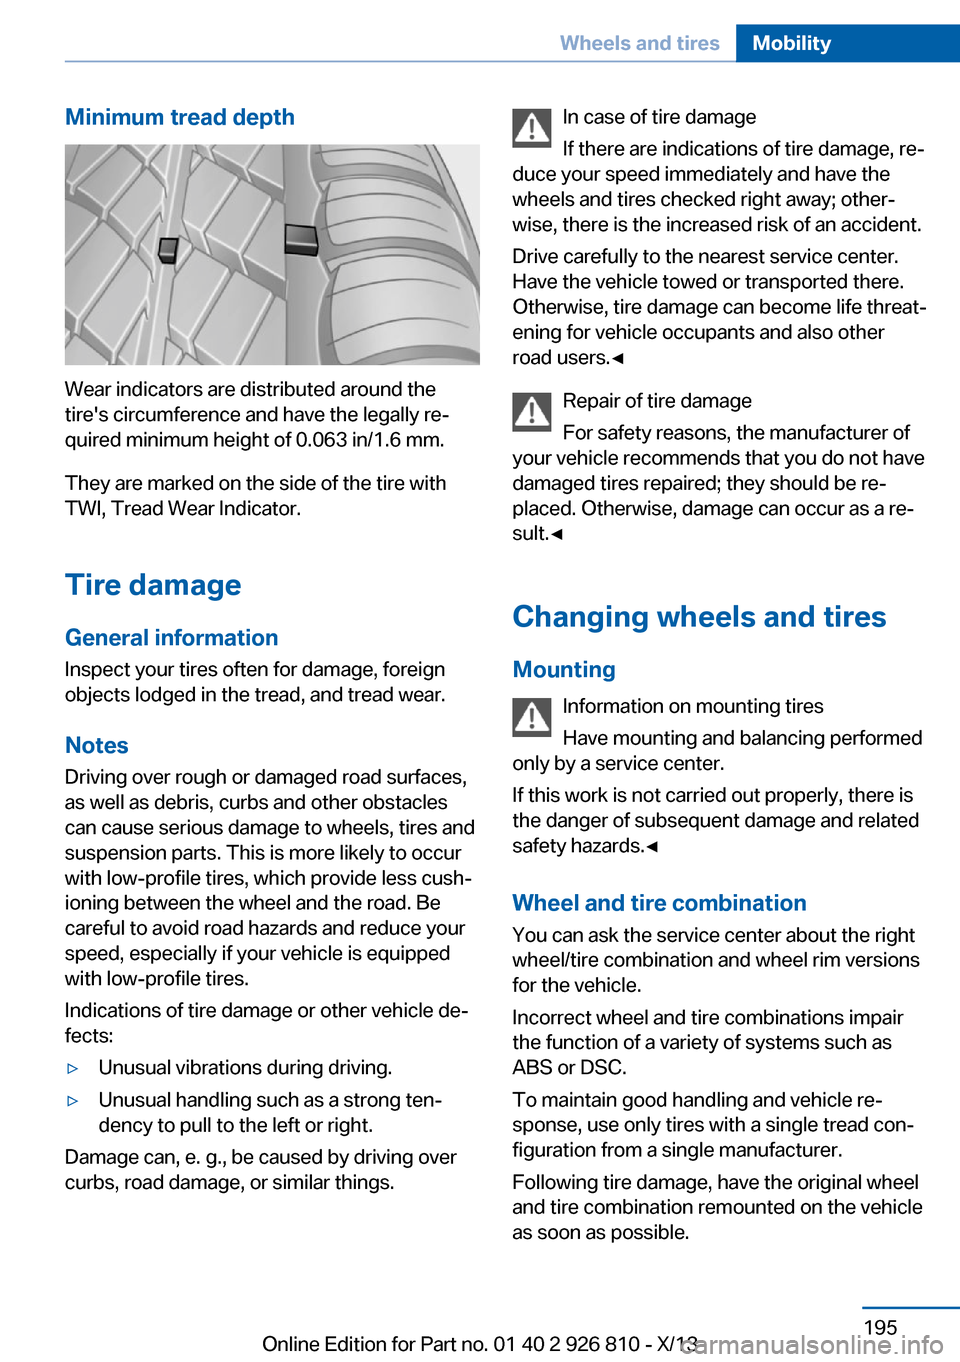
Hooks/multi-function hook
A multi-function hook is located on each side
of the cargo area. The multi-function hooks
can be loaded up to a max. of 8.8 lbs/4 kg.
Light and suitable objects only
Only hang light bags or suitable objects
from the holders. Otherwise, there is a danger
of objects flying about during braking and eva‐
sive maneuvers.
Only transport heavy luggage in the trunk if it
has been appropriately secured.◀
Retaining strap
A retaining strap is available on the right side
trim for fastening small objects.
Lashing eyes in the cargo area To secure the cargo, refer to page 170, there
are four lashing eyes in the cargo area.
Floor net The floor net can also be used to Secure the
load, refer to page 170, and to store small
parts.
Storage compartment under cargo
floor panel
Maximum load
To avoid damage to the vehicle, do not
exceed a maximum permitted load of 44 lbs/
20 kg in the storage compartment under the
cargo floor panel.◀
Raise the cargo floor panel, arrow 1, and latch
at top, if necessary, arrow 2.
Partitioning the compartment
The compartment can be divided using an at‐
tachable partition.
Seite 162ControlsStorage compartments162
Online Edition for Part no. 01 40 2 926 810 - X/13
Page 174 of 248

Load
The maximum load is the sum of the weight of
the occupants and the cargo.
The greater the weight of the occupants, the
less cargo that can be transported.
Stowing cargo
▷Cover sharp edges and corners on the
cargo.▷Heavy cargo: stow as far forward as possi‐
ble, directly behind and at the bottom of
the rear passenger seat backrests.▷Very heavy cargo: when the rear seat is not
occupied, secure each of the outer safety
belts in the opposite buckle.▷If necessary, fold down the rear backrests
to stow cargo.▷Do not stack cargo above the top edge of
the backrests.Securing cargo
Lashing eyes in the cargo area
To secure the cargo there are four lashing
eyes in the cargo area.
Floor net
The floor net can also be used to Secure the
load and to store small parts.
Hook the floor net into the fittings in the cargo
area floor.
Securing cargo
▷Smaller and lighter items: secure with re‐
taining straps or draw straps.▷Larger and heavy objects: secure with
cargo straps.
Attach the cargo straps, retaining straps or
draw straps to the lashing eyes in the cargo
area.
Seite 170Driving tipsLoading170
Online Edition for Part no. 01 40 2 926 810 - X/13
Page 188 of 248

Refill in good time
The reducing agent must be replenished
as soon as the Reserve display appears, other‐
wise the engine cannot be restarted.◀
Diesel exhaust fluid on minimum The engine will continue to runeven when the display shows --,
as long as it is not switched off
and all other operating condi‐
tions are satisfied, sufficient fuel
for example.
Engine does not start
Do not continue driving to the limit of the
remaining travel distance. Otherwise, you will
not be able to restart the engine after switch‐
ing it off.◀
Filling with incorrect fuel A Check Control message is displayed when
the tank is filled with the incorrect fuel.
After adding the wrong fuel, contact your serv‐
ice center.
System defect
A Check Control message is displayed when
there is a system defect.
Have the diesel exhaust fluid
replenished
The reducing agent is added by the service
center within the context of regular mainte‐
nance. Provided you observe this maintenance
schedule, it is normally necessary to replenish
the fluid once between maintenance appoint‐
ments.
It may be necessary to have the fluid replen‐
ished several times under particular circum‐
stances, for example, if the vehicle is driven in
a particularly sporty style or if it is driven at
high altitudes.The reducing agent must be replenished as
soon as the reserve display appears in the in‐
strument cluster to avoid not being able to re‐
start the engine.
Diesel exhaust fluid at low
temperatures
Due to its physical properties, it is possible that reducing agent may also need to be re‐
plenished between regular maintenance ap‐
pointments if it is exposed to temperatures be‐
low + 23 ℉/- 5 ℃. In this case, add reducing
agent only immediately before starting to drive.
The need to replenish it is indicated by the Re‐
serve display in the instrument cluster.
At temperatures below + 12 ℉/- 11 ℃ the fill
level in some cases cannot be measured.
After adding reducing agent, the reserve dis‐
play is displayed only until the fill level can be
measured again.
Replenishing Diesel exhaust fluid
yourself in exceptional cases
You can replenish reducing agent yourself in
exceptional cases, e.g., to get to the service
center.
Avoid contact with Diesel exhaust fluid
Do not come into contact with the reduc‐
ing agent. Otherwise, skin or eye irritations
may result.◀
Handling Diesel exhaust fluid
When working with reducing agent in
closed spaces, ensure good ventilation. When
the bottle or container is opened, acrid smell‐
ing fumes may escape.◀
Keeping Diesel exhaust fluid out of reach
of children
Keep reducing agent out of reach of children◀
Avoid contact with surfaces
Avoid contact of reducing agent with sur‐
faces of the vehicle. Damage could result.◀Seite 184MobilityFuel184
Online Edition for Part no. 01 40 2 926 810 - X/13
Page 197 of 248

Tire sizePressure specifications
in bar/PSISpecifications in
bar/PSI with cold
tires225/45 R 18 91 Y
RSC
225/50 R 17 94 H
M+S RSC
225/45 R 18 95 V
M+S XL RSC2.7 / 393.2 / 46Front: 225/45 R 18
91 Y RSC
Rear: 255/40 R 18
95 Y RSC2.7 / 39
--
2.8 / 41Front: 225/40 R 19
89 Y RSC
Rear: 255/35 R 19
92 Y RSC2.7 / 39
--
3.0 / 44Front: 225/35 R 20
90 Y XL RSC
Rear: 255/30 R 20
92 Y XL RSC2.9 /42
--
3.4 / 49Compact wheel
T 135/80 R 17 102
MSpeed up to a max. of
50 mph / 80 km/h
4.2 / 60
Tire identification marks
Tire size 245/45 R 18 96 Y
245: nominal width in mm
45: aspect ratio in %
R: radial tire code
18: rim diameter in inches
96: load rating, not for ZR tires
Y: speed rating, before the R on ZR tires
Speed letter
Q = up to 100 mph, 160 km/h
R = up to 106 mph, 170 km/h
S = up to 112 mph, 180 km/h
T = up to 118 mph, 190 km/h
H = up to 131 mph, 210 km/h
V = up to 150 mph, 240 km/h
W = up to 167 mph, 270 km/h
Y = up to 186 mph, 300 km/h
Tire Identification NumberDOT code: DOT xxxx xxx 1013
xxxx: manufacturer code for the tire brand
xxx: tire size and tire design
1013: tire age
Tires with DOT codes meet the guidelines of
the U.S. Department of Transportation.
Tire age DOT … 1013: the tire was manufactured in the
10th week 2013.
Recommendation
Regardless of wear, replace tires at least every
6 years.
Uniform Tire Quality Grading Quality grades can be found where applicable
on the tire sidewall between tread shoulder
and maximum section width.
For example: Treadwear 200; Traction AA;
Temperature A
DOT Quality Grades Treadwear
Traction AA A B C
Temperature A B CSeite 193Wheels and tiresMobility193
Online Edition for Part no. 01 40 2 926 810 - X/13
Page 199 of 248

Minimum tread depth
Wear indicators are distributed around the
tire's circumference and have the legally re‐
quired minimum height of 0.063 in/1.6 mm.
They are marked on the side of the tire with
TWI, Tread Wear Indicator.
Tire damage
General information
Inspect your tires often for damage, foreign
objects lodged in the tread, and tread wear.
Notes
Driving over rough or damaged road surfaces,
as well as debris, curbs and other obstacles can cause serious damage to wheels, tires and
suspension parts. This is more likely to occur
with low-profile tires, which provide less cush‐
ioning between the wheel and the road. Be
careful to avoid road hazards and reduce your
speed, especially if your vehicle is equipped
with low-profile tires.
Indications of tire damage or other vehicle de‐
fects:
▷Unusual vibrations during driving.▷Unusual handling such as a strong ten‐
dency to pull to the left or right.
Damage can, e. g., be caused by driving over
curbs, road damage, or similar things.
In case of tire damage
If there are indications of tire damage, re‐
duce your speed immediately and have the
wheels and tires checked right away; other‐
wise, there is the increased risk of an accident.
Drive carefully to the nearest service center.
Have the vehicle towed or transported there.
Otherwise, tire damage can become life threat‐
ening for vehicle occupants and also other
road users.◀
Repair of tire damage
For safety reasons, the manufacturer of
your vehicle recommends that you do not have
damaged tires repaired; they should be re‐
placed. Otherwise, damage can occur as a re‐
sult.◀
Changing wheels and tires
Mounting Information on mounting tires
Have mounting and balancing performed
only by a service center.
If this work is not carried out properly, there is
the danger of subsequent damage and related
safety hazards.◀
Wheel and tire combination
You can ask the service center about the right
wheel/tire combination and wheel rim versions
for the vehicle.
Incorrect wheel and tire combinations impair
the function of a variety of systems such as
ABS or DSC.
To maintain good handling and vehicle re‐
sponse, use only tires with a single tread con‐
figuration from a single manufacturer.
Following tire damage, have the original wheel
and tire combination remounted on the vehicle
as soon as possible.Seite 195Wheels and tiresMobility195
Online Edition for Part no. 01 40 2 926 810 - X/13
Page 204 of 248

Engine oilVehicle equipment
All standard, country-specific and optional
equipment that is offered in the model series is
described in this chapter. Therefore, equip‐
ment is also described that is not available in a
vehicle, e. g., because of the selected optional
equipment or country variant. This also applies
for safety-related functions and systems.
General information The engine oil consumption is dependent on
the driving style and driving conditions. When
a sporty driving style is used, the engine oil
consumption, for example, is clearly higher.
Therefore, regularly check the engine oil level
after refueling.
The vehicle is equipped with electronic oil
measurement.
The electronic oil measurement has two meas‐
uring principles.▷Status display▷Detailed measurement
Checking the oil level
electronically
Status display
The concept The oil level is monitored electronically during
driving and shown on the Control Display.
If the oil level reaches the minimum level, a
check control message is displayed.
Requirements A current measured value is available after ap‐
prox. 30 minutes of driving. During a shorter
trip, the status of the last, sufficiently long trip
is displayed.
With frequent short-distance trips, regularly perform a detailed measurement.
Displaying the oil level1."Vehicle Info"2."Vehicle status"3. "Engine oil level"
Oil level display messages
Different messages appear on the display de‐
pending on the oil level. Pay attention to these
messages.
If the engine oil level is too low, within the next
125 miles/200 km Add oil, refer to page 201.
Engine oil level too low
Add oil immediately; otherwise, an insuf‐
ficient amount of engine oil could result in en‐
gine damage.◀
Take care not to add too much engine oil. Too much engine oil
Have the vehicle checked immediately;
otherwise, surplus oil can lead to engine dam‐
age.◀
Detailed measurement
The concept
In the detailed measurement the oil level is
checked and displayed via a scale.
During the measurement, the idle speed is in‐
creased somewhat.
General information
A detailed measurement is only possible with
certain engines.
Seite 200MobilityEngine oil200
Online Edition for Part no. 01 40 2 926 810 - X/13
Page 219 of 248

Battery replacementUse approved vehicle batteries only
Only use vehicle batteries that have been
approved for your vehicle by the manufacturer;
otherwise, the vehicle could be damaged and
systems or functions may not be fully availa‐
ble.◀
After a battery replacement, have the battery registered on the vehicle by your service cen‐
ter to ensure that all comfort functions are fully
available and that any Check Control mes‐
sages of these comfort functions are no longer
displayed.
Charging the battery
Note Do not plug chargers into the socket
Do not connect battery chargers to the
factory-installed sockets in the vehicle as this
may damage the battery.◀
General information Make sure that the battery is always suffi‐
ciently charged to guarantee that the battery
remains usable for its full service life.
The battery may need to be charged in the fol‐
lowing cases:▷When making frequent short-distance
drives.▷If the vehicle is not used for prolonged pe‐
riods, longer than a month.
Starting aid terminals
In the vehicle, only charge the battery via the
starting aid terminals, refer to page 219, in the
engine compartment with the engine off.
Power failure After a temporary power loss, some equipment
needs to be reinitialized.
Individual settings need to be reprogrammed:
▷Seat and mirror memory: store the posi‐
tions again.▷Time: update.▷Date: update.▷Navigation system: wait for the operability
of the navigation.
Disposing of old batteries
Have old batteries disposed of by your
service center or bring them to a recy‐
cling center.
Maintain the battery in an upright position for
transport and storage. Secure the battery so
that it does not tip over during transport.
Fuses Hints Replacing fuses
Never attempt to repair a blown fuse and
do not replace a defective fuse with a substi‐
tute of another color or amperage rating; this
could lead to a circuit overload, ultimately re‐
sulting in a fire in the vehicle.◀
Plastic tweezers and information on the fuse
types and locations are stored in the fuse box
in the cargo area.
In the engine compartment
1.Use the onboard vehicle tool kit to loosen
the three cover screws, arrow 1.2.Pull up the holder, arrow 2.Seite 215Replacing componentsMobility215
Online Edition for Part no. 01 40 2 926 810 - X/13