2013 BMW 3 SERIES SEDAN Luggage
[x] Cancel search: LuggagePage 166 of 248

No heavy objects
Do not hang heavy objects from the
hooks; otherwise, they may present a danger
to passengers during braking and evasive ma‐
neuvers.◀
Storage compartments in the
cargo area
Storage compartment A storage compartment is located on the left
side.
Located on the right side is a storage compart‐
ment for the onboard vehicle tool kit, refer to
page 206, and first aid kit, refer to page 218.
Net
Small objects can be stowed in the net on the
left side.
Hooks/multi-function hook
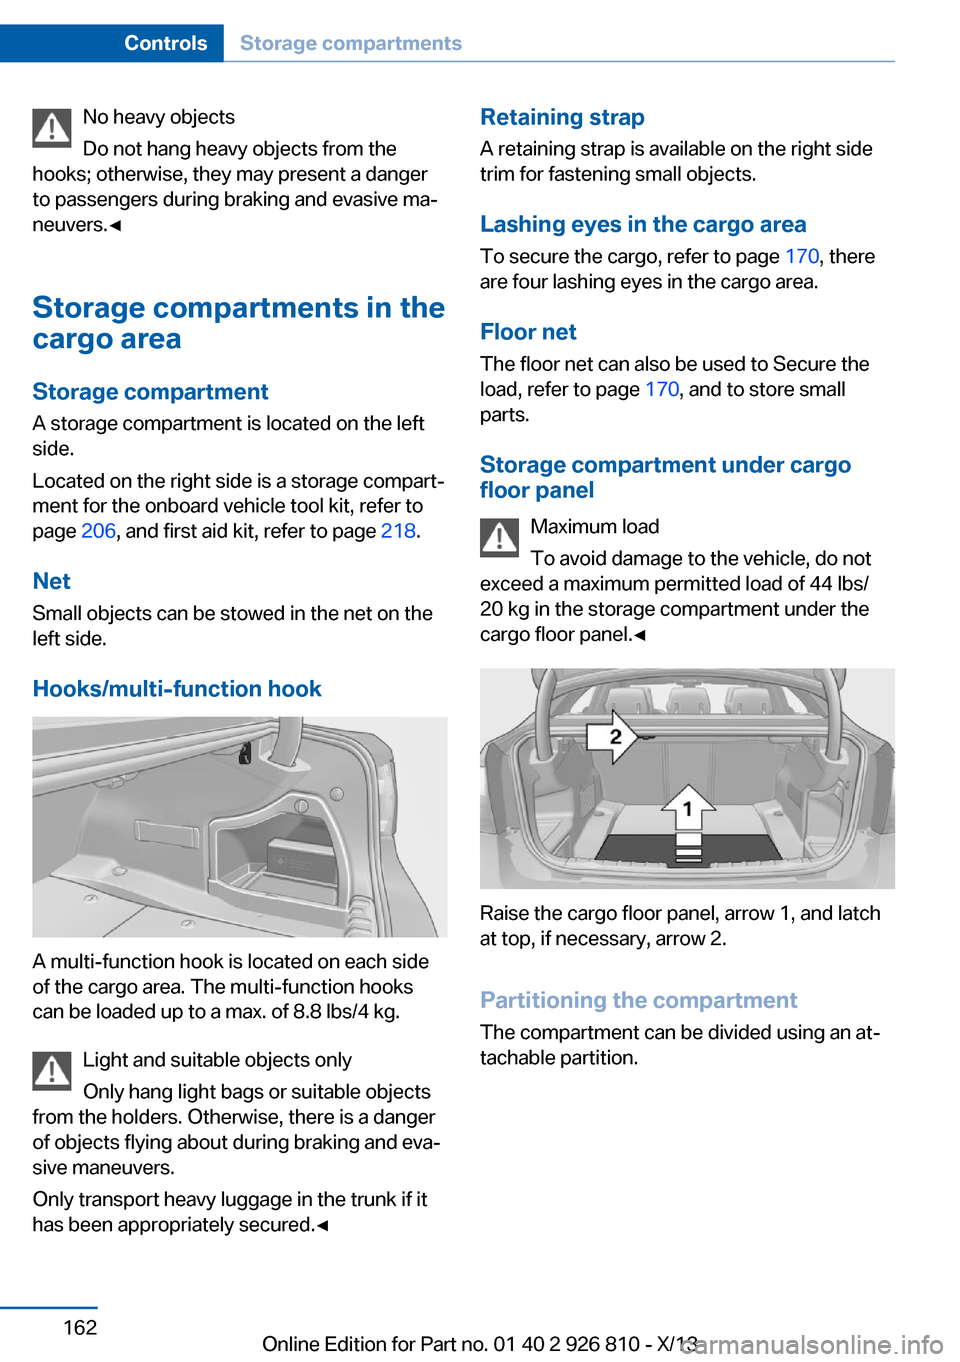
A multi-function hook is located on each side
of the cargo area. The multi-function hooks
can be loaded up to a max. of 8.8 lbs/4 kg.
Light and suitable objects only
Only hang light bags or suitable objects
from the holders. Otherwise, there is a danger
of objects flying about during braking and eva‐
sive maneuvers.
Only transport heavy luggage in the trunk if it
has been appropriately secured.◀
Retaining strap
A retaining strap is available on the right side
trim for fastening small objects.
Lashing eyes in the cargo area To secure the cargo, refer to page 170, there
are four lashing eyes in the cargo area.
Floor net The floor net can also be used to Secure the
load, refer to page 170, and to store small
parts.
Storage compartment under cargo
floor panel
Maximum load
To avoid damage to the vehicle, do not
exceed a maximum permitted load of 44 lbs/
20 kg in the storage compartment under the
cargo floor panel.◀
Raise the cargo floor panel, arrow 1, and latch
at top, if necessary, arrow 2.
Partitioning the compartment
The compartment can be divided using an at‐
tachable partition.
Seite 162ControlsStorage compartments162
Online Edition for Part no. 01 40 2 926 810 - X/13
Page 173 of 248

LoadingVehicle equipment
All standard, country-specific and optional
equipment that is offered in the model series is
described in this chapter. Therefore, equip‐
ment is also described that is not available in a
vehicle, e. g., because of the selected optional
equipment or country variant. This also applies
for safety-related functions and systems.
Hints Overloading the vehicle
To avoid exceeding the approved carry‐
ing capacity of the tires, never overload the ve‐
hicle. Overloading can lead to overheating and
increases the rate at which damage develops
inside the tires. This could result in a sudden
loss of tire inflation pressure.◀
No fluids in the trunk
Make sure that fluids do not leak into the
trunk; otherwise, the vehicle may be dam‐
aged.◀
Securing cargo
Always position and secure the cargo as
described above; otherwise, it can endanger
the car's occupants if sudden braking or
swerving becomes necessary.
Heavy or hard objects should not be carried
loose inside the car; otherwise, they could be
thrown around as a result of hard braking, sud‐
den swerves, etc., and endanger the occu‐
pants.◀
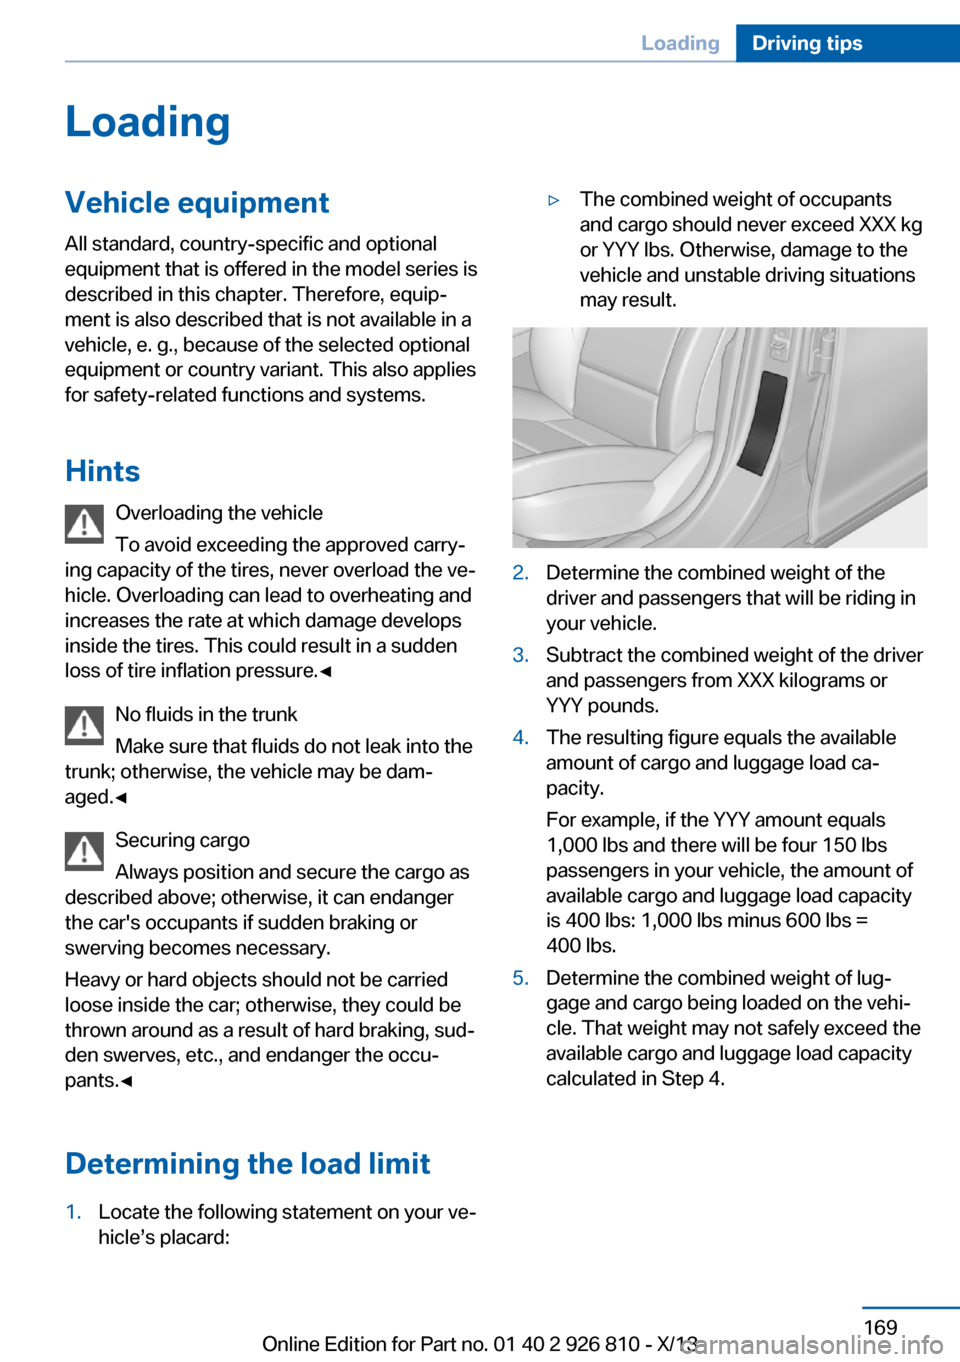
Determining the load limit1.Locate the following statement on your ve‐
hicle’s placard:▷The combined weight of occupants
and cargo should never exceed XXX kg
or YYY lbs. Otherwise, damage to the
vehicle and unstable driving situations
may result.2.Determine the combined weight of the
driver and passengers that will be riding in
your vehicle.3.Subtract the combined weight of the driver
and passengers from XXX kilograms or
YYY pounds.4.The resulting figure equals the available
amount of cargo and luggage load ca‐
pacity.
For example, if the YYY amount equals
1,000 lbs and there will be four 150 lbs
passengers in your vehicle, the amount of
available cargo and luggage load capacity
is 400 lbs: 1,000 lbs minus 600 lbs =
400 lbs.5.Determine the combined weight of lug‐
gage and cargo being loaded on the vehi‐
cle. That weight may not safely exceed the
available cargo and luggage load capacity
calculated in Step 4.Seite 169LoadingDriving tips169
Online Edition for Part no. 01 40 2 926 810 - X/13
Page 175 of 248

Securing cargo
Always position and secure the cargo as
described above; otherwise, it can endanger
the car's occupants if sudden braking or
swerving becomes necessary.
Heavy or hard objects should not be carried
loose inside the car; otherwise, they could be
thrown around as a result of hard braking, sud‐
den swerves, etc., and endanger the occu‐
pants.◀
Roof-mounted luggage rack
Note Roof racks are available as special accessories.
Securing
Follow the installation instructions of the roof
rack.
Roof drip rail with flaps
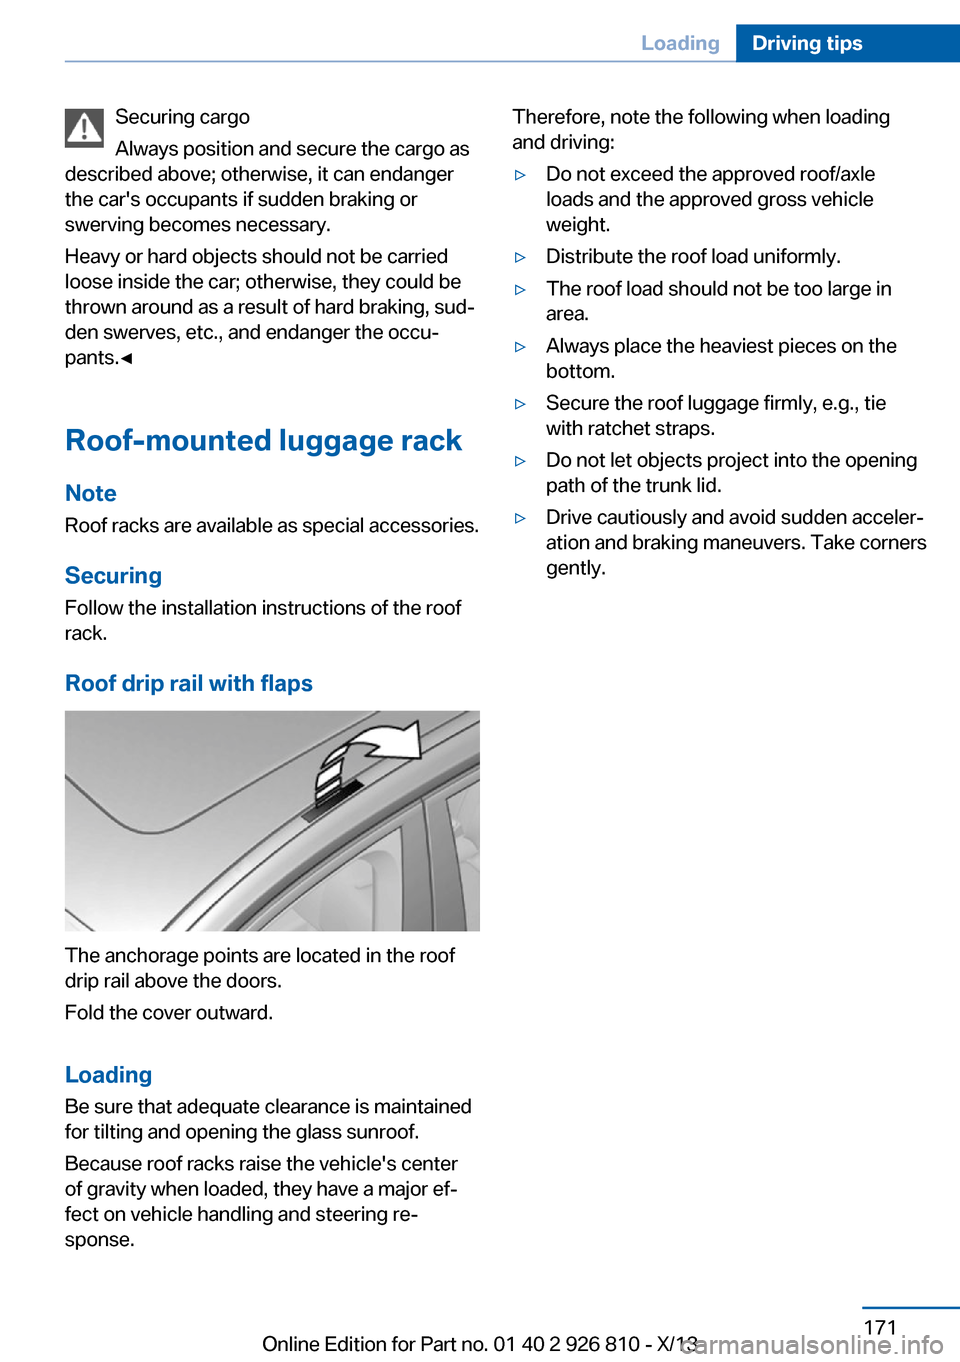
The anchorage points are located in the roof
drip rail above the doors.
Fold the cover outward.
Loading Be sure that adequate clearance is maintained
for tilting and opening the glass sunroof.
Because roof racks raise the vehicle's center
of gravity when loaded, they have a major ef‐
fect on vehicle handling and steering re‐
sponse.
Therefore, note the following when loading
and driving:▷Do not exceed the approved roof/axle
loads and the approved gross vehicle
weight.▷Distribute the roof load uniformly.▷The roof load should not be too large in
area.▷Always place the heaviest pieces on the
bottom.▷Secure the roof luggage firmly, e.g., tie
with ratchet straps.▷Do not let objects project into the opening
path of the trunk lid.▷Drive cautiously and avoid sudden acceler‐
ation and braking maneuvers. Take corners
gently.Seite 171LoadingDriving tips171
Online Edition for Part no. 01 40 2 926 810 - X/13
Page 176 of 248

Saving fuelVehicle equipmentAll standard, country-specific and optional
equipment that is offered in the model series is
described in this chapter. Therefore, equip‐
ment is also described that is not available in a
vehicle, e. g., because of the selected optional
equipment or country variant. This also applies
for safety-related functions and systems.
General information Your vehicle contains advanced technology for
the reduction of fuel consumption and emis‐
sions.
Fuel consumption depends on a number of dif‐
ferent factors.
The implementation of certain measures, driv‐
ing style and regular maintenance can have an
influence on fuel consumption and on the envi‐
ronmental impact.
Remove unnecessary cargoAdditional weight increases fuel consumption.
Remove attached parts
following use
Remove auxiliary mirrors, roof or rear luggage
racks which are no longer required following
use.
Attached parts on the vehicle impair the aero‐
dynamics and increase the fuel consumption.Close the windows and glass
sunroof
Driving with the glass sunroof and windows
open results in increased air resistance and
thereby reduces the range.
Tires
General information Tires can affect fuel consumption values in
various ways, for instance fuel consumption
can be influenced by the size of the tires.
Check the tire inflation pressure
regularly
Check and, if necessary, correct the tire infla‐
tion pressure at least twice a month and before
starting on a long trip.
Low tire inflation pressure increases rolling re‐
sistance and thus raises fuel consumption and
tire wear.
Drive away immediately
Do not wait for the engine to warm-up while
the vehicle remains stationary. Start driving
right away, but at moderate engine speeds.
This is the fastest way for the cold engine to
reach its operating temperature.
Look well ahead when
driving
Avoid unnecessary acceleration and braking.
By maintaining a suitable distance to the vehi‐
cle driving ahead of you.
Driving smoothly and looking ahead reduces
fuel consumption.Seite 172Driving tipsSaving fuel172
Online Edition for Part no. 01 40 2 926 810 - X/13
Page 243 of 248

Low-Sulfur Diesel 183
Luggage rack, refer to Roof- mounted luggage rack 171
Lumbar support 51
M
Maintenance 204
Maintenance require‐ ments 204
Maintenance, service require‐ ments 82
Maintenance system, BMW 204
Malfunction displays, refer to Check Control 78
Manual air distribu‐ tion 145, 148
Manual air flow 145, 148
Manual mode, transmis‐ sion 73
Manual operation, door lock 40
Manual operation, exterior mirrors 57
Manual operation, fuel filler flap 180
Manual operation, Park Dis‐ tance Control PDC 131
Manual operation, rearview camera 133
Manual operation, Side View 136
Manual operation, Top View 137
Manual transmission 71
Marking on approved tires 196
Marking, run-flat tires 197
Master key, refer to Remote control 34
Maximum cooling 147
Maximum speed, display 83
Maximum speed, winter tires 196
Measure, units of 89 Medical kit 218
Memory, seat, mirror 55
Menu, EfficientDynamics 175
Menu in instrument clus‐ ter 85
Menus, operating, iDrive 18
Menus, refer to iDrive operat‐ ing concept 20
Messages, refer to Check Control 78
Microfilter 146, 149
Minimum tread, tires 195
Mirror 56
Mirror memory 55
Mobile communication devi‐ ces in the vehicle 167
Modifications, technical, refer to Safety 7
Moisture in headlamp 207
Monitor, refer to Control Dis‐ play 18
Mounting of child restraint fix‐ ing systems 59
Multifunction steering wheel, buttons 14
N Navigation, see user's manual for Navigation, Entertain‐
ment and Communication
Neck restraints, front, refer to Head restraints 53
Neck restraints, rear, refer to Head restraints 54
Neutral cleaner, see wheel cleaner 225
New wheels and tires 195
No Passing Information 83
Nylon rope for tow-starting/ towing 221
O OBD Onboard Diagnosis 204 OBD, see OBD Onboard Di‐
agnosis 204
Obstacle marking, rearview camera 134
Octane rating, refer to Gaso‐ line quality 182
Odometer 81
Office, see user's manual for Navigation, Entertainment
and Communication
Oil 200
Oil, adding 201
Oil additives 201
Oil change 202
Oil change interval, service requirements 82
Oil filler neck 201
Oil types, alternative 202
Oil types, approved 202
Old batteries, disposal 215
Onboard monitor, refer to Control Display 18
Onboard vehicle tool kit 206
Opening and closing 34
Opening and closing, from in‐ side 40
Opening and closing via door lock 39
Opening and closing, with re‐ mote control 38
Opening the trunk lid with no- touch activation 42
Operating concept, iDrive 18
Optional equipment, standard equipment 6
Outside air, refer to Auto‐ matic recirculated-air con‐
trol 148
Overheating of engine, refer to Coolant temperature 81
P Paint, vehicle 224
Parallel parking assistant 138 Seite 239Everything from A to ZReference239
Online Edition for Part no. 01 40 2 926 810 - X/13
Page 244 of 248

Park Distance ControlPDC 130
Parked-car ventilation 149
Parked vehicle, condensa‐ tion 168
Parking aid, refer to PDC 130
Parking assistant 138
Parking brake 67
Parking lamps 91
Particulate filter 167
Passenger side mirror, tilting downward 57
Pathway lines, rearview cam‐ era 134
PDC Park Distance Con‐ trol 130
Pedestrian warning with city braking function 110
Personal Profile 35
Pinch protection system, glass sunroof 48
Pinch protection system, win‐ dows 46
Plastic, care 225
Power failure 215
Power sunroof, glass 47
Power windows 45
Pressure, tire air pres‐ sure 187
Pressure warning FTM, tires 102
Profile, refer to Personal Pro‐ file 35
Programmable memory but‐ tons, iDrive 24
Protective function, glass sunroof 48
Protective function, win‐ dows 46
Push-and-turn switch, refer to Controller 18, 19
R Radiator fluid 203 Radio-operated key, refer to
Remote control 34
Radio ready state 64
Radio, see user's manual for Navigation, Entertainment
and Communication
Rain sensor 69
Rear lamps 212
Rear socket 156
Rearview camera 133
Rearview mirror 56
Rear window de‐ froster 145, 148
Recirculated-air filter 149
Recirculated-air mode 145, 148
Recommended tire brands 196
Refueling 180
Remaining range 81
Remote control/key 34
Remote control, malfunc‐ tion 39
Remote control, univer‐ sal 151
Replacement fuse 215
Replacing parts 206
Replacing wheels/tires 195
Reporting safety defects 9
RES button 124
Reserve warning, refer to Range 81
Reset, Tire Pressure Monitor TPM 100
Retaining straps, securing cargo 170
Retreaded tires 196
Roadside parking lamps 92
Roller sunblinds 47
RON gasoline quality 182
Roof load capacity 230
Roof-mounted luggage rack 171
Rope for tow-starting/ towing 221 RSC Run Flat System Com‐
ponent, refer to Run-flat
tires 197
Rubber components, care 225
Run-flat tires 197
S Safe braking 167
Safety 7
Safety belt reminder for driv‐ er's seat and front passen‐
ger seat 53
Safety belts 52
Safety belts, care 225
Safety switch, windows 46
Safety systems, airbags 96
Saving fuel 172
Screen, refer to Control Dis‐ play 18
Screwdriver 206
Screw thread for tow fit‐ ting 222
Seat and mirror memory 55
Seat belts, refer to Safety belts 52
Seat heating, front 52
Seat heating, rear 52
Seating position for chil‐ dren 59
Seats 49
Selection list in instrument cluster 85
Selector lever, automatic transmission 72
Sensors, care 226
Service and warranty 8
Service requirements, Condi‐ tion Based Service
CBS 204
Service requirements, dis‐ play 82
Service, Roadside Assis‐ tance 218
Services, ConnectedDrive Seite 240ReferenceEverything from A to Z240
Online Edition for Part no. 01 40 2 926 810 - X/13