2013 AUDI RS5 CABRIOLET seat
[x] Cancel search: seatPage 4 of 286

2 Table of contents Vehicle literature .. .. .. .. .. ... .
5
About this Owner's Manual . . . 6
Controls and equipment .. ... .
Ins truments and controls .. . .
General illus tration .... ... .. .. ... .
Instruments and warning /
indicator lights ........ .. .. .. . .
I ns truments . .. .. ..... ... .. .. ... .
War ning/ indi cator lights ... .. ... .. .
Driver information d isplay .. . .
I ntroduct ion . .. .. ..... ... .. .. ... .
Trip computer .. .. ..... ... .. .. ... .
Service interval d isp lay .... .. .. ... .
Eng ine oil temperature indicator ... .
Lap timer .. ........ ..... .. ... .. .
On -Board Diagnostic system (OBD) .. .
Opening and closing .... .. .. . .
Power locking system .. ... .. .. .. . .
R ear lid .. .. ................ ... . .
P owe r win dows . ...... ... .. .. ... .
Va let par king . ......... .. .. .. .. . .
Power top .. .. ...... .... ... .. . .
Autom atic power top ...... .. .. ... .
W ind defle cto r ......... .. .. .. .. . .
P owe r top emergency operation
Clear vision .............. .. ... .
L ights . .. .. .. . .......... .. .. .. . .
I n ter ior lights .. .. ..... ... .. .. ... .
V 1s1on ...... .. .. ..... ... .. .. ... .
W iper and washer system . ... ... .. .
Dig ita l compass ............ .. ... .
Seats and storage ... .. .. .. ... .
General recommendat ions . .. .. .. . .
Front seats ... ........... .. .. ... .
H ead restraints . ......... .... .. . .
Seat memo ry ............. ... .. . .
As htray .. .. ... .... .... .. .. .. .. . .
C igarette lig hte r .......... .. .. .. . .
St orage ...... ........... ....... . 8
8
8
10
1
0
13
24
2 4
25
27
28
28
29
31
31
37
39
4 0
42
42
46
47
52
52
55
5 5
57
59
61
61
62
64
64
65
66
66
Lugg age compartmen t . . . . . . . . . . . . 6 7 Warm and cold
... .. ..... .... . .
Climate co ntrols . ... ... ..... ... .. .
On the road ... .. ... ..... ... .. .
Stee ring . ..... .. ... .. ..... .... . .
Ign it io n lock ..... .. .... .... ... .. .
Convenience key .. ... .......... .. .
Driver messages ................. .
E lectromechanical parking brake . .. .
Speed warning sys tem .. .. ... ... .. .
Cru ise cont ro l .. .. ............... .
Transm ission .. ..... ......... . .
S · ® tronrc .. ... ... ............... .
Audi adaptive cruise control and braking guard .......... . .
I n troduc tion ... .. ... .. .. ... ..... .
Genera l informa tion ......... .. .. .
A udi adaptive cruise cont rol ..... .. .
A udi braking gua rd ..... .... ... .. .
Messages ..... .. .. ... ..... ... .. .
Audi side assist ............ .. .
L ane change ass istant
69
69
74
74
74
77
78
79
81
82
8 5
85
92
92
9 2
94
98
99
101
101
Audi drive select . . . . . . . . . . . . . . 104
D riving set tings . . . . . . . . . . . . . . . . . . 104
Park assist . . . . . . . . . . . . . . . . . . . . . 107
Parking sys tem . . . . . . . . . . . . . . . . . . . 10 7
Parking system plu s . . . . . . . . . . . . . . . 107
Pa rking system (rear, with rear view
camera) . . . . . . . . . . . . . . . . . . . . . . . .
108
Homelink ® . . . . . . . . . . . . . . . . . . . . 114
U niversa l remote contro l..... ... .. . 114
Safety fir st . . . . . . . . . . . . . . . . . . . . 118
Driving Safely . . . . . . . . . . . . . . . . . 118
Genera l notes . . . . . . . . . . . . . . . . . . . . 118
Proper occupant seating positions . . . 119
Driver and passenger s ide footwe ll . . . 123
Pedal a rea . . . . . . . . . . . . . . . . . . . . . . . 123
Stow ing luggage .... .. .. ... ..... . 124
Repo rting Safety Defe cts . . . . . . . . . . . 12 6
Active rollove r pro te ction sy st em . . . . 1 27
Page 5 of 286
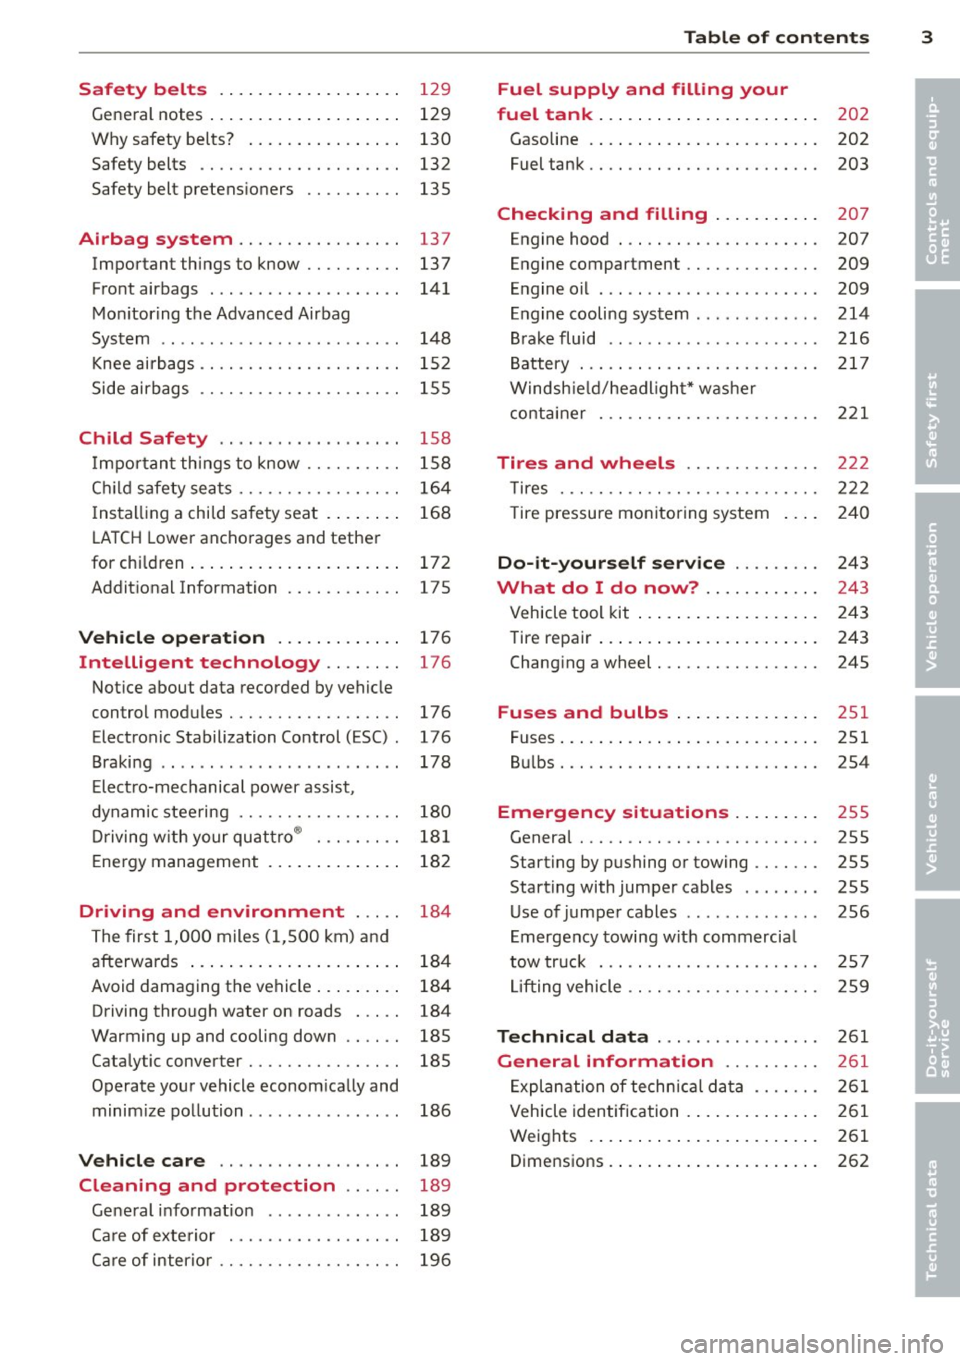
Safety belts . . . . . . . . . . . . . . . . . . . 129
General notes . . . . . . . . . . . . . . . . . . . . 129
Why safety be lts? . . . . . . . . . . . . . . . . 130
Safety belts . . . . . . . . . . . . . . . . . . . . . 132
Safety belt pretens ioners . . . . . . . . . . 13S
Airbag system ............. .. .. 137
Important things to know . . . . . . . . . . 137
Front airbags . . . . . . . . . . . . . . . . . . . . 141
Monitoring the Advanced Airbag
System . . . . . . . . . . . . . . . . . . . . . . . . . 148
Knee airba gs. . . . . . . . . . . . . . . . . . . . . 152
Side airbags . . . . . . . . . . . . . . . . . . . . . 155
Child Safety . . . . . . . . . . . . . . . . . . . 158
Import ant things to know .... .. .. . .
C hild safety sea ts ......... .. .. .. . .
I ns tall ing a chi ld safety seat . ... .. . .
L A T CH Lower anchorages and tether
for chi ldren ... ........... .. .. .. . .
Addit ional Information
Vehicle operation ............ .
Intelligent technology .. .. .. . .
Notice about data recorded by vehicle
control modules .......... .... .. . .
Electronic Stabilization Control (ESC) .
Braking .. ... ...... ......... .... .
E lect ro-mechanical power assist,
dynamic steering ............. .. . .
Driving with your qu attro ® ... .. .. . .
E nergy management ............. .
Driving and environment ... ..
The first 1,000 miles (1,500 km) and
afterwards ... ........... .. .. .. . .
Avoid damaging the vehicle ... .. .. . .
Driving through water on roads ... . .
Warming up and cooling down .. .. . .
Cataly tic converter ........ .... .. . .
Operate your vehicle econom ically and
minim ize pollution ......... ... ... .
Vehicle care .............. .. .. .
158
164
16 8
172
175
176
176
176
176
178
180
18 1
182
184
184
184
184
185
18S
186
189
Cleaning and protection . . . . . . 189
Gene ral i nfo rmation . . . . . . . . . . . . . . 189
Ca re of exte rior . . . . . . . . . . . . . . . . . . 189
Ca re of inter ior . . . . . . . . . . . . . . . . . . . 196
Table of contents 3
Fuel supply and filling your
fuel tank . . . . . . . . . . . . . . . . . . . . . . .
202
Gasoline . . . . . . . . . . . . . . . . . . . . . . . . 202
Fuel tank. . . . . . . . . . . . . . . . . . . . . . . . 203
Checking and filling . . . . . . . . . . . 207
Engine hood . . . . . . . . . . . . . . . . . . . . . 207
Engine compartment . . . . . . . . . . . . . . 209
Engine oil . . . . . . . . . . . . . . . . . . . . . . . 209
Engine cooling system . . . . . . . . . . . . . 214
Brake fluid ....... ............... 216
Battery . . . . . . . . . . . . . . . . . . . . . . . . . 217
Windshield/headlight* washer
container . . . . . . . . . . . . . . . . . . . . . . . 221
Tires and wheels ............. .
T ires ... .. .. .. .. .. . ............ .
T ire pressu re mon itoring system
Do-it-yourself service ........ .
What do I do now? ........... .
Vehicle tool kit ... .. . .. .......... .
Tire repair ... .. .... . ............ .
Chang ing a wheel ..... ........... .
Fuses and bulbs .. .. ... .... ... .
Fuses ..... .. .. .... .. ........... .
Bul bs ....... .. ...... ........... .
Emergency situations ........ .
General ... .. .. .. ............... .
Starting by pushing or towing ...... .
Starting with jumper cables ..... .. .
U se of jumper cables ... .. .. ... ... .
Emergency towing with commercia l
tow truck ... .. .. .. . ............ .
Lift ing vehicle .. .. .... ........... .
Technical data ... . .. .. ..... ... .
General information ......... .
Exp lanation of techn ic al data ...... .
Vehicle identification ........... .. .
Weights .. .. .... ... .. .......... .
Dimensions . ....... . .. .......... . 222
222
240
24
3
243
243
243
245
251
251
2S4
255
255
255
255
256
2 57
259
261
261
26 1
261
261
262
•
•
Page 11 of 286

CD
@
®
©
®
®
Door handle
Power locking sw it ch
Memory buttons (dr iver's seat)
Button for side ass ist
A ir outlets
Control leve r for :
- Turn signal and high beam
0 Multi-function steering wheel
with:
- Horn
- Driver's airbag ...... ... .. .
- Audio/video , telephone and
navigation buttons
- Rocker switches for tiptron ic
operation .... .... ... .... .
@ ISETI button .... ....... .... .
® Instrument cluster ......... .
@ Reset button for trip odometer
@ Switches for:
- Windsh ield wiper/washer .. .
- Trip computer ............ .
- Lap -Timer ............ ... .
@ Ignition lock ... .... ... .... .
@ Adju stable steer ing column
@ Control lever for:
- Cruise contro l ....... ... .. .
- adaptive cruise cont ro l ... .. .
@ Instrument lighting .... .. .. .
@ Release lever for the engine
hood .. .. .... .. .. .. ....... .
@ Data Link Connector for On
Board Diagnost ics (OBD II) . .. .
35
64
101
53
14 1
89
11
10
12
57
25
28
74
74
82
92
55
207
29
@ Lig ht switch . . . . . . . . . . . . . . . . 52
@ Adjuster control fo r outside mi r-
rors . . . . . . . . . . . . . . . . . . . . . . 55
@ Power window switches . . . . . . 39
@ Radio-Disp lay or MM I-Disp lay
@ Depending on options:
- Radio system
- CD changer
@ Emergency flasher . . . . . . . . . . 54
@ Glove compartment ( lockable) 6 7
@ Front passenger's a irbag . . . . . 141
Instrument s and control s 9
@ Depending on options, switches
for :
- drive select .. .. . .. ... ... . . 104
- Electron ic Stabili zation Con-
trol ...... .. .. . ... ...... .
- parking sy stem ....... .... . 176
107
@ Deluxe automat
ic cl imate con-
t ro l .... .. .. .. ........... . .
69
@ Se lector lever for automatic
transmission .. .... ........ .
85
@) Ashtray with cigarette lighter 65
@ Depending on options:
- MMI control console or
- drive select . . . . . . . . . . . . . . . 104
- Electronic Stabili zation Con-
trol button . . . . . . . . . . . . . . . 176
- parking system . . . . . . . . . . . . 107
@ Central power w indow swi tch
@ Power top switc h . . . . . . . . . . . . 44
@ I S T AR T ENGINE S TOPI button 77
§) Electromechanical parking
brake . . . . . . . . . . . . . . . . . . . . . 79
(D Tips
- Some of the equipment or features
show n in the general illustration may be
standard equ ipment on your vehicle or
may be opt ional equ ipment depending
on your model. Always as k yo ur au thor
ized Audi dea ler if you have a quest ion
about your ve hicle .
- Ope rat ion of the Multi Med ia In terface
(MMI) is described in a separa te manua l.
Page 34 of 286

32 Opening and clo sing
- If the power locking system should ma l
function, you can lock the driver's door us ing the mechanical key
c:> page 36.
- If the power locking system should fail,
you can sti ll open the fue l tank flap in an
emergency
c:> page 205.
- You are we ll advised not to keep valua
bles inside an unattended vehicle, visib le
or not. Even a properly locked vehicle
cannot provide the security of a safe.
- If the LED in the upper edge of the driv
er's door panel comes on for abo ut 30
seconds after t he vehicle is locked, there
i s a ma lfunction in the power locki ng or
the anti-theft warning system. Have the
malfunction corrected by an author ized
A udi dealersh ip or qua lified repai r fac ili
ty.
Key set
F ig . 18 Key set
@ Remote cont rol key with mechanical
key
You can centrally lock and unlock your vehicle
and start the engine with the master key with
remo te con trol. A mec hanical key is integ rat
ed i n the master key
c:> page 33 .
@ Emergency key
The emergency key is not intended for con
stant use.
It should on ly be used in an emer
gen cy, fo r example, in place of the ign ition key
cc> page 7 6. Keep it in a s afe p lace and do
not ca rry it on your key ring .
Key replacement
If you lose a key, contact you r authorized Audi
dealer immed iate ly to have the
Lost key disa
bled. Be sure to bring all your keys with you .
Number of keys
You can chec k the number of assigned keys to
yo ur vehicle
c:> page 11. This allows you to
make su re you have re ceived all of the keys
when you purchase a used vehicle.
Data in the master key
D uring d riving, s ervice and maintenance-rele
vant data is continuously stored on your mas
te r k ey. Your Aud i service adviser can read out
t hi s data and tell you abo ut the work yo ur
ve
hicle needs . This applies also to vehicles with
convenience key*.
Personal comfort settings
If two people use one veh icle, it i s r ecom
men ded that e ach person alw ays uses "t heir
own" maste r key. When the ignition is tu rne d
off or when the vehicle is locked, personal
convenience setti ngs for the following sys
tems are stored and assigned to the remote
master key.
- Climate contro l
- Powe r lock ing system
- Seat memory *
- Parking system*
- Adapt ive cru ise control*
- Side assist*
- Drive se lect*
T he s to red settings are au toma tically recalled
whe n you unlock the vehicle, when yo u open
t h e doors or w hen you t urn on t he ignitio n.
A WARNING
-Do not leave your vehicle unattended
wit h the key in the ignition lock. Entry by
unaut horized persons co uld endanger
you or result in theft or damage the vehi
cle.
- Do not leave ch ildren unattended in the
veh icle, especially with access to vehicle
Page 48 of 286

46 Power top
Wind deflector
Applies to vehicles: with wind deflector
The wind deflector decreases air movement
inside the vehicle and increases driving com
fort.
Fi g. 38 Insert ing the win d deflector (1)
Fig. 39 Inse rt in g the wind deflector (2)
Retaining pins are located on the long ends of
the w ind deflector. They sec ure the deflector
i n the mounts o n the vehicle's rear side tr im .
F or safety reasons, inserting the w ind deflec
tor from the side farthest from traffic.
Inserting and positioning the wind
d eflector
,.. Open the rear side w indow on the side far
thest from traffic.
,.. Read the assembly instructions on the wind
deflector storage bag .
,.. Remove the wind deflector from the storage
bag and fold it apart
once . The w ind deflec
tor is installed in the correct position when
the longest s ide is toward the front and the
wind deflector frame is at the top.
,.. Inse rt both retain ing pins in the mounts in
the tr im above the rear seat on the drive r
s ide s>
fig. 38 (D.
,.. Fold the handle @at the front and center o f
the wind deflector upward and lift the de
flector s light ly in the center s>
fig. 39@.
,.. Now guide the wind def lector into the
mounts in the side trim on the passenger
side @and press light ly in the middle ®
until the handle locks in place .
,.. Set the w ind deflector up comp letely .
Remo ving the wind deflector
,.. Fold the wind deflector frame back.
,.. Fold the handle
s> fig. 38@ at the front and
center of the wind deflector upward and lift
the deflector slightly in the center .
,.. Remove the wind deflector from the mounts
in the s ide trim on the passenger side .
,.. Pull the w ind deflector out of the mounts on
the driver side and lift it ou t.
,.. Fold it together.
,.. Store the wind deflector in the storage bag.
_8 WARNING
=
-Do not use the wind deflector to secure
cargo.
- Be careful when installing so you do not
pinch your f ingers.
- Pay attention to the traff ic when insta l
ling the wind deflector, if necessary.
(D Note
Do not lean aga inst the vehicle when in
stalling the wind deflector. Hard objects
and decorat ions on clothing such as be lt
buckles can scratch the paint. Your cloth
i ng could also become dirty.
{!) Tips
- The wind deflector works best when all
of the windows are rolled up while driv
ing.
- Only store the wind deflector in the stor
age bag when it is dry.
Page 63 of 286

Seats and storage
General recommen
dations
Why is your seat adjustment so important?
The safety belts and the airbag system can
only provide maximum protection if the front
seats are correctly adjusted.
There are various ways of adjusting the front
seats to provide safe and comfortable support
for the driver and the front passenger. Adjust
your seat properly so that :
- you can easily and quick ly reach all the
switches and controls in the instrument
panel
- your body is properly supported thus reduc ing physical stress and fatigue
- the safety belts and airbag system can offe r
maximum protection
¢ page 137.
In the following sections, you will see exactly
how you can best adjust your seats .
There are special regulations and instructions
for installing a child safety seat on the front passenger's seat. Always follow the informa
tion regard ing child safety provided in
¢ page 158, Child Safety.
.&_ WARNING
-
Refer to ¢ page 118, Driving Safely for
important information, tips, suggestions
and warnings that you should read and fol
low for your own safety and the safety of
your passengers.
.&_ WARNING
Incorrect seating position of the dr iver and
all other passengers can result in serious
personal injury.
- Always keep your feet on the floor when
the vehicle is in motion -never put your
feet on top of the instrument panel, out of the w indow or on top of the seat cush
ion. This app lies especially to the passen-
S eat s an d sto rage 61
gers . If your seating position is incorrect,
you increase the risk of injury in the case
of sudden braking or an accident . If the
airbag inflates and the seating position
is incorrect, this cou ld result in pe rsonal
in jury or even death.
- It is important for both the driver and front passenger to keep a distance of at least 10 inches (25 cm) between them
selves and the steering wheel and/or in
s trumen t panel. If you're s itting any
closer than th is, the airbag system can
not protect you properly. In addition, the
front seats and head restraints m ust be
adj usted to your body height so that they
can give you max imum protect ion.
- Always try to keep as much distance as
possible between yourself and the steer
ing wheel or instrument panel.
- Do not adjust the driver's or front pas senger's seat whi le the vehicle is moving.
Your seat may move unexpectedly, caus
ing sudden loss of veh icle control and
pe rsonal injury. If you adjust you r seat
while the veh icle is moving, you are ou t
of po sit ion.
Driver's seat
The correct seat position is important for safe
and relaxed driving .
We recommend that you adjust the dr iver's
seat in the follow ing manner:
.., Adjust the seat in fore and aft direction so
that you can easily push the pedals to the
floor wh ile keeping your knees slightly bent
¢ .&, in Why is your seat adjustment so im
portant? on page 61 .
""Adjust the seatback so that when you sit
w ith your back against the seatback , you can
s ti ll grasp the top of t he steering wheel.
... App lies to veh icles with adjustab le head re
straints: Adjust the head restraint so the up
per edge is as even as possible wit h the top
of your head. If that is not possib le, try to
adjust the head restraint so that it is as .,.
Page 64 of 286

62 Seats and storage
close to this position as possible
¢page 64.
A WARNING
Never place any objects in the driver's foot
well. An object could get into the pedal area and interfere with pedal function. In
case of sudden braking or an accident, you
would not be able to brake or accelerate .
Front passenger's seat
Always move the front passenger seat into
the rearmost position .
To avoid contact with the airbag while it is de
ploying, do not sit any closer to the instru
ment panel than necessary and always wear
the three-point safety belt provided adjusted correctly . We recommend that you adjust the
passenger's seat in the following manner:
• Bring the backrest up to an (almost) upright
position. Do not ride with the seat reclined .
• Applies to vehicles with adjustable head re
straints: Adjust the head restraint so the up
per edge is as even as possible with the top
of your head . If that is not possible, try to
adjust the head restraint so that it is as
close to this position as possible
¢ page 64.
• Place your feet on the floor in front of the
passenger's seat.
Front seats
Power seat adjustment
Fig. 68 Front seats: powe r seat adjustment
Controls
@ -Adjusting the lumbar support* : press the
button in the corresponding position ¢ .&, .
@ -Moving the seat up/down: press the but
ton up/down ¢ .&, .
@ -Moving the seat forward/back : press the
button forward/back ¢.&, .
©-Adjusting the backrest angle: press the
button forward/back ¢.&. .
©-Raising/lowering * the head restraints:
press the button up/down¢.&. .
@ -Lengthening/shortening the upper thigh
support* : lift the handle. A spring moves the
front seat cushion forward ¢ .&. .
A WARNING
--
-Never adjust the driver's or front pas
senger's seat while the vehicle is moving.
If you do this while the vehicle is moving,
you will be out of position . Always adjust
the driver's or front passenger's seat
when the vehicle is not mov ing.
- Be careful when adjusting the seat
height . Check to see that no one is in the
way, or serious injury could result!
- Because the seats can be electrically ad
justed with the ignition off or with the
ignition key removed, never leave chil
dren unattended in the vehicle. Unsuper
vised use of the electric seat adjust
ments may cause serious injury.
- To reduce the risk of injury in the case of
sudden braking or accident, front pas
sengers must never ride in a moving ve
hicle with the backrest reclined. Safety
belts and the airbag system only offer maximum protection when the backrest
is upright and the safety belts are prop
erly positioned on the body. The more
the backrest is reclined, the greater the
risk of personal injury from an incorrect
seating position and improperly posi
tioned safety belts.
Page 65 of 286

Power easy entry function
The easy entry function makes it easier for
the rear passengers to enter and Leave the ve
hicle.
Fig. 69 Comfort seats•: easy entry controls
Fig. 70 Sport seats•: ea sy entry controls
.,. To fold the front seat backrests forward/
back,
lift the latch @ 9 fig. 69 or c::> fig. 70
and fold the backrest forward.
gl
-
"' a, m
.,. To move the front seats forward/back, press
and hold the @ button until the seat has
reached the desired position.
When the front seats are moved forward,
their original position is stored . When it is
moved back, the seat automatically stops in
this position. To move the seat even further back, you have to re lease the switch @ and re
activate it.
Applies to vehicles w ith adjustable head re
straints : The head restraints from the front
seats, depending on the seat height that has
been set, are automatically retracted when
the seatbacks are folded down . They return to
their original position again when the seat
backs for the front seats are raised . Seats
and storage 63
@ Tips
With the driver's or passenger's door
closed, the corresponding switch to move
the seat is inoperative.
Seat adjustments in MMI
Applies to veh icles: w ith seat memory and MMI
The passenger's seat con be adjusted to vari
ous positions by the driver.
Convenience side view
.,. Select: !CAR l function button > Seat adjust
ment > Passenger's seat > Convenience side
view.
Or
--... Select: I CAR I function button > Car systems*
contro l button > Vehicle settings > Seats >
Passenger's seat> Convenience side view .
.,. Continue to press the control knob until the
adjustment process is complete .
Seat symmetry
.,. Select: Function button I CAR! > Seat adjust
ment > Passenger's seat > Seat symmetry .
Or
.,. Select: !CAR ! function button> Car systems*
control button > Vehicle settings > Seats >
Passenger's seat> Align with driver's seat.
.,. Continue to press the control knob until the
adjustment pro cess is comp lete.
Using the
Convenience side view function, the
passenger's seat is adjusted so that the driver
has the best possible view to the right . When
the Conven ience side v iew is set, the specific
position of the driver's seat is ta ken into con
sideration.
Using the
Seat symmetry function, the pas
senger's seat can be moved to the same posi
tion as the driver's seat. The settings for the
driver's seat are imported and set automati
ca lly.