2012 VOLKSWAGEN GOLF MK6 radio
[x] Cancel search: radioPage 61 of 516
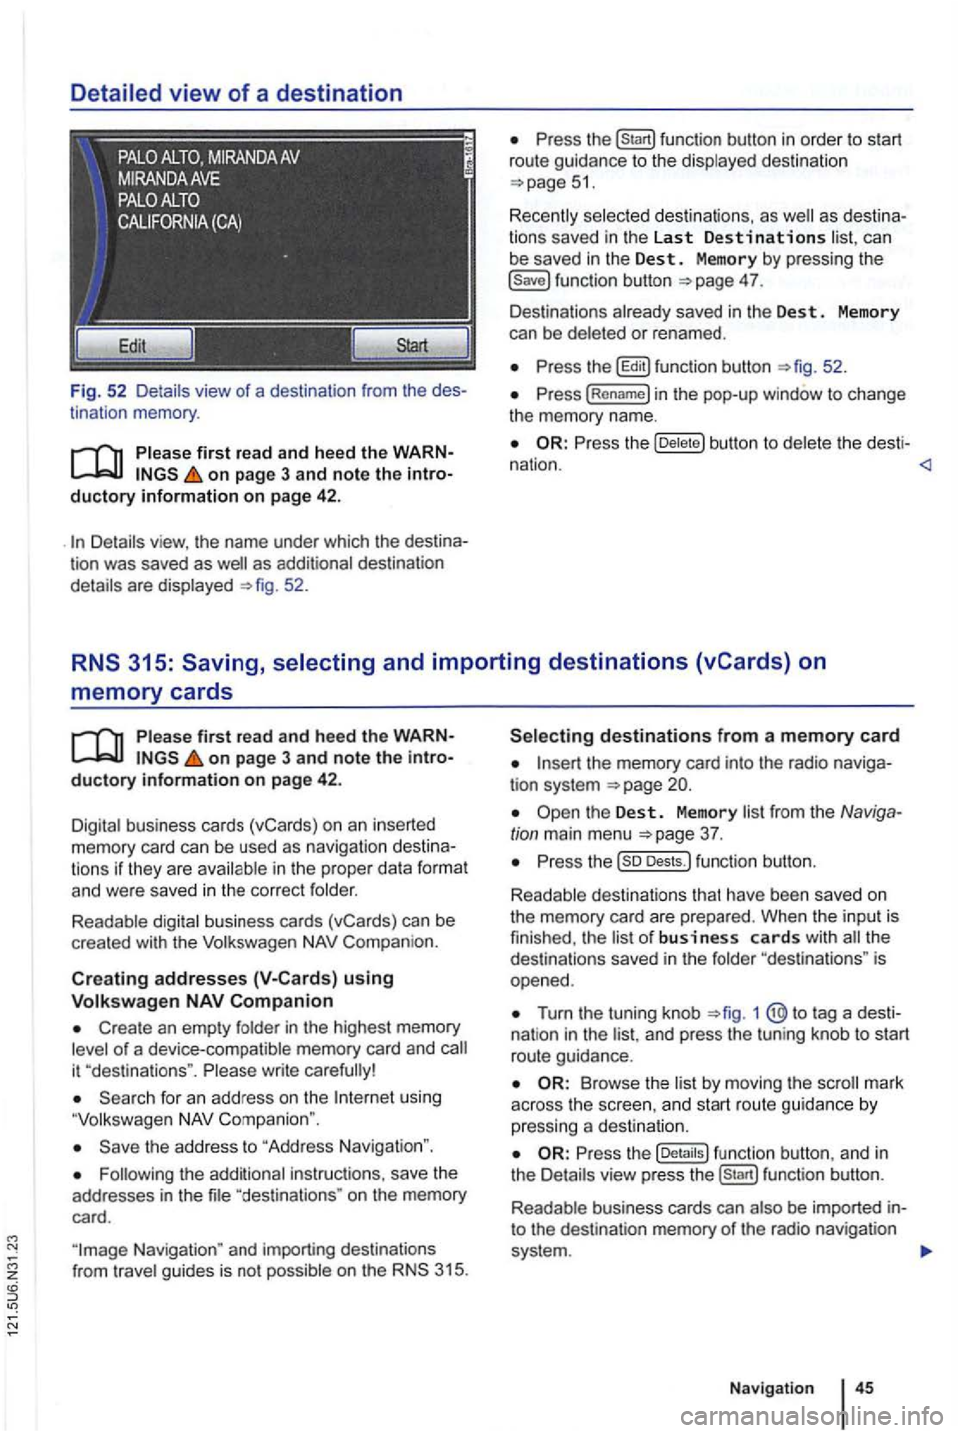
Detailed view of a destination
Fig. 52 Detail s view of a destination from the des
tinat ion memory .
first read and heed the WARNon page 3 and note the introductory information on page 42 .
as additional destination
details are displayed 52.
can
be saved in the Dest . Memory by pressing the 4 7.
Des tinations already saved in the Des t. Memory
can be deleted or renamed .
the b utton to del et e t he desti -
nation .
memory cards
on page 3 and note the introductory information on page 42.
Digital business cards (vCards) on an inserted memory card can be used as naviga tion des tin a
t ions if they are avai lable in th e proper data format and were saved in the cor rect folder.
Readable digital business cards (vCards) can be
crea ted with the
Compan ion.
Creat ing addresses using
Create an empty folder in the highest memory of a device-compatible memory card and
using
the address to "Address Navigation ".
"destina tions " on the memory
card.
the memory card into the radio naviga
tion system
Turn the tuning knob 1 @ to tag a dest i
nat ion in the and press the tun ing knob to start
route guidance.
Browse th e list by moving the
the fu nc tion button , a nd in
the Details view pre ss function button.
R eadab le business cards can also
be imported into the destination memory of the radio navigation
system .
Navigation
Page 75 of 516
main menu ... .
315: Voice command menu Telephone ...... .
60
60
61
63
63
64
64
The telephone fu nctions described in the
Connect the mobile phone to the radio
Pair an d connect mobile phone via the ment clus ter
there is no naviga tio n system . then phone control is not
phone in th e
More information:
instructions 3
Device overview 6
Operat ion basi cs page 8
Talking on the
phone and/or operating the
'
the sirens of emergency rescue
areas with no mobile network coverage or poor mobile network coverage, as as
in tunnels, garages and subways, phone versations may be interrupted, and it may be impossible to make phone ev en
cured ph one can be thrown around the
inside of the vehicle during a sudden braking maneuver , a cra sh or other accident and cause injury to vehicle occupants.
Always mount mobile phones properly
ference with a pacemaker , if worn
8 inch es tween the antenna s of the mobile phone and pacemakers , as mobile phones can affec t the functionality of a pacemaker .
phone in the breast pocket over a pa cemaker.
phone immediat ely .
The
cent e r armrest ca n interfere with the
dents and seve re injuries.
Always keep the armrest closed
Telephon e control
Page 77 of 516
The factory-installed hands-free system is de
s igned for use with conven tional phones and
B luetooth®-co mpatible phones .
ment panel and i s w ithin reac h at times . the ph one in it s cradle pe rmits it to be cha rged, but
more import antly , con nects the phone to
the vehic le's out side antenna .
A
tel ephone that is prope rly co nnected to
the int egra ted ant enna or other outside vehicle ep hone antenna
ence a better qua lit y of serv ice.
a
phone not
be recharged either. you might experience
more dropped
ed on a base plate on the i nstrumen t
An unsecured cured
Always mount mobile phones properly
while driving, outside the operational area of the airbags. U
sing a
phone or radio inside the and sepa-
rate outside antenna can cause the magnetic radiation lev el in the ve hicle to ceed established limits. This a lso applies if the outside antenna is not properly.
Keep a distance of at least 8 inche s be -
tween the antennas of the mobile phone and
the pacemaker, a s mobile phones can affect the functionality of a pace maker.
Nev er carry a switched-on phone in the breast pocket directly over a pacemaker.
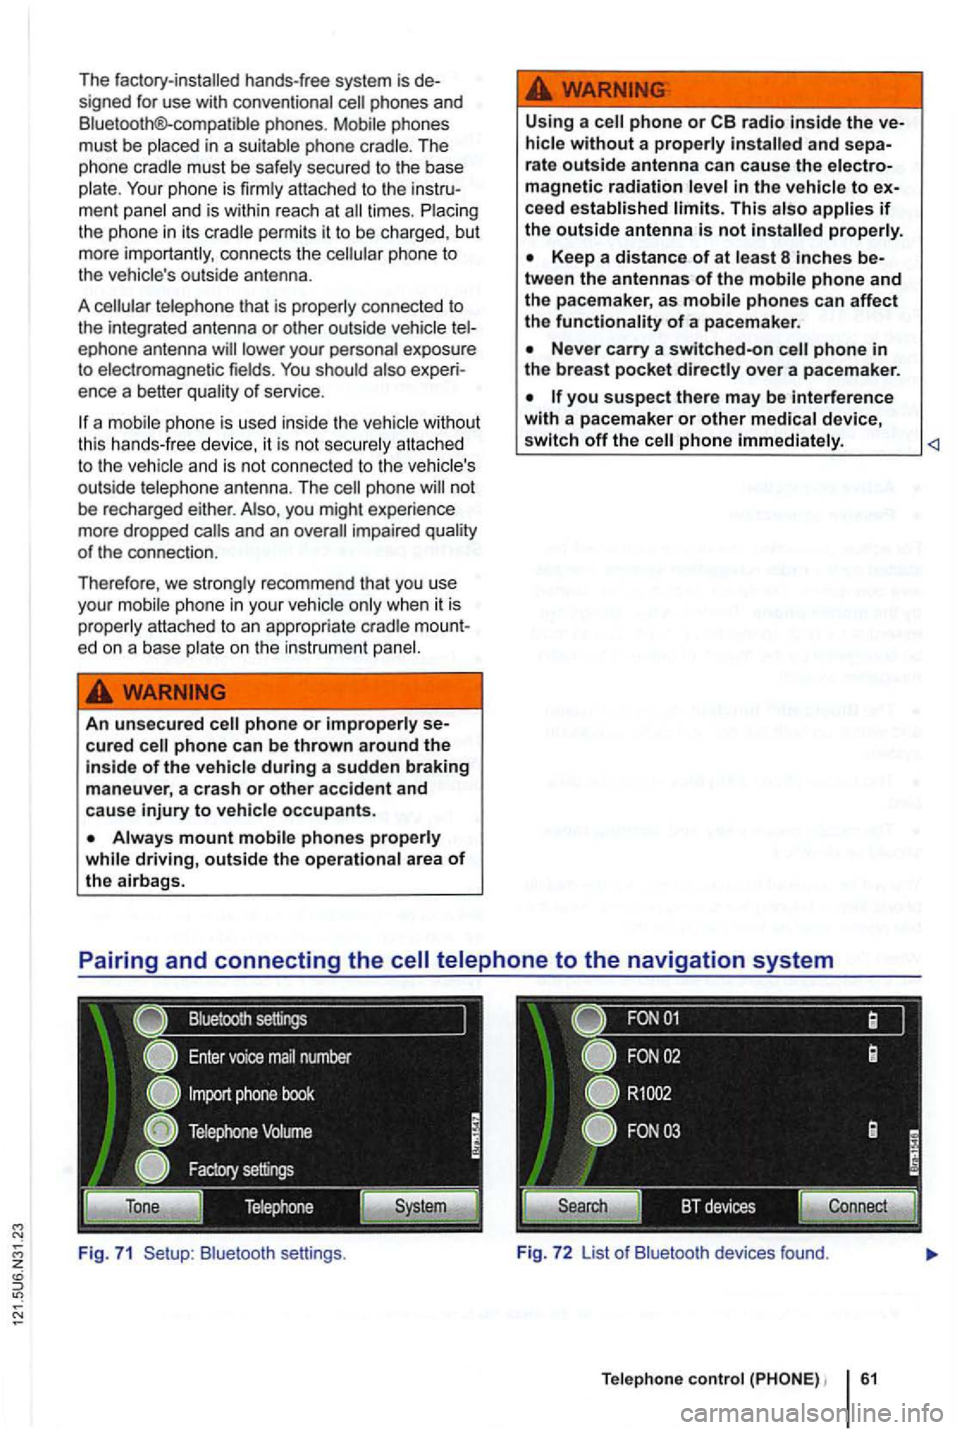
B lu etoot h se ttin gs . Fig. 7 2 List o f Bluetoo th devices found.
Te lephone control 61
Page 78 of 516
Please first read and note the introductory information and hee d the WARN on page 59.
A
one-time pairi ng of both devices is necessary to
connect a
some countries , pairing driving is not possi
For 315, the radio navigation system can be
used to complete pairing.
63.
When connecting via the
315 radio navigation
system , the mobile ph one can be connected in one
of two ways :
Active connection
The Bluetooth® function must be activated
and v isible on both the
The should be disa
The phone's key and warning tones should be disabled .
You
phone be automatically transferred . T he
length of the transfer depends on the volume of data saved on the phone . After the transfer is com
p lete , the data is
active telephone pairing
An active mobile phone connection ends an exist
ing connection to anot her mobile phone.
Press the button.
Press the (SETUP ) button.
Press the [Biuetooth settings)l l func tion button .
Press the [search for devices) function button.
T he scan ning process can
15 to seconds .
When the process has bee n comple ted, the names
o f t he Bluetoot h devices f ound
72.
Access the telephone to be paired from the 72.
T he radio navigation system and the mobile phone
code displaye d on th e screen of th e rad io nav
i gation system.
When the pairing is successfully completed, the
63 .
passive telephone pairing
Press the button.
Press button.
Press th e [Biuetooth settings)1l funct ion button.
Press the (Make BT fu nc tion butto n .
15 to phone
of Bluetooth audio accesso ries and
start a connec tion.
T he radio naviga tio n system and the
some cases, additional entries are required on the phone to complete the connection of both devices.
Where the code displayed on the
radio navigation system's screen must be entered
and confirmed with
is entered inco rrectly. For safety reasons ,
t h e duration of the radio navigatio n system's toot h visibil ity is li m ited to precisely 5 min utes.
When the pairing is successfully completed, the
63 .
tho connection function butto ns are not the d evice has to be connected via the instrument p age 63.
Page 79 of 516
z
Pairing and connecting
There can be up to four one can be connected to the rad io -navigation system at any one time.
When the radio navigation system
is switched on,
it
connect
ed.
attempt to connect to
t h e next phone on the of paired devices.
T
he maximum reception distance for a connection is con
nection be interru pted if this distance is ex- ceeded
. The connection
as soon as a paired device is within range again.
four one is to be connected , one
Press button .
Press the (Biuetooth settings)1l function button.
Press the (Paired device lis t) function bu tto n.
of paired devices, tag the phon e to be
Connecting the
Please first read and note the introductory information and heed the WARNon page 59.
is connected , via the radio naviga
tion system.
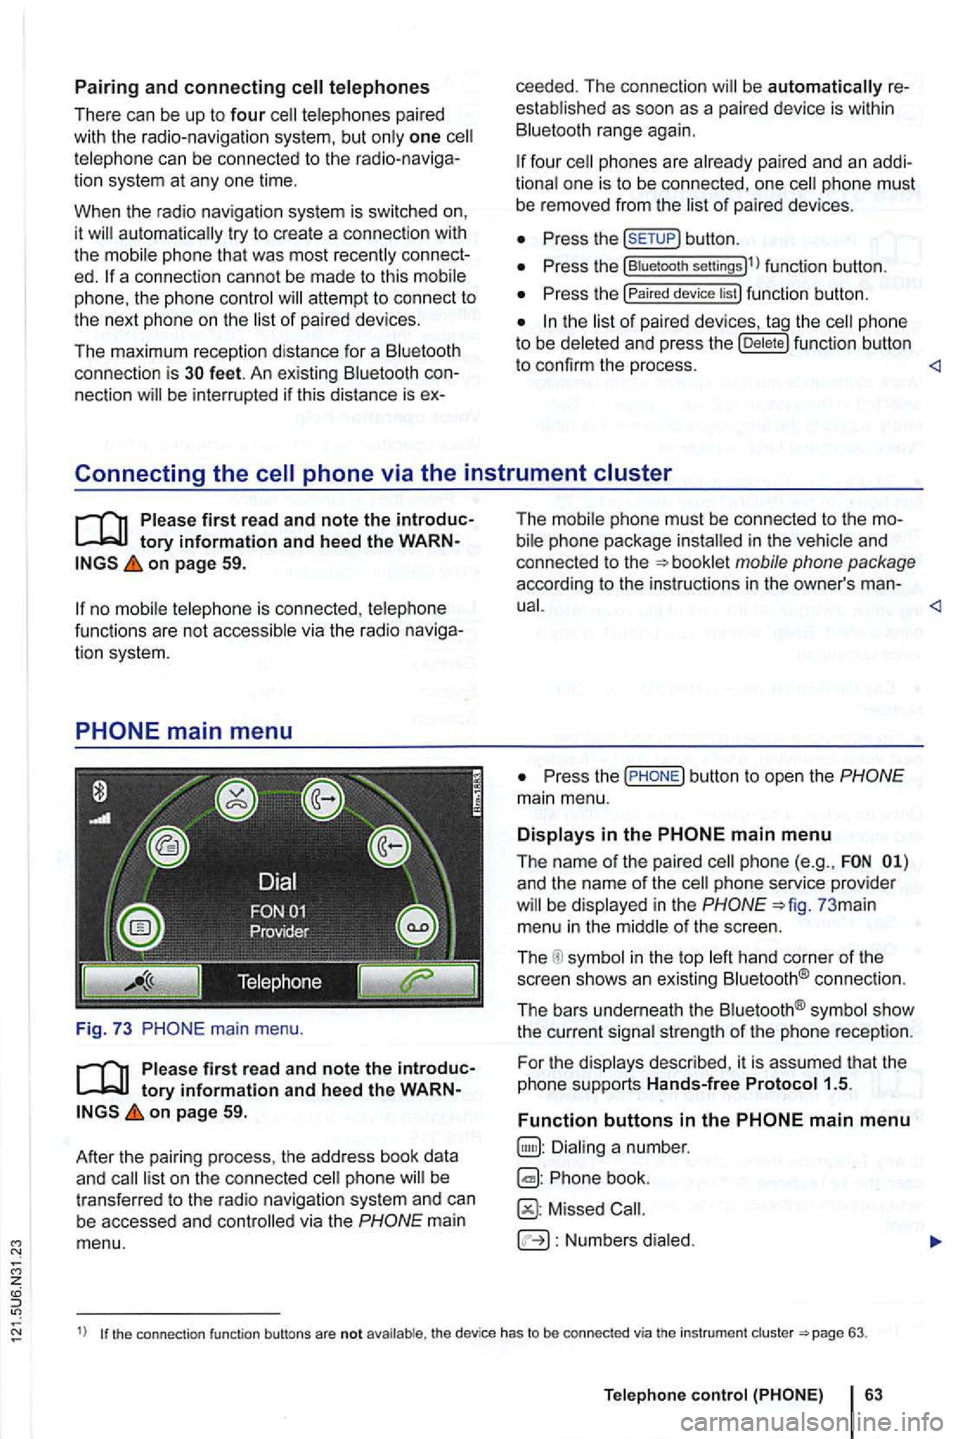
main menu.
first read and note the introductory information and heed the WARNon page 59.
After
the pair ing process , the address book data
and
mai n
menu. T
he i
n the and
co nnected to the
P ress the
and the name of the phone service provider in the 73 mai n
menu in the
in the top connect io n .
The bars underneath the
strength of the phone reception.
F or th e
Phone book.
Missed
Numbers
1) the connection function buttons are not the device has to be connected via th e instrument 63.
Telep hone
Page 83 of 516
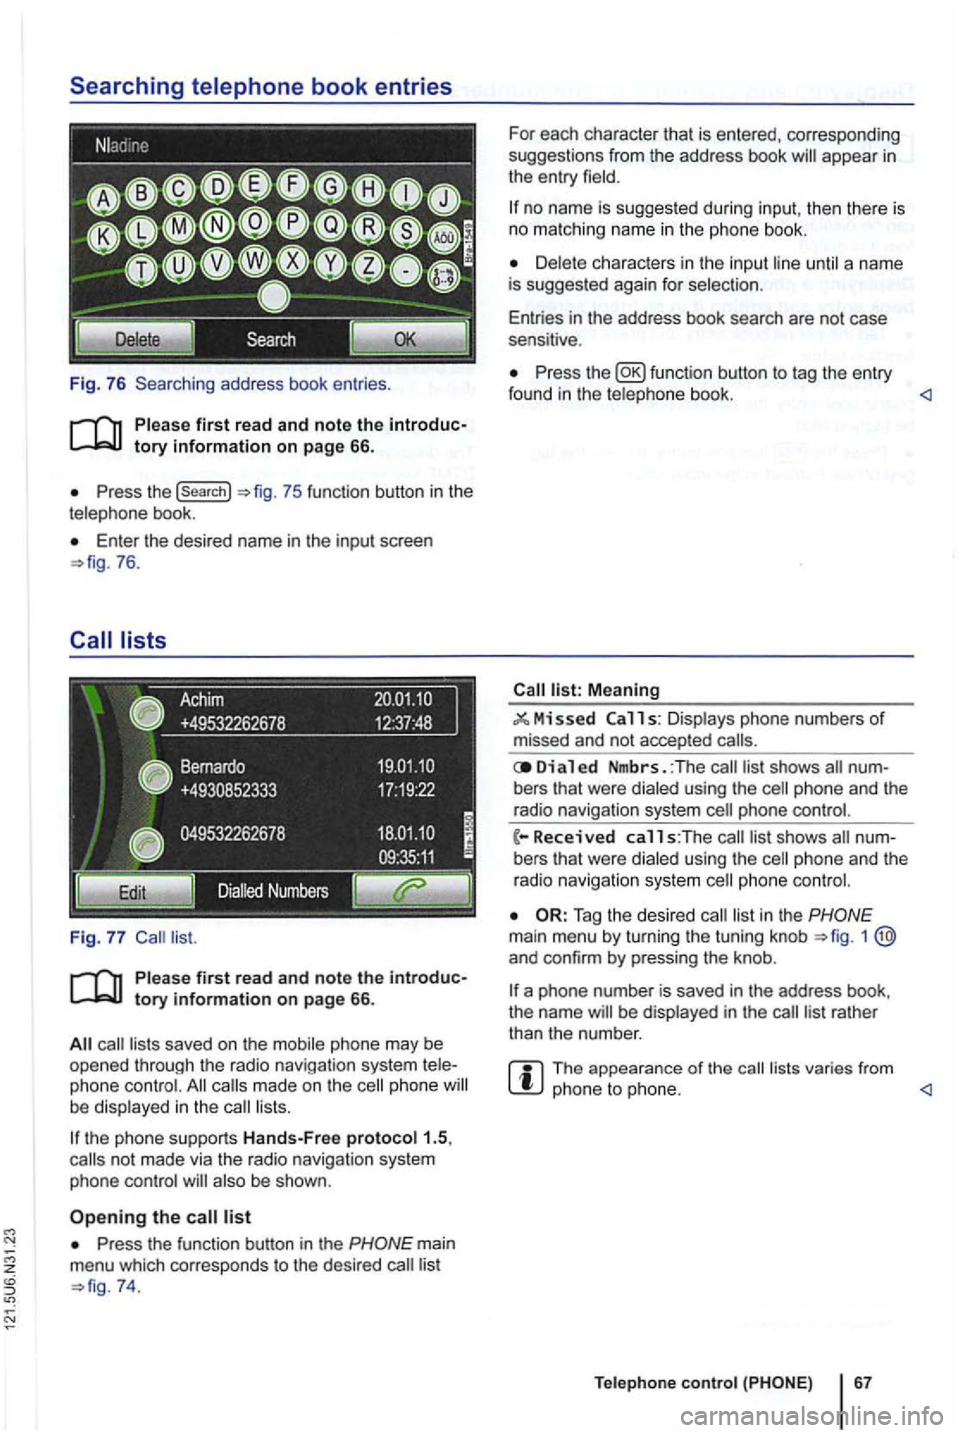
Fig. 76 Searching address book entries .
Press the (search}
Enter th e desired name in the input screen 76.
saved on the mobile phone may be opened through the radio navigation system phone made on the phone lists.
the phone supports Hands-Free proto col1.5,
also be shown .
Press the function button in the
74. For
each character that is entered, corresponding
suggestions from the address book
no name is suggested during input, then th ere is no matching name in the phone book.
until a name
is suggested again for selec tion .
Entries in the address book search are not case
sensitive .
Press the function button to tag the entry
found in the telephone book. <1
Meaning
11 s: Displays phone numbers of missed and not accepted
Di a 1 ed Nmbrs. :The bers that were dialed using the
phone and the
radio navigation system
list in the 1 and confirm by pressing the knob .
a phone number is saved in the address book,
the name be displayed in the
The appearance of the lists varies from phone to phone. <1
Teleph one c ontro l
Page 85 of 516
this section find informa tion about:
Accepting, . . . . . . . . 69
Entering a phone number and making a
. 69
Ma king a
. . . . . . . . . . . . . . . . . . . phone
calls ...................................
. . . . . . . . . . . . . . 71
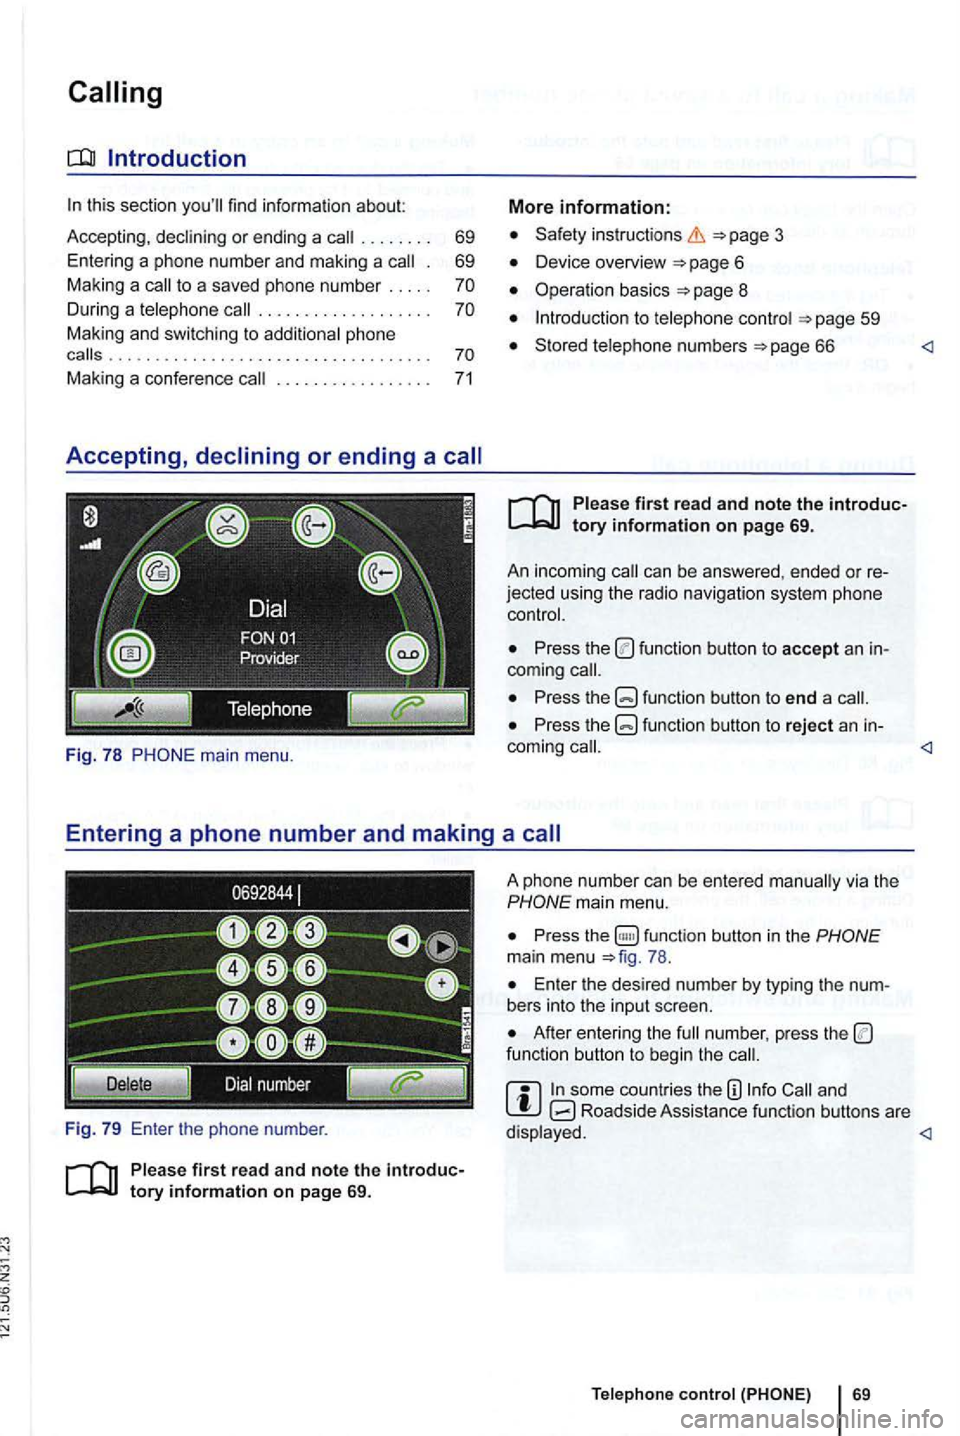
Fig. 7 8
firs t read and note the introduc
Safety in structions
Device overview
Operation basics
to
Stored numbers 66
first read and note the introduc
jected usin g the radio nav igation system phone
Press the function button to accept an
Press the function button to end a
Press the function button to reject an in-
Pres s function button in the main menu 78 .
Ente r the desir ed num ber by typing the
After entering the funct ion button to beg in the
and Roadside Assista nce fu nction buttons are
Page 88 of 516
Settings (SETUP)
Sound,
this section
button
settings
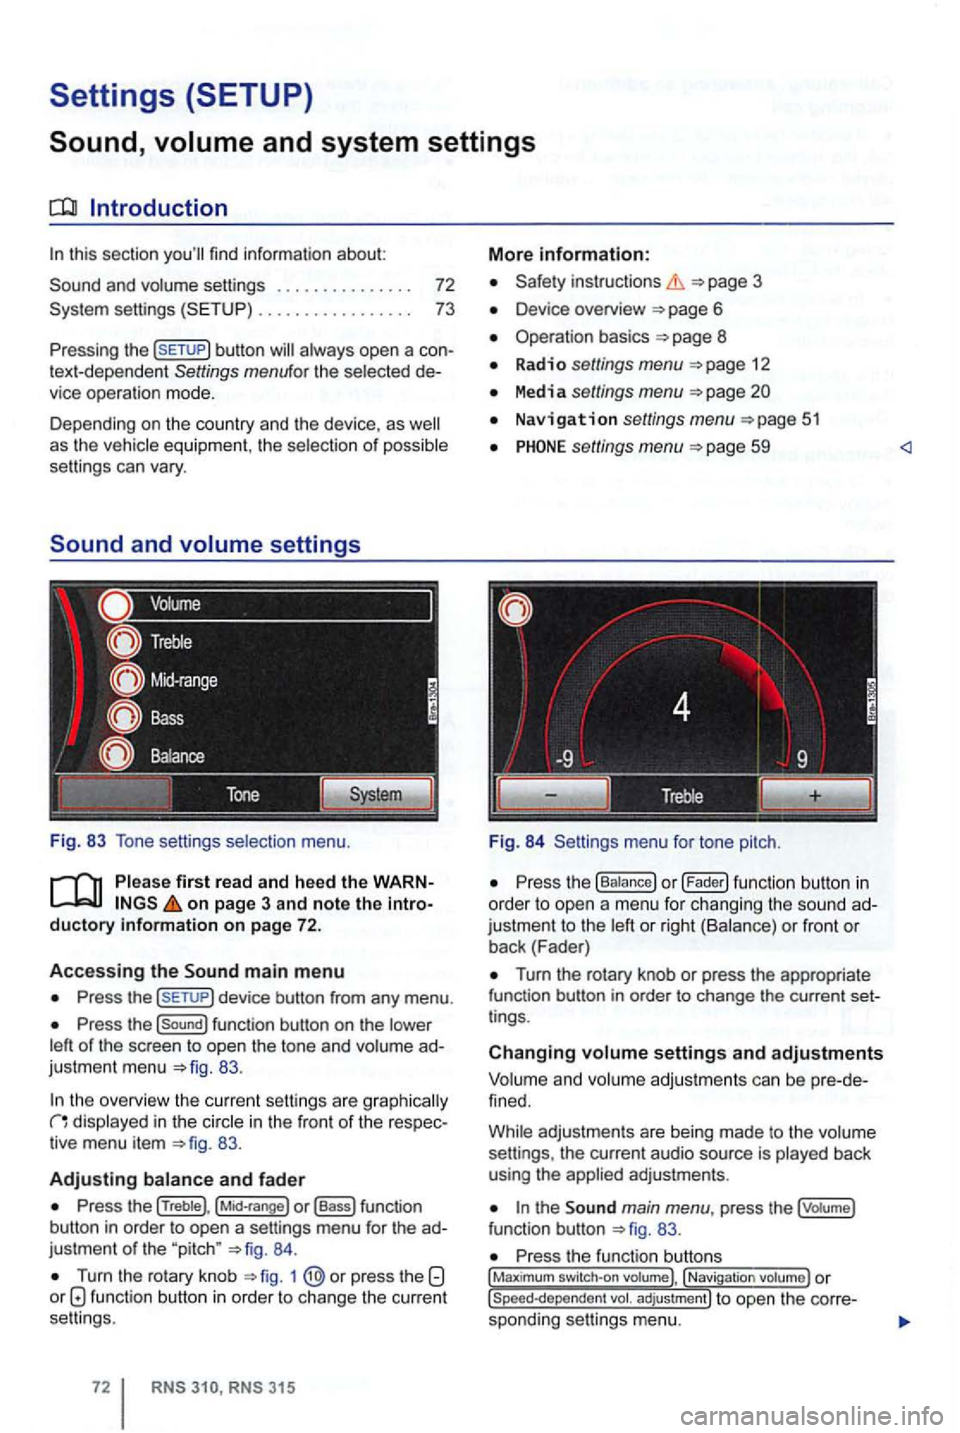
Fig. 83 Tone setti ngs selection menu.
on page 3 and note the introductory information on page 72.
Accessing the main m enu
Press the
Press the function button on the
83.
the overview the cu rrent se ttings are g raphica lly in the in the front of the respec
tiv e menu item 83.
Adjusting
Press the (Treble), o r (Bass) function
button in order to open a settings menu for the ad
justme nt
of the "pitch " 84.
Turn the rotary knob 1 function button in order to change the current
se ttings .
RNS RNS 31 5
More information:
Safety instructions 3
Device overview
Operation basics 8
Radio settings menu 12
Media settings menu
Navigation settings menu
settings menu 59
Fig. 84 Settings menu fo r tone pitch.
Turn the rotary knob or press the appropriate
function button in order to change the current set
t ings .
Changing settings and adjustments
Vo lum e and volume adjustm ents can be pre -de
f ined.
Whi le adjustmen ts are being made to the volume
settings , the current audio source is played back
using the
the main menu , press the (votume)
fun ction button 83.
Press the function , Navigati on