2012 VOLKSWAGEN GOLF MK6 length
[x] Cancel search: lengthPage 73 of 516
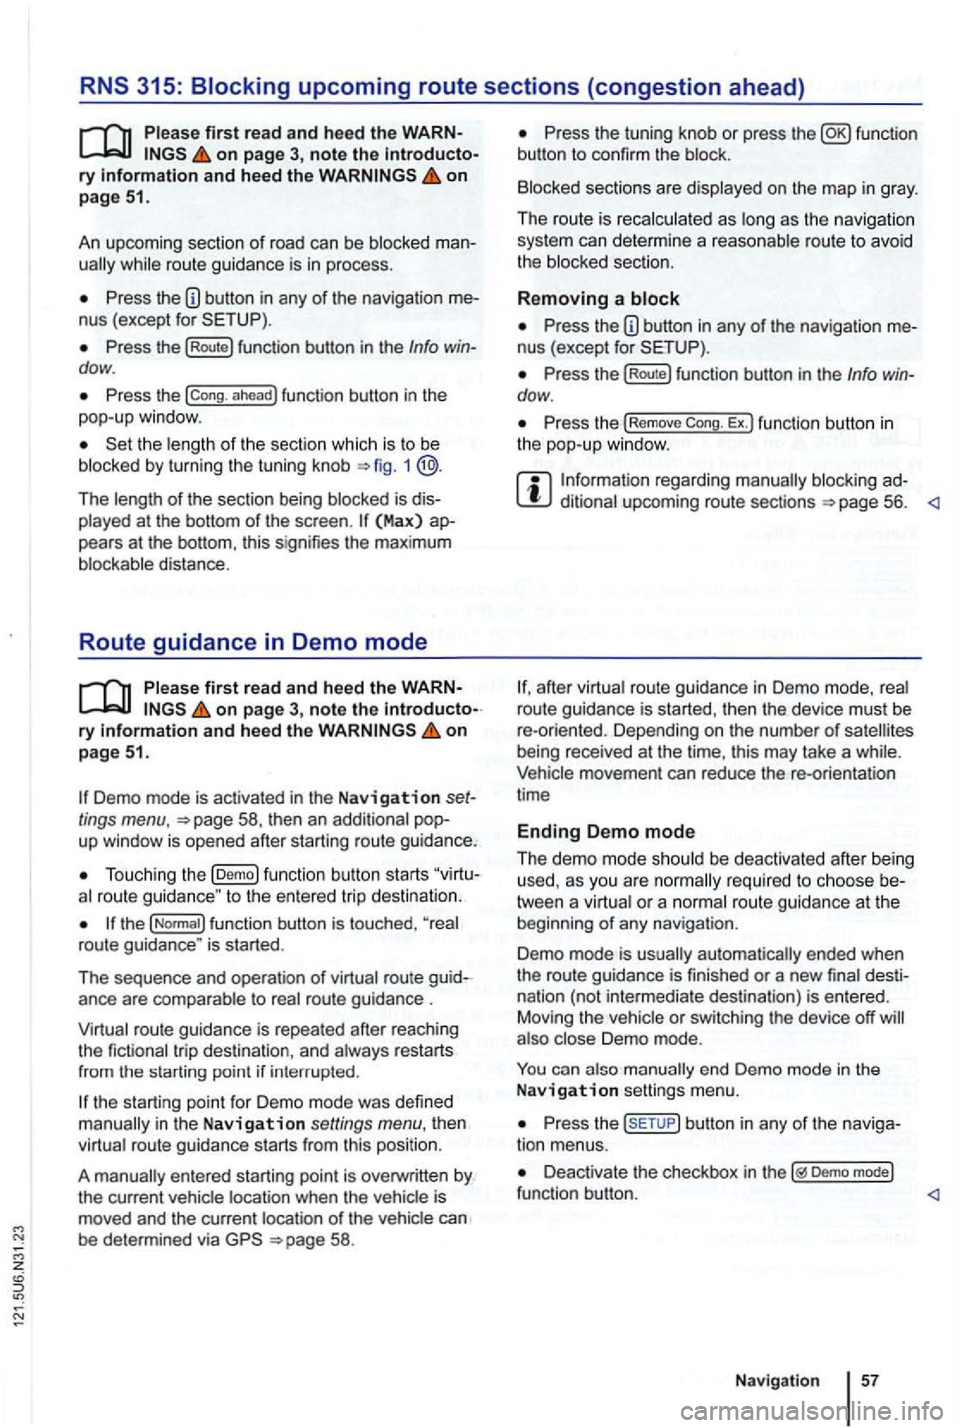
on page 3, note the ry and heed the on pag e 51.
An upcoming section of road can be blocked
while route guidance is in process.
Pre ss the nus (exce pt for
Press the (Route) function button in the Info dow .
Press the ahead ) function button in the
pop-up window.
the length of the section which is to be
blocked by turning the tuning knob 1 @.
The length of the section being blocked is played at the bottom of the screen . (Max) pears at the bottom , thi s signifies the max imum distance.
Route guidance in Demo mode
on page 3, note the introductory on page 51.
Demo mode is activated in the Navigation tings menu ,
Touch ing the (D emo ) function button starts route guidance " to the entered trip destinatio n.
ance are compa rable to route guidance .
route guidance is repeated after reaching
the fictional trip destinat ion, and always restarts
from
in t he Navigation settings menu, the n
virtual route guidance starts from this position.
A
entered starting point is overwr itten by
the current vehicle location when the is
moved and the current location of the vehicle can
be determined via
Press the tun ing knob or press the function
button to confirm the block.
Blocked sections are displayed on the map in gray.
The route is recalculated
as as the navigation
system can determi ne a reasonable route to avoid
the blocked section.
R e
moving a
Pre ss the button in any of the navigation
Pre ss the (Rout e) function button in the Info dow .
Press the Rem ove Ex.) function button in the pop-up window .
regarding manually blocking ditional upcoming route sections 56.
afte r virtua l route guidance in Demo mode, rea l
route guidance is started , then the device must be
re -orien ted . Depending on the number of being received at the time, this may take a wh ile. movement can reduce the re-o rientation
t ime
Ending D emo mode
The demo mode should be deactivated after being
used , as you are
tween a virtua l or a normal route guidance at the
beg inning of any naviga tion .
Demo mode is
automatically ended when
the route guidance is fini shed or a new final
also Demo mode.
You end Demo mode in the
N av ig a tion settings menu.
Press the button in any of the naviga
tion menus.
Deactivate the checkbox in Demo mode) functio n button .
Navigation
Page 78 of 516
Please first read and note the introductory information and hee d the WARN on page 59.
A
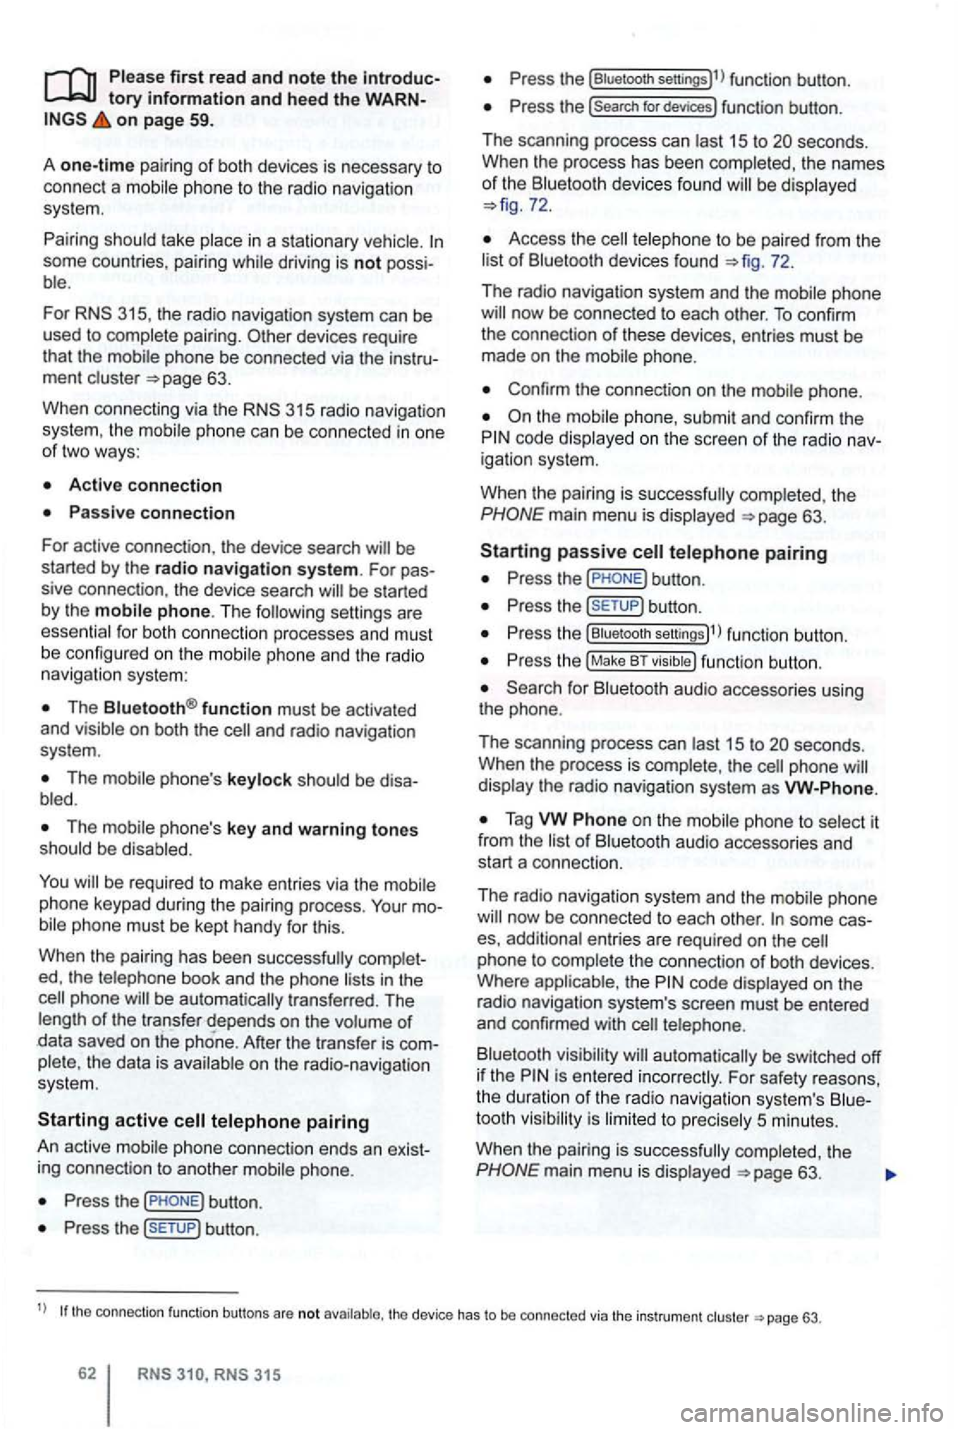
one-time pairi ng of both devices is necessary to
connect a
some countries , pairing driving is not possi
For 315, the radio navigation system can be
used to complete pairing.
63.
When connecting via the
315 radio navigation
system , the mobile ph one can be connected in one
of two ways :
Active connection
The Bluetooth® function must be activated
and v isible on both the
The should be disa
The phone's key and warning tones should be disabled .
You
phone be automatically transferred . T he
length of the transfer depends on the volume of data saved on the phone . After the transfer is com
p lete , the data is
active telephone pairing
An active mobile phone connection ends an exist
ing connection to anot her mobile phone.
Press the button.
Press the (SETUP ) button.
Press the [Biuetooth settings)l l func tion button .
Press the [search for devices) function button.
T he scan ning process can
15 to seconds .
When the process has bee n comple ted, the names
o f t he Bluetoot h devices f ound
72.
Access the telephone to be paired from the 72.
T he radio navigation system and the mobile phone
code displaye d on th e screen of th e rad io nav
i gation system.
When the pairing is successfully completed, the
63 .
passive telephone pairing
Press the button.
Press button.
Press th e [Biuetooth settings)1l funct ion button.
Press the (Make BT fu nc tion butto n .
15 to phone
of Bluetooth audio accesso ries and
start a connec tion.
T he radio naviga tio n system and the
some cases, additional entries are required on the phone to complete the connection of both devices.
Where the code displayed on the
radio navigation system's screen must be entered
and confirmed with
is entered inco rrectly. For safety reasons ,
t h e duration of the radio navigatio n system's toot h visibil ity is li m ited to precisely 5 min utes.
When the pairing is successfully completed, the
63 .
tho connection function butto ns are not the d evice has to be connected via the instrument p age 63.
Page 134 of 516
Engine and transmiss ion code letters , pain t
numbe r, interio r.
14.
important vehicle
Radiator fan and high voltage warning sticker in the engine compartment next to th e engine
hood re lease (see
Tire inflation pressure la bel on the drive r door
jamb (see
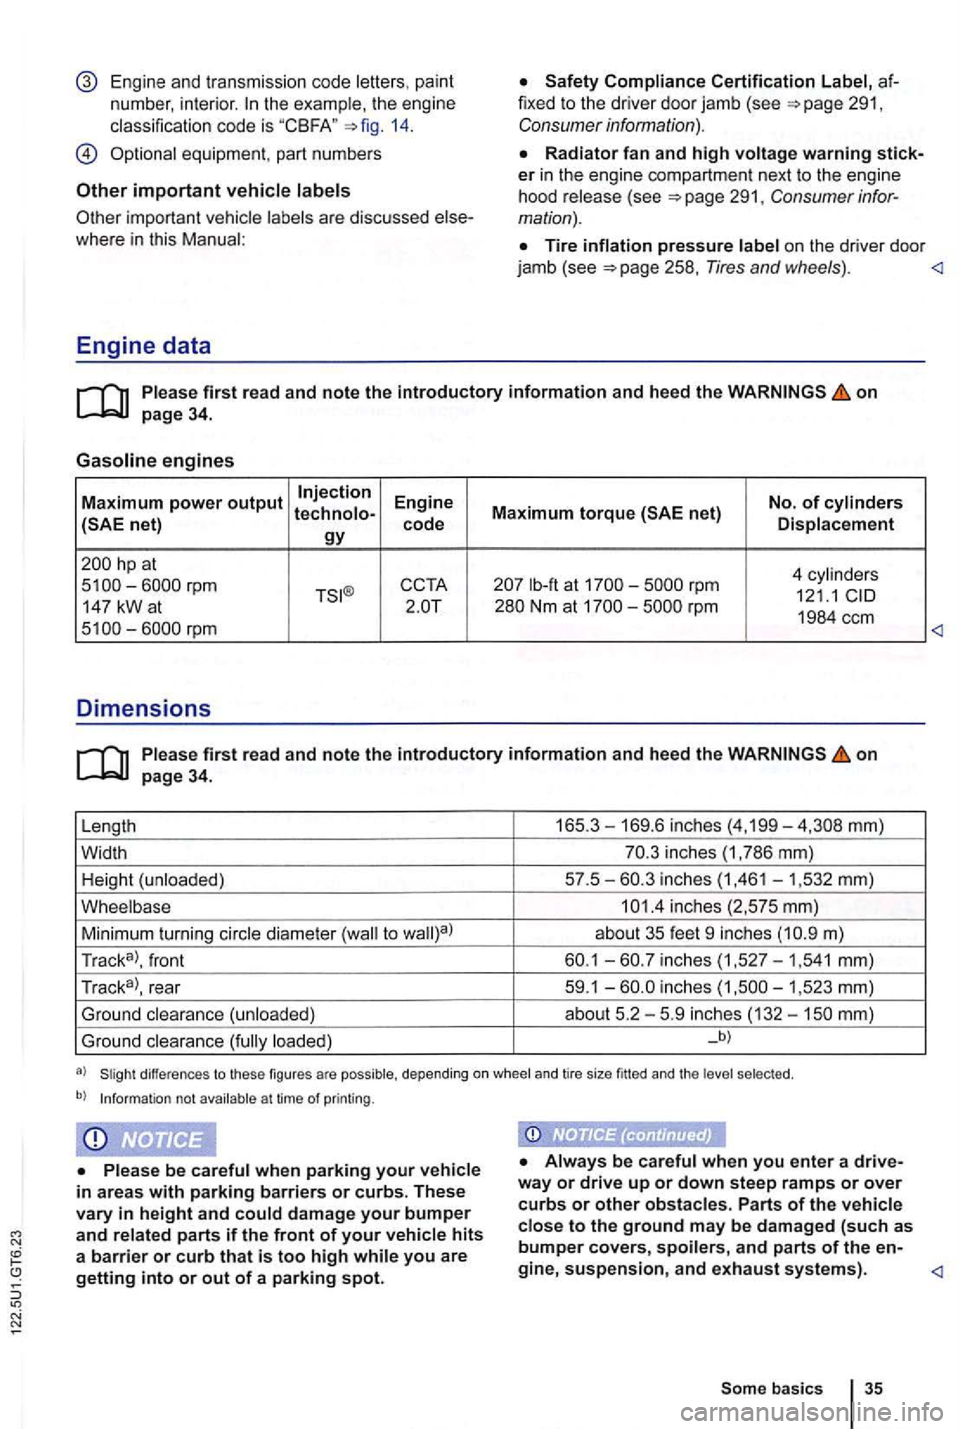
Engine data
on page 34.
Gasoline engines
Maximum power output Injection Engine No. of cylinders
hp at
4 cy lin d er s lb-ft at rpm 121.1 147 kW a t
on page 34.
Length 165 .
3-169.6 inches (4,199-
m)
Tr ac k
a>, front
inches
loaded) _b)
differences to these figures are possible, depending on whee l and tire size fitted and the selec ted .
b) Informat ion not avail able a t time of printing .
Always be careful when you enter a drive
way or drive up or down stee p ramps or over curbs or other obstacle s. Parts of the vehicle close to the ground may be dam ag ed (such as bumper covers, spoilers, and parts of the en-
Page 346 of 516
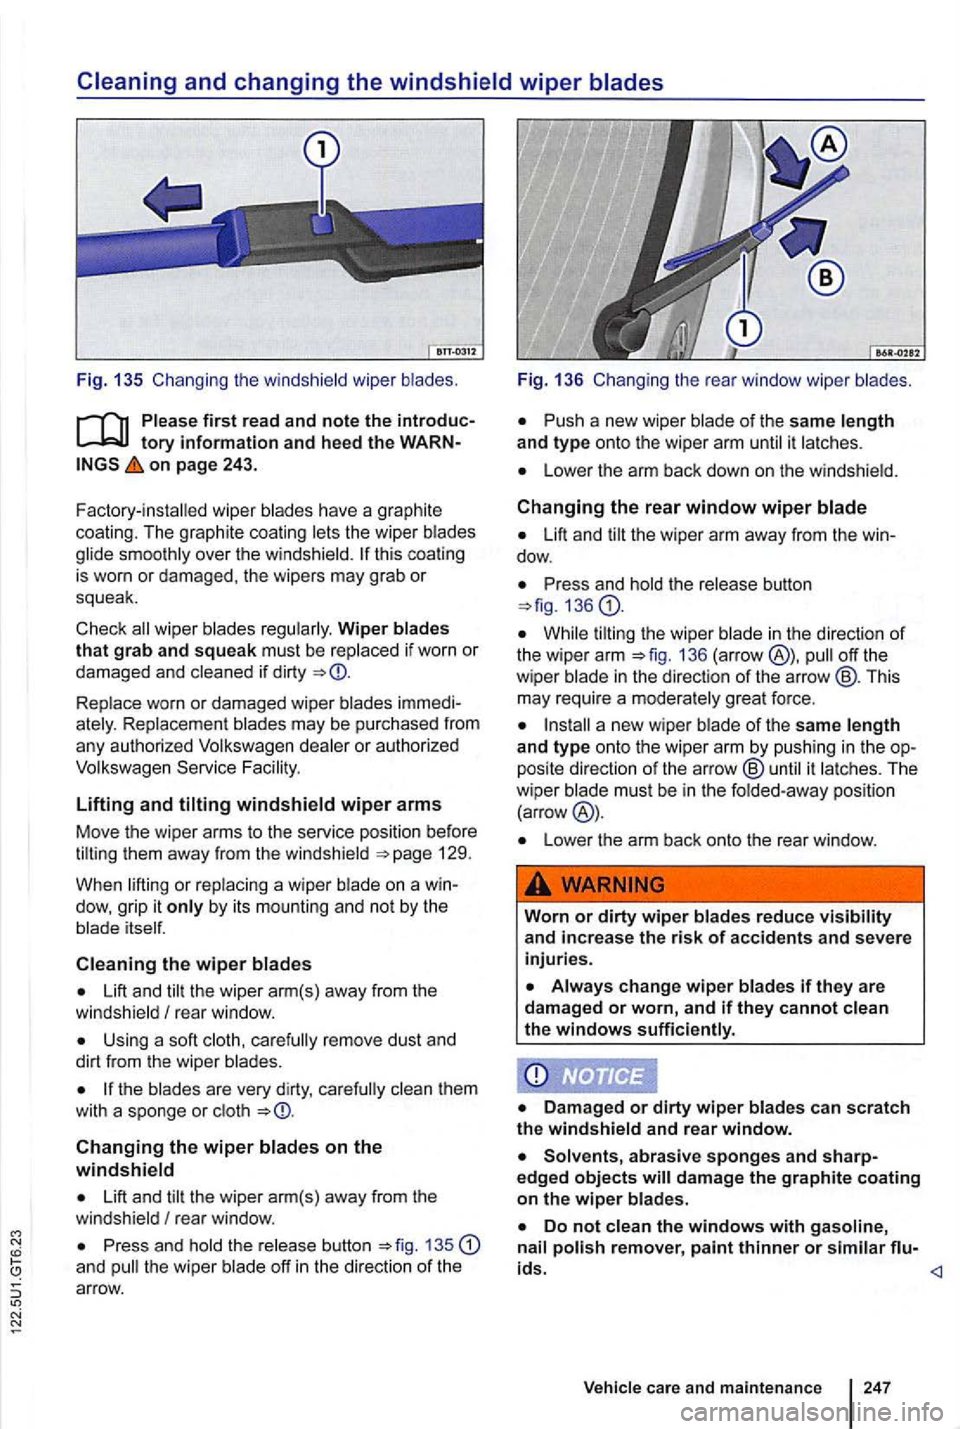
on page 243.
F ac tory
-installed wiper blades have a graphite
coating. The graphite coating lets the wiper blades
glide smoothly over the windshield.
wiper blades regularly. Wiper blades
that grab and squeak must be r ep laced if worn or
damaged and cleaned if dirty
Replace worn or damaged wiper blades immedi
ate ly . Replacement blades may be purchased from
any authorized Volkswagen dealer or autho
rized
Volkswagen
Lifting and
Us ing a soft remove dust and
dirt from the wiper blades.
Changing the wiper on the windshield
Lift and tilt the wiper arm(s) away from the
windsh ield I rear window.
Press and hold the release button 135 and the wipe r blade off in th e direction of the arrow.
N
N
Fig . 136 Changi ng the rear window wipe r blades .
Push a new wiper blade of the same length
and type onto the wiper arm until it la tches.
Lower the arm back down on the windshield.
Changing the rear window wiper
Lift and
Pres s and hold the release button 136
While tilt in g the wiper blade in the direction of the wipe r arm 136 (arrow @),
abrasive sponges and sharpedged objects
Vehicle care and maintenance 247
Page 411 of 516
a wheel bolt does not come loose, ca ref ully push
the end of the lug wrench with your foot. Make
sure you are standing firmly on the ground and
hold on
to the vehicle for support .
Loosening the wheel bolts
Push the lug wrench over the wheel bolt all the
way
H oldi ng the lug wrench at the end , loosen the
wheel bolt by turning it countercloc kwise about one comp lete turn
Loosening the anti-theft wheel bolt
Take the adapter for the anti-theft wheel bolt
out of the vehicle tool kit.
Holding the lug wrench at the end , lo osen the wheel bolt by turning it counterclockwise about one comp lete turn
information regarding wheel bolts
The design of rims and whee l bolts is matched to
the factory- in sta lled whee ls . diffe re nt wheels are
ins ta lled , wheel bolts with the right length and bolt
head shape must be used . T
he a ttachment of the
wheels and function of the brake system depend
on this .
may not be possible to use wheel bolts from ferent vehicles of the same model.
a whee l with a w hee l cover , the anti-theft whee l 161 in relation to the position of the tire valve
tight ened bolts for stee l a nd alloy wheel
r im s shou ld have a torque of 88ft lbs
Do
Improperly tightened wheel bolts can come loose while driving and cause you to lose
control over the vehicle, resulting in
and grease .
Loosen the wheel bolts only about one turn before lifting the vehicle with the jack.
Never loosen bolted connections on wheel
rims with bolted rim rings.
the wheel bolts are not tig hten ed to the proper torque, the wheel can come off the