Page 208 of 474

.Skipping past the first track/file will
take you to the last track/file in the
folder. ! By using the dial (type A and B audio)
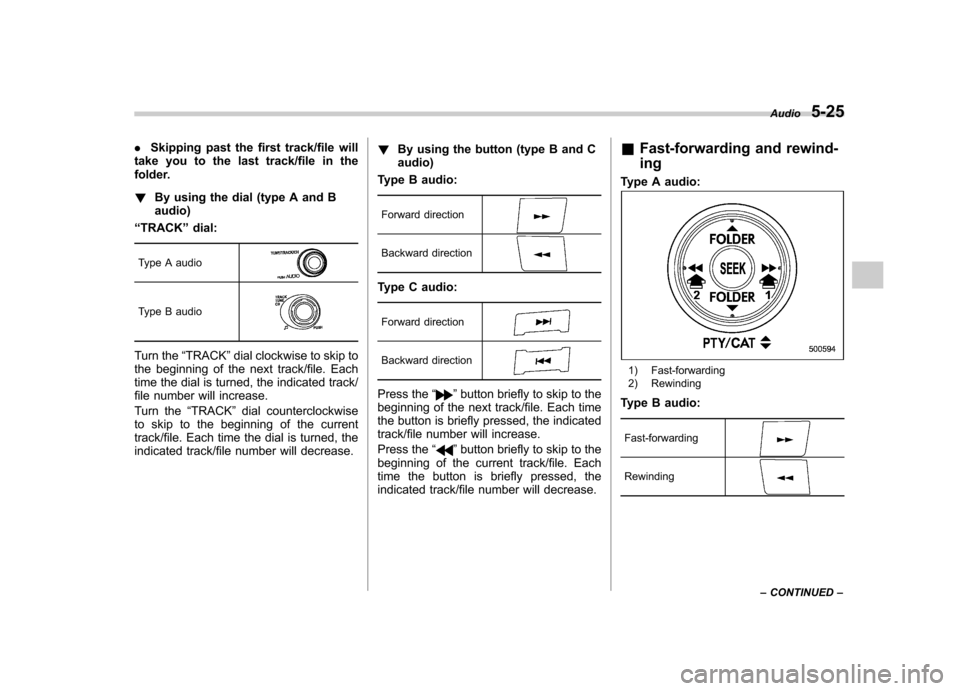
“ TRACK ”dial:
Type A audio
Type B audio
Turn the “TRACK ”dial clockwise to skip to
the beginning of the next track/file. Each
time the dial is turned, the indicated track/
file number will increase.
Turn the “TRACK ”dial counterclockwise
to skip to the beginning of the current
track/file. Each time the dial is turned, the
indicated track/file number will decrease. !
By using the button (type B and Caudio)
Type B audio:
Forward direction
Backward direction
Type C audio:
Forward direction
Backward direction
Press the “”button briefly to skip to the
beginning of the next track/file. Each time
the button is briefly pressed, the indicated
track/file number will increase.
Press the “
”button briefly to skip to the
beginning of the current track/file. Each
time the button is briefly pressed, the
indicated track/file number will decrease. &
Fast-forwarding and rewind- ing
Type A audio:
1) Fast-forwarding
2) Rewinding
Type B audio:
Fast-forwarding
Rewinding
Audio 5-25
– CONTINUED –
Page 212 of 474

!Type A and B audio
Press the following buttons briefly.
Type A audio:
1) To select the next folder
2) To go back to the previous folder
Type B audio:
To select the next folder
To go back to the
previous folder
! Type C audio
“ TUNE ”dial
Turn the “TUNE ”dial clockwise to select
the next folder. Turn the dial counter-
clockwise to go back to the previous
folder. & How to eject a CD from the player
When a disc is being played back or when
a disc is in the player, press the ejectbutton
. The disc will be ejected.
NOTE . Avoid driving the vehicle with a CD
sticking out. The CD may fall out due to vibration.. If you do not remove the ejected
disc within approximately 15 seconds
(type A and B audio)/20 seconds (type
C audio), a disc protection function will
operate, automatically reloading the
disc. In this case, the disc is not played. &
When the following mes-
sages are displayed
If one of the following messages is
displayed while operating the CD player,
determine the cause based on the follow-
ing information. If you cannot clear those
messages, please contact your SUBARU
dealer. ! When “PUSH EJECT ”is displayed
Press the
button to eject the disc.
Check the disc for damage or deforma-
tion, and also check that the correct disc is
inserted. Do not try to eject the disc
forcibly. Mini CDs (i.e., 8 cm/3 inch CDs)
are not supported, and if inserted, they will
be immediately ejected. If the disc cannot
be ejected or this message remains
displayed, please contact your SUBARU
dealer. ! When “CHECK DISC ”is displayed
Press the
button to eject the discs.
Check that the disc is not damaged or
scratched, and also check that the disc is
inserted correctly. This message may
appear when using some CD-RW discs.
Check that the disc type (i.e., 8 cm/3 inch
CDs are not supported) and data format
are correct. This player can only play CD-
DA, MP3, WMA and AAC data formats. If
the disc cannot be ejected or this mes-
sage remains displayed, please contact Audio
5-29
– CONTINUED –
Page 220 of 474

When connecting iPod®(type B audio):
When connecting iPod®(type C audio):
NOTE .The “FOLDER RDM ”(type B audio)/
“ Folder ”(type C audio) indication re-
fers to the random playback in the
folders. It randomly repeats all of the
tracks in the folder.. The “ALL RDM ”(type B audio)/ “All ”
(type C audio) indication refers to the
random playback on the entire USB
storage device. It randomly repeats all
of the tracks on the USB storage device.. The “ALBUM RDM ”(type B audio)/
“ Album ”(type C audio) indication re-
fers to the shuffle playback of the
album. It sequentially plays back all of
the tracks on the album.. The “SONG RDM ”(type B audio)/
“ Track ”(type C audio) indication refers
to the shuffle playback on the entireiPod
®. It randomly repeats all of the tracks on the iPod
®.
. When an iPod®is connected, the
files are played back at random by the
shuffle function of the iPod
®. There-
fore, iPod®operation may be different
depending on the model of the con-
nected iPod
®. Visit the Apple Inc.
website for details.. When an audiobook or a podcast is
playing, the mode does not change
even if you press the random button.
To cancel the random playback mode,
press the random button and select
CANCEL. The “RDM ”indication will turn
off, and the normal playback mode willresume. & SCAN (only when connecting
USB storage device)
Scan is operated in the same way as for a
CD. For details, refer to “Scan ”F 5-28.
NOTE
When an iPod
®is connected, you
cannot select the SCAN mode. &
Selecting category (only
when connecting iPod
®)
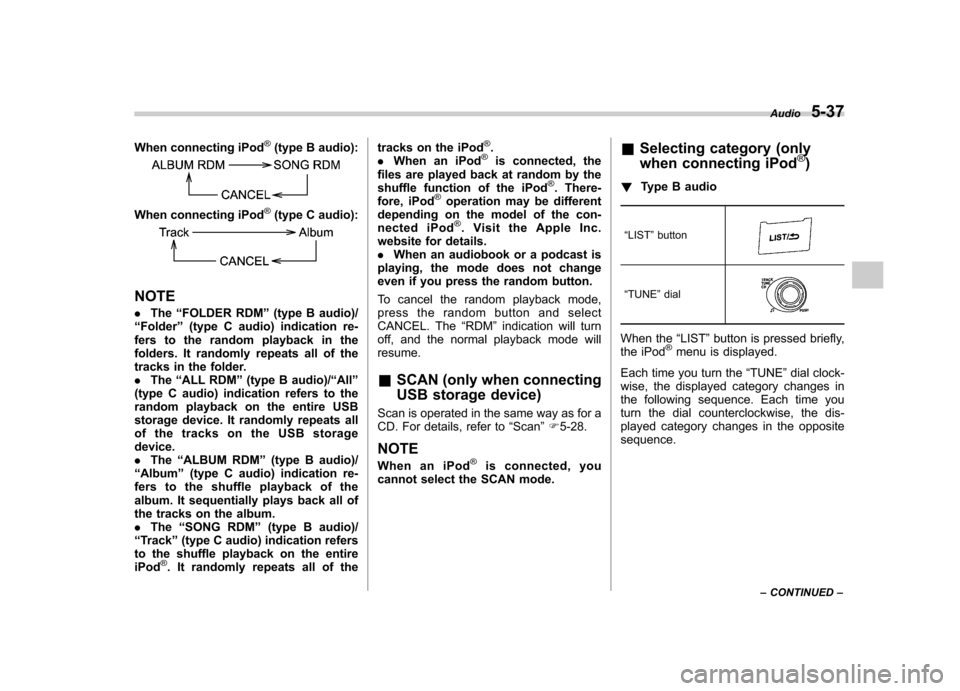
! Type B audio
“ LIST ”button
“TUNE ”dial
When the “LIST ”button is pressed briefly,
the iPod®menu is displayed.
Each time you turn the “TUNE ”dial clock-
wise, the displayed category changes in
the following sequence. Each time you
turn the dial counterclockwise, the dis-
played category changes in the oppositesequence. Audio
5-37
– CONTINUED –
Page 259 of 474
6-6Interior equipment
& Glove box
1) Lock
2) Unlock
To open the glove box, pull the handle. To
close it, push the lid firmly upward.
To lock the glove box, insert the key and
turn it clockwise. To unlock the glove box,
insert the key and turn it counterclockwise. &
Center console box
! Center console box (front)
If you remove the divider plate from the
dual cup holders, you can use the center
console box as a storage space. To use as storage space:
Pull out the divider plate of the dual cup
holder.
Page 281 of 474

7-4Starting and operating
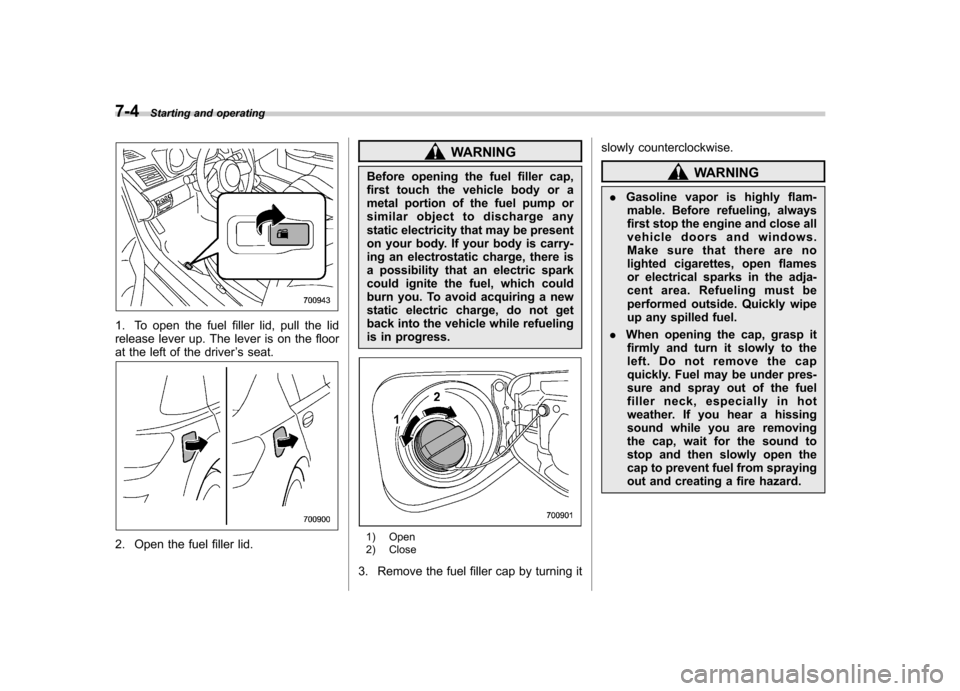
1. To open the fuel filler lid, pull the lid
release lever up. The lever is on the floor
at the left of the driver ’s seat.
2. Open the fuel filler lid.
WARNING
Before opening the fuel filler cap,
first touch the vehicle body or a
metal portion of the fuel pump or
similar object to discharge any
static electricity that may be present
on your body. If your body is carry-
ing an electrostatic charge, there is
a possibility that an electric spark
could ignite the fuel, which could
burn you. To avoid acquiring a new
static electric charge, do not get
back into the vehicle while refueling
is in progress.
1) Open
2) Close
3. Remove the fuel filler cap by turning it slowly counterclockwise.
WARNING
. Gasoline vapor is highly flam-
mable. Before refueling, always
first stop the engine and close all
vehicle doors and windows.
Make sure that there are no
lighted cigarettes, open flames
or electrical sparks in the adja-
cent area. Refueling must be
performed outside. Quickly wipe
up any spilled fuel.
. When opening the cap, grasp it
firmly and turn it slowly to the
left. Do not remove the cap
quickly. Fuel may be under pres-
sure and spray out of the fuel
filler neck, especially in hot
weather. If you hear a hissing
sound while you are removing
the cap, wait for the sound to
stop and then slowly open the
cap to prevent fuel from spraying
out and creating a fire hazard.
Page 282 of 474

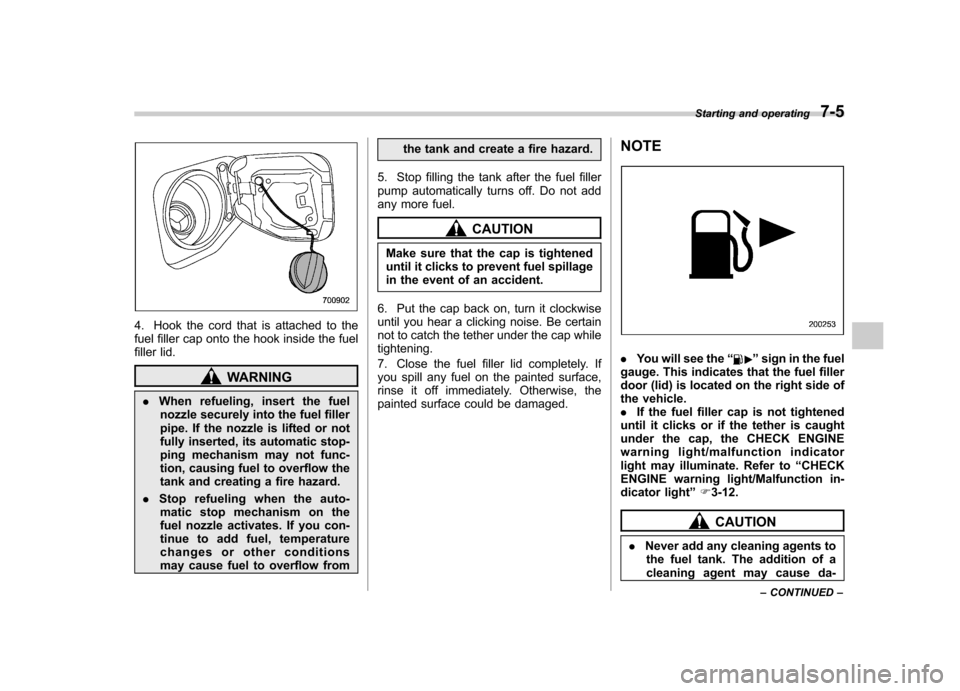
4. Hook the cord that is attached to the
fuel filler cap onto the hook inside the fuel
filler lid.
WARNING
. When refueling, insert the fuel
nozzle securely into the fuel filler
pipe. If the nozzle is lifted or not
fully inserted, its automatic stop-
ping mechanism may not func-
tion, causing fuel to overflow the
tank and creating a fire hazard.
. Stop refueling when the auto-
matic stop mechanism on the
fuel nozzle activates. If you con-
tinue to add fuel, temperature
changes or other conditions
may cause fuel to overflow from the tank and create a fire hazard.
5. Stop filling the tank after the fuel filler
pump automatically turns off. Do not add
any more fuel.
CAUTION
Make sure that the cap is tightened
until it clicks to prevent fuel spillage
in the event of an accident.
6. Put the cap back on, turn it clockwise
until you hear a clicking noise. Be certain
not to catch the tether under the cap whiletightening.
7. Close the fuel filler lid completely. If
you spill any fuel on the painted surface,
rinse it off immediately. Otherwise, the
painted surface could be damaged. NOTE
.
You will see the “”sign in the fuel
gauge. This indicates that the fuel filler
door (lid) is located on the right side of
the vehicle.. If the fuel filler cap is not tightened
until it clicks or if the tether is caught
under the cap, the CHECK ENGINE
warning light/malfunction indicator
light may illuminate. Refer to “CHECK
ENGINE warning light/Malfunction in-
dicator light ”F 3-12.
CAUTION
. Never add any cleaning agents to
the fuel tank. The addition of a
cleaning agent may cause da- Starting and operating
7-5
– CONTINUED –
Page 350 of 474
Outback
6. Take out the tool bucket and turn the
attaching bolt counterclockwise, then take
the spare tire out. NOTE
If the spare tire provided in your vehicle
is a temporary spare tire, carefully read“ Temporary spare tire ”F9-2 and
strictly follow the instructions.7. Loosen the wheel nuts using the wheel
nut wrench but do not remove the nuts.
8. Place the jack under the side sill at the
front or rear jack-up point closest to the flattire.
Turn the jackscrew by hand until the jack
head engages firmly into the jack-up point.
9. Insert the jack handle into the jack-
screw, and turn the handle until the tire
clears the ground. Do not raise the vehicle
higher than necessary. In case of emergency
9-7
– CONTINUED –
Page 351 of 474
9-8In case of emergency
10. Remove the wheel nuts and the flat tire.
11. Before putting the spare tire on, clean
the mounting surface of the wheel and hub
with a cloth.
12. Put on the spare tire. Replace the wheel nuts. Tighten them by hand.
WARNING
Do not use oil or grease on the
wheel studs or nuts when the spare
tire is installed. This could cause the
nuts to become loose and lead to anaccident.
13. Turn the jack handle counterclockwise
to lower the vehicle.
14. Use the wheel nut wrench to securely
tighten the wheel nuts to the specified
torque, following the tightening order in the illustration.
For the wheel nut tightening torque, refer to “Tires ”F 12-9. Never use your foot on
the wheel nut wrench or a pipe extension on the wrench because you may exceed
the specified torque. Have the wheel nut
torque checked at the nearest automotive
service facility.
Models with P205/60R16 tires
Others