Page 169 of 406

4 Display screen, heater, air conditioner,
audio and phone systems
Control panel buttons (if so equipped)...............4-2
How to use the joystick and ENTER button ........4-3
How to use the BACK button ....................4-3
Setting up the start-up screen ...................4-3
How to use the TRIP button . . ...................4-4
How to use the SETTING button .................4-7
button.................................. 4-13
Vents . .......................................... 4-13
Heater and air conditioner (manual) (Type A)
(if so equipped) .................................. 4-14
Controls ...................................... 4-14
Heater operation .............................. 4-15
Air conditioner operation .......................4-16
Air flow charts ................................. 4-17
Heater and air conditioner (manual) (Type B)
(if so equipped) .................................. 4-21
Controls ...................................... 4-21
Heater operation .............................. 4-22
Air conditioner operation .......................4-24
Air flow charts ................................. 4-25
Heater and air conditioner (automatic)
(if so equipped) .................................. 4-28
Automatic operation ........................... 4-28Manual operation
.............................. 4-29
Operating tips ................................. 4-29
Servicing air conditioner ........................... 4-30
Audio system .................................... 4-30
Radio ........................................ 4-30
FM radio reception ............................ 4-31
AM radio reception ............................ 4-31
Satellite radio reception (if so equipped) . . . ......4-31
Audio operation precautions ....................4-32
FM/AM radio with compact disc (CD) player
(if so equipped) ............................... 4-37
FM/AM/SAT radio with compact disc (CD)
changer (Type A, B, C, D and E)
(if so equipped) ............................... 4-45
CD care and cleaning .......................... 4-52
Steering wheel switch for audio control
(if so equipped) ............................... 4-54
Rear audio controls (if so equipped) .............4-55
Antenna ...................................... 4-56
NISSAN mobile entertainment system (MES)
(if so equipped) .................................. 4-56
Digital video disc (DVD) player controls ..........4-57
Remote control ................................ 4-58
Flip-down
screen .............................. 4-58
ProCarManuals.com
Page 170 of 406
Playing a digital video disc (DVD)...............4-60
Care and maintenance ......................... 4-63
How to handle the DVD ........................ 4-63
Car phone or CB radio . . .......................... 4-66
Bluetooth Hands-Free Phone System
(if so equipped) .................................. 4-67
Regulatory Information ......................... 4-68Using the system
.............................. 4-69
Control buttons ............................... 4-71
Getting started ................................ 4-71
List of voice commands ........................ 4-73
Speaker adaptation (SA) mode.................. 4-79
Troubleshooting guide ......................... 4-81
ProCarManuals.com
Page 171 of 406

WARNING
●Positioning of the heating or air condi-
tioning controls and display controls
should not be done while driving in or-
der that full attention may be given to
the driving operation.
● Do not disassemble or modify this sys-
tem. If you do, it may result in accidents,
fire, or electrical shock.
● Do not use this system if you notice any
abnormality, such as a frozen screen or
lack of sound. Continued use of the
system may result in accident, fire or
electric shock.
● In case you notice any foreign object in
the system hardware, spill liquid on it,
or notice smoke or smell coming from
it, stop using the system immediately
and contact your nearest NISSAN
dealer. Ignoring such conditions may
lead to accidents, fire or electrical
shock.
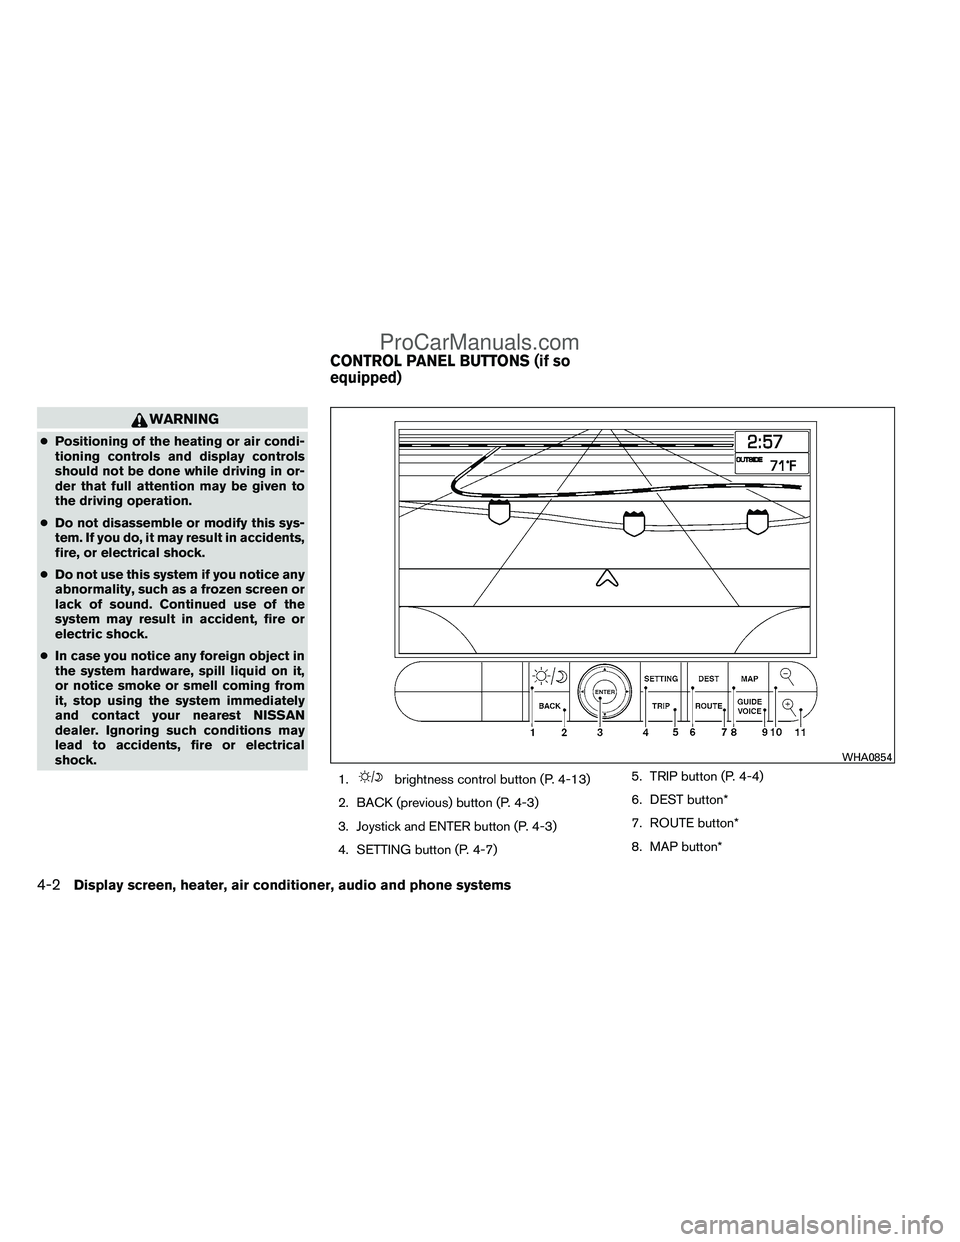
1.
brightness control button (P. 4-13)
2. BACK (previous) button (P. 4-3)
3. Joystick and ENTER button (P. 4-3)
4. SETTING button (P. 4-7) 5. TRIP button (P. 4-4)
6. DEST button*
7. ROUTE button*
8. MAP button*
WHA0854
CONTROL PANEL BUTTONS (if so
equipped)
4-2Display screen, heater, air conditioner, audio and phone systems
ProCarManuals.com
Page 172 of 406

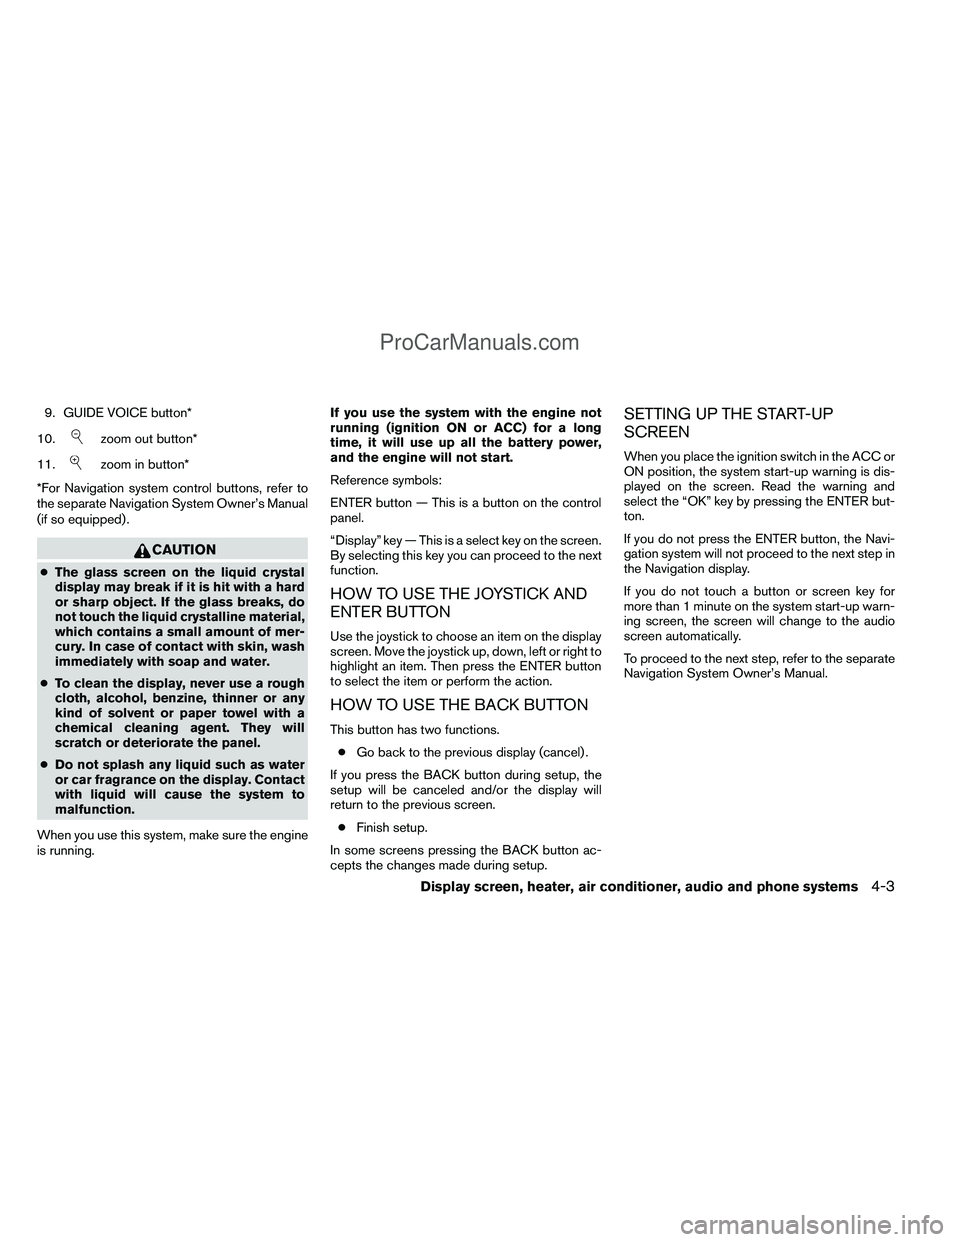
9. GUIDE VOICE button*
10.
zoom out button*
11.
zoom in button*
*For Navigation system control buttons, refer to
the separate Navigation System Owner’s Manual
(if so equipped) .
CAUTION
● The glass screen on the liquid crystal
display may break if it is hit with a hard
or sharp object. If the glass breaks, do
not touch the liquid crystalline material,
which contains a small amount of mer-
cury. In case of contact with skin, wash
immediately with soap and water.
● To clean the display, never use a rough
cloth, alcohol, benzine, thinner or any
kind of solvent or paper towel with a
chemical cleaning agent. They will
scratch or deteriorate the panel.
● Do not splash any liquid such as water
or car fragrance on the display. Contact
with liquid will cause the system to
malfunction.
When you use this system, make sure the engine
is running. If you use the system with the engine not
running (ignition ON or ACC) for a long
time, it will use up all the battery power,
and the engine will not start.
Reference symbols:
ENTER button — This is a button on the control
panel.
“Display” key — This is a select key on the screen.
By selecting this key you can proceed to the next
function.
HOW TO USE THE JOYSTICK AND
ENTER BUTTON
Use the joystick to choose an item on the display
screen. Move the joystick up, down, left or right to
highlight an item. Then press the ENTER button
to select the item or perform the action.
HOW TO USE THE BACK BUTTON
This button has two functions.
● Go back to the previous display (cancel) .
If you press the BACK button during setup, the
setup will be canceled and/or the display will
return to the previous screen. ● Finish setup.
In some screens pressing the BACK button ac-
cepts the changes made during setup.
SETTING UP THE START-UP
SCREEN
When you place the ignition switch in the ACC or
ON position, the system start-up warning is dis-
played on the screen. Read the warning and
select the “OK” key by pressing the ENTER but-
ton.
If you do not press the ENTER button, the Navi-
gation system will not proceed to the next step in
the Navigation display.
If you do not touch a button or screen key for
more than 1 minute on the system start-up warn-
ing screen, the screen will change to the audio
screen automatically.
To proceed to the next step, refer to the separate
Navigation System Owner’s Manual.
Display screen, heater, air conditioner, audio and phone systems4-3
ProCarManuals.com
Page 173 of 406

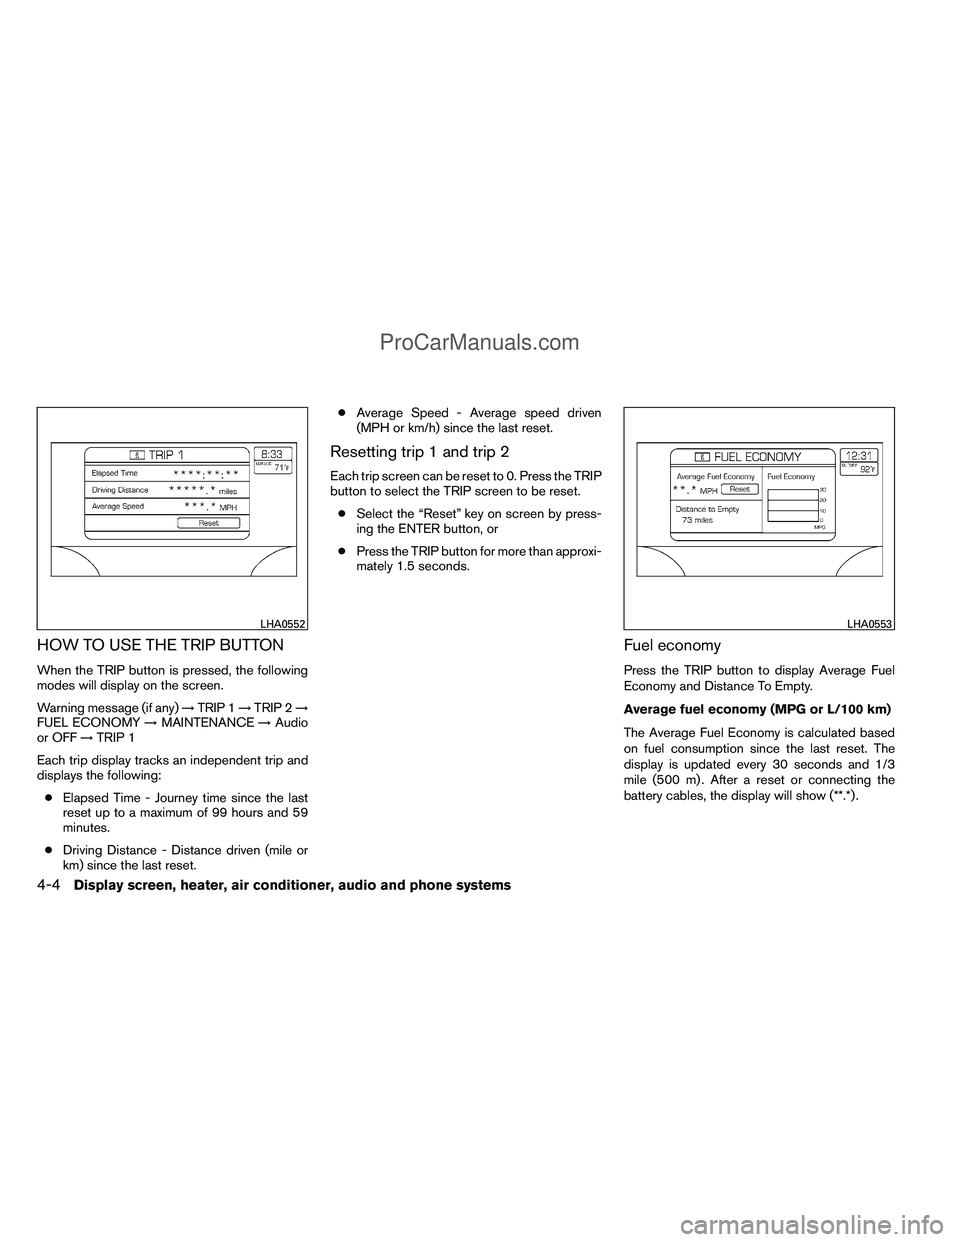
HOW TO USE THE TRIP BUTTON
When the TRIP button is pressed, the following
modes will display on the screen.
Warning message (if any)→TRIP 1 →TRIP 2 →
FUEL ECONOMY →MAINTENANCE →Audio
or OFF →TRIP 1
Each trip display tracks an independent trip and
displays the following: ● Elapsed Time - Journey time since the last
reset up to a maximum of 99 hours and 59
minutes.
● Driving Distance - Distance driven (mile or
km) since the last reset. ●
Average Speed - Average speed driven
(MPH or km/h) since the last reset.
Resetting trip 1 and trip 2
Each trip screen can be reset to 0. Press the TRIP
button to select the TRIP screen to be reset.
● Select the “Reset” key on screen by press-
ing the ENTER button, or
● Press the TRIP button for more than approxi-
mately 1.5 seconds.
Fuel economy
Press the TRIP button to display Average Fuel
Economy and Distance To Empty.
Average fuel economy (MPG or L/100 km)
The Average Fuel Economy is calculated based
on fuel consumption since the last reset. The
display is updated every 30 seconds and 1/3
mile (500 m) . After a reset or connecting the
battery cables, the display will show (**.*) .
LHA0552LHA0553
4-4Display screen, heater, air conditioner, audio and phone systems
ProCarManuals.com
Page 174 of 406

Resetting fuel economy
The average fuel economy calculation can be
reset to 0. Press the TRIP button repeatedly until
the FUEL ECONOMY menu is shown, then ei-
ther:● Select the “Reset” key on screen by press-
ing the ENTER button, or
● Press the TRIP button for more than approxi-
mately 1.5 seconds.
Distance to empty (MI or km)
The Distance To Empty (DTE) mode provides you
with an estimation of the distance that can be
driven before refueling. The DTE is constantly
calculated based on the amount of fuel in the fuel
tank and the actual fuel consumption. The display
is updated every 30 seconds. When the fuel level
is low, the DTE display will change to (*) .
NOTE: ● If the amount of fuel added while the ignition
switch is in the OFF position is small, the
display just before the ignition switch is
placed in the OFF position may continue to
be displayed.
● When driving uphill or rounding curves, the
fuel in the tank shifts, which may momentarily
change the display.
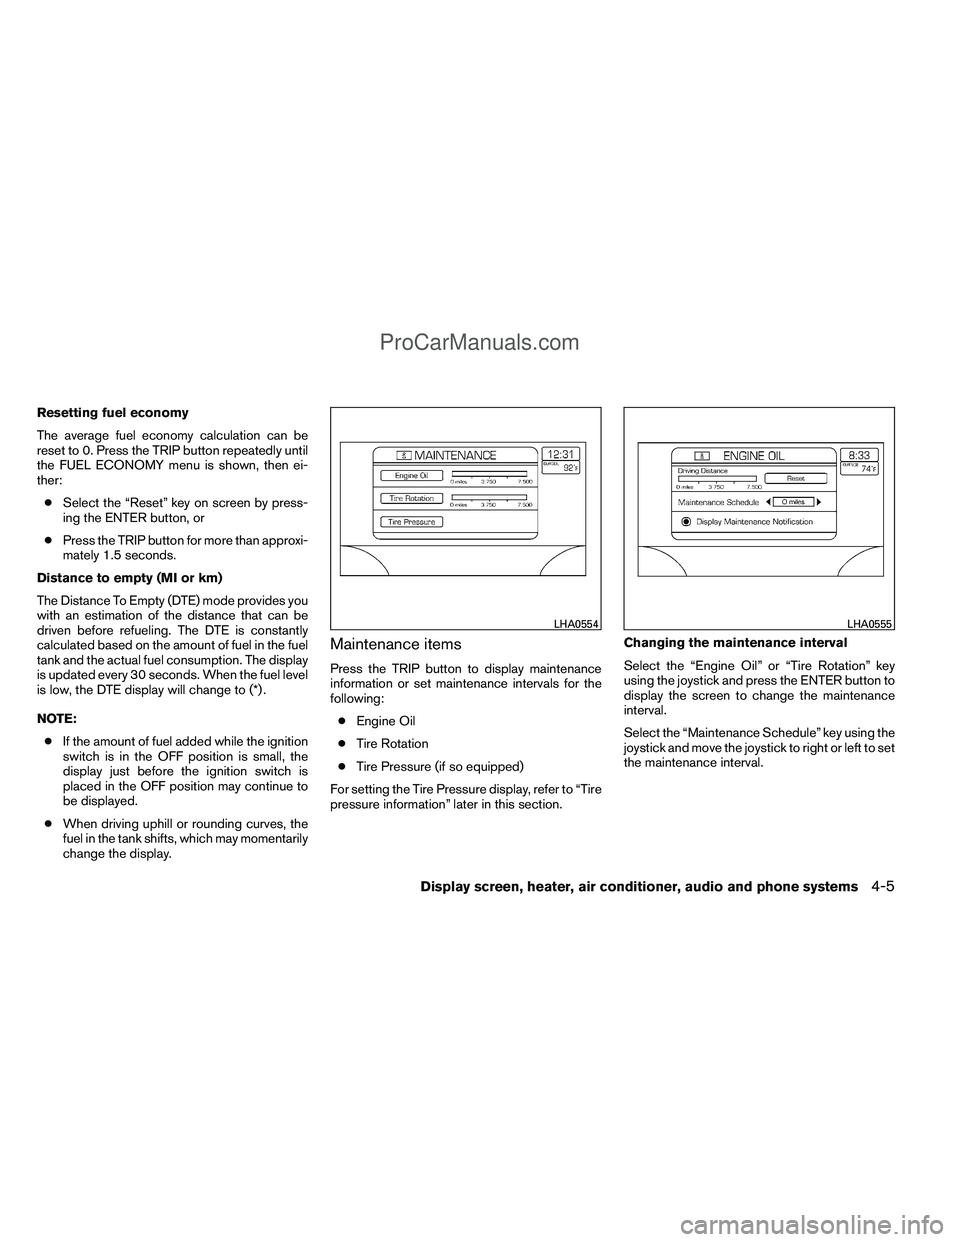
Maintenance items
Press the TRIP button to display maintenance
information or set maintenance intervals for the
following:
● Engine Oil
● Tire Rotation
● Tire Pressure (if so equipped)
For setting the Tire Pressure display, refer to “Tire
pressure information” later in this section. Changing the maintenance interval
Select the “Engine Oil” or “Tire Rotation” key
using the joystick and press the ENTER button to
display the screen to change the maintenance
interval.
Select the “Maintenance Schedule” key using the
joystick and move the joystick to right or left to set
the maintenance interval.
LHA0554LHA0555
Display screen, heater, air conditioner, audio and phone systems4-5
ProCarManuals.com
Page 175 of 406

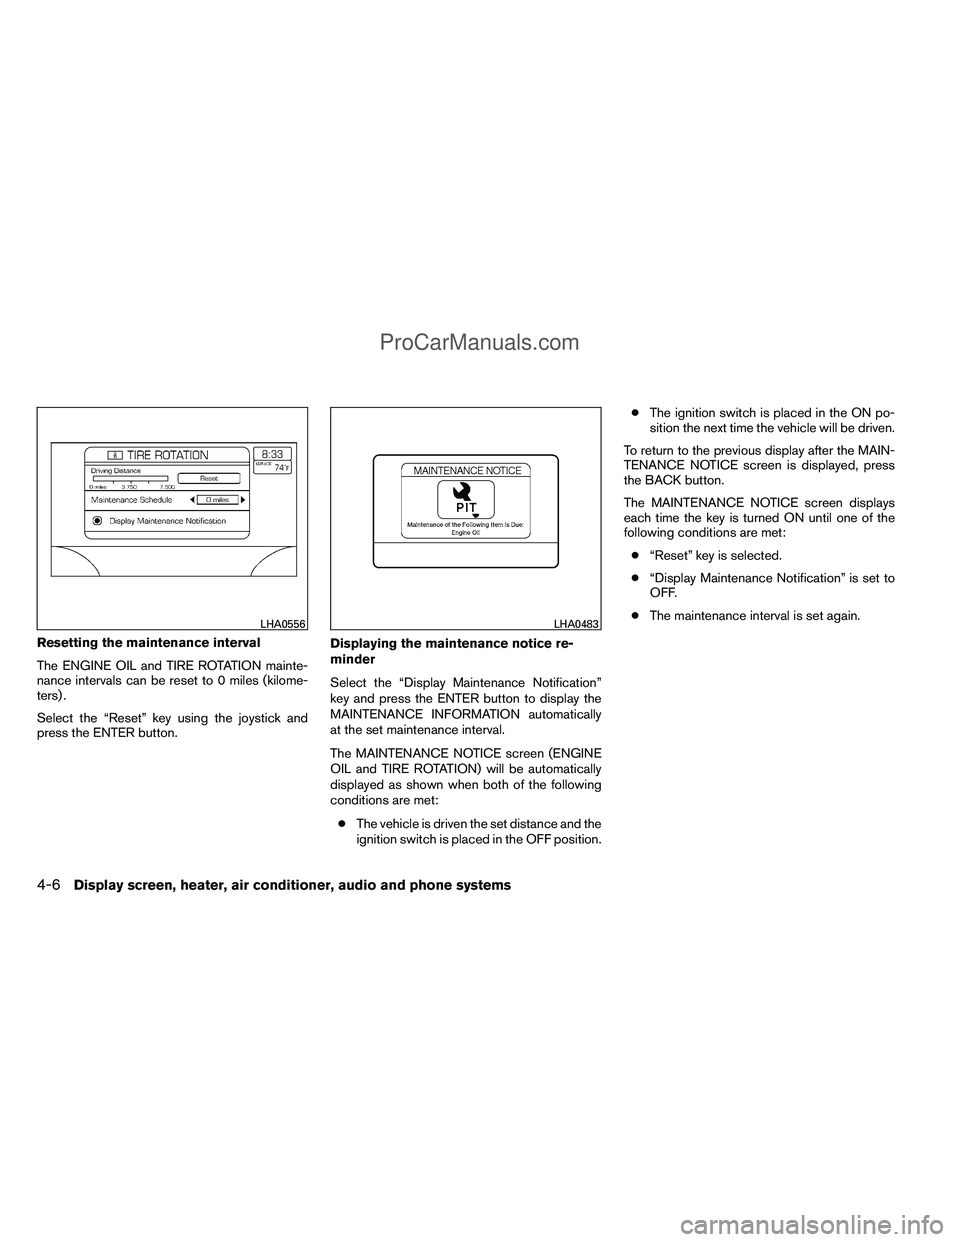
Resetting the maintenance interval
The ENGINE OIL and TIRE ROTATION mainte-
nance intervals can be reset to 0 miles (kilome-
ters) .
Select the “Reset” key using the joystick and
press the ENTER button.Displaying the maintenance notice re-
minder
Select the “Display Maintenance Notification”
key and press the ENTER button to display the
MAINTENANCE INFORMATION automatically
at the set maintenance interval.
The MAINTENANCE NOTICE screen (ENGINE
OIL and TIRE ROTATION) will be automatically
displayed as shown when both of the following
conditions are met:
● The vehicle is driven the set distance and the
ignition switch is placed in the OFF position. ●
The ignition switch is placed in the ON po-
sition the next time the vehicle will be driven.
To return to the previous display after the MAIN-
TENANCE NOTICE screen is displayed, press
the BACK button.
The MAINTENANCE NOTICE screen displays
each time the key is turned ON until one of the
following conditions are met: ● “Reset” key is selected.
● “Display Maintenance Notification” is set to
OFF.
● The maintenance interval is set again.
LHA0556LHA0483
4-6Display screen, heater, air conditioner, audio and phone systems
ProCarManuals.com
Page 176 of 406

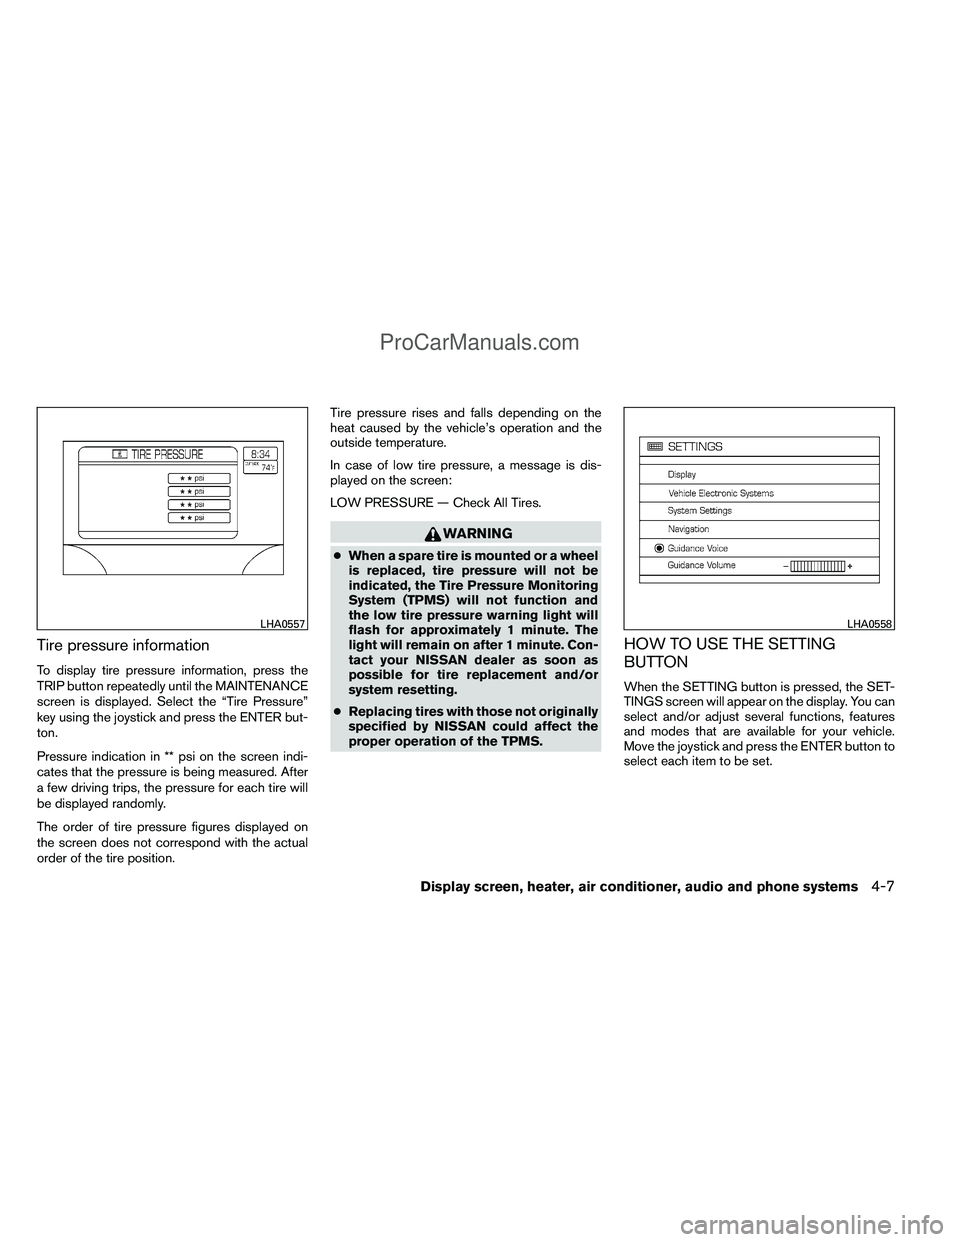
Tire pressure information
To display tire pressure information, press the
TRIP button repeatedly until the MAINTENANCE
screen is displayed. Select the “Tire Pressure”
key using the joystick and press the ENTER but-
ton.
Pressure indication in ** psi on the screen indi-
cates that the pressure is being measured. After
a few driving trips, the pressure for each tire will
be displayed randomly.
The order of tire pressure figures displayed on
the screen does not correspond with the actual
order of the tire position.Tire pressure rises and falls depending on the
heat caused by the vehicle’s operation and the
outside temperature.
In case of low tire pressure, a message is dis-
played on the screen:
LOW PRESSURE — Check All Tires.
WARNING
●
When a spare tire is mounted or a wheel
is replaced, tire pressure will not be
indicated, the Tire Pressure Monitoring
System (TPMS) will not function and
the low tire pressure warning light will
flash for approximately 1 minute. The
light will remain on after 1 minute. Con-
tact your NISSAN dealer as soon as
possible for tire replacement and/or
system resetting.
● Replacing tires with those not originally
specified by NISSAN could affect the
proper operation of the TPMS.
HOW TO USE THE SETTING
BUTTON
When the SETTING button is pressed, the SET-
TINGS screen will appear on the display. You can
select and/or adjust several functions, features
and modes that are available for your vehicle.
Move the joystick and press the ENTER button to
select each item to be set.
LHA0557LHA0558
Display screen, heater, air conditioner, audio and phone systems4-7
ProCarManuals.com