Page 111 of 235

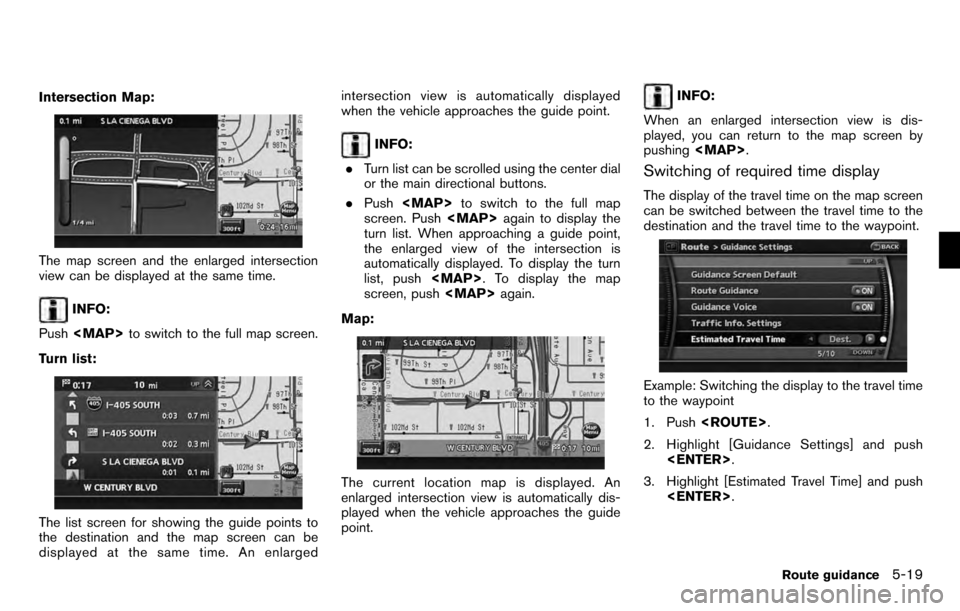
Intersection Map:
The map screen and the enlarged intersection
view can be displayed at the same time.
INFO:
Push
Page 112 of 235

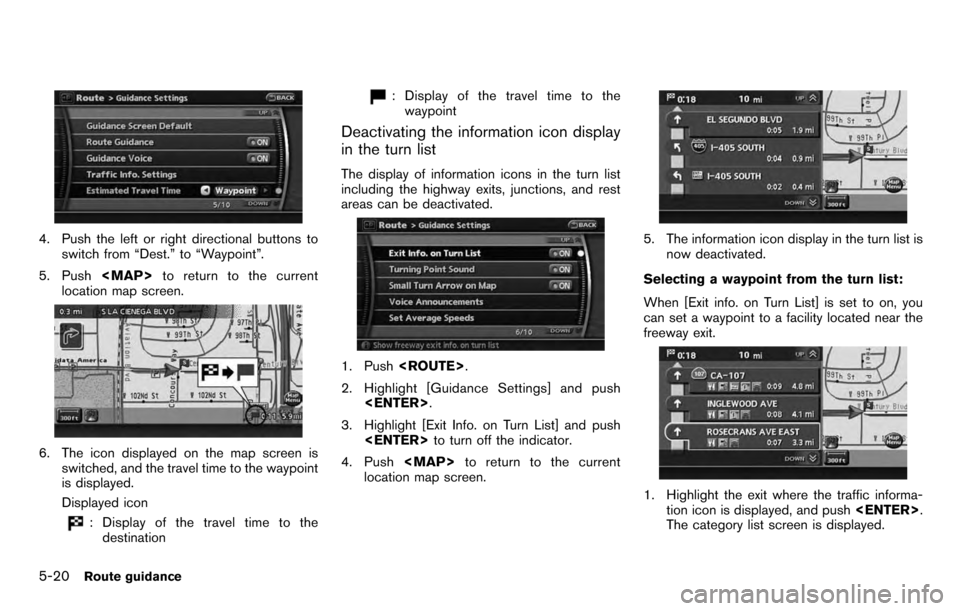
4. Push the left or right directional buttons toswitch from “Dest.” to “Waypoint”.
5. Push to return to the current
location map screen.
6. The icon displayed on the map screen is switched, and the travel time to the waypoint
is displayed.
Displayed icon
: Display of the travel time to thedestination
: Display of the travel time to the
waypoint
Deactivating the information icon display
in the turn list
The display of information icons in the turn list
including the highway exits, junctions, and rest
areas can be deactivated.
1. Push .
2. Highlight [Guidance Settings] and push .
3. Highlight [Exit Info. on Turn List] and push to turn off the indicator.
4. Push to return to the current
location map screen.
5. The information icon display in the turn list is
now deactivated.
Selecting a waypoint from the turn list:
When [Exit info. on Turn List] is set to on, you
can set a waypoint to a facility located near the
freeway exit.
1. Highlight the exit where the traffic informa- tion icon is displayed, and push .
The category list screen is displayed.
5-20Route guidance
Page 113 of 235
2. Highlight the landmark category and push . The list screen for showing
facilities located near the freeway exit is
displayed.
3. Highlight the preferred facility for the way- point and push .
4. The waypoint is set, and the route search is
performed.
“PROCEDURES AFTER SETTING A
DESTINATION” (page 5-2)
Voice guidance settings
You can set how many times voice guidance is
repeated.
1. Push .
2. Highlight [Guidance Settings] and push . 3. Highlight [Voice Announcements] and push
.
4. Highlight [Twice] or [Three Times] and push
. The indicator for the selected
number of repetitions illuminates.
5. Push to return to the current
location map screen.
Voice command
1. Push located on the steering
switch.
2. After the tone sounds, speak a command. . To turn on voice guidance:
“Guidance Voice” (Alternate command
mode)
. To repeat voice guidance once:
“Guidance Voice Repeat” (Alternate com-
mand mode)
Route guidance5-21
Page 114 of 235
![NISSAN PATHFINDER 2012 R52 / 4.G 06IT Navigation Manual Set average speeds
You can calculate the required time to the
destination based on the set vehicle speeds.
Basic operation:
1. Push<ROUTE> .
2. Highlight [Guidance Settings] and push <ENTER> .
3. High NISSAN PATHFINDER 2012 R52 / 4.G 06IT Navigation Manual Set average speeds
You can calculate the required time to the
destination based on the set vehicle speeds.
Basic operation:
1. Push<ROUTE> .
2. Highlight [Guidance Settings] and push <ENTER> .
3. High](/manual-img/5/280/w960_280-113.png)
Set average speeds
You can calculate the required time to the
destination based on the set vehicle speeds.
Basic operation:
1. Push .
2. Highlight [Guidance Settings] and push .
3. Highlight [Set Average Speeds] and push .
4. Highlight the preferred item and push .
5. Use the main directional buttons or the center dial to make an adjustment. The
speed can be increased/decreased by 5
MPH (5 km/h) .
6. After finishing the setting, push
or to activate the setting. 7. Push
to return to the previous
screen. Push to return to the
current location map screen.
Available setting items: . Auto:
If set to ON, the system automatically
calculates the required time to the destina-
tion, the indicator illuminates and the speed
settings cannot be changed.
. Freeway:
Allows you to adjust the average vehicle
speed on a freeway by moving the main
directional buttons or the center dial in the
direction of [+] or [− ].
. Main Road:
Allows you to adjust the average vehicle
speed on a main road by moving the main
directional buttons or the center dial in the
direction of [+] or [− ].
. Town Road:
Allows you to adjust the average vehicle
speed on a town road by moving the main
directional buttons or the center dial in the
direction of [+] or [− ].
. Residential:
Allows you to adjust the average vehicle
speed in a residential area by moving the
main directional buttons or the center dial in
the direction of [+] or [− ]..
Reset:
Sets the average vehicle speeds to the
default values.
5-22Route guidance
Page 120 of 235
Locations that you often visit can be stored in
the Address Book. The stored locations can be
easily retrieved to set them as a destination or
waypoint.
INFO:
. The Address Book can store up to 200
locations.
. New information placed in the same storage
position will overwrite the old data.
STORING A LOCATION BY SEARCH-
ING
After you have searched for a location as
previously described, you can store the location
for future use.
1. Push .
2. Highlight [Navigation] and push .
3. Highlight [Address Book] and push
.
4. Highlight [Stored Location] and push
.
5. Highlight [Home Location (Add New)] or
[None (Add New)] and push .
6. Highlight the appropriate method to search
for a location and push .
“4. Setting a destination”
STORING A LOCATION
6-2Storing a location/route
Page 121 of 235

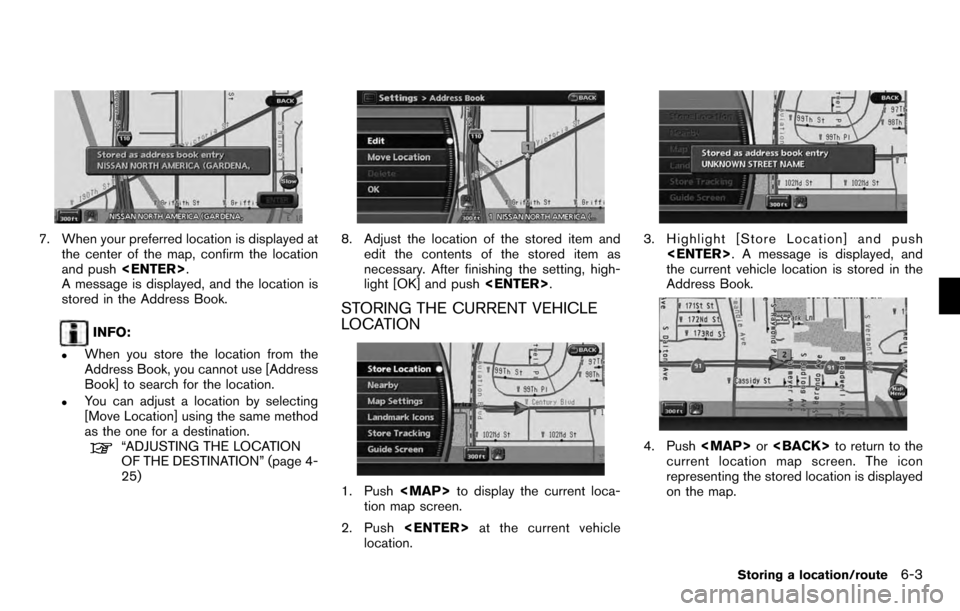
7. When your preferred location is displayed atthe center of the map, confirm the location
and push .
A message is displayed, and the location is
stored in the Address Book.
INFO:
.When you store the location from the
Address Book, you cannot use [Address
Book] to search for the location.
.You can adjust a location by selecting
[Move Location] using the same method
as the one for a destination.
“ADJUSTING THE LOCATION
OF THE DESTINATION” (page 4-
25)
8. Adjust the location of the stored item and
edit the contents of the stored item as
necessary. After finishing the setting, high-
light [OK] and push .
STORING THE CURRENT VEHICLE
LOCATION
1. Pushto display the current loca-
tion map screen.
2. Push at the current vehicle
location.
3. Highlight [Store Location] and push
. A message is displayed, and
the current vehicle location is stored in the
Address Book.
4. Push or to return to the
current location map screen. The icon
representing the stored location is displayed
on the map.
Storing a location/route6-3
Page 122 of 235

INFO:
The location is stored in the first available
position number in the Address Book list.
Voice command
1. Push located on the steering
switch.
2. After the tone sounds, speak a command.
To store a current location:
“Store Location” (Alternate command mode)
STORING A LOCATION BY MOVING
THE MAP
1. Move to the preferred location on the map and push .
2. Highlight [Store Location] and push
. A message is displayed, and
the location is stored in the Address Book.
3. Push to return to the current
location map screen. The icon representing
the stored location is displayed on the map.
INFO:
The location is stored in the first available
position number in the Address Book list. A calculated route can be stored.
A maximum of 5 routes can be stored.
Stored routes can be easily retrieved and set as
the suggested route.
INFO:
Stored route includes only locations (destination
and waypoints) and route calculation conditions,
not the route itself.
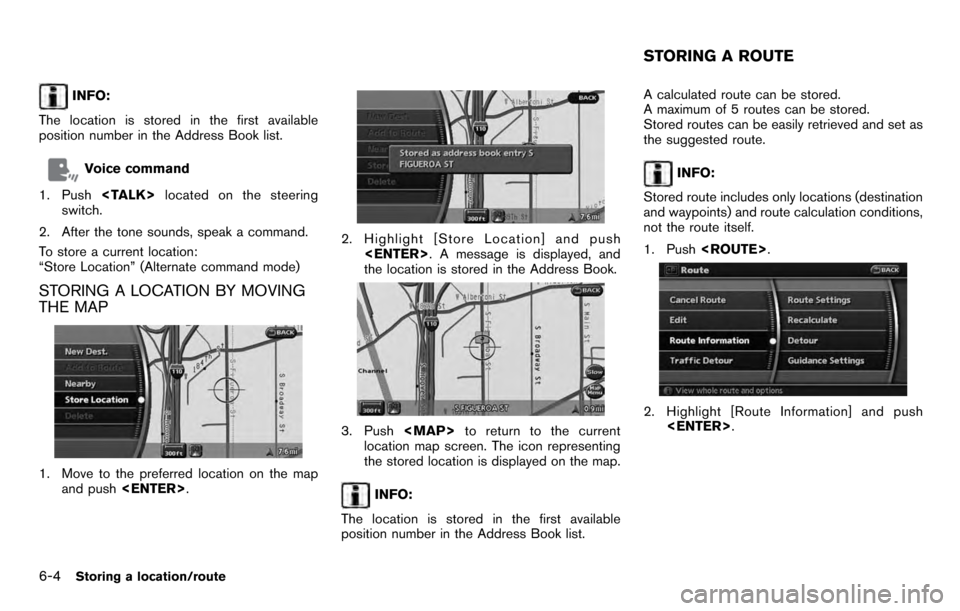
1. Push .
2. Highlight [Route Information] and push
.
STORING A ROUTE
6-4Storing a location/route
Page 123 of 235
3. Highlight [Store Route] and push .
4. A confirmation message is displayed. Con-
firm the contents of the message, highlight
[Yes] and push .
The current route is stored.
OTHER SETTINGS
You can also store a route using the following
procedure.
1) Push .
2) Highlight [Navigation] and push .
3) Highlight [Address Book] and push .
4) Highlight [Stored Routes] and push .
5) Highlight [None (Add New)] and push .
6) A confirmation message is displayed. Con- firm the contents of the message, highlight
[Yes] and push .
The current route is stored.
INFO:
. The route is stored in the first available
position number in the store current route
list.
. A maximum of 5 routes can be stored. When
5 routes are stored in the Address Book, a
new route cannot be stored until a route is
deleted.
“DELETING A STORED ITEM” (page
6-20)
. If you have not set any waypoints on the
route, the route cannot be stored.
Storing a location/route6-5