2012 MERCEDES-BENZ E-CLASS ESTATE service
[x] Cancel search: servicePage 261 of 457
In the
Serv. menu, you have the following
options:
R call up display messages in the message
memory (Y page 268)
R restart the tyre pressure loss warning sys-
tem (Y page 385)
R check the tyre pressure electronically
(Y page 386)
R call up when a service is due
(Y page 349) Settings menu
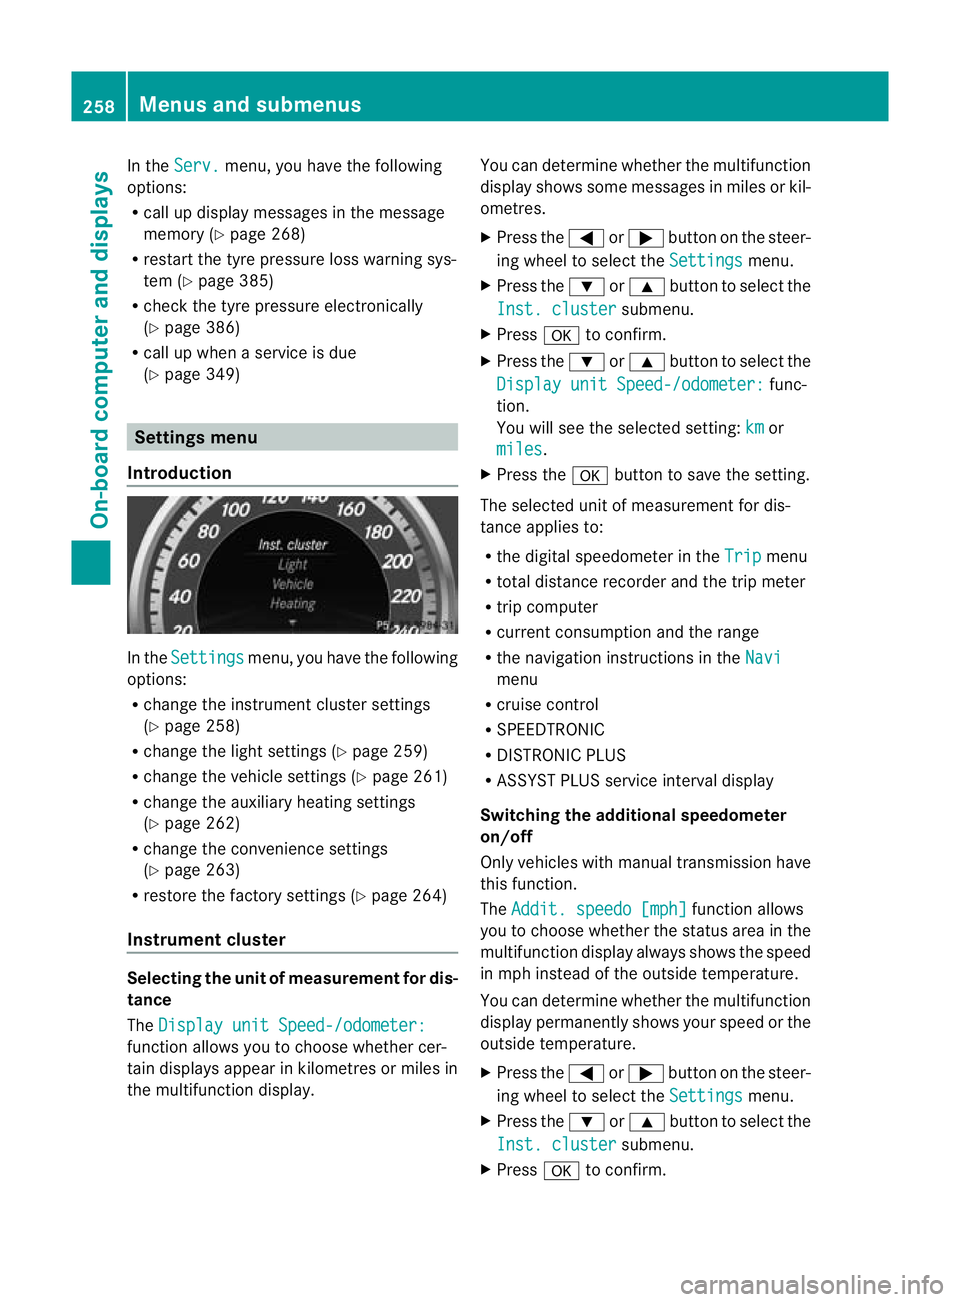
Introduction In the
Settings menu, you have the following
options:
R change the instrument cluster settings
(Y page 258)
R change the lights ettings (Ypage 259)
R change the vehicle settings (Y page 261)
R change the auxiliary heating settings
(Y page 262)
R change the convenience settings
(Y page 263)
R restore the factory settings (Y page 264)
Instrument cluster Selecting the unit of measurement for dis-
tance
The
Display unit Speed-/odometer: function allows you to choose whether cer-
tain displays appear in kilometres or miles in
the multifunction display. You can determine whether the multifunction
display shows some messages in miles or kil-
ometres.
X
Press the =or; button on the steer-
ing wheel to select the Settings menu.
X Press the :or9 button to select the
Inst. cluster submenu.
X Press ato confirm.
X Press the :or9 button to select the
Display unit Speed-/odometer: func-
tion.
You will see the selected setting: km or
miles .
X Press the abutton to save the setting.
The selected unit of measuremen tfor dis-
tance applies to:
R the digital speedometer in the Trip menu
R total distance recorder and the trip meter
R trip computer
R current consumption and the range
R the navigation instructions in the Navi menu
R cruise control
R SPEEDTRONIC
R DISTRONIC PLUS
R ASSYST PLUS service interval display
Switching the additional speedometer
on/off
Only vehicles with manual transmission have
this function.
The Addit. speedo [mph] function allows
you to choose whether the status area in the
multifunction display always shows the speed
in mph instead of the outside temperature.
You can determine whether the multifunction
display permanently shows your speed or the
outside temperature.
X Press the =or; button on the steer-
ing wheel to select the Settings menu.
X Press the :or9 button to select the
Inst. cluster submenu.
X Press ato confirm. 258
Menus and submenusOn-board computer and displays
Page 299 of 457
Display messages Possible causes/consequences and
M Solutions
&
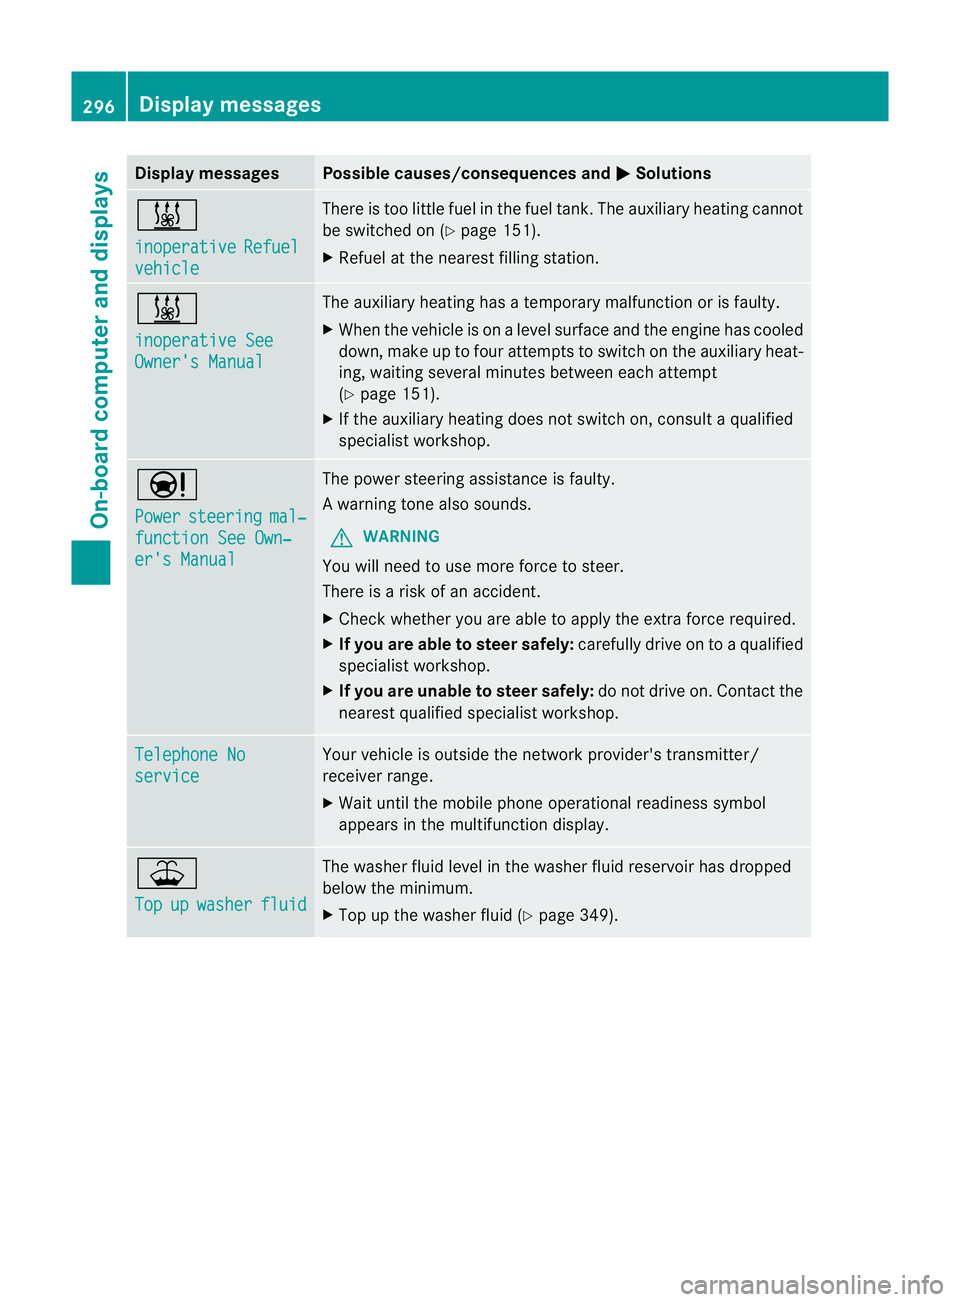
inoperative
Refuel
vehicle There is too little fuel in the fuel tank. The auxiliary heating cannot
be switched on (Y
page 151).
X Refuel at the neares tfilling station. &
inoperative See
Owner's Manual The auxiliary heating has a temporary malfunction or is faulty.
X
When the vehicle is on alevel surface and the engine has cooled
down, make up to four attempts to switch on the auxiliary heat-
ing, waiting several minutes between each attempt
(Y page 151).
X If the auxiliary heating does not switch on, consult a qualified
specialist workshop. Ð
Power
steering mal‐
function See Own‐
er's Manual The power steering assistance is faulty.
Aw
arning tone also sounds.
G WARNING
You will need to use more force to steer.
There is a ris kofanaccident.
X Check whethe ryou are able to apply the extra force required.
X If you are able to steer safely: carefully drive on to a qualified
specialist workshop.
X If you are unable to steer safely: do not drive on. Contact the
nearest qualified specialist workshop. Telephone No
service Your vehicle is outside the network provider's transmitter/
receiver range.
X
Wait until the mobile phone operational readiness symbol
appears in the multifunction display. ¥
Top
up washer fluid The washer fluid level in the washer fluid reservoir has dropped
below the minimum.
X
Top up the washer fluid (Y page 349).296
Display messagesOn-board computer and displays
Page 313 of 457
Useful information
i This Owner's Manual describes all mod-
els, series and optional equipment for your
vehicle that were available at the time of
going to press. National variations are pos-
sible. Note that your vehicle may not be
equipped with all of the functions descri-
bed. This is also the case for systems and
functions relevant to safety.
i Read the information on qualified special-
ist workshops: (Y page 25). Stowage areas
Loading guidelines
G
WARNING
Secure and position the load as described in
the loading guidelines.
Otherwise, vehicle occupants could
be injured by the load being thrown around in
the even tofsharp braking, a sudden change
in direction or an accident.
You will find further information in the "Secur-
ing a load" section.
Even if you follow all the loading guidelines,
the load will increase the risk of injury in the
event of an accident. G
WARNING
Keep the boot lid/tailgate closed while the
vehicle is in operation. Otherwise, exhaust
fumes could enter the vehicle interior and poi-
son you.
The handling characteristics of a laden vehi-
cle are dependent on the distribution of the
load within the vehicle. For this reason, you
should observe the following notes when
transporting a load:
R when transporting a load, never exceed the
maximum permissible gross vehicle weight or the permissible axle loads for the vehicle
(including occupants).
R position heavy loads as far forwards as pos-
sible and as low down in the boot/luggage
compartmenta s possible.
R the load must not protrude above the upper
edge of the seat backrests.
R always place the load against the rear or
front seat backrests. Make sure that the
seat backrests are securely locked into
place.
R always place the load behind unoccupied
seats if possible.
R secure the load with sufficiently strong and
wear-resistant lashing material. pad sharp
edges for protection.
i Load restraints are available at any quali-
fied specialist workshop, e.g. a Mercedes-
Benz Service Centre. Stowage compartments
Important safety notes G
WARNING
The stowage compartments must be closed
when items are stored in them. Luggage nets
are not designed to secure heavy items of
luggage.
You or other vehicle occupants could be
injured by objects being thrown around if you:
R brake sharply
R change direction suddenly
R are involved in an accident
Sharp-edged and fragile objects must not be
placed in the luggage net.
Do not place hard objects in the map pockets.
Objects must not protrude from the map
pockets. 310
Stowage areasStowing and features
Page 336 of 457
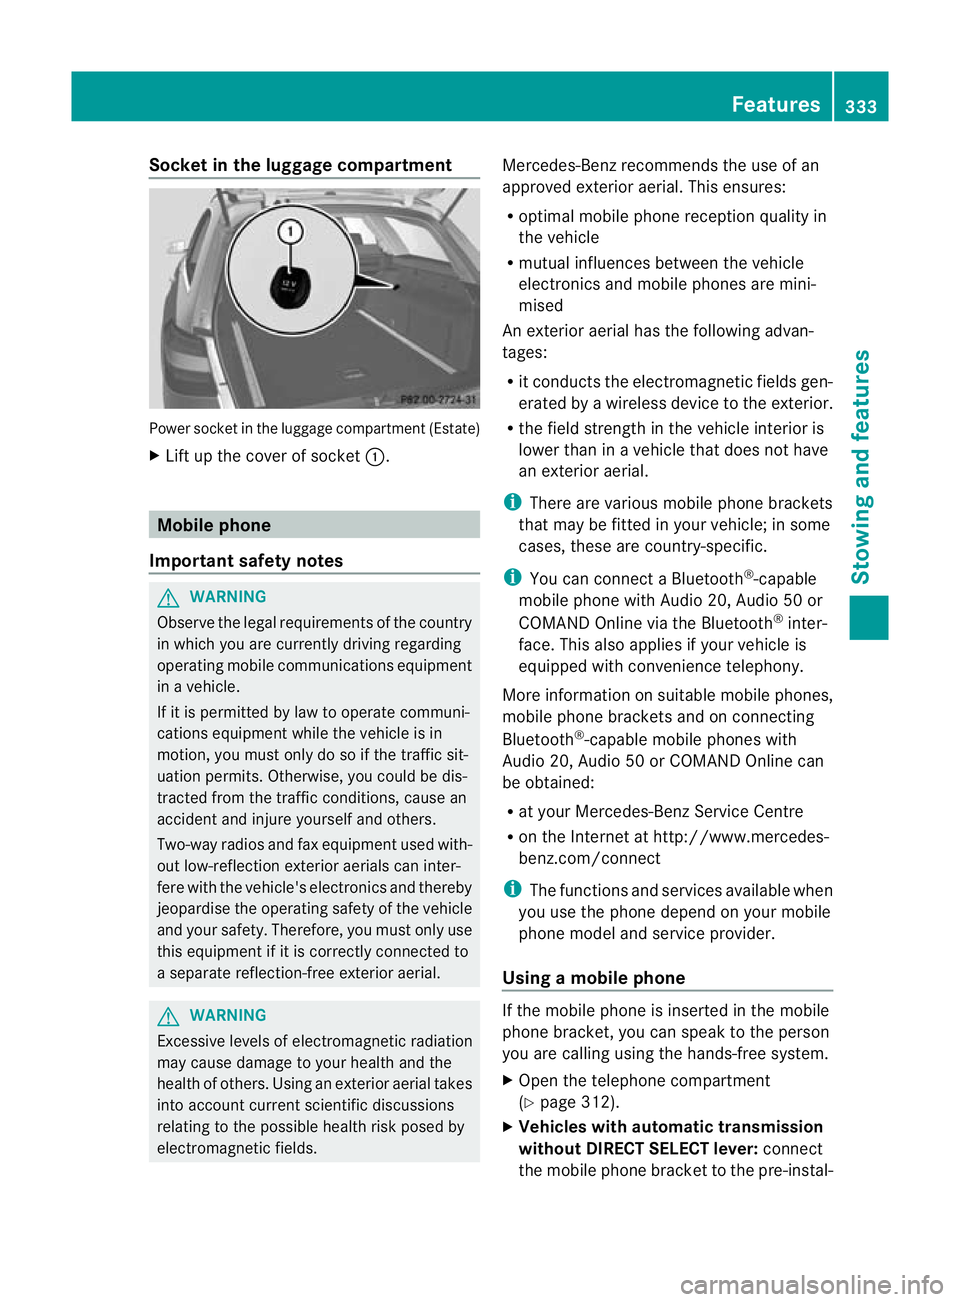
Socket in the luggage compartment
Power socket in the luggage compartmen
t(Estate)
X Lift up the cover of socket :.Mobile phone
Important safety notes G
WARNING
Observe the legal requirements of the country
in which you are currently driving regarding
operating mobile communications equipment
in a vehicle.
If it is permitted by law to operate communi-
cations equipment while the vehicle is in
motion, you must only do so if the traffic sit-
uatio npermits .Otherwise, you could be dis-
tracted from the traffic conditions, cause an
accident and injure yourself and others.
Two-way radios and fa xequipment used with-
out low-reflection exterior aerials can inter-
fere with the vehicle's electronics and thereby
jeopardise the operating safety of the vehicle
and your safety. Therefore, you must only use
this equipment if it is correctly connected to
a separate reflection-free exterior aerial. G
WARNING
Excessive levels of electromagnetic radiation
may cause damage to your health and the
health of others. Using an exterior aerial takes
into account current scientific discussions
relating to the possible health risk posed by
electromagnetic fields. Mercedes-Benz recommends the use of an
approved exterior aerial. This ensures:
R
optimal mobile phone reception quality in
the vehicle
R mutual influences between the vehicle
electronics and mobile phones are mini-
mised
An exterior aerial has the following advan-
tages:
R it conducts the electromagnetic fields gen-
erated by a wireless device to the exterior.
R the field strength in the vehicle interior is
lower than in a vehicle that does not have
an exterior aerial.
i There are various mobile phone brackets
that may be fitted in your vehicle; in some
cases, these are country-specific.
i You can connect a Bluetooth ®
-capable
mobile phone with Audio 20, Audio 50 or
COMAND Online via the Bluetooth ®
inter-
face. This also applies if your vehicle is
equipped with convenience telephony.
More information on suitable mobile phones,
mobile phone brackets and on connecting
Bluetooth ®
-capable mobile phones with
Audio 20, Audio 50 or COMAND Online can
be obtained:
R at your Mercedes-Benz Service Centre
R on the Internet at http://www.mercedes-
benz.com/connect
i The functions and services available when
you use the phone depend on your mobile
phone model and service provider.
Using amobile phone If the mobile phone is inserted in the mobile
phone bracket, you can speak to the person
you are calling using the hands-free system.
X
Open the telephone compartment
(Y page 312).
X Vehicles with automatic transmission
without DIRECT SELECT lever: connect
the mobile phone bracket to the pre-instal- Features
333Stowing and features Z
Page 346 of 457
Useful information
............................344
Engine compartment ........................344
Service ............................................... 349
Care .................................................... 350 343Maintenance and care
Page 350 of 457
When checking the oil level:
R
park the vehicle on a level surface.
R the engine should be switched off for
approximately five minutes if the engine is
at normal operating temperature.
R if the engine is not at normal operating
temperature, e.g. if the engine was only
started briefly: wait about 30 minutes
before carrying out the measurement.
Checking the oil level using the oil dip-
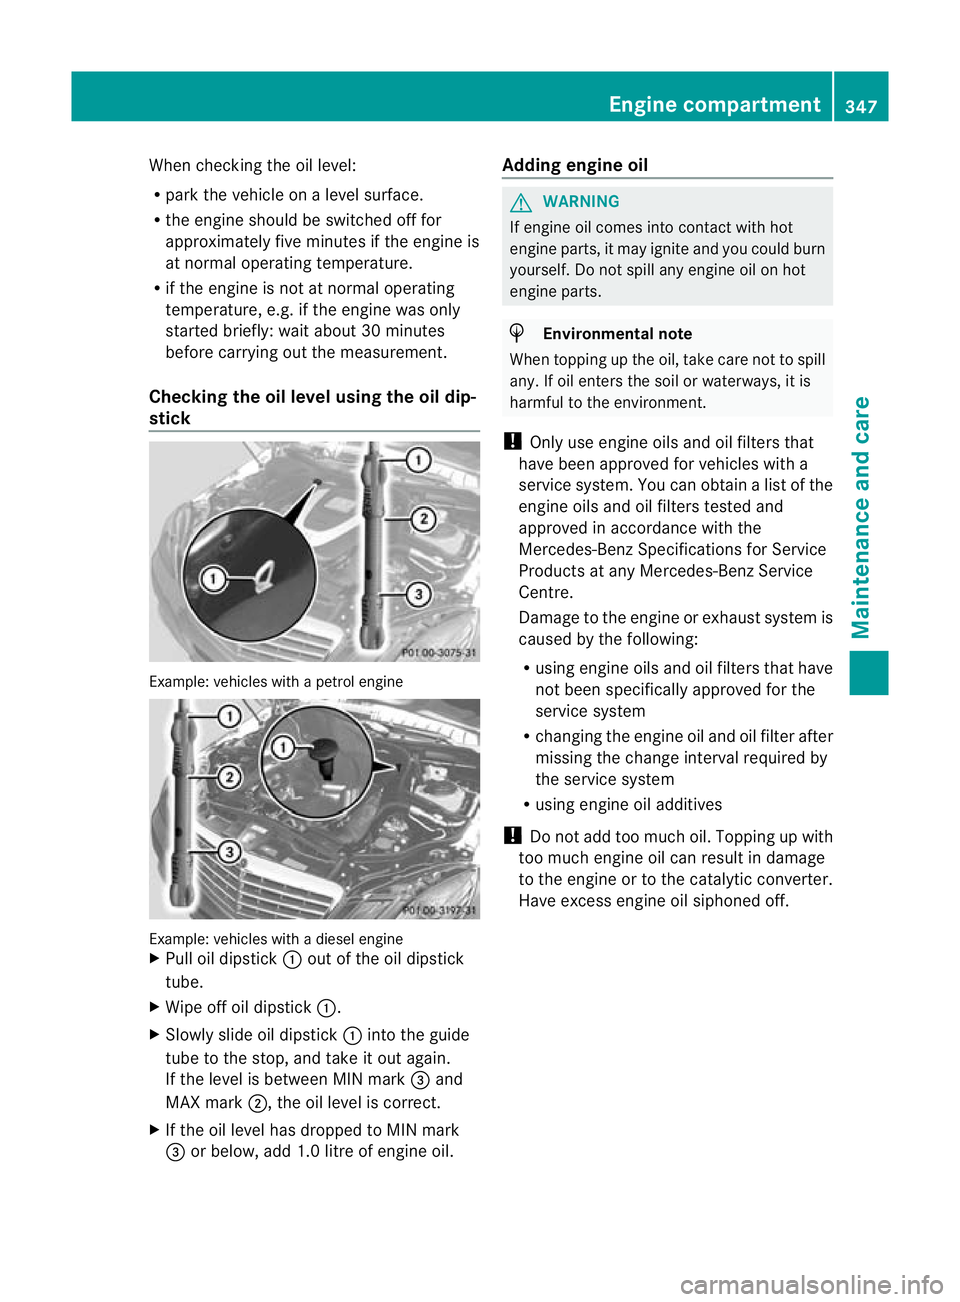
stick Example: vehicles with a petrol engine
Example: vehicles with a diesel engine
X
Pull oil dipstick :out of the oil dipstick
tube.
X Wipe off oil dipstick :.
X Slowly slide oil dipstick :into the guide
tube to the stop, and take it out again.
If the level is between MIN mark =and
MAX mark ;, the oil level is correct.
X If the oil level has dropped to MIN mark
= or below, add 1.0 litre of engine oil. Adding engine oil G
WARNING
If engine oil comes into contact with hot
engine parts, it may ignite and you could burn
yourself. Do not spill any engine oil on hot
engine parts. H
Environmental note
When topping up the oil, take care not to spill
any. If oil enters the soil or waterways, it is
harmful to the environment.
! Only use engine oils and oil filters that
have been approved for vehicles with a
service system. You can obtain a list of the
engine oils and oil filters tested and
approved in accordance with the
Mercedes-Benz Specifications for Service
Products at any Mercedes-Benz Service
Centre.
Damage to the engine or exhaust system is
caused by the following:
R using engine oils and oil filters that have
not been specifically approved for the
service system
R changing the engine oil and oil filter after
missing the change interval required by
the service system
R using engine oil additives
! Do not add too much oil. Topping up with
too much engine oil can result in damage
to the engine or to the catalytic converter.
Have excess engine oil siphoned off. Engine compartment
347Maintenance and care Z
Page 351 of 457
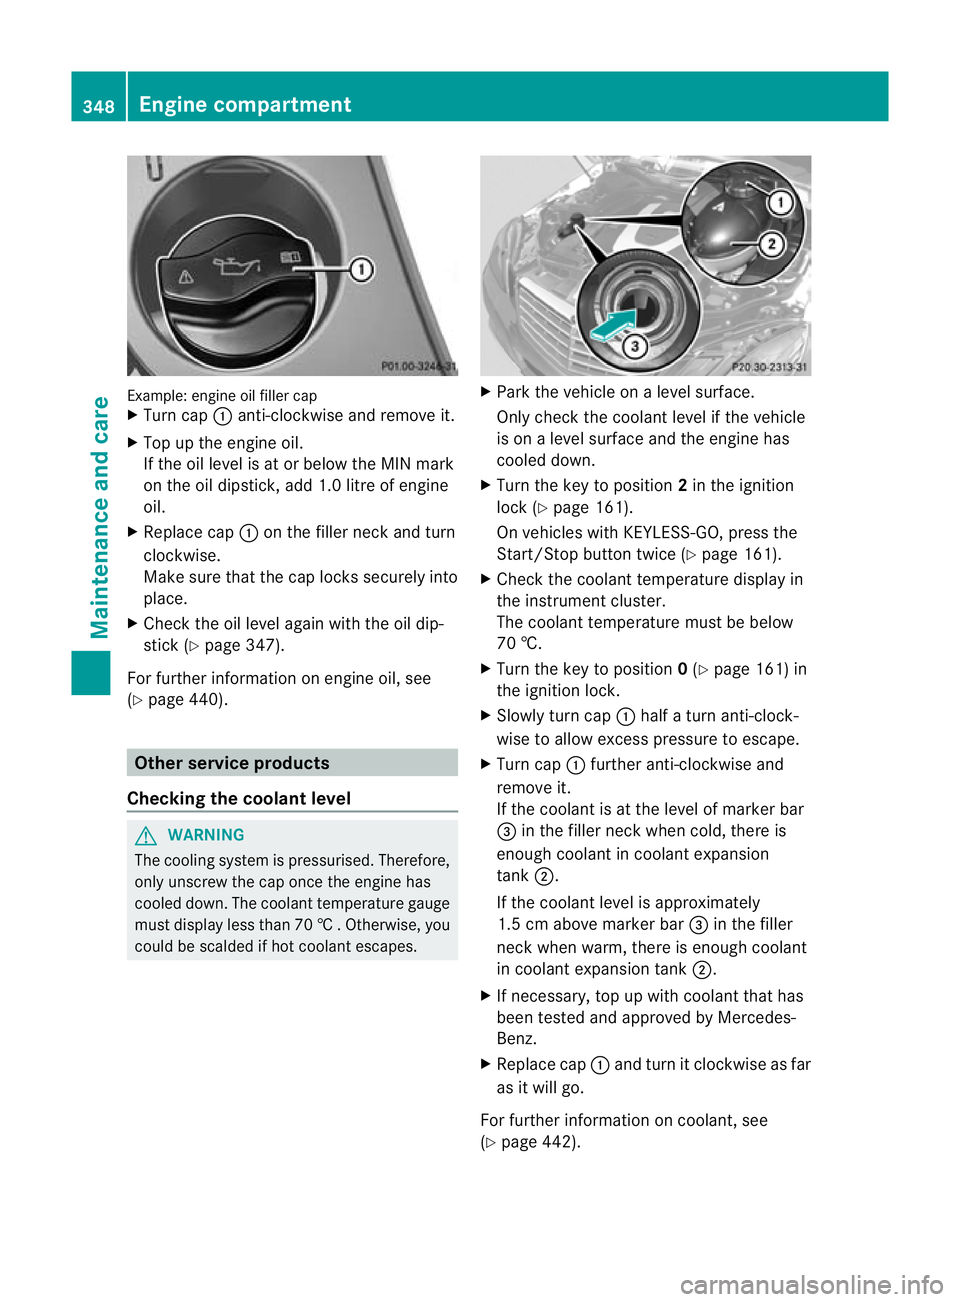
Example: engine oil fille
rcap
X Turn cap :anti-clockwise and remove it.
X Top up the engine oil.
If the oil level is at or below the MIN mark
on the oil dipstick, add 1. 0litre of engine
oil.
X Replace cap :on the filler neck and turn
clockwise.
Make sure that the cap locks securely into
place.
X Check the oil level again with the oil dip-
stick (Y page 347).
For further information on engine oil, see
(Y page 440). Other service products
Checking the coolant level G
WARNING
The cooling system is pressurised. Therefore,
only unscrew the cap once the engine has
cooled down. The coolan ttemperature gauge
must display less than 70 †.Otherwise, you
could be scalded if hot coolant escapes. X
Park the vehicle on a level surface.
Only check the coolant level if the vehicle
is on a level surface and the engine has
cooled down.
X Turn the key to position 2in the ignition
lock (Y page 161).
On vehicles with KEYLESS-GO, press the
Start/Stop button twice (Y page 161).
X Check the coolant temperature display in
the instrument cluster.
The coolant temperature must be below
70 †.
X Turn the key to position 0(Y page 161) in
the ignition lock.
X Slowly tur ncap : half a turn anti-clock-
wise to allow excess pressure to escape.
X Turn cap :further anti-clockwise and
remove it.
If the coolant is at the level of marker bar
= in the fille rneck when cold, there is
enough coolant in coolant expansion
tank ;.
If the coolant level is approximately
1.5 cm above marker bar =in the filler
neckw hen warm, there is enough coolant
in coolant expansion tank ;.
X If necessary, top up with coolant that has
been tested and approved by Mercedes-
Benz.
X Replace cap :and turn it clockwise as far
as it will go.
For further information on coolant, see
(Y page 442). 348
Engine compartmentMaintenance and care
Page 352 of 457
Topping up the windscreen washe
rsys-
tem/headlamp cleaning system G
WARNING
Windscreen washer fluid/antifreeze is highly
flammable. Avoid spilling windscreen washer
fluid/antifreeze on hot engine components as
it can ignite and burn. Severe burns could be
the result. X
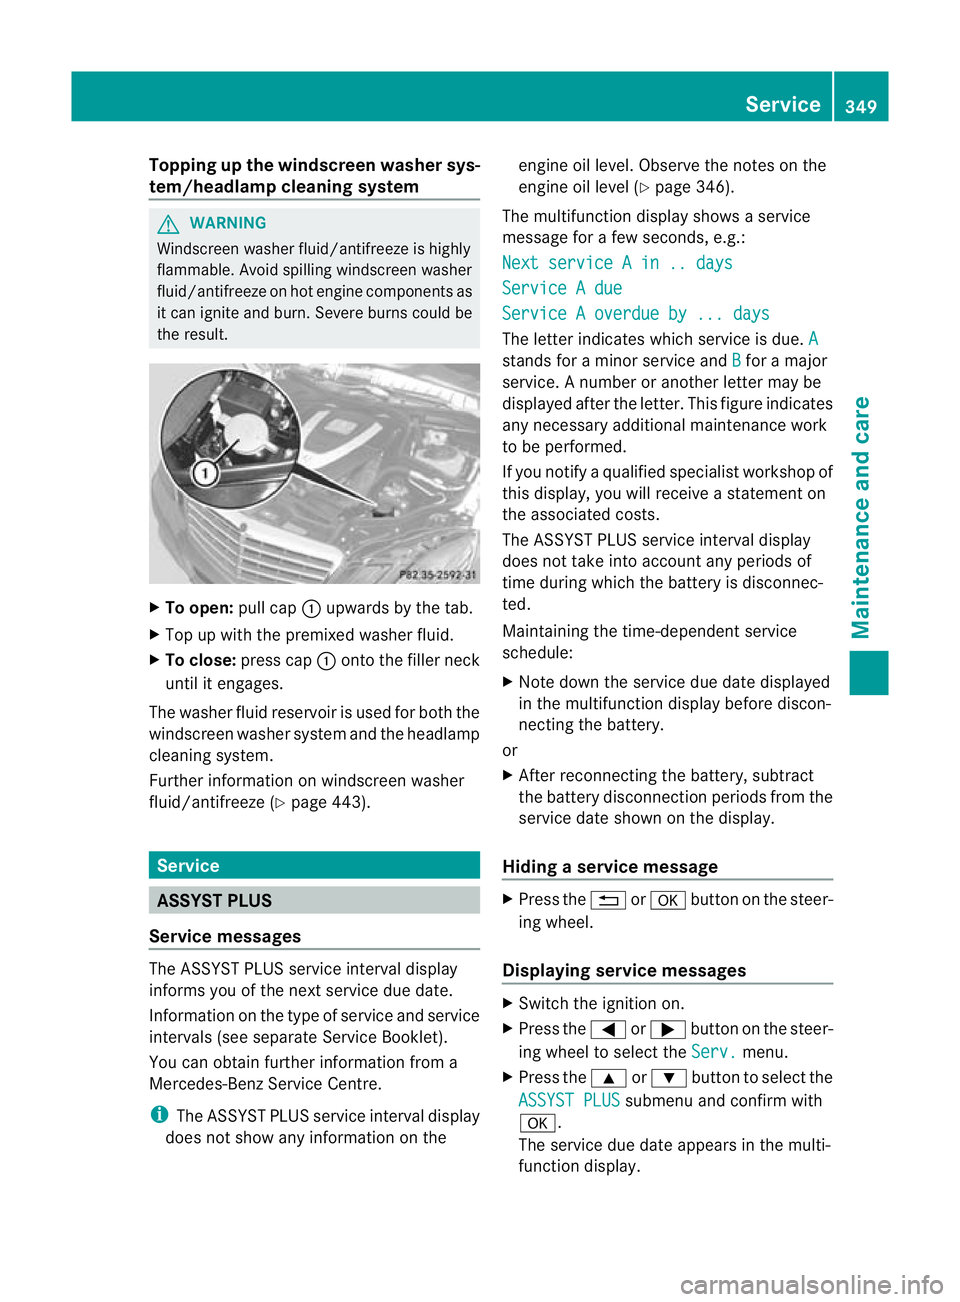
To open: pull cap:upwards by the tab.
X Top up with the premixed washerf luid.
X To close: press cap :onto the filler neck
until it engages.
The washer fluid reservoir is used for both the
windscreen washer system and the headlamp
cleaning system.
Further information on windscreen washer
fluid/antifreeze (Y page 443). Service
ASSYST PLUS
Service messages The ASSYST PLUS service interval display
informs you of the nex tservice due date.
Information on the type of service and service
intervals (see separate Service Booklet).
You can obtain further information from a
Mercedes-Benz Service Centre.
i The ASSYST PLUS servic einterval display
does not show any informatio nonthe engine oil level. Observe the notes on the
engine oil level (Y
page 346).
The multifunction display shows a service
message for a few seconds, e.g.:
Next service A in .. days Service A due
Service A overdue by ... days
The letter indicates which service is due.
A stands for a minor service and
B for a major
service. A number or another letter may be
displayed after the letter. This figure indicates
any necessary additional maintenance work
to be performed.
If you notify a qualified specialist workshop of
this display, you will receive a statementon
the associated costs.
The ASSYST PLU Sservice interval display
does not take into accoun tany periods of
time during which the battery is disconnec-
ted.
Maintaining the time-dependent service
schedule:
X Note down the service due date displayed
in the multifunctio ndisplay before discon-
necting the battery.
or
X After reconnecting the battery, subtract
the battery disconnection periods fro mthe
service date shown on the display.
Hiding aservice message X
Press the %ora button on the steer-
ing wheel.
Displaying service messages X
Switch the ignitio non.
X Press the =or; button on the steer-
ing wheel to select the Serv. menu.
X Press the 9or: button to select the
ASSYST PLUS submenu and confirm with
a.
The service due date appears in the multi-
functio ndisplay. Service
349Maintenance and care Z