2012 MERCEDES-BENZ CLS COUPE reset
[x] Cancel search: resetPage 232 of 373
X
Press the =or; button to select
Interm. Time .
X Press ato confirm.
The intermediate time is displaye dfor five
seconds.
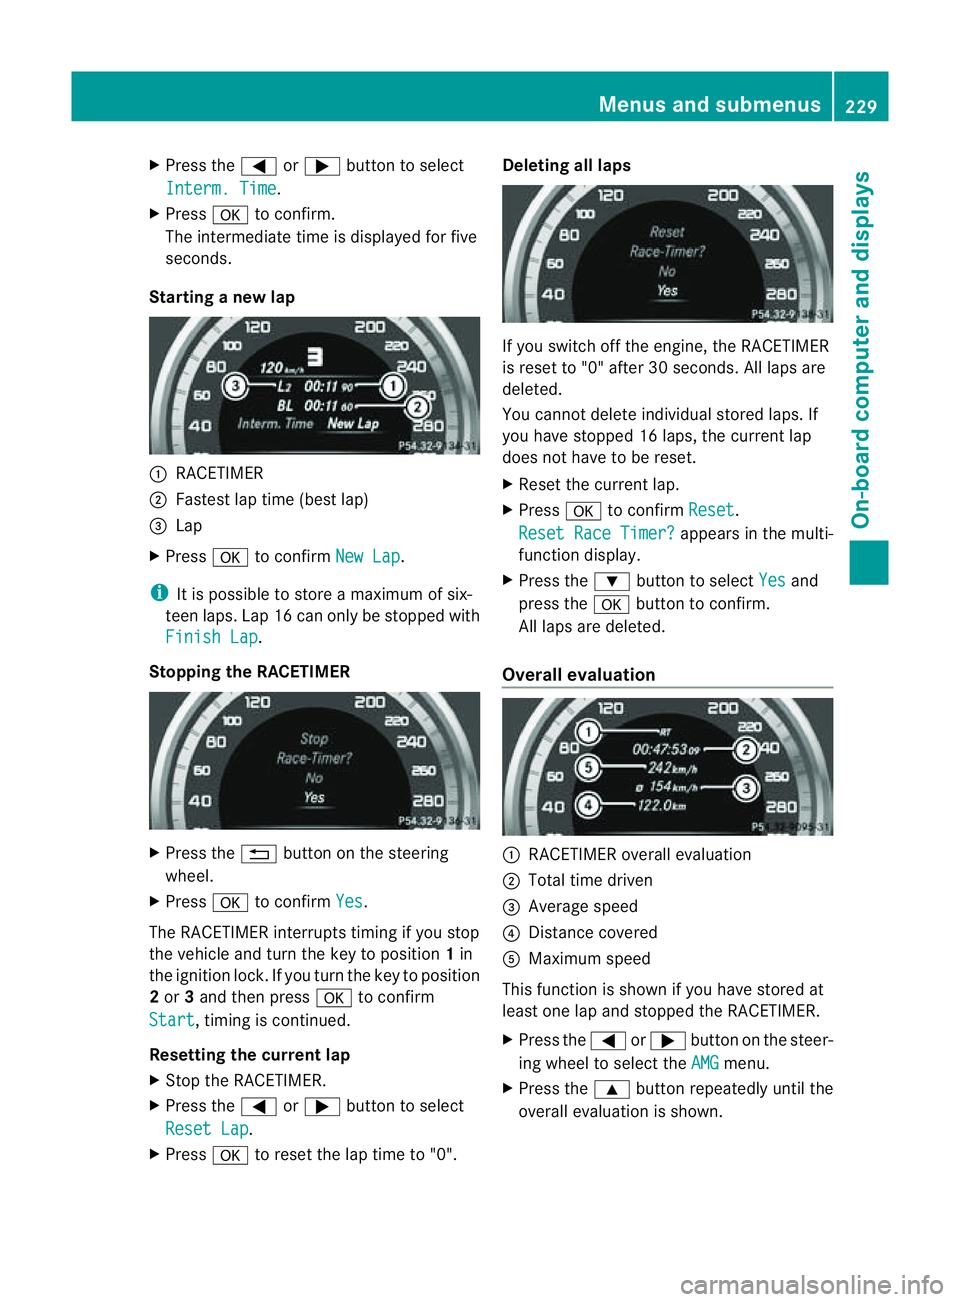
Starting anew lap :
RACETIMER
; Fastest lap time (best lap)
= Lap
X Press ato confirm New Lap .
i It is possible to store amaximum of six-
teen laps. Lap 16 can only be stopped with
Finish Lap .
Stopping the RACETIMER X
Press the %button on the steering
wheel.
X Press ato confirm Yes .
The RACETIME Rinterrupts timing if you stop
the vehicle and turn the key to position 1in
the ignition lock. If you turn the key to position
2 or 3and then press ato confirm
Start ,t
iming is continued.
Resetting the current lap
X Stop the RACETIMER.
X Press the =or; button to select
Reset Lap .
X Press ato reset the lap time to "0". Deleting all laps
If you switch off the engine, the RACETIMER
is reset to "0" after 30 seconds. All laps are
deleted.
You cannot delete individual stored laps. If
you have stopped 16 laps, the curren tlap
does no thave to be reset.
X Reset th ecurren tlap.
X Press ato confirm Reset .
Reset Rac eTimer? appear
sinthemulti-
function display.
X Press the :buttontos electYes and
pres sthe a buttontoc onfirm.
All laps are deleted.
Overall evaluation :
RACETIMER overall evaluation
; Total tim edriven
= Averag espeed
? Distance covered
A Maximum speed
This function is shown if you have store dat
least on elap and stopped th eRACETIMER.
X Press the =or; button on the steer-
ing whee ltoselect the AMG menu.
X Press the 9button repeatedly unti lthe
overall evaluation is shown. Menus and submenus
229On-board computer and displays Z
Page 303 of 373
The washer fluid reservoir is used for both the
windscreen washer system and the headlamp
cleaning system.
Further information on windscreen washer
fluid/antifreeze (Y page 366).Service
ASSYST PLUS
Service messages The ASSYST PLUS service interval display
inform syou of the next service due date.
Information on the type of service and service
intervals (see separate Servic eBooklet).
You can obtain further information from a
Mercedes-Benz Servic eCentre.
i The ASSYST PLUS service interval display
does not show any information on the
engine oil level. Observe the notes on the
engine oil level (Y page 297).
The multifunction display shows aservice
message for afew seconds, e.g.:
Next service Ain..days Service
Adue Service
Aoverdue by ... days The letter indicates which service is due.
Astands for
aminor service and B for
am ajor
service. Anumber or another letter may be
displayed after the letter .This figure indicates
any necessary additional maintenancew ork
to be performed.
If you notify aqualified specialist workshop of
this display, you will receive astatementon
the associated costs.
Th eA SSYS TPLUSs ervice interval display
does not take intoa ccountany periods of
time during which the battery is disconnec-
ted. Maintaining the time-dependent service
schedule:
X Note down the servic eduedate displayed
in the multifunctio ndisplay befor ediscon-
nectin gthe battery.
or
X After reconnecting the battery, subtract
the battery disconnection periods fro mthe
service date shown on the display.
Hiding aservice message X
Pres sthe % ora button on th esteer-
ing wheel.
Displaying service messages X
Switch th eignitio non.
X Press the =or; button on the steer-
ing whee ltoselect the Serv. menu.
X Press the 9or: button to select the
ASSYST PLUS submenu and confirm with
a.
The servic eduedate appear sinthe multi-
functio ndisplay.
Information about Service Resetting th
eASSYST PLUS service inter-
val display
! If the ASSYS TPLUS service interval dis-
play has been inadvertently reset ,this set-
tin gc an be corrected at aqualified special-
ist workshop.
Have service work carried out as described
in the Servic eBooklet. This may otherwise
lead to increased wear and damage to the
major assemblies or the vehicle.
Aq ualified specialist workshop, e.g. a
Mercedes-Ben zService Centre, will reset the
ASSYST PLUS servic einterval display after
the servic ework has been carried out. You
can also obtain further information on main-
tenance work, for example. 300
ServiceMaintenance and care
Page 321 of 373
Otherwise, the vehicle's electronic sys-
tem may be damaged.
R in vehicles with automatic transmission,
the transmission is locked in position P
after disconnecting the battery. The vehi-
cle is secured against rolling away. You
can then no longer move the vehicle.
The battery and the cover of the positive
terminal clamp must be fitted securely dur-
ing operation.
In order for the battery to achieve the maxi-
mum possibles ervice life, it must always be
sufficiently charged.
The vehicle battery, like other batteries, can
discharge over time if you do not use the
vehicle. In such cases, have the battery dis-
connected at aqualified specialist workshop.
You can also charge the battery with a
charger recommended by Mercedes-Benz.
For more information, please contact aquali-
fied specialist workshop.
Have the battery charge checked more fre-
quently if you use the vehicle mainly for short
trips or if you leave it standing idle for a
lengthy period. Consult aqualified specialist
workshop if you wish to leave your vehicle
parked up for along period of time.
i When you park the vehicle, remove the
key if you do not require any electrical con-
sumers. The vehicle will then use very little
energy, thus conserving battery power.
i After an interruption of the power supply,
e.g. the battery was discharged, you have
to:
R set the clock. Information on setting the
clock can be found in the separate oper-
ating instructions.
On vehicles with COMAND Online and a
navigation system, the clock is set auto-
matically.
R reset the function for folding the exterior
mirrors in/out automatically, by folding
the mirrors out once (Y page 106). Charging the battery
G
WARNING
Only charge the battery in awell-ventilated
area. As the battery is being charged, gases
can escape and generate minor explosions.
This could injure you and other persons or
cause damage to the paintwork or acid cor-
rosion on the vehicle.
You can obtain information on battery charg-
ers which allow the battery to be charged
while still installed from aqualified specialist
workshop. G
WARNING
There is arisk of acid burns during the charg-
ing process due to the gases which escape
from the battery. Do not lean over the battery
during the charging process. G
WARNING
Battery acid is caustic. Avoid contact with the
skin, eyes or clothing.
! Only charge the installed battery with a
battery charger which has been tested and
approved by Mercedes-Benz.T hese battery
chargers allow the battery to be charged
while still installed in the vehicle.
! Only use battery chargers with amaxi-
mum charging voltage of 14.8 V.
! Only charge the battery using the jump-
start connection point.
The jump-starting connection point is in the
engine compartment( Ypage 319).
Read the battery charger's operating instruc-
tions before charging the battery.
X Open the bonnet (Y page 296).
X Connect the battery charger to the positive
terminal and earth point in the same order
as when connecting the donor battery in
the jump-starting procedure
(Y page 319). 318
Battery (vehicle)Breakdown assistance
Page 326 of 373
much more effort to brake and steer the vehi-
cle. Adapt yours tyleofd rivingaccordingly.
It is important tha tyou observe the safety
instructions when towing away your vehicle
(Y page 320).
The automatic transmission automatically
shifts to position Pwhen you open the driver's
or front-passenger door or when you remove
the key from the ignition lock. In order to
ensure that the automatic transmission stays
in position Nwhen towing the vehicle, you
must observe the following points:
X Make sure that the vehicle is stationary and
that the key is in position 0in the ignition
lock.
X Turn the key to position 2in the ignition
lock.
On vehicles with KEYLESS-GO, use the key
instead of the Start/Stop button
(Y page 141).
X Depress and hold the brake pedal.
X Shift the automatic transmission to posi-
tion N.
X Release the brake pedal.
X Release the parking brake.
X Switch on the hazard warning lamps
(Y page 114).
X Leave the key in position 2in the ignition
lock.
i When towing with the hazard warning
lamps switched on, use the combination
switch as usual to signal achange of direc-
tion. In this case, only the turn signals for
the desired direction flash. When the com-
bination switch is reset, the hazard warning
lamps start flashing again. Transporting the vehicle
! Only lash the vehicle down by the wheels
or wheel rims, not by parts of the vehicle
such as axle or steering components. Oth-
erwise, the vehicle could be damaged. The towing eye can be used to pull the vehicle
onto atrailer or transporter for transporting
purposes.
X Turn the key to position 2in the ignition
lock.
X Shift the automatic transmission to posi-
tion N.
As soon as the vehicle is loaded:
X Prevent the vehicle from rolling away by
applying the parking brake.
X Shift the automatic transmission to posi-
tion P.
X Turn the key in the ignition lock to position
0and remove the key from the ignition
lock.
X Secure the vehicle. Notes for 4MATIC vehicles
! Vehicles with 4MATIC must not be towed
with the front or rear axle raised; otherwise,
the transmission may be damaged.
If the vehicle has transmission damage or
damage to the front or rear axle, have it trans-
ported on atransporter or trailer.
In the event of damage to the electrical
system
If the battery is defective, the automatic
transmission will be locked in position P.To
shift the automatic transmission to position
N,y ou must provide power to the vehicle's
electrical system in the same way as when
jump-starting (Y page 319).
Have the vehicle transported on atransporter
or trailer. Tow-starting (emergency engine
starting)
! Vehicles with automatic transmission
must not be tow-started. The transmission
may otherwise be damaged. Towing and tow-starting
323Breakdown assistance Z