Page 158 of 420

156
2-2. Instrument cluster
■Meter operation restrictions while vehicle is in motion
While the vehicle is in motion, some menu items cannot be changed using the con-
trol pad. Restricted items are displayed in gray or without an arrow. These items can
be operated once the vehicle is stopped.
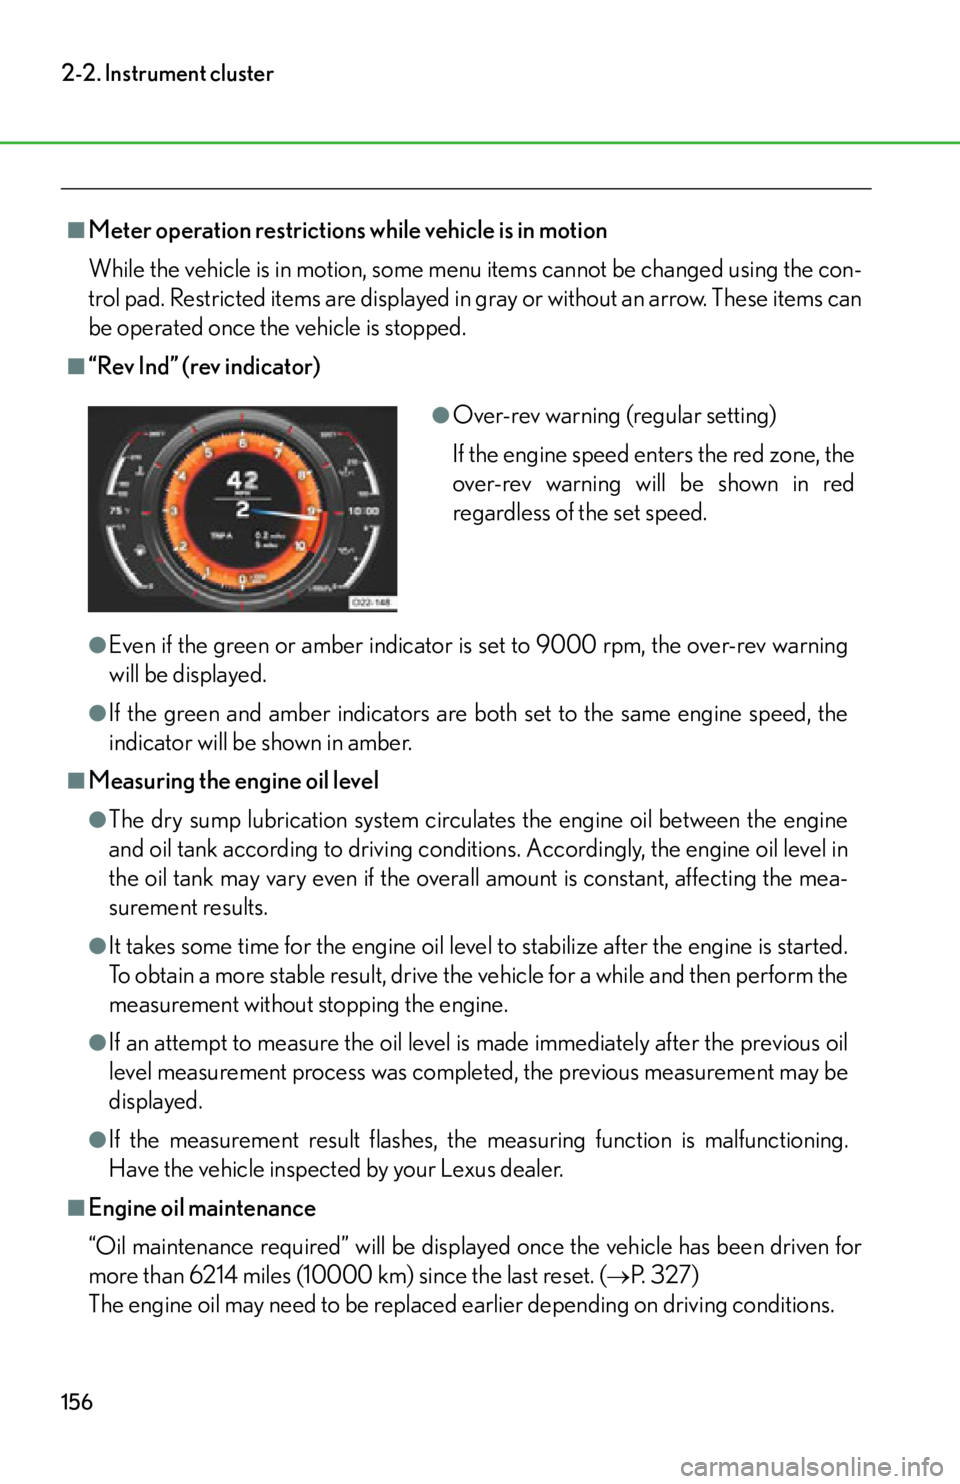
■“Rev Ind” (rev indicator)
●Even if the green or amber indicator is set to 9000 rpm, the over-rev warning
will be displayed.
●If the green and amber indicators are both set to the same engine speed, the
indicator will be shown in amber.
■Measuring the engine oil level
●The dry sump lubrication system circulates the engine oil between the engine
and oil tank according to driving conditions. Accordingly, the engine oil level in
the oil tank may vary even if the overall amount is constant, affecting the mea-
surement results.
●It takes some time for the engine oil level to stabilize after the engine is started.
To obtain a more stable result, drive the vehicle for a while and then perform the
measurement without stopping the engine.
●If an attempt to measure the oil level is made immediately after the previous oil
level measurement process was completed, the previous measurement may be
displayed.
●If the measurement result flashes, the measuring function is malfunctioning.
Have the vehicle inspected by your Lexus dealer.
■Engine oil maintenance
“Oil maintenance required” will be displayed once the vehicle has been driven for
more than 6214 miles (10000 km) since the last reset. (
P. 3 2 7 )
The engine oil may need to be replaced earlier depending on driving conditions.
●Over-rev warning (regular setting)
If the engine speed enters the red zone, the
over-rev warning will be shown in red
regardless of the set speed.
Page 159 of 420

157
2-2. Instrument cluster
2
When driving
■Using the “Lap Timer”
●When the “Lap Timer” function is turned “OFF” or the engine is stopped while a
lap is being timed, the lap timer will stop and the lap time up to that point will be
recorded.
●If the lap time being recorded ends with the same time as the fastest lap, the
newer time will be saved as the fastest lap time.
●If the lap time exceeds “9:59:59.99”, the display will return to “0:00:00.00” but
the total time will be recorded.
●If a warning message is displayed when a lap time is being measured, the lap
time will still continue to be recorded.
Operating the control pad while the warning message is shown returns the dis-
play to the stopwatch but the warning message will continue to appear until the
warning is resolved.
●In the normal display, the current measurement time and the latest lap time will
be displayed.
■Changing the temperature measurement unit
When the “Temp” measurement unit is ch anged, the air conditioning system tem-
perature setting, air outlet s and fan speed characteristic s may be changed. This is
normal and does not indicate a malfunction.
■If the battery is disconnected or discharges
“Lap Timer” data and “Clock” settings will be reset.
Page 165 of 420
163
2
When driving
2-4.Using other driving systems
Rear view monitor system
The rear view monitor assists the driver by displaying an image of the area
behind the vehicle while reversing. The image displayed on the screen is the
same as the image reflected in the rear view mirror.
The rear view image is displayed
when Reverse is selected.
If the gear is shifted out of Reverse,
the screen returns to the previous
one.
■Displayed area
The area covered by the camera is limited.
Objects that are close to either corner of the
bumper or under the bumper cannot be seen
on the screen.
The area displayed on the screen may vary
depending on vehicle orientation or road
conditions.
Corners of bumper
: If equipped
Page 167 of 420

165
2-4. Using other driving systems
2
When driving
CAUTION
■When using the rear view monitor system
Observe the following precautions to avoid an accident that could result in death or
serious injuries:
●Never depend solely on the monitor system when reversing.
●Always check visually and with the mirrors to confirm your intended path is clear.
●Depicted distances between objects and flat surfaces differ from actual dis-
tances.
■Conditions which may affect the rear view monitor system
●If the back of the vehicle has been hit, the camera’s position and mounting angle
may have changed. Have the vehicle inspected by your Lexus dealer.
●Rapid temperature changes, such as when hot water is poured on the vehicle in
cold weather, may cause the system to function abnormally.
●If the camera lens is dirty, it cannot transmit a clear image. Rinse with water and
wipe with a soft cloth. If the camera lens is extremely dirty, wash with a mild
cleanser and rinse.
●The displayed image may be darker and mo ving images may be slightly distorted
when the system is cold.
NOTICE
■Camera precautions
●As the camera has a water proof constr uction, do not detach, disassemble or
modify it. This may cause incorrect operation.
●Do not allow organic solvent, car wax, window cleaner or glass coat to adhere to
the camera. If this happens, wipe it off as soon as possible.
●If a power washer is used for washing the vehicle, do not point it at or near the
camera as doing so may damage the camera.
●Do not use too much force when cleaning the camera lens.
Page 176 of 420

174
2-4. Using other driving systems
Launch control
When set, launch control enables the vehicle to accelerate from a standing
start at 4000 rpm. Launch control uses overall optimized control that consid-
ers vehicle acceleration performance, st ability and clutch durability. (Do not
use launch control on public roads.)
■ Setting the system
Ensure that you are seated well ba ck in the driver’s seat with the
seat belt fastened.
Make sure that the passenger is al so seated well back with their seat
belt fastened.
Start the engine. Firmly depress the brake pedal with your left
foot and release the parking brake.
Continue to depress the brake pedal.
Select SPORT driving mode.
Select shift speed level 7.
Pull the “+” paddle shift switch to select 1st gear.
Pull the “-” paddle shift swit ch and hold it for 5 seconds.
“LAUNCH” will be displayed on the meter.
Release the “-” paddle shift switch.
Depress the accelerator pedal firmly.
Continue to depress the accelerato r pedal. The engine speed will be
automatically maintained at 4000 rpm. The vehicle is then ready for
launch.
Release the brake pedal.
The vehicle will launch forward.
Once the accelerator pedal is released completely, launch control will be
canceled and SPORT driving mode will be engaged.
STEP1
STEP2
STEP3
STEP4
STEP5
STEP6
STEP7
STEP8
STEP9
Page 189 of 420
187
3-1. Using the air conditioning system and defogger
3
Interior features
Displaying the operation screen
Press the “MENU” button.
Select “Climate” by operating the
Remote Touch knob and then
press the enter button.
Driver's side temperature dis-
play
Outside temperature display
Dual mode switch
Passenger’s side temperature
display
Air outlet switches
Fan speed control switches
Cooling and dehumidification
function on/off switch
Talk switch
Passenger's side temperature
control button
Automatic mode button
Outside/recirculated air mode
button
Enter button
Remote Touch knob
“MENU” button
Windshield defogger button
Driver’s side temperature con-
trol button
“OFF” button
STEP1
STEP2
Page 195 of 420

193
3-1. Using the air conditioning system and defogger
3
Interior features
■Outside temperature display
●The temperature display shows temperatures within the range of -40°F (-40°C)
and 122°F (50°C).
●In the following situations, the correct outside temperature may not be dis-
played, or the display may take longer than normal to change:
• When the vehicle is stopped, or moving at low speeds (less than 15 mph [25
km/h])
• When the outside temperature has chan ged suddenly (at the entrance/exit of
a garage, tunnel, etc.)
●When “--” or “E” is displayed, the system may be malfunctioning. Take your vehi-
cle to your Lexus dealer.
CAUTION
■To prevent the windshield from fogging up
Do not use
during cool air operation in extremely humid weather. The differ-
ence between the temperature of the outs ide air and that of the windshield can
cause the outer surface of the windshield to fog up, blocking your vision.
NOTICE
■To prevent battery discharge
Do not leave the air conditioning system on longer than necessary when the engine
is stopped.
Page 196 of 420
194
3-1. Using the air conditioning system and defogger
Automatic air conditioning system (without navigation system)
Air outlets and fan speed are automati cally adjusted according to the tem-
perature setting.
Driver’s side temperature dis-
play
Fan speed display
Air outlets display
Passenger’s side temperature
display
Passenger’s side temperature
control button
Automatic mode button
Outside/recirculated air mode
button Cooling and de
humidification
function on/off button
Air outlet selector button
Fan speed control button
Dual mode button
Windshield defogger button
Driver’s side temperature con-
trol button
“OFF” button