Page 304 of 391

ONBOARD DIAGNOSTIC SYSTEM – OBD II
Your vehicle is equipped with a sophisticated onboard
diagnostic system called OBD II. This system monitors
the performance of the emissions, engine, and automatic
transmission control systems. When these systems are
operating properly, your vehicle will provide excellent
performance and fuel economy, as well as engine emis-
sions well within current government regulations.
If any of these systems require service, the OBD II system
will turn on the “Malfunction Indicator Light” (MIL). It
will also store diagnostic codes and other information to
assist your service technician in making repairs. Al-
though your vehicle will usually be drivable and not
need towing, see your authorized dealer for service as
soon as possible.CAUTION!
•Prolonged driving with the MIL on could cause
further damage to the emission control system. It
could also affect fuel economy and drivability. The
vehicle must be serviced before any emissions
tests can be performed.
•If the MIL is flashing while the engine is running,
severe catalytic converter damage and power loss
will soon occur. Immediate service is required.
EMISSIONS INSPECTION AND MAINTENANCE
PROGRAMS
In some localities, it may be a legal requirement to pass
an inspection of your vehicle’s emissions control system.
Failure to pass could prevent vehicle registration.
302 MAINTAINING YOUR VEHICLE
Page 305 of 391

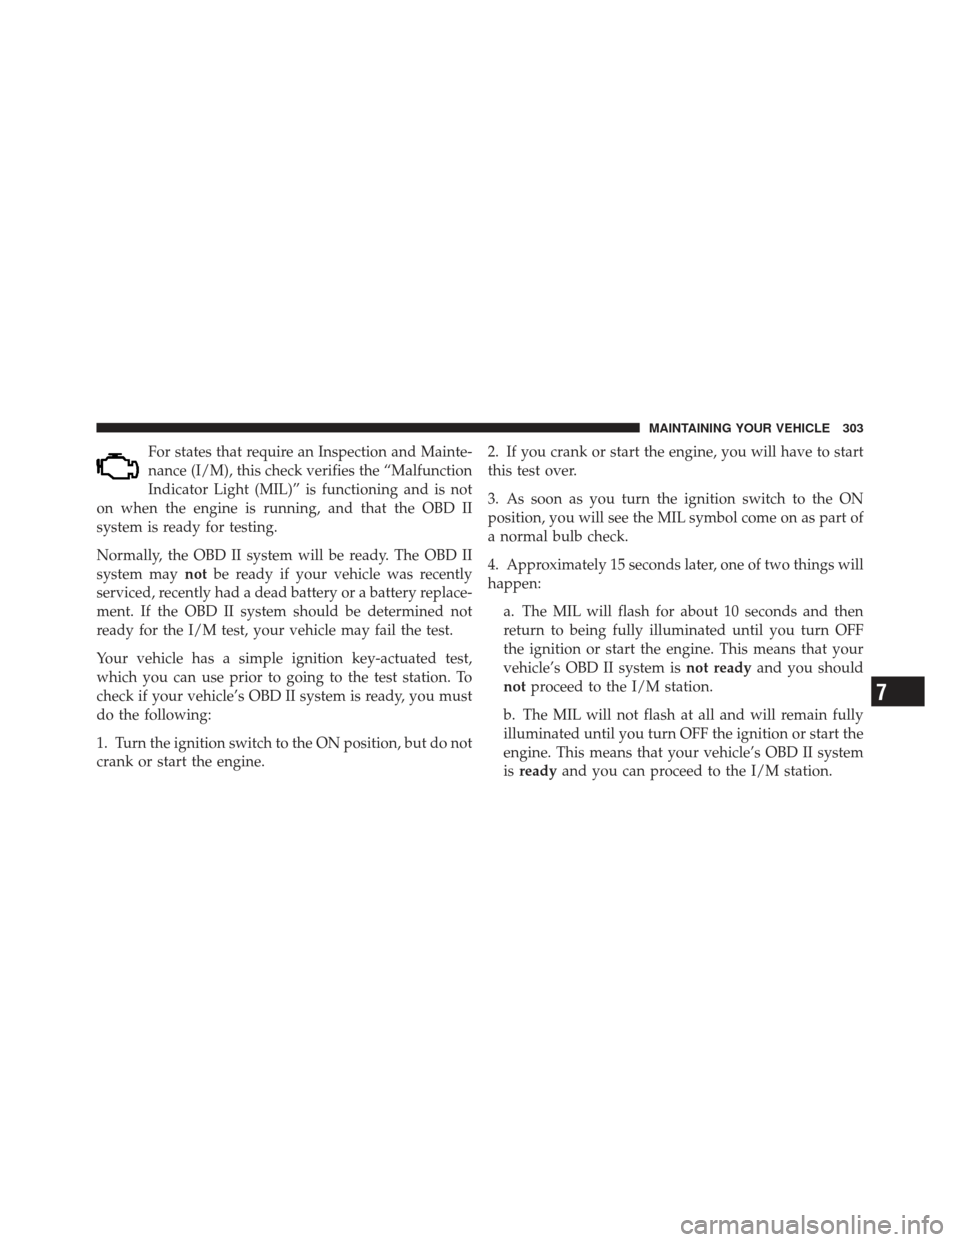
For states that require an Inspection and Mainte-
nance (I/M), this check verifies the “Malfunction
Indicator Light (MIL)” is functioning and is not
on when the engine is running, and that the OBD II
system is ready for testing.
Normally, the OBD II system will be ready. The OBD II
system may notbe ready if your vehicle was recently
serviced, recently had a dead battery or a battery replace-
ment. If the OBD II system should be determined not
ready for the I/M test, your vehicle may fail the test.
Your vehicle has a simple ignition key-actuated test,
which you can use prior to going to the test station. To
check if your vehicle’s OBD II system is ready, you must
do the following:
1. Turn the ignition switch to the ON position, but do not
crank or start the engine. 2. If you crank or start the engine, you will have to start
this test over.
3. As soon as you turn the ignition switch to the ON
position, you will see the MIL symbol come on as part of
a normal bulb check.
4. Approximately 15 seconds later, one of two things will
happen:
a. The MIL will flash for about 10 seconds and then
return to being fully illuminated until you turn OFF
the ignition or start the engine. This means that your
vehicle’s OBD II system is not readyand you should
not proceed to the I/M station.
b. The MIL will not flash at all and will remain fully
illuminated until you turn OFF the ignition or start the
engine. This means that your vehicle’s OBD II system
is ready and you can proceed to the I/M station.
7
MAINTAINING YOUR VEHICLE 303
Page 325 of 391

Brake Master Cylinder
The fluid level in the master cylinder should be checked
when performing under hood services, or immediately if
the “Brake Warning Light” is on.
Be sure to clean the top of the master cylinder area before
removing the cap. If necessary, add fluid to bring the
fluid level up to the requirements described on the brake
fluid reservoir. Fluid level can be expected to fall as the
brake pads wear. The brake fluid level should be checked
when the pads are replaced. However, low fluid level
may be caused by a leak and a checkup may be needed.
NOTE:If your vehicle is equipped with a manual
transmission , the brake fluid reservoir supplies fluid to
both the brake system and the clutch release system. The
two systems are separated in the reservoir, and a leak in
one system will not affect the other system. The manual
transmission clutch release system should not require
fluid replacement during the life of the vehicle. If the brake fluid reservoir is low and the brake system does
not indicate any leaks or other problems, it may be a
result of a leak in the hydraulic clutch release system. See
your local authorized dealer for service.
Use only manufacturer’s recommended brake fluid. Re-
fer to “Fluids, Lubricants, and Genuine Parts” in “Main-
taining Your Vehicle” for further information.
WARNING!
•Use only manufacturer’s recommended brake
fluid. Refer to “Fluids, Lubricants, and Genuine
Parts” in “Maintaining Your Vehicle” for further
information. Using the wrong type of brake fluid
can severely damage your brake system and/or
impair its performance. The proper type of brake
fluid for your vehicle is also identified on the
original factory installed hydraulic master cylin-
der reservoir.
(Continued)
7
MAINTAINING YOUR VEHICLE 323
Page 332 of 391

Your leather upholstery can be best preserved by regular
cleaning with a damp, soft cloth. Small particles of dirt
can act as an abrasive and damage the leather upholstery
and should be removed promptly with a damp cloth.
Stubborn soils can be removed easily with a soft cloth
and MOPAR�Total Clean or equivalent. Care should be
taken to avoid soaking your leather upholstery with any
liquid. Please do not use polishes, oils, cleaning fluids,
solvents, detergents, or ammonia-based cleaners to clean
your leather upholstery. Application of a leather condi-
tioner is not required to maintain the original condition.
WARNING!
Do not use volatile solvents for cleaning purposes.
Many are potentially flammable, and if used in
closed areas, they may cause respiratory harm.
Cleaning Headlights
Your vehicle has plastic headlights that are lighter and
less susceptible to stone breakage than glass headlights.
Plastic is not as scratch resistant as glass and, therefore,
different lens cleaning procedures must be followed.
To minimize the possibility of scratching the lenses and
reducing light output, avoid wiping with a dry cloth. To
remove road dirt, wash with a mild soap solution fol-
lowed by rinsing.
Do not use abrasive cleaning components, solvents, steel
wool or other aggressive material to clean the lenses.
Glass Surfaces
All glass surfaces should be cleaned on a regular basis
with MOPAR� Glass Cleaner or any commercial
household-type glass cleaner. Never use an abrasive type
cleaner. Use caution when cleaning the inside rear win-
dow equipped with electric defrosters or the right rear
330 MAINTAINING YOUR VEHICLE
Page 336 of 391
FUSES
Interior Fuses
The interior fuse panel is part of the Body Control
Module (BCM) and is located on the driver’s side under
the instrument panel.
Cavity VehicleFuse
Number Mini
Fuse Description
1 F12 7.5 Amp
BrownRight Low Beam
2 F32 5 Amp
Ta nFront and Rear
Ceiling Lights
Trunk and Door
Courtesy Lights
3 F53 5 Amp
Ta nInstrument Panel
Node
4 F38 20 Amp
YellowCentral Door Lock-
ing
5 F36 10 Amp
RedDiagnostic Socket,
Car Radio, Climate
Control System
6 F43 20 Amp
YellowBi-Directional
Washer
Fuse Panel
334 MAINTAINING YOUR VEHICLE
Page 337 of 391
Cavity VehicleFuse
Number Mini
Fuse Description
7 F48 20 Amp
YellowPassenger Power
Window
8 F13 7.5 Amp
BrownLeft Low Beam,
Headlamp Leveling
9 F50 7.5 Amp
BrownAirbag
10 F51 5 Amp
Ta nCar Radio Switch,
Climate Control
System, Stop Light,
ClutchCavity Vehicle
Fuse
Number Mini
Fuse Description
11 F37 5 Amp
Ta nStop Light Switch,
Instrument Panel
Node
12 F49 5 Amp
Ta nExterior Mirror,
GPS, Electric Mir-
ror, Parking Sensor
13 F31 5 Amp
Ta nIgnition, Climate
Control
14 F47 20 Amp
YellowDriver Power Win-
dow
7
MAINTAINING YOUR VEHICLE 335
Page 339 of 391
Cavity Maxi Fuse Mini Fuse DescriptionF08 30 Amp Green Blower Motor
F09 10 Amp RedPowertrain
F10 10 Amp RedHorn
F11 15 Amp BluePowertrain
F11 10 Amp
Red Powertrain (Multi-
air – If Equipped)
F14 5 Amp Tan High beam (Shut-
ter)
F15 15 Amp
Blue Cigar Lighter
F16 7.5 Amp
Brown TransmissionCavity Maxi Fuse Mini Fuse Description
F17 25 Amp
White Powertrain (Multi-
air – If Equipped)
F17 15 Amp
Blue Powertrain
F18 15 Amp
Blue Powertrain
F18 5 Amp Tan Powertrain (Multi-
air – If Equipped)
F19 7.5 Amp
Brown Air Conditioning
F20 15 Amp
Blue Heated Seats – If
Equipped
F21 15 Amp
Blue Fuel Pump
F23 20 Amp
Yellow Anti-Lock Brake
Valves
7
MAINTAINING YOUR VEHICLE 337
Page 340 of 391
Cavity Maxi Fuse Mini Fuse DescriptionF24 7.5 Amp
Brown Stability Control
System
F30 15 Amp
Blue Fog Lamps
F82 30 Amp Green Sunroof/
Convertible Top
F84 10 Amp
Red Transmission
F85 15 Amp
Blue Rear Defroster,
Heated Mirrors
F87 5 Amp Tan Lights
F90 5 Amp Tan Heated MirrorsVEHICLE STORAGE
If you are leaving your vehicle dormant for more than
21 days, you may want to take these steps to protect your
battery.
•Disconnect the negative cable from the battery.
•Anytime you store your vehicle, or keep it out of
service (i.e., vacation) for two weeks or more, run the
air conditioning system at idle for about five minutes
in the fresh air and high blower setting. This will
ensure adequate system lubrication to minimize the
possibility of compressor damage when the system is
started again.
338 MAINTAINING YOUR VEHICLE