Page 134 of 244

10
132
CHECKS
Only use products recommended
by CITROËN or products of equiv-
alent quality and specifi cation.
In order to optimise the opera-
tion of units as important as
the braking system, CITROËN
selects and offers very specifi c
products.
To avoid damaging the electrical
units, the use of a high pressure
washer in the engine compart-
ment is strictly prohibited
.
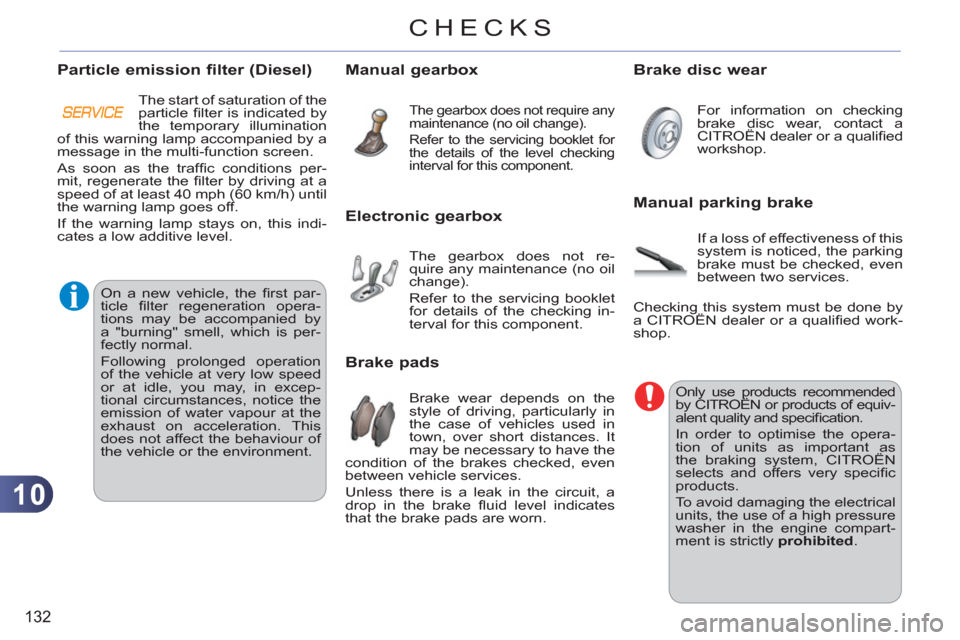
Manual parking brake
If a loss of effectiveness of this
system is noticed, the parking
brake must be checked, even
between two services.
Checking this system must be done by
a CITROËN dealer or a qualifi ed work-
shop.
Manual gearbox
The gearbox does not require any
maintenance (no oil change).
Refer to the servicing booklet for
the details of the level checking
interval for this component.
For information on checking
brake disc wear, contact a
CITROËN dealer or a qualifi ed
workshop.
Brake disc wear
Brake wear depends on the
style of driving, particularly in
the case of vehicles used in
town, over short distances. It
may be necessary to have the
condition of the brakes checked, even
between vehicle services.
Unless there is a leak in the circuit, a
drop in the brake fl uid level indicates
that the brake pads are worn.
Brake pads
The gearbox does not re-
quire any maintenance (no oil
change).
Refer to the servicing booklet
for details of the checking in-
terval for this component.
Electronic gearbox
Particle emission filter (Diesel)
The start of saturation of the
particle fi lter is indicated by
the temporary illumination
of this warning lamp accompanied by a
message in the multi-function screen.
As soon as the traffi c conditions per-
mit, regenerate the fi lter by driving at a
speed of at least 40 mph (60 km/h) until
the warning lamp goes off.
If the warning lamp stays on, this indi-
cates a low additive level.
On a new vehicle, the fi rst par-
ticle fi lter regeneration opera-
tions may be accompanied by
a "burning" smell, which is per-
fectly normal.
Following prolonged operation
of the vehicle at very low speed
or at idle, you may, in excep-
tional circumstances, notice the
emission of water vapour at the
exhaust on acceleration. This
does not affect the behaviour of
the vehicle or the environment.
Page 142 of 244

11
PRACTICAL INFORMATION
Parking the vehicle
Immobilise the vehicle where it
does not block traffi c: the ground
must be level, stable and non-
slippery.
Apply the parking brake, switch
off the ignition and engage fi rst
gear to lock the wheels.
If necessary, place a chock un-
der the wheel diagonally oppo-
site the wheel to be changed.
You must ensure that the occu-
pants get out of the vehicle and
wait where they are safe.
Never go underneath a vehicle
raised using a jack; use an axle
stand.
List of operations
�)
Remove the bolt cover from each of
the bolts using the tool 3
(with allow
wheels only).
�)
Fit the security socket 4
to the
wheelbrace 1
to slacken the secu-
rity bolt (if your vehicle has them).
�)
Slacken the other bolts using the
wheelbrace 1
only.
�)
Place the jack 2
in contact with one
of the two front A
or rear B
locations
provided on the underbody, which-
ever is closest to the wheel to be
changed.
�)
Extend the jack 2
until its base plate
is in contact with the ground. Ensure
that the centreline of the jack base
plate is directly below the location A
or B
used.
�)
Raise the vehicle until there is suf-
fi cient space between the wheel and
the ground to admit the spare (not
punctured) wheel easily.
�)
Remove the bolts and store them in
a clean place.
�)
Remove the wheel.
Page 145 of 244

11
143
PRACTICAL INFORMATION
Changing direction indicator bulbs
Amber coloured bulbs, such as
the direction indicators, must be
replaced with bulbs of identical
specifi cations and colour.
�)
Remove the plastic protective cover.
�)
Pull the bulb-holder and replace the
bulb.
To r efi t, carry out these operations in
reverse order.
When refi tting, close the plastic
cover carefully to ensure the
sealing of the headlamp.
If either of the direction indicator
warning lamps is fl ashing quickly,
one of the bulbs is faulty.
Changing main beam headlamp
bulbs
�)
Remove the protective plastic cover
by pulling on the tab.
�)
Disconnect the bulb connector.
�)
Move the springs to release the
bulb.
�)
Remove the bulb and change it.
To r efi t, carry out these operations in
reverse order.
Changing sidelamp bulbs
�)
Remove the protective plastic cover
by pulling on the tab.
�)
Pull the bulb-holder.
�)
Remove the bulb and replace it.
To r efi t, carry out these operations in
reverse order.
Changing dipped headlamp bulbs
�)
Remove the protective plastic cover
by pulling on the tab.
�)
Turn the bulb-holder by a quarter
turn.
�)
Remove the bulb and change it.
To r efi t, carry out these operations in
reverse order.
Page 149 of 244
11
PRACTICAL INFORMATION
Interior lighting
Interior lamps (1/W5W)
Detach the cover of the interior lamp 1
with a thin screwdriver, close to the but-
ton, to access the faulty bulb.
Map reading lamps (2/W5W)
Detach the cover of the interior lamp. To
access the faulty bulb, detach the parti-
tion for the reading lamp 2
concerned,
as necessary.
Footwell lamps (W5W)
Unclip the cover using a thin screw-
driver to access the faulty bulb.
Boot lamps (W5W)
Detach the unit by pushing it rearwards.
Torch (Krypton 3.6V)
�)
Open the tab.
�)
Push with a fl at screwdriver in the
hole under the tab and recover the
bulb unit.
�)
Open the bulb unit fully to change
the bulb.
Door mirror lamps (W5W)
Unclip the cover using a thin screwdriver
to access the faulty bulb.
Page 153 of 244
11
151
PRACTICAL INFORMATION
Engine compartment fuses
The fusebox is placed in the engine
compartment near the battery (left-hand
side).
All work on the fusebox located
on the battery must be carried
out by a CITROËN dealer or a
qualifi ed workshop.
Access to the fuses
�)
Unclip the cover.
�)
Change the fuse (see correspond-
ing paragraph).
�)
When you have fi nished, close the
cover carefully to guarantee the
sealing of the fuse box.
Page 179 of 244
177
02 STEERING MOUNTED CONTROLS
RADIO: select the previous/next pre-set station.
Select the next entr
y in the address book.
RADI
O: change to the next radio station in the list.
Lon
g press: automatic search for ahigher frequency.
CD: select the next track.
CD: continuous press: fast forward pla
y.
Volume increase.
Change the audio source.
Start a call from the address book.
Call/End call on the tele
phone.
Pr
ess for more than 2 seconds: access tothe address book.
V
olume decrease.
RADI
O: change to the previous radio station in the List.
Lon
g press: automatic search for
a lower frequency.
CD: select the previous track.
CD: continuous press: fast reverse.
Mute:
press the volume
increase and decrease
buttons simultaneously.
Restore the sound bypressing one of the
two volume buttons.
Page 186 of 244
184
04
4
3
2
1
7
6
5
NAVIGATION - GUIDANCE
ROUTE OPTIONS
Select the "Route dynamics"function.
This
function gives access to the "Traffi c independent" or "Semi-
dynamic" options.
Select the "Avoidance criteria"function. This function provides
access to the AVOID options (motorways, toll roads, ferries).
T
urn the dial and select the "Recalculate" function to take intoaccount the route options selected.
Press the dial to confi rm. Pr
ess the NAV button.
Press the NAV button a
gain or select
the Navigation Menu function andpress the dial to confi rm.
Select the "Route type" functionand press the dial to confi rm. Thisfunction allows you to change theroute type.
Select the "Route options" functionand press the dial to confi rm.
Recalculate
Avoidance criteria
Route dynamics
Route type
Route options
Navigation MenuThe route selected b
y the MyWay system depends directly on the route
options.
Chan
ging these options may change the route completely.
Page 197 of 244

195
08
1
2
3
4
BLUETOOTH TELEPHONE
*
The services available depend on the network, the SIM card and thecompatibility of the Bluetooth telephone used. Check the telephone
manual and with your network provider for details of the servicesavailable to you.
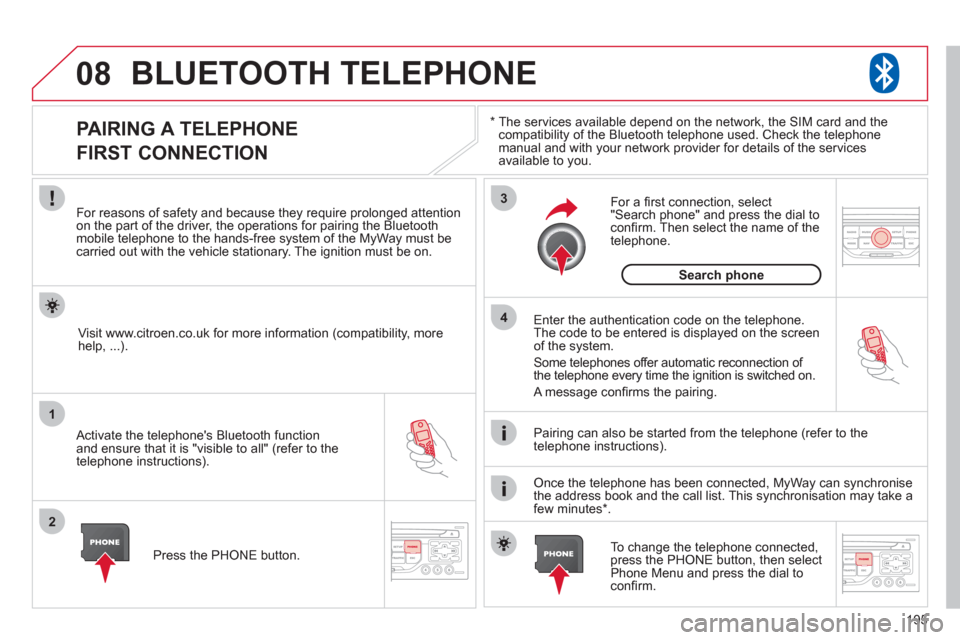
PAIRING A TELEPHONE
FIRST CONNECTION
For reasons of safety and because they require prolonged attentionon the part of the driver, the operations for pairing the Bluetooth mobile telephone to the hands-free system of the MyWay must be carried out with the vehicle stationary. The ignition must be on.
Activate the telephone's Bluetooth
function
and ensure that it is "visible to all" (refer to the
telephone instructions). Enter the authentication code on the tele
phone.
The code to be entered is displayed on the screen
of the system.
Some telephones offer automatic reconnection o
f
the telephone every time the ignition is switched on.
A messa
ge confi rms the pairing.
To change the telephone connected, press the PHONE button, then select Phone Menu and press the dial toconfi rm.
Once the telephone has been connected, MyWay can synchronise
the address book and the call list. This synchronisation may take a few minutes * . Pairin
g can also be started from the telephone (refer to the
telephone instructions). Visit www.citroen.co.uk
for more information (compatibility, more
help, ...).
Press the PH
ONE button.
For a
fi rst connection, select"Search phone" and press the dial to confi rm. Then select the name of thetelephone.
Search
phone