Page 49 of 112
48Navigation
Navigation
Introduction to navigation
Introduction
General information
The current vehicle position is determined by means of the GPS system
(Global Positioning System). Sensors in the vehicle measure distances driv-
en. The measurement values are adapted using the detailed information
from the navigation data medium maps and according to the stored traffic
management. Where applicable, the TMC traffic reports are included in the
route calculation ⇒ page 72. The navigation system uses these data to
determine an optimal route to the destination.
The destination is defined by entering an address or a point of interest, e.g.
a petrol station or hotel.
Navigation announcements and visual guidance on the navigation unit and
the instrument panel direct you to your destination ⇒ page 65.
Depending on the country, some radio-navigation system functions can no
longer be selected when the vehicle is travelling above a certain speed. This
is not a malfunction, but simply a legal requirement.
Navigation data
At the close of this edition, SEAT has two different versions of radio and nav-
igation system “SEAT MEDIA SYSTEM 2.2”, one for Western Europe and one
for Eastern Europe, with and without DAB respectively ⇒ page 24.
In normal circumstances, all the necessary navigation data is already stored
in the navigator. The maps stored in the system (Western Europe or Eastern
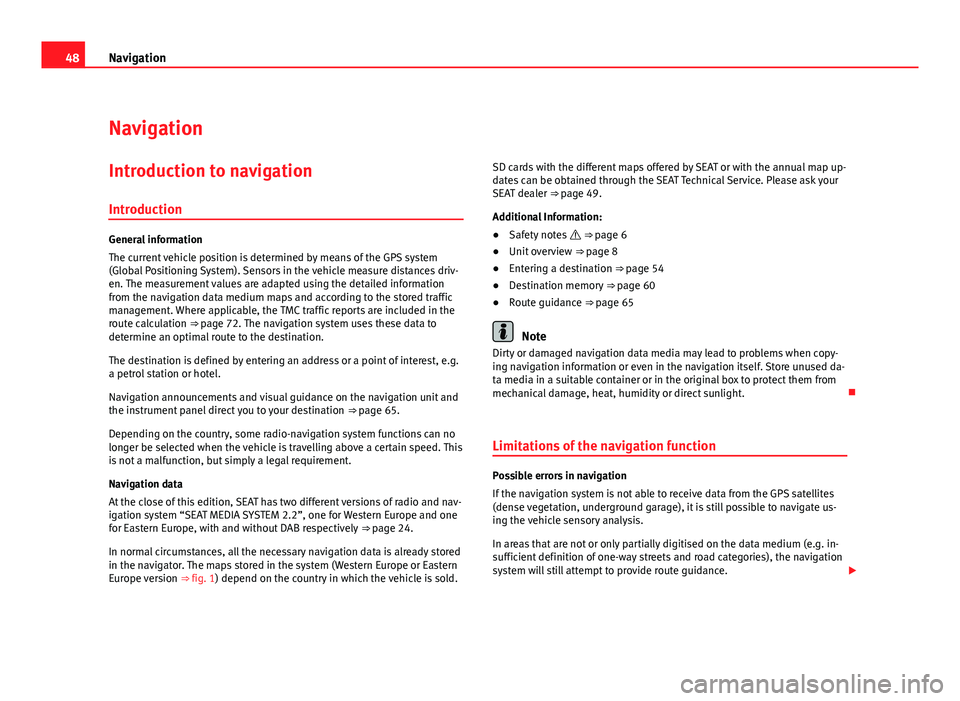
Europe version ⇒ fig. 1) depend on the country in which the vehicle is sold. SD cards with the different maps offered by SEAT or with the annual map up-
dates can be obtained through the SEAT Technical Service. Please ask your
SEAT dealer ⇒ page 49.
Additional Information:
●
Safety notes ⇒ page 6
● Unit overview ⇒ page 8
● Entering a destination ⇒ page 54
● Destination memory ⇒ page 60
● Route guidance ⇒ page 65
Note
Dirty or damaged navigation data media may lead to problems when copy-
ing navigation information or even in the navigation itself. Store unused da-
ta media in a suitable container or in the original box to protect them from
mechanical damage, heat, humidity or direct sunlight.
Limitations of the navigation function
Possible errors in navigation
If the navigation system is not able to receive data from the GPS satellites
(dense vegetation, underground garage), it is still possible to navigate us-
ing the vehicle sensory analysis.
In areas that are not or only partially digitised on the data medium (e.g. in-
sufficient definition of one-way streets and road categories), the navigation
system will still attempt to provide route guidance.
Page 50 of 112
49
Navigation
If navigation data are unavailable or incomplete, the navigation system may
be unable to determine the exact vehicle position. As a result, the naviga-
tion may not be as exact as usual.
Navigation area and age of navigation data
The accuracy of the data (small villages, streets and house numbers) de-
pends on the respective version for the country.
Roads and streets are subject to constant change (e.g. new roads, changes
to street names and house numbers). After some time, navigation data will
no longer be up-to-date. This may lead to inaccurate or incorrect route guid-
ance.
In the case of small villages, they may have to be searched for as Points of
Interest (POI) rather than by their name.
Map updates and different map versions (East/West Europe) are available
through SD cards. Please consult a Technical Service.
Updating the internal navigation data memory
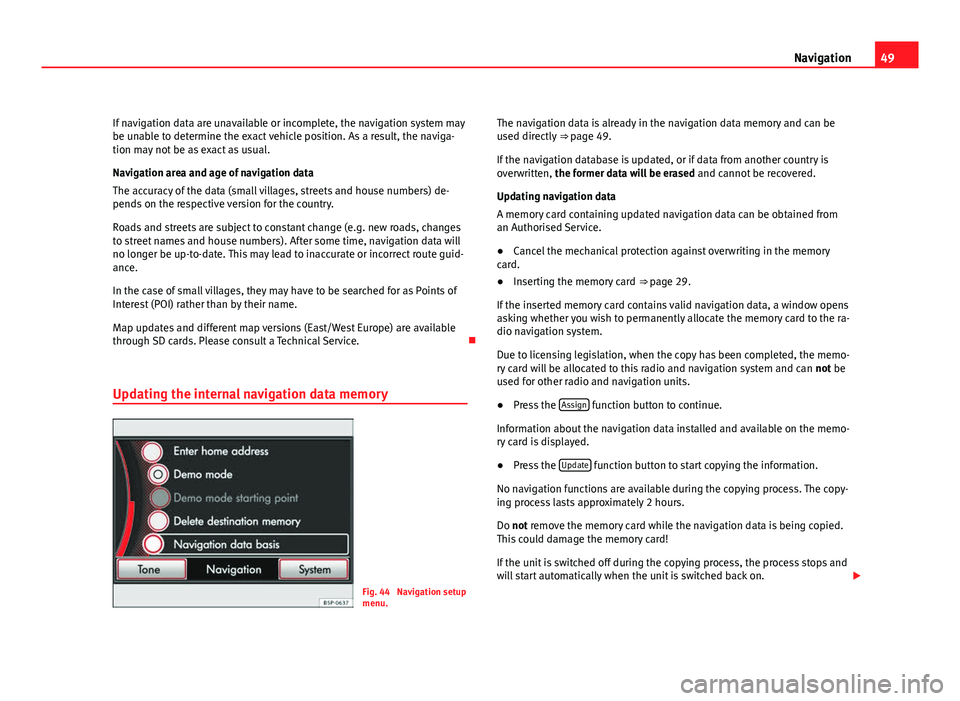
Fig. 44 Navigation setup
menu. The navigation data is already in the navigation data memory and can be
used directly
⇒ page 49.
If the navigation database is updated, or if data from another country is
overwritten, the former data will be erased and cannot be recovered.
Updating navigation data
A memory card containing updated navigation data can be obtained from
an Authorised Service.
● Cancel the mechanical protection against overwriting in the memory
card.
● Inserting the memory card ⇒ page 29.
If the inserted memory card contains valid navigation data, a window opens
asking whether you wish to permanently allocate the memory card to the ra-
dio navigation system.
Due to licensing legislation, when the copy has been completed, the memo-
ry card will be allocated to this radio and navigation system and can not be
used for other radio and navigation units.
● Press the Assign
function button to continue.
Information about the navigation data installed and available on the memo-
ry card is displayed.
● Press the Update
function button to start copying the information.
No navigation functions are available during the copying process. The copy-
ing process lasts approximately 2 hours.
Do not remove the memory card while the navigation data is being copied.
This could damage the memory card!
If the unit is switched off during the copying process, the process stops and
will start automatically when the unit is switched back on.
Page 51 of 112
50Navigation
Starting the copying process manually
If the copying process does not start automatically after the memory card
containing valid navigation data has been inserted, the updating process
can be started manually.
● Press the NAV
unit button.
● Press the SETUP unit button.
● Activate Navigation data base by turning and pressing the setting knob
⇒ fig. 2 10 ⇒
fig. 44.
● Press the Display navigation database info function button to view the area of
navigation and the version of the navigation data stored.
● Press the Install Nav data from SD
function button to start copying the infor-
mation.
CAUTION
Do not remove the memory card while the navigation data is being copied.
This could damage the memory card! Navigation main menu
Fig. 45 Navigation main
menu with destination
entry options.
Fig. 46 Vehicle position
in the map view.
The navigation functions are only enabled when navigation data for the cur-
rent area are available in the radio and navigation system.
Page 52 of 112

51
Navigation
The Navigation main menu allows you to select a new destination, call up a
previously used or stored destination and search for points of interest.
Opening the Navigation main menu
● Press the NAV
unit button to open the last menu opened in the naviga-
tion function.
● If the Navigation main menu is not displayed, press the NAV
unit button
again. This will open the main menu from any navigation submenu.
● Press the
unit button to switch back through the sequence of menus
to the Navigation main menu and cancel entry of destination data step by
step ⇒ page 54.
Switching between the map view and the Navigation main menu
● In the Navigation main menu, press the NAV
unit button to switch to the
map view ⇒ fig. 46.
● Press the NAV
unit button again to switch back to the
Navigation main
menu ⇒ fig. 45.
Selecting destination entry in the Navigation main menu
● Open the Navigation main menu ⇒ fig. 45.
● Turn the setting knob ⇒ fig. 2 10
to select a symbol for destination en-
try. The type of destination entry currently marked is displayed in the centre
of the screen (in fig. 45: Address).
● Press the setting knob to select the displayed destination entry method.
● Alternatively: Press a destination entry symbol on the screen.
When a function button has been pressed, the corresponding window will
open to allow you to enter the destination ⇒ page 54.
Destination entry methods
Function button: Result Address: Open input windows for selection of a destination address. Destination memory: Open a list of manually stored destinations. Last destinations : Open a list of automatically stored last destinations.
Function button: Result Petrol station: Open a list of the nearest petrol stations.P Car park: Open a list of the nearest car parks. Point of interest : First select the search area and then enter the search
term.
Home address: Enter the home address, or go to one of the saved address-
es.
Page 53 of 112

52Navigation
Input windows with on-screen keyboard
Fig. 47 Keyboard for free
text input.
Fig. 48 Input window for
selecting a destination
town.
Input windows with an on-screen keyboard are used to select a destination
address or, for example, to enter an entry name. The position of the on-screen keyboard can be defined in the system set-
tings
⇒ page 99.
Input windows for “free text input”
An input window for free text input allows any letters, digits and special
characters to be entered in any combination ⇒ fig. 47.
Pressing the OK
function button applies the sequence of characters current-
ly displayed in the window.
Input windows for selecting a destination address
It is only possible to enter a sequence of letters, numbers and special char-
acters that matches a destination found in the available navigation data
⇒ fig. 48. That means you cannot freely enter any destination, but must
“choose” from the available destinations ⇒ page 54.
Operating instructions
● Available characters on the keyboard block are entered in the input win-
dow when pressed.
● ALTERNATIVELY: You can select characters by turning and pressing the
setting knob ⇒ fig. 2 10
.
Other control elements
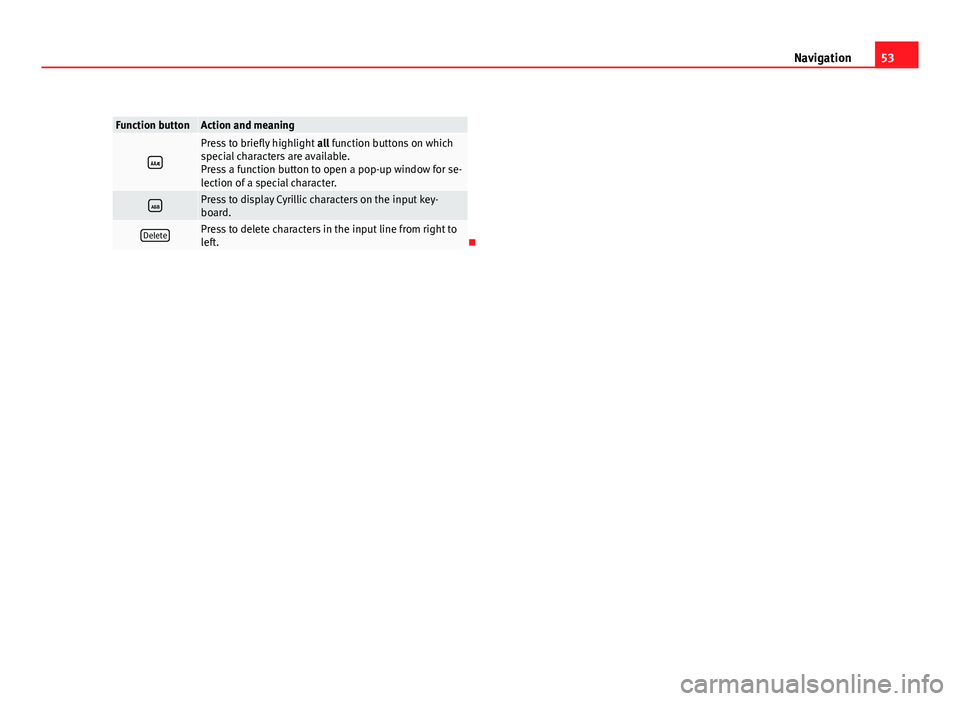
Function buttonAction and meaningPress to switch between upper and lower case.
Press to open the input window for numbers and special
characters.
Or: A-ZPress to go back to the input window for letters.
and Press to move the cursor to the left or right on the input
line.
Press to enter a space.
Characters with
Hold down to display a pop-up window with special
characters based on this letter. Press the desired charac-
ter to enter it.
Page 54 of 112
53
Navigation
Function buttonAction and meaning
Press to briefly highlight all function buttons on which
special characters are available.
Press a function button to open a pop-up window for se-
lection of a special character.
Press to display Cyrillic characters on the input key-
board.
DeletePress to delete characters in the input line from right to
left.
Page 55 of 112

54Navigation
Enter destination
Introduction
Additional Information:
● Safety notes ⇒ page 6
● Unit overview ⇒ page 8
● Introduction to navigation ⇒ page 48
Note
The correct spelling and use of accents, diaeresis, etc. is important when
entering a destination. If the destination is not written correctly, the naviga-
tion system may not recognise it.
Selecting a destination address (address entry)
Fig. 49 Input window for
selecting a destination
town.
Fig. 50 Selecting a
street from a list.
When selecting an address, you first select the country, then the town or
postcode. The destination address is then narrowed down further by select-
ing the street and house number or a junction. The address selections are
made in a series of input windows.
● In the Navigation main menu, press the function button
Address to
enter a destination.
● By using successive input windows, it is possible to define the destina-
tion address ⇒ page 48.
Once the number of destinations matching the character sequence in the
display has been narrowed down to less than 99, the number of matching
destinations available will be displayed to the right of the input line
(in fig. 49: 15).
● Press the List/OK
function button to open the list of remaining possible
destinations ⇒ fig. 50. When fewer than six destinations are available, the
list opens automatically.
● Selecting a destination from the list ⇒ page 10.
Page 56 of 112

55
Navigation
Depending upon the unit (RNS 315), press the unit button
⇒ fig. 2 to
open a window with additional information about the selected entry in the
list.
In names made up of more than one word, you must include the blank
space, e.g. “High Wycombe”.
A “town” refers to a locality or a postcode district and can also be selected
by entering its postcode.
When narrowing down the destination address, please note that every entry
restricts the available range of subsequent selections. For instance, if the
street you are looking for is not in the postcode area you have selected in a
previous window, you will not be able to find the street at the street selec-
tion stage.
● Press the
unit button to close the current menu and cancel the desti-
nation data entered so far step by step.
Ending destination entry
Once the destination data entered are sufficient for route guidance, it is
possible to end destination entry.
● After selecting a city, press the City centre
function button to end the des-
tination entry and start route guidance to the city centre.
● The Finish
function button appears in the list view for selection of a des-
tination if the destination data entered so far are sufficient to carry out route
guidance ⇒ fig. 50. Press the Finish
function button to apply the destination
marked in the list ( PORTSMOUTH AVENUE) and end destination entry.
When you have finished entering the destination, the address is displayed
in the “destination window” ⇒ page 55. Destination window
Fig. 51 Destination ad-
dress displayed in the
destination window.
The destination window provides an overview of all destination data entered
⇒ fig. 51.
● Pressing an item in the destination window opens an input window in
which you can alter the item or narrow down the destination further (e.g. Street
function button).
● Press the Store function button to open an input window in which you
can assign an entry name ⇒ fig. 47.
● ALTERNATIVELY: Press the Start
function button to start route guidance
⇒ page 65.
 1
1 2
2 3
3 4
4 5
5 6
6 7
7 8
8 9
9 10
10 11
11 12
12 13
13 14
14 15
15 16
16 17
17 18
18 19
19 20
20 21
21 22
22 23
23 24
24 25
25 26
26 27
27 28
28 29
29 30
30 31
31 32
32 33
33 34
34 35
35 36
36 37
37 38
38 39
39 40
40 41
41 42
42 43
43 44
44 45
45 46
46 47
47 48
48 49
49 50
50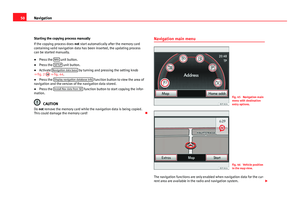 51
51 52
52 53
53 54
54 55
55 56
56 57
57 58
58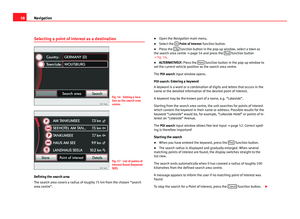 59
59 60
60 61
61 62
62 63
63 64
64 65
65 66
66 67
67 68
68 69
69 70
70 71
71 72
72 73
73 74
74 75
75 76
76 77
77 78
78 79
79 80
80 81
81 82
82 83
83 84
84 85
85 86
86 87
87 88
88 89
89 90
90 91
91 92
92 93
93 94
94 95
95 96
96 97
97 98
98 99
99 100
100 101
101 102
102 103
103 104
104 105
105 106
106 107
107 108
108 109
109 110
110 111
111


