2011 Peugeot Partner fuses
[x] Cancel search: fusesPage 62 of 200
60
Ventilation
Manual operation
You can, according to your
requirements, make a different selection
from that offered by the system by
changing a setting. The other functions
will still be controlled automatically.
Pressing the AUTO
button restores fully
automatic operation.
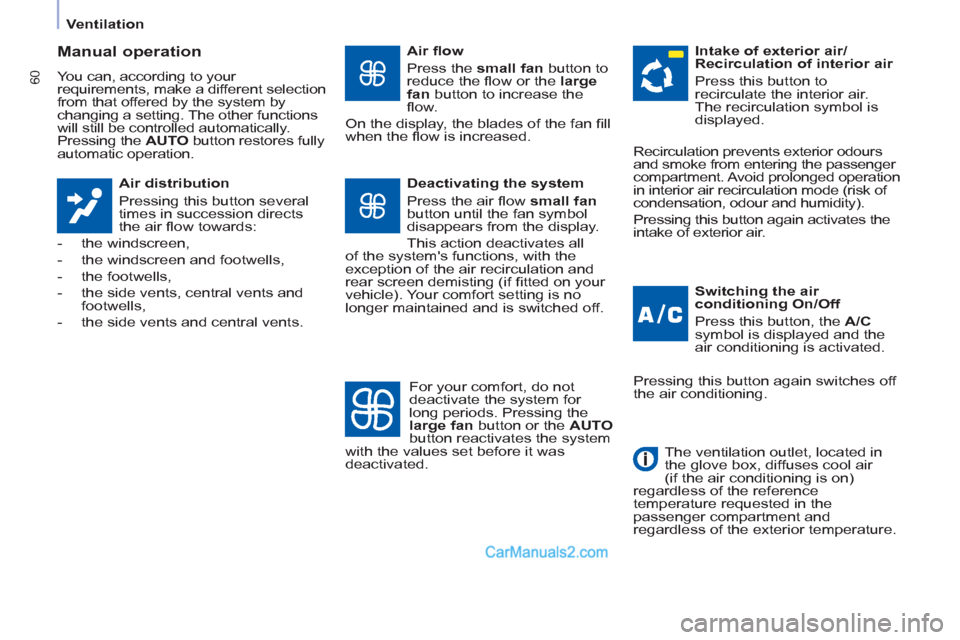
Air distribution
Pressing this button several
times in succession directs
the air fl ow towards:
- the windscreen,
- the windscreen and footwells,
- the footwells,
- the side vents, central vents and
footwells,
- the side vents and central vents.
Air fl ow
Press the small fan
button to
reduce the fl ow or the large
fan
button to increase the
fl ow.
On the display, the blades of the fan fi ll
when the fl ow is increased.
Switching the air
conditioning On/Off
Press this button, the A/C
symbol is displayed and the
air conditioning is activated.
Deactivating the system
Press the air fl ow small fan
button until the fan symbol
disappears from the display.
This action deactivates all
of the system's functions, with the
exception of the air recirculation and
rear screen demisting (if fi tted on your
vehicle). Your comfort setting is no
longer maintained and is switched off.
Intake of exterior air/
Recirculation of interior air
Press this button to
recirculate the interior air.
The recirculation symbol is
displayed.
For your comfort, do not
deactivate the system for
long periods. Pressing the
large fan
button or the AUTO
button reactivates the system
with the values set before it was
deactivated. Recirculation prevents exterior odours
and smoke from entering the passenger
compartment. Avoid prolonged operation
in interior air recirculation mode (risk of
condensation, odour and humidity).
Pressing this button again activates the
intake of exterior air.
Pressing this button again switches off
the air conditioning.
The ventilation outlet, located in
the glove box, diffuses cool air
(if the air conditioning is on)
regardless of the reference
temperature requested in the
passenger compartment and
regardless of the exterior temperature.
Page 124 of 200
122
Changing a fuse
CHANGING A FUSE
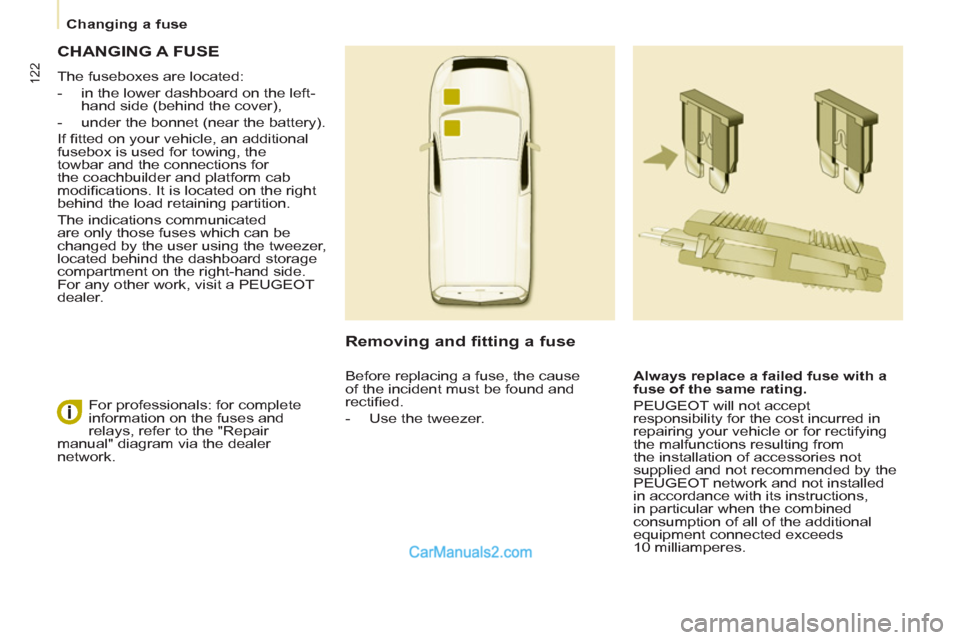
The fuseboxes are located:
- in the lower dashboard on the left-
hand side (behind the cover),
- under the bonnet (near the battery).
If fi tted on your vehicle, an additional
fusebox is used for towing, the
towbar and the connections for
the coachbuilder and platform cab
modifi cations. It is located on the right
behind the load retaining partition.
The indications communicated
are only those fuses which can be
changed by the user using the tweezer,
located behind the dashboard storage
compartment on the right-hand side.
For any other work, visit a PEUGEOT
dealer.
Removing and fitting a fuse
Always replace a failed fuse with a
fuse of the same rating.
PEUGEOT will not accept
responsibility for the cost incurred in
repairing your vehicle or for rectifying
the malfunctions resulting from
the installation of accessories not
supplied and not recommended by the
PEUGEOT network and not installed
in accordance with its instructions,
in particular when the combined
consumption of all of the additional
equipment connected exceeds
10 milliamperes. For professionals: for complete
information on the fuses and
relays, refer to the "Repair
manual" diagram via the dealer
network. Before replacing a fuse, the cause
of the incident must be found and
rectifi ed.
- Use the tweezer.
Page 125 of 200
123
QUICK HEL
P
7
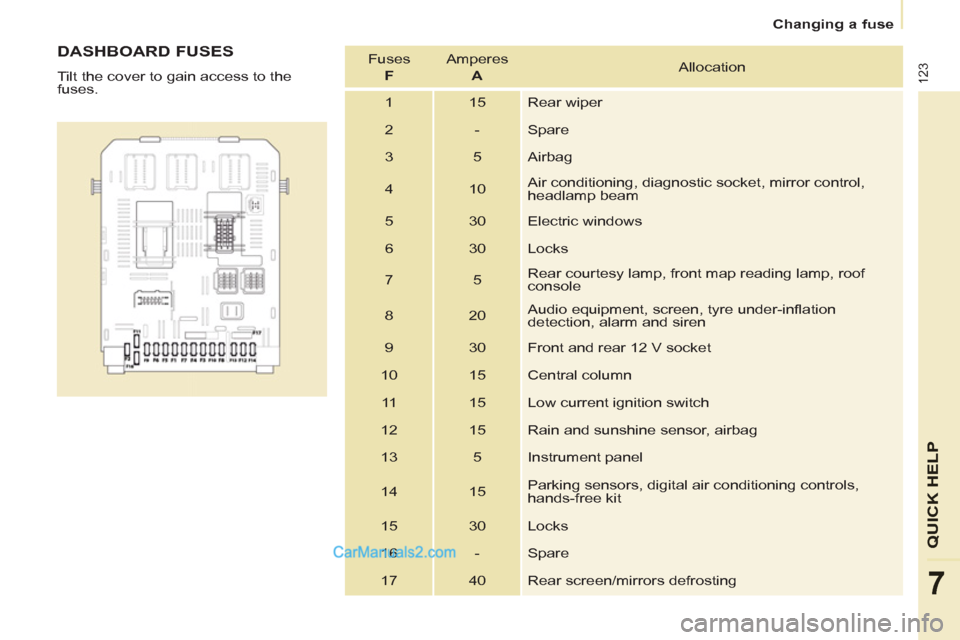
DASHBOARD FUSES
Tilt the cover to gain access to the
fuses. Fuses
F
Amperes
A
Allocation
1 15 Rear wiper
2 - Spare
3 5 Airbag
4 10 Air conditioning, diagnostic socket, mirror control,
headlamp beam
5 30 Electric windows
6 30 Locks
7 5 Rear courtesy lamp, front map reading lamp, roof
console
8 20 Audio equipment, screen, tyre under-infl ation
detection, alarm and siren
9 30 Front and rear 12 V socket
10 15 Central column
11 15 Low current ignition switch
12 15 Rain and sunshine sensor, airbag
13 5 Instrument panel
14 15 Parking sensors, digital air conditioning controls,
hands-free kit
15 30 Locks
16 - Spare
17 40 Rear screen/mirrors defrosting
Changing a fuse
Page 126 of 200
124
Changing a fuse
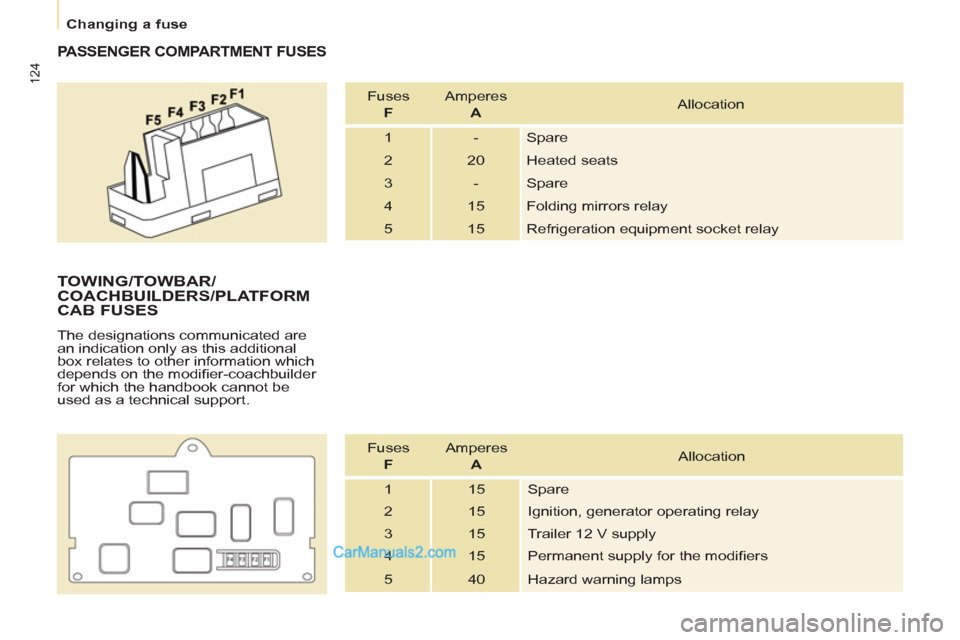
PASSENGER COMPARTMENT FUSES
Fuses
F
Amperes
A
Allocation
1 - Spare
2 20 Heated seats
3 - Spare
4 15 Folding mirrors relay
5 15 Refrigeration equipment socket relay
TOWING/TOWBAR/
COACHBUILDERS/PLATFORM
CAB FUSES
The designations communicated are
an indication only as this additional
box relates to other information which
depends on the modifi er-coachbuilder
for which the handbook cannot be
used as a technical support.
Fuses
F
Amperes
A
Allocation
1 15 Spare
2 15 Ignition, generator operating relay
3 15 Trailer 12 V supply
4 15 Permanent supply for the modifi ers
5 40 Hazard warning lamps
Page 127 of 200
125
QUICK HEL
P
7
Changing a fuse
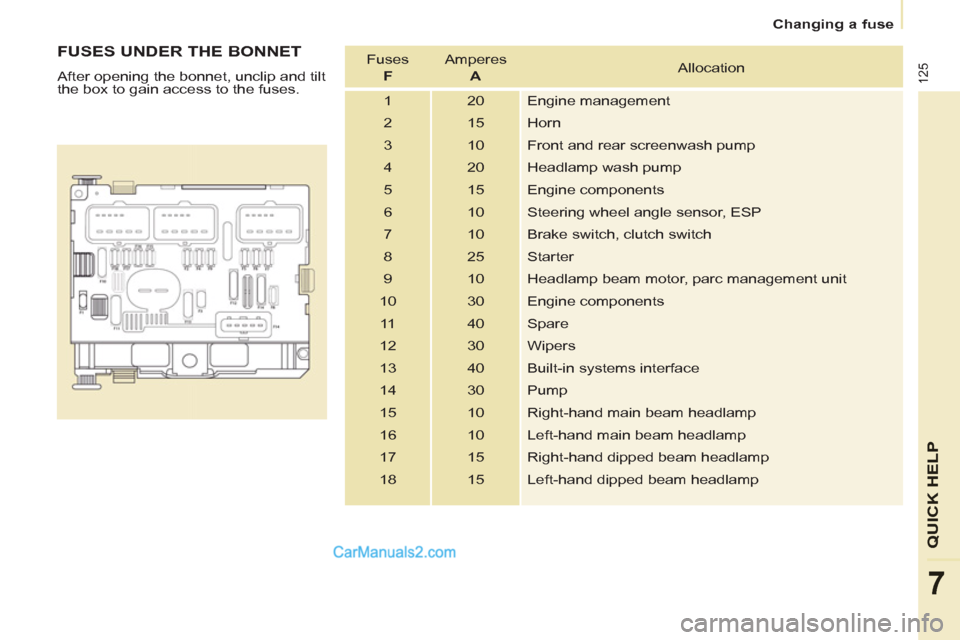
FUSES UNDER THE BONNET
After opening the bonnet, unclip and tilt
the box to gain access to the fuses. Fuses
F
Amperes
A
Allocation
1 20 Engine management
2 15 Horn
3 10 Front and rear screenwash pump
4 20 Headlamp wash pump
5 15 Engine components
6 10 Steering wheel angle sensor, ESP
7 10 Brake switch, clutch switch
8 25 Starter
9 10 Headlamp beam motor, parc management unit
10 30 Engine components
11 40 Spare
12 30 Wipers
13 40 Built-in systems interface
14 30 Pump
15 10 Right-hand main beam headlamp
16 10 Left-hand main beam headlamp
17 15 Right-hand dipped beam headlamp
18 15 Left-hand dipped beam headlamp
Page 195 of 200
137
Instruments and controls
VISUAL SEARCH
10
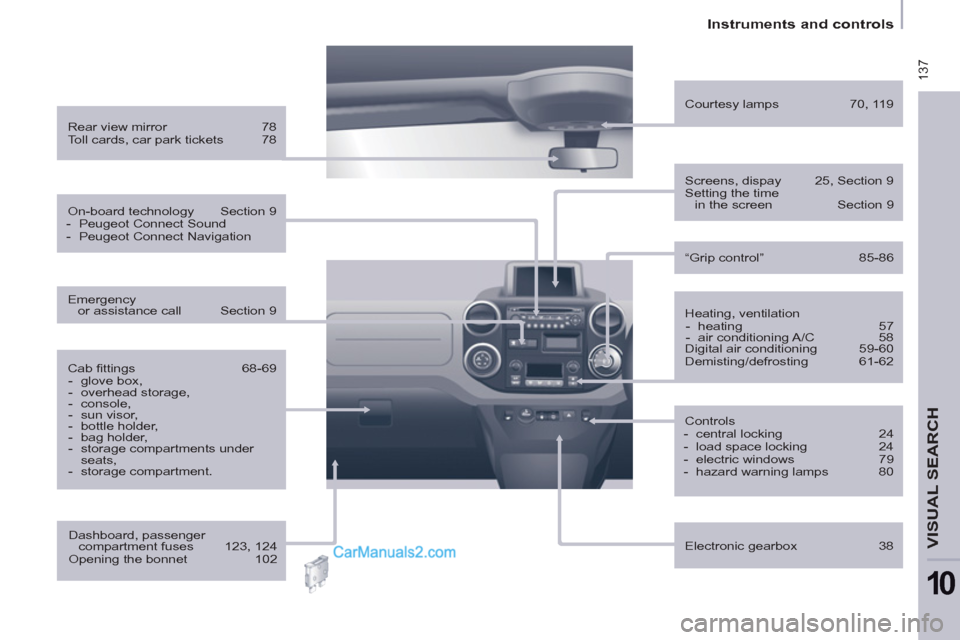
Heating, ventilation
- heating 57
- air conditioning A/C 58
Digital air conditioning 59-60
Demisting/defrosting 61-62
Rear view mirror 78
Toll cards, car park tickets 78
Courtesy lamps 70, 119
Controls
- central locking 24
- load space locking 24
- electric windows 79
- hazard warning lamps 80
Electronic gearbox 38
Cab fi ttings 68-69
- glove box,
- overhead storage,
- console,
- sun visor,
- bottle holder,
- bag holder,
- storage compartments under
seats,
- storage compartment.
Screens, dispay 25, Section 9
Setting the time
in the screen Section 9
Dashboard, passenger
compartment fuses 123, 124
Opening the bonnet 102
On-board technology Section 9
- Peugeot Connect Sound
- Peugeot Connect Navigation
Emergency
or assistance call Section 9
“Grip control” 85-86
Page 196 of 200
138
Interior
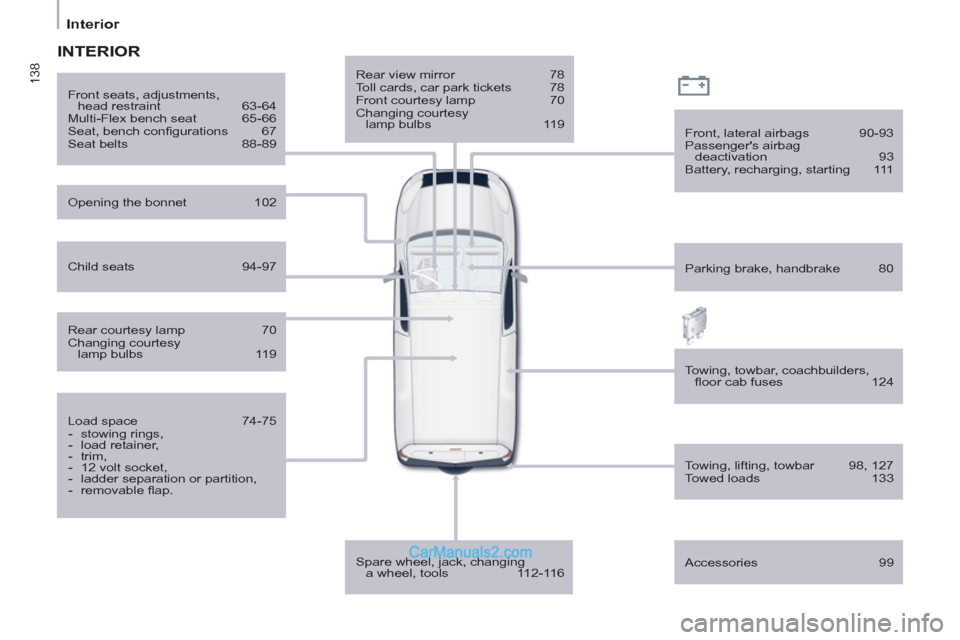
INTERIOR
Towing, lifting, towbar 98, 127
Towed loads 133
Rear view mirror 78
Toll cards, car park tickets 78
Front courtesy lamp 70
Changing courtesy
lamp bulbs 119
Spare wheel, jack, changing
a wheel, tools 112-116
Front, lateral airbags 90-93
Passenger's airbag
deactivation 93
Battery, recharging, starting 111
Parking brake, handbrake 80
Child seats 94-97
Front seats, adjustments,
head restraint 63-64
Multi-Flex bench seat 65-66
Seat, bench confi gurations 67
Seat belts 88-89
Towing, towbar, coachbuilders,
fl oor cab fuses 124
Rear courtesy lamp 70
Changing courtesy
lamp bulbs 119
Load space 74-75
- stowing rings,
- load retainer,
- trim,
- 12 volt socket,
- ladder separation or partition,
- removable fl ap.
Opening the bonnet 102
Accessories 99
Page 197 of 200
139
Technical data - Maintenance
VISUAL SEARCH
10
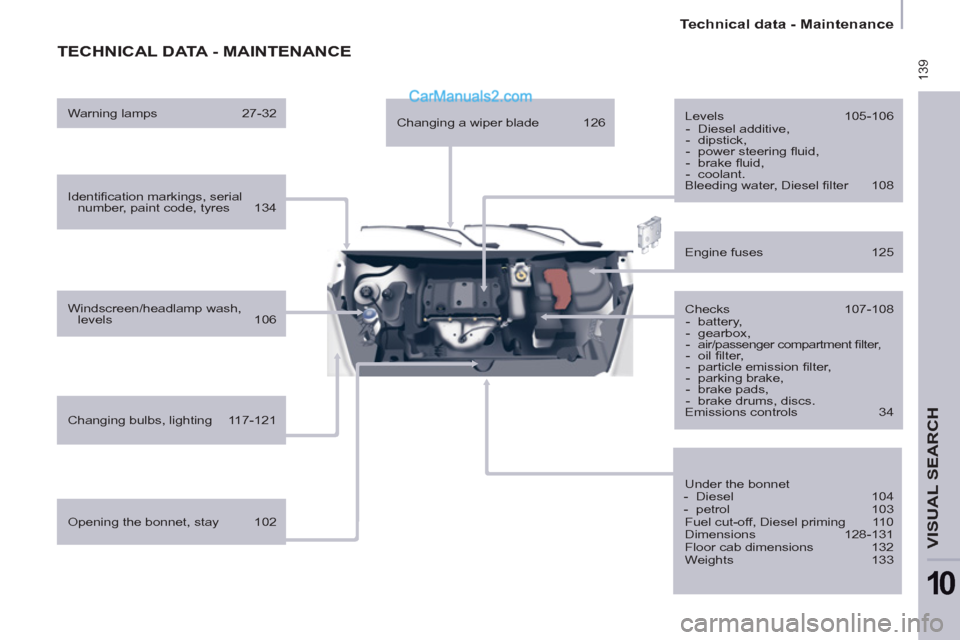
TECHNICAL DATA - MAINTENANCE
Identifi cation markings, serial
number, paint code, tyres 134
Windscreen/headlamp wash,
levels 106
Changing bulbs, lighting 117-121
Checks 107-108
- battery,
- gearbox,
-
air/passenger compartment fi lter,
- oil fi lter,
- particle emission fi lter,
- parking brake,
- brake pads,
- brake drums, discs.
Emissions controls 34
Engine fuses 125
Under the bonnet
- Diesel 104
- petrol 103
Fuel cut-off, Diesel priming 110
Dimensions 128-131
Floor cab dimensions 132
Weights 133
Opening the bonnet, stay 102
Levels 105-106
- Diesel additive,
- dipstick,
- power steering fl uid,
- brake fl uid,
- coolant.
Bleeding water, Diesel fi lter 108
Warning lamps 27-32
Changing a wiper blade 126