Page 111 of 433

Black plate (109,1)
Model "Z51-D" EDITED: 2010/ 7/ 23
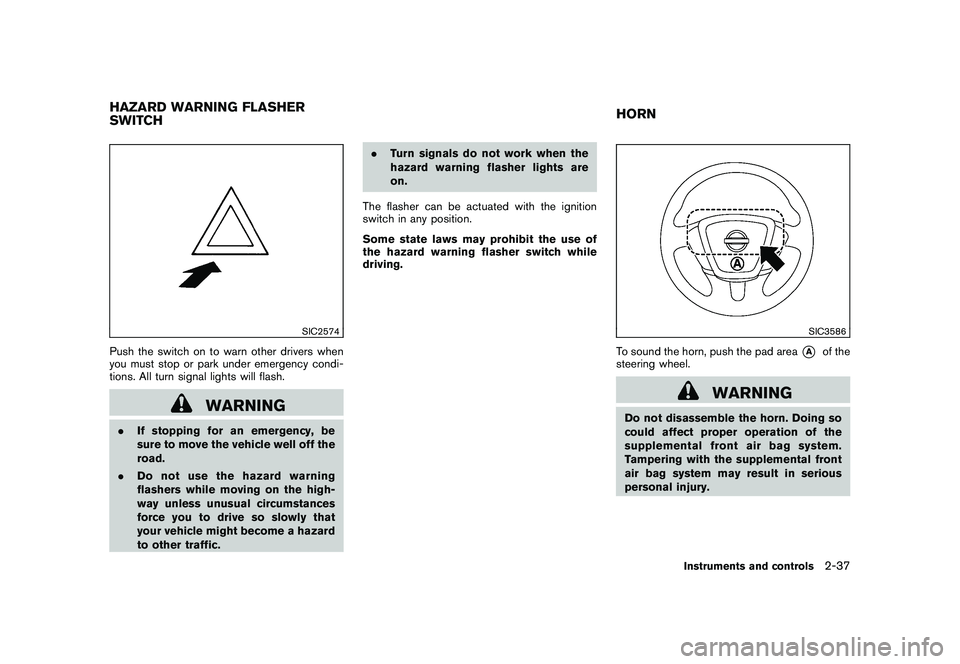
SIC2574
Push the switch on to warn other drivers when
you must stop or park under emergency condi-
tions. All turn signal lights will flash.
WARNING
.If stopping for an emergency, be
sure to move the vehicle well off the
road.
. Do not use the hazard warning
flashers while moving on the high-
way unless unusual circumstances
force you to drive so slowly that
your vehicle might become a hazard
to other traffic. .
Turn signals do not work when the
hazard warning flasher lights are
on.
The flasher can be actuated with the ignition
switch in any position.
Some state laws may prohibit the use of
the hazard warning flasher switch while
driving.
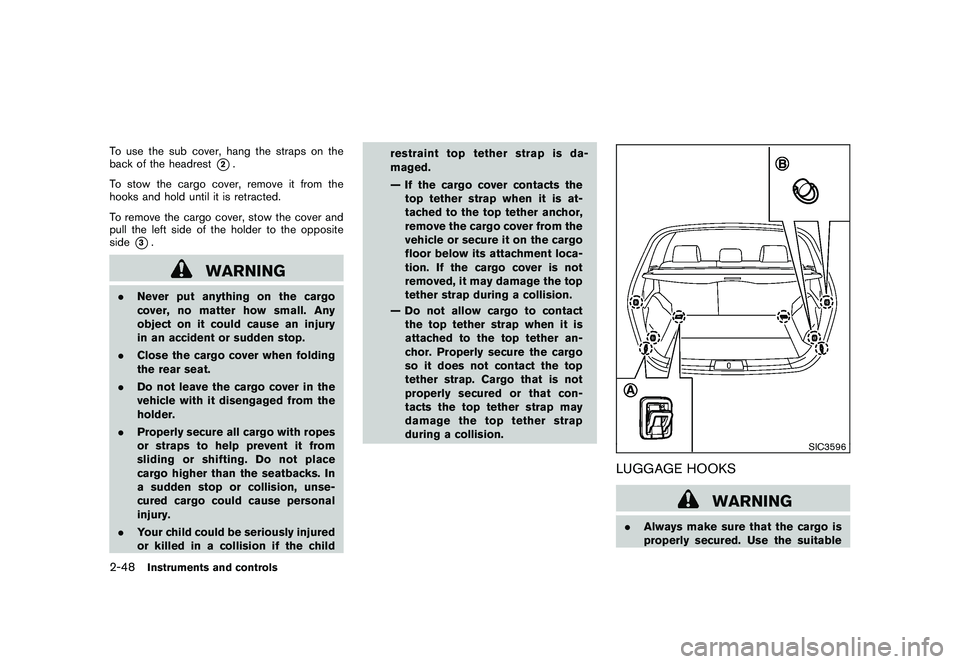
SIC3586
To sound the horn, push the pad area
*A
of the
steering wheel.
WARNING
Do not disassemble the horn. Doing so
could affect proper operation of the
supplemental front air bag system.
Tampering with the supplemental front
air bag system may result in serious
personal injury.
HAZARD WARNING FLASHER
SWITCH HORN
Instruments and controls
2-37
Page 112 of 433

Black plate (110,1)
Model "Z51-D" EDITED: 2010/ 7/ 23
SIC4401
The heated steering wheel system is designed
to operate only when the surface temperature of
the steering wheel is below 688F (20 8C) .
Push the heated steering wheel switch to warm
the steering wheel after the engine starts. The
indicator light
*1
on the switch will illuminate.
If the surface temperature of the steering wheel
is below 68 8F (20 8C) , the system will heat the
steering wheel and cycle off and on to maintain a
temperature above 68 8F (20 8C) . The indicator
light will remain on as long as the system is on.
Push the switch again to turn the heated
steering wheel system off manually. The indica-
tor light will turn off. NOTE:
If the surface temperature of the steering
wheel is above 68
8F (20 8C) when the switch
is turned on, the system will not heat the
steering wheel. This is not a malfunction.
WARNING
Do not use or allow occupants to use
the seat heater if you or the occupants
cannot monitor elevated seat tempera-
tures or have an inability to feel pain in
body parts that contact the seat. Use of
the seat heater by such people could
result in serious injury.
CAUTION
. The battery could run down if the
seat heater is operated while the
engine is not running.
. Do not use the seat heater for
extended periods or when no one
is using the seat.
. Do not put anything on the seat
which insulates heat, such as a
blanket, cushion, seat cover, etc.
Otherwise, the seat may become
overheated.
. Do not place anything hard or heavy
on the seat or pierce it with a pin or
similar object. This may result in
damage to the heater.
HEATED STEERING WHEEL (if so
equipped) HEATED SEATS (if so equipped)2-38
Instruments and controls
Page 118 of 433
Black plate (116,1)
Model "Z51-D" EDITED: 2010/ 7/ 23
SIC3042
Rear
Pull the armrest forward until it is horizontal.
SIC3589
SUNGLASSES HOLDER
WARNING
Keep the sunglasses holder closed
while driving to prevent an accident.
To open the sunglasses holder, push
*1.
CAUTION
. Do not use for anything other than
glasses.
. Do not leave glasses in the sun-
glasses holder while parking in direct sunlight. The heat may da-
mage the glasses.
2-44
Instruments and controls
Page 119 of 433
Black plate (117,1)
Model "Z51-D" EDITED: 2010/ 7/ 23
SIC3590
GLOVE BOX
WARNING
Keep glove box lid closed while driving
to help prevent injury in an accident or a
sudden stop.
To open the glove box, pull the handle
*1.
To close, push the lid in until the lock latches.
To lock
*2/unlock
*3
the glove box, use the
mechanical key. For the mechanical key usage,
see “KEYS” in the “3. Pre-driving checks and
adjustments” section.
SIC3654
Front
CONSOLE BOXWhen the lever
*A
(driver’s seat side) is pulled,
the upper case is available for storing some
small items. When the lever
*B
(front passen-
ger’s seat side) is pulled, the bottom case is
available for storing some larger ones.
Instruments and controls
2-45
Page 122 of 433

Black plate (120,1)
Model "Z51-D" EDITED: 2010/ 7/ 23
To use the sub cover, hang the straps on the
back of the headrest
*2.
To stow the cargo cover, remove it from the
hooks and hold until it is retracted.
To remove the cargo cover, stow the cover and
pull the left side of the holder to the opposite
side
*3.
WARNING
. Never put anything on the cargo
cover, no matter how small. Any
object on it could cause an injury
in an accident or sudden stop.
. Close the cargo cover when folding
the rear seat.
. Do not leave the cargo cover in the
vehicle with it disengaged from the
holder.
. Properly secure all cargo with ropes
or straps to help prevent it from
sliding or shifting. Do not place
cargo higher than the seatbacks. In
a sudden stop or collision, unse-
cured cargo could cause personal
injury.
. Your child could be seriously injured
or killed in a collision if the child restraint top tether strap is da-
maged.
— If the cargo cover contacts the
top tether strap when it is at-
tached to the top tether anchor,
remove the cargo cover from the
vehicle or secure it on the cargo
floor below its attachment loca-
tion. If the cargo cover is not
removed, it may damage the top
tether strap during a collision.
— Do not allow cargo to contact the top tether strap when it is
attached to the top tether an-
chor. Properly secure the cargo
so it does not contact the top
tether strap. Cargo that is not
properly secured or that con-
tacts the top tether strap may
damage the top tether strap
during a collision.
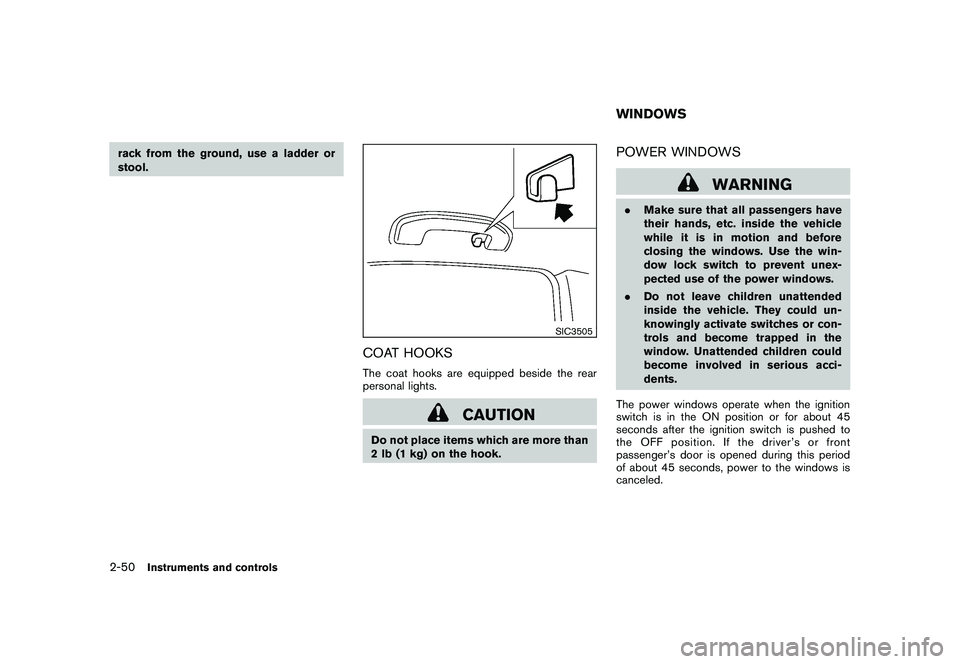
SIC3596
LUGGAGE HOOKS
WARNING
. Always make sure that the cargo is
properly secured. Use the suitable
2-48
Instruments and controls
Page 123 of 433

Black plate (121,1)
Model "Z51-D" EDITED: 2010/ 7/ 23
ropes and hooks.
. Unsecured cargo can become dan-
gerous in an accident or sudden
stop.
CAUTION
Do not apply a total load of more than
22 lb (10 kg)
*A
or 7 lb (3 kg)
*B
to a
single hook.
SIC3597
ROOF RACK (if so equipped)Always distribute the luggage evenly on the roof
rack. Do not load more than 165 lb (75 kg)
(black) or 220 lb (100 kg) (silver) on the roof
rails. Observe the maximum load limit shown on
the crossbars or roof carriers when you attach
them on the roof rails. Contact a NISSAN dealer
for crossbar or other equipment information. Be
careful that your vehicle does not exceed the
Gross Vehicle Weight Rating (GVWR) or its
Gross Axle Weight Rating (GAWR front and
rear) . The GVWR and GAWR are located on the
F.M.V.S.S. or C.V.M.S.S. certification label (lo-
cated on the driver’s door pillar). For more
information regarding GVWR and GAWR, see
“VEHICLE LOADING INFORMATION” in the “9. Technical and consumer information” section.
WARNING
.
Drive extra carefully when the vehi-
cle is loaded at or near the cargo
carrying capacity, especially if the
significant portion of that load is
carried on the roof rack.
. Heavy loading of the roof rack has
the potential to affect the vehicle
stability and handling during sud-
den or unusual handling maneuvers.
. Roof rack load should be evenly
distributed.
. Do not exceed maximum roof rack
load weight capacity.
. Properly secure all cargo with ropes
or straps to help prevent it from
sliding or shifting. In a sudden stop
or collision, unsecured cargo could
cause personal injury.
CAUTION
Use care when placing or removing
items from the roof rack. If you cannot
comfortably lift the items onto the roof
Instruments and controls
2-49
Page 124 of 433

Black plate (122,1)
Model "Z51-D" EDITED: 2010/ 7/ 23
rack from the ground, use a ladder or
stool.
SIC3505
COAT HOOKSThe coat hooks are equipped beside the rear
personal lights.
CAUTION
Do not place items which are more than
2 lb (1 kg) on the hook.
POWER WINDOWS
WARNING
.Make sure that all passengers have
their hands, etc. inside the vehicle
while it is in motion and before
closing the windows. Use the win-
dow lock switch to prevent unex-
pected use of the power windows.
. Do not leave children unattended
inside the vehicle. They could un-
knowingly activate switches or con-
trols and become trapped in the
window. Unattended children could
become involved in serious acci-
dents.
The power windows operate when the ignition
switch is in the ON position or for about 45
seconds after the ignition switch is pushed to
the OFF position. If the driver’s or front
passenger’s door is opened during this period
of about 45 seconds, power to the windows is
canceled.WINDOWS
2-50
Instruments and controls
Page 126 of 433

Black plate (124,1)
Model "Z51-D" EDITED: 2010/ 7/ 23
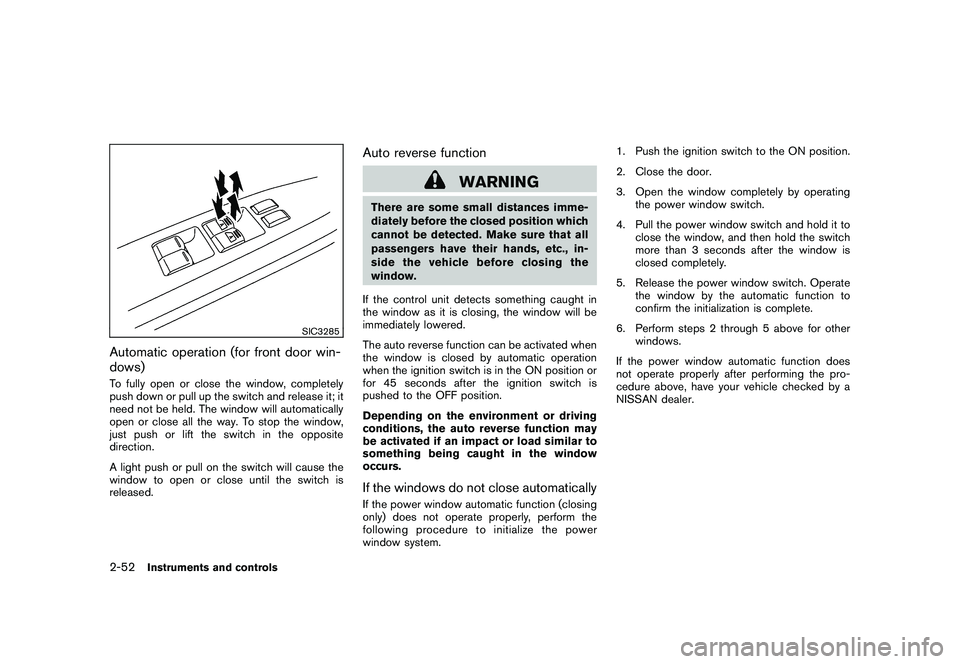
SIC3285
Automatic operation (for front door win-
dows)To fully open or close the window, completely
push down or pull up the switch and release it; it
need not be held. The window will automatically
open or close all the way. To stop the window,
just push or lift the switch in the opposite
direction.
A light push or pull on the switch will cause the
window to open or close until the switch is
released.
Auto reverse function
WARNING
There are some small distances imme-
diately before the closed position which
cannot be detected. Make sure that all
passengers have their hands, etc., in-
side the vehicle before closing the
window.
If the control unit detects something caught in
the window as it is closing, the window will be
immediately lowered.
The auto reverse function can be activated when
the window is closed by automatic operation
when the ignition switch is in the ON position or
for 45 seconds after the ignition switch is
pushed to the OFF position.
Depending on the environment or driving
conditions, the auto reverse function may
be activated if an impact or load similar to
something being caught in the window
occurs.If the windows do not close automaticallyIf the power window automatic function (closing
only) does not operate properly, perform the
following procedure to initialize the power
window system. 1. Push the ignition switch to the ON position.
2. Close the door.
3. Open the window completely by operating
the power window switch.
4. Pull the power window switch and hold it to close the window, and then hold the switch
more than 3 seconds after the window is
closed completely.
5. Release the power window switch. Operate the window by the automatic function to
confirm the initialization is complete.
6. Perform steps 2 through 5 above for other windows.
If the power window automatic function does
not operate properly after performing the pro-
cedure above, have your vehicle checked by a
NISSAN dealer.
2-52
Instruments and controls