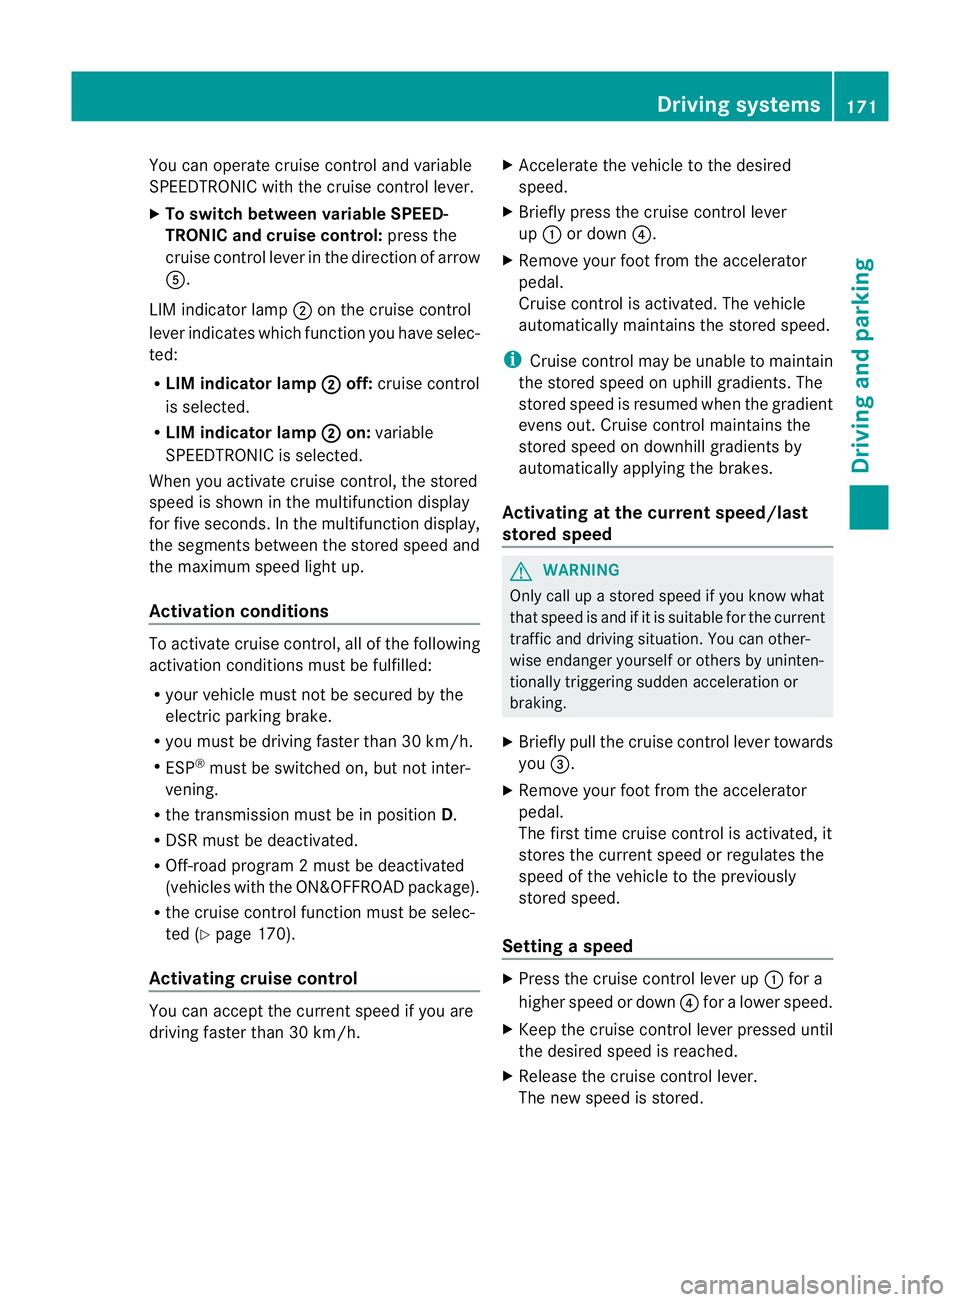
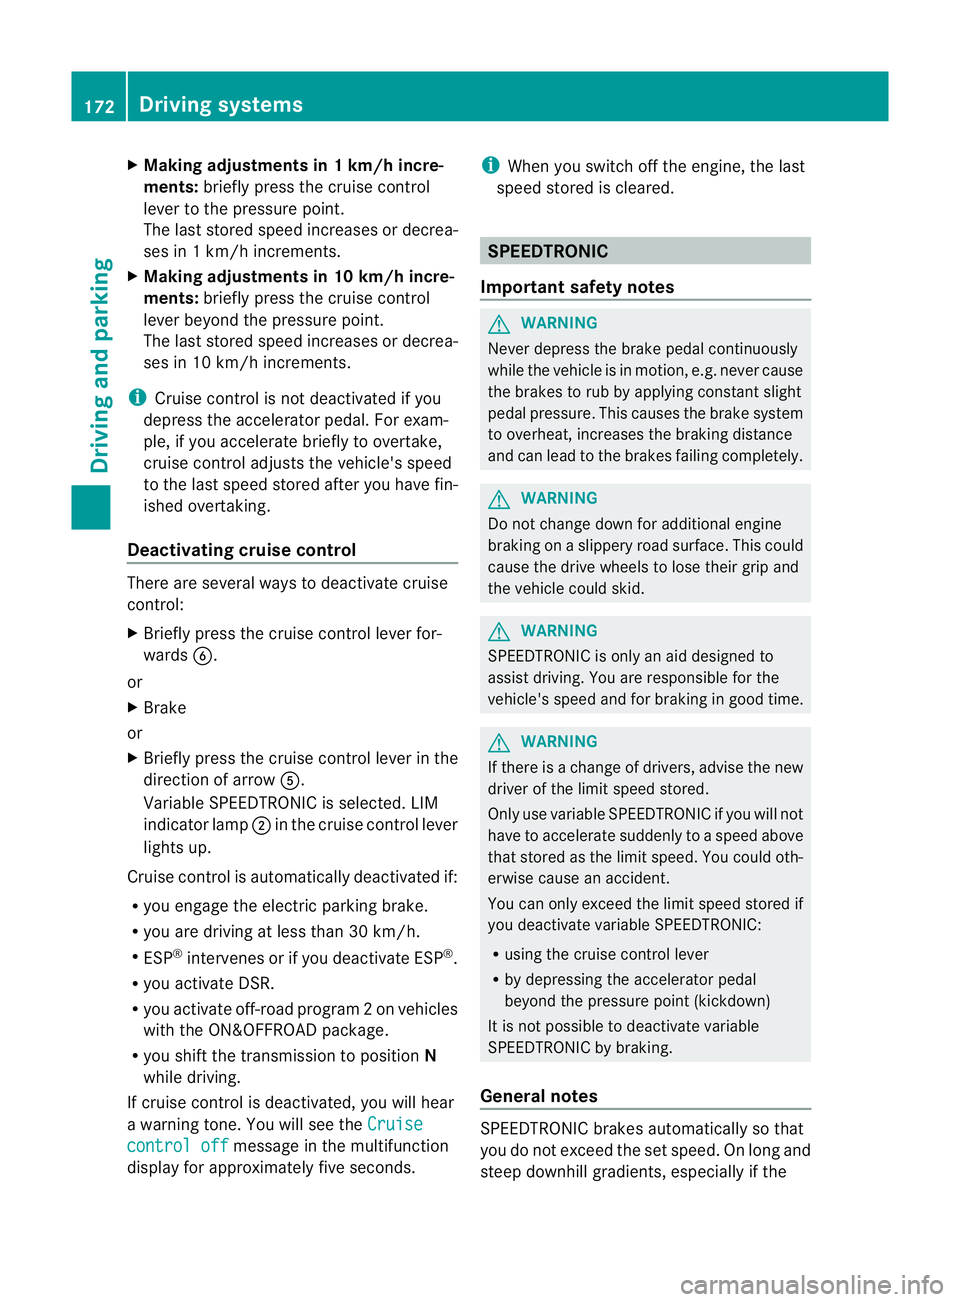
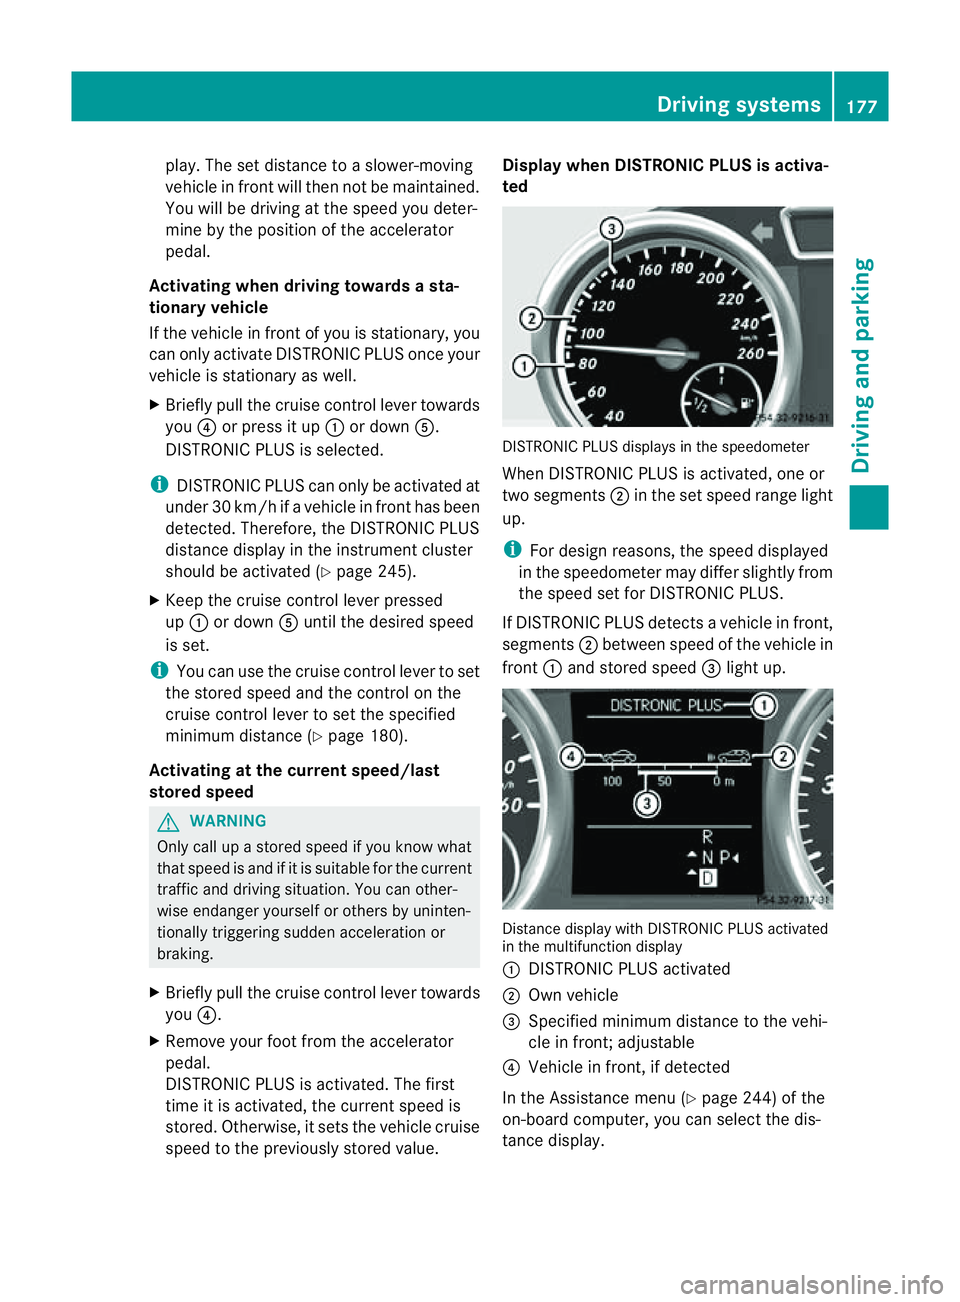
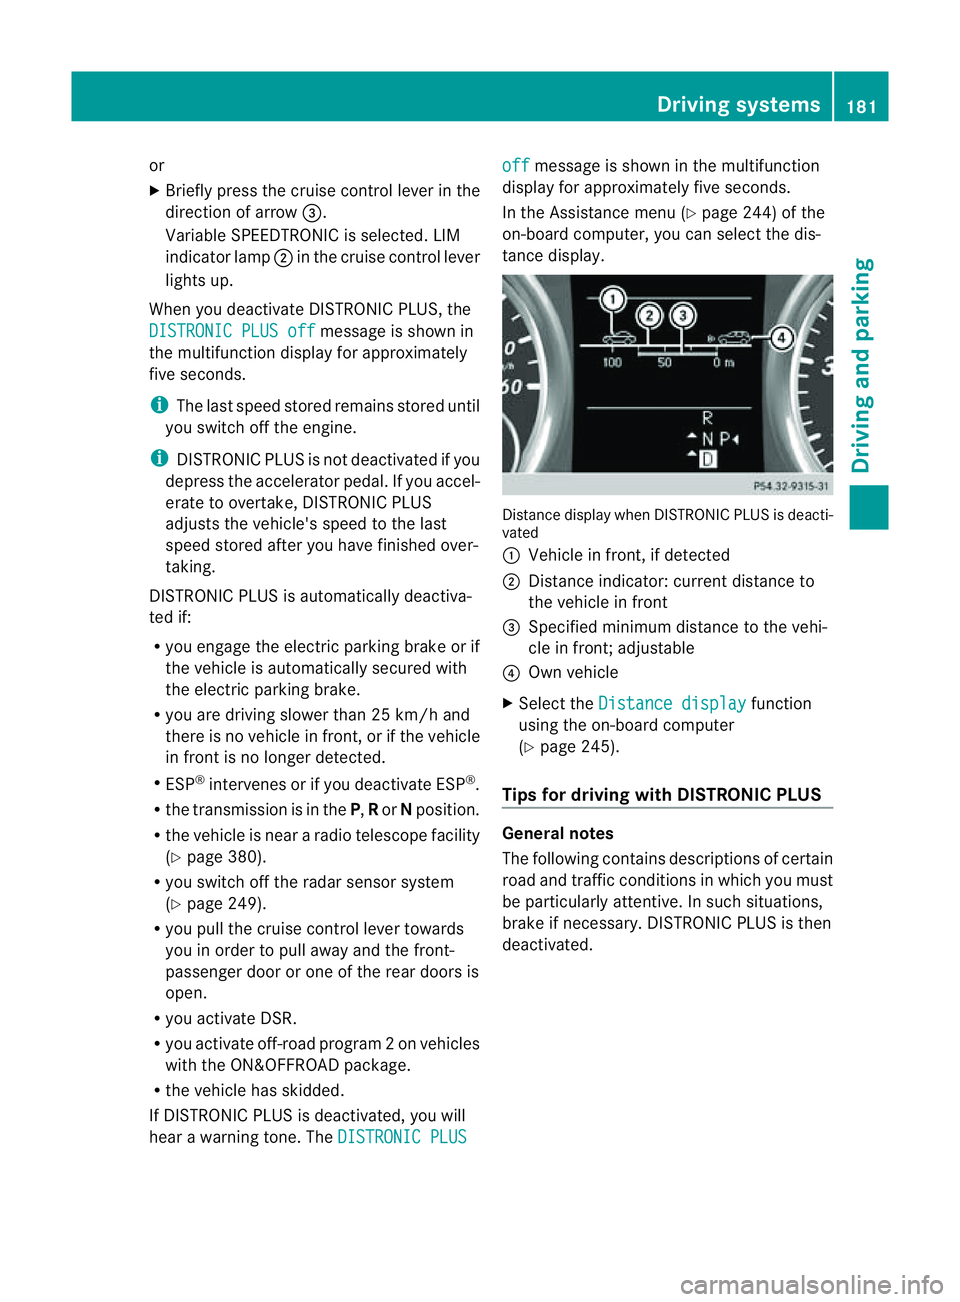
2011 MERCEDES-BENZ M-CLASS SUV warning light
[x] Cancel search: warning lightPage 172 of 389

The table shows approach and departure
angles :and ;when the vehicle is loaded
and ready to drive.
For vehicles with steel springs, loaded and
ready to driv emeans: afull tank, all fluids
topped up and the driver is in the vehicle.
On vehicles with the AIRMATI Cpackag eor
the ON&OFFROAD package, load suptothe
maximu mpermissible load have no influence
on approach/departur eangles. :
: 13
;
Steel-sp
rung
vehicles 26
°14 25
°15 25
°16 Vehicles with
th
eA IRMATIC
package Highway level
23° 22°
22°
17 Raised level
28° 27° 27°
Vehicles with
th
eO N&O FF-
ROA Dpackage Highway level
23° 22°
22°
17 Off-roa
dleve l1 26° 25° 25°
Off-road level 2
28° 27° 27°
Off-road level 3
31° 29° 29°
R
Follo wthe lineoff all when driving on slopes
and steep inclines.
R Before driving on extreme uphill and down-
hill gradients ,select th eoff-roa dprogram
(Y page 222) or the LOW RANGE off-road
gear (Y page 223).
R Observ ethe warnings fo roff-roa ddriving
(Y page 166).
R Drive slowly. R
Accelerat egentl yand mak esure that the
wheels are gripping.
R Avoid high engin espeeds, excep twhen
drivin gons andy and muddy routes with
high driving resistance.
R Select ashift range appropriate to the gra-
dient.
R Before tacklin gsteep downhill gradients,
select shift range 1.
Maximum gradient-climbin gcapability On good road surfaces and wit
hthe LOW
RANGE off-road gear selected, the full gradi-
ent -climbing capability is available.
i If the load on the front axle is reduced
when pulling away on asteep uphill slope,
the front wheels have atendency to spin.
4ETS recognises this and brakes the
wheels accordingly. The rear wheel torque
is increased and it is easier to pull away.
Brow of hill When driving up an uphill gradient, slightly
reduc epressure on th eaccelerator immedi-
atel ybefor ereachin gthe brow of the hill.
Make use of the vehicle' sown impetus to
travel over the brow.
This style of driving prevents:
R the vehicle from lifting off the ground on the
brow of ahill
R the vehicle from travelling too quickly down
the other side
Driving downhill R
Driv eslowly.
R Do not drive at an angle down steep
inclines. Steer into the line of fall and drive
with the front wheels aligned straight. Oth-
13
14
15
16
17 Drivin
gtips
169Driving and park ing Z
The ML 25
0BlueTEC 4MATIC model has an approach angle of 25°.
The ML 250 BlueTEC 4MATIC model with AMG bodystyling has an approach angle of 24°.
The ML 250 BlueTEC 4MATIC model has adeparture angle of 24°.
With AMG bodystyling.
The ML 35 04MATI Cmodel has adeparture angle of 23°.
Page 174 of 389

You can operat
ecruise control and variable
SPEEDTRONIC with th ecruise control lever.
X To switc hbetween variable SPEED-
TRONIC and cruise control: press the
cruis econtrol leve rinthe direction of arrow
A.
LI Mi ndicator lamp ;on the cruise control
lever indicates which function you have selec-
ted:
R LIM indic ator lamp ; off:
cruis econtrol
is selected.
R LIM indic ator lamp ; on:
variable
SPEEDTRONIC is selected.
When you activate cruis econtrol, the stored
speed is shown in the multifunction display
for fiv eseconds .Inthe multifunction display,
the segments between the stored speed and
the maximum speed light up.
Activation conditions To activate cruise con
trol, all of the following
activation condition smust be fulfilled:
R your vehicle must not be secured by the
electric parking brake.
R you must be driving faster than 30 km/h.
R ESP ®
must be switched on, but not inter-
vening.
R the transmission must be in position D.
R DSR must be deactivated.
R Off-road program 2must be deactivated
(vehicles with the ON&OFFROAD package).
R the cruise control function must be selec-
ted (Y page 170).
Activating cruise control You can accept the current spee
difyou are
drivin gfaster than 30 km/h. X
Accelerate the vehicle to the desired
speed.
X Briefly press the cruise control lever
up : or down ?.
X Remove your foot from the accelerator
pedal.
Cruise control is activated. The vehicle
automatically maintains the stored speed.
i Cruise control may be unable to maintain
the stored spee donuphill gradients. The
stored speed is resumed when the gradient
evens out. Cruise control maintain sthe
stored speed on downhill gradient sby
automatically applying the brakes.
Activating at the current speed/last
stored speed G
WARNING
Only call up astored speed if you know what
that speed is and if it is suitable for the current
traffic and driving situation. You can other-
wise endanger yoursel forothers by uninten-
tionall ytriggering sudden acceleration or
braking.
X Briefly pull th ecruis econtrol leve rtowards
you =.
X Remove your foot from the accelerator
pedal.
The first tim ecruis econtrol is activated, it
stores the curren tspeed or regulates the
speed of the vehicle to the previously
stored speed.
Setting aspeed X
Press the cruise control lever up :for a
high er spee dordown?for alower speed.
X Keep the cruise contr ol leverpresse duntil
the desired speed is reached.
X Release the cruise contro llever.
The new speed is stored. Driving systems
171Drivingand parking Z
Page 175 of 389

X
Makin gadjustments in 1km/h incre-
ments: briefly press the cruise control
leve rtot he pressur epoint.
The last stored speed increases or decrea-
ses in 1km/h increments.
X Makin gadjustments in 10 km/h incre-
ments: briefly pres sthe cruise con trol
leve rbeyond the pressur epoint.
The last stored speed increases or decrea-
ses in 10 km /hincrements.
i Cruise control is not deactivated if you
depress the accelerator pedal. For exam-
ple, if you accelerate briefly to overta ke,
cruis econtrol adjusts the vehicle' sspeed
to the last speed stored after you have fin-
ished overtaking.
Deactivating cruise control There are several ways to deactivat
ecruise
con trol:
X Briefl ypres sthe cruise con trol leve rfor-
wards B.
or
X Brake
or
X Briefl ypres sthe cruise con trol leve rinthe
direction of arrow A.
Variable SPE EDTRONIC is selected. LIM
indicator lamp ;in the cruise control lever
lights up.
Cruise control is automatically deactivated if:
R you engage the electric parkin gbrake.
R yo ua re driving at less than 30 km/h.
R ESP ®
intervenes or if yo udeactivate ESP ®
.
R you activate DSR.
R you activate off-road program 2onvehicles
with the ON&OFFROA Dpackage.
R you shift the transmissio ntoposition N
while driving.
If cruise control is deactiva ted, you will hear
aw arning tone. You will see the Cruisecontro
loff message in th
emultifunction
display for approximately five seconds. i
When you switch off the engine, the last
spee dstored is cleared. SPEEDTRONIC
Important safet ynotes G
WARNING
Never depress the brake pedal continuously
while the vehicle is in motion ,e.g. never cause
the brakes to rub by applying constant slight
pedal pressure. This causes the brake system
to ove rheat, increases the braking distance
and can lead to the brakes failing completely. G
WAR
NING
Do not change down for additional engine
braking on aslippery road surface. This could
cause the drive wheels to lose their grip and
the vehicle could skid. G
WARNING
SPEEDTRONIC is only an aid designed to
assist driving. You are responsible for the
vehicle's speed and for braking in good time. G
WARNING
If ther eisac hange of drivers, advise the new
drive rofthe limit speed stored.
Only use variable SPE EDTRONI Cifyou will not
have to accelerate suddenl ytoaspeed above
that stored as the limit speed. You could oth-
erwise cause an accident.
You can only exceed the limit speed stored if
you deactivate variable SPE EDTRONIC:
R using the cruise control lever
R by depressin gthe accelerator pedal
beyon dthe pressure point (kickdown)
It is not possible to deactivate variable
SPE EDTRONI Cbybraking.
General notes SPE
EDTRONIC brakes automatically so that
you do not exceed the set speed. On long and
steep downhil lgradients ,especially if the 172
Driving systemsDriving and parking
Page 176 of 389

vehicl
eisladen or towing atrailer, yo umust
select shift range 1,2or 3in good time. By
doing so, you wil lmake use of the braking
effect of the engine. This relieves the loa don
the brake syste mand prevents the brakes
from overheating and wearing too quickly. If
you need additiona lbraking, depress the
brake peda lrepeatedly rather than continu-
ously.
You can set avariable or permanent limit
speed:
R variable for speedlimits, e.g. in built-up
areas
R permanent for long-term spee drestric-
tions, e.g. when driv ingw ith winter tyres
fitted (Y page174)
i Thes pee dindicated in the spe edometer
ma ydiffer slightly from the limit speed
sto red.
Variable SPEEDTRONIC Cruise control lever
:
To acti vate or increase speed
; LIM indicator lamp
= To activate at the curren tspeed/last
stored speed
? To acti vate or reduce speed
A To switch between cruise control and var-
iable SPEEDTRONIC
B To deactivate variable SPEEDTRONIC
With the cruise control lever, you can operate
cruise control or DISTRONIC PLUS and vari-
able SPEEDTRONIC. X
To switch between variable SPEED-
TRONIC and cruise control/DISTRONIC
PLUS: press the cruise control lever in the
direction of arrow A.
LIM indicator lamp ;on the cruise control
lever indicates which function you have selec-
ted:
R LIM indicator lamp ; off:
cruise control
or DISTRONIC PLUS is selected.
R LIM indicator lamp ; on:
variable
SPEEDTRONIC is selected.
You can use the cruise control lever to limit
the speed to any speed above 30 km/ hwhile
the engin eisrunning.
Activating variable SPEEDTRONIC
You can use the cruise control lever to limit
the spee dtoany speed above 30 km/h while
the engine is running.
X Briefly pres sthe cruise con trollever
up : or down ?.
The curren tspeed is stored and shown in
the multifunction display.
The segment sinthe multifunction display
light up from the star tofthe scal euptot he
stored speed.
Activating at th ecurren tspeed/last
store dspeed G
WARNING
Only select astored speed if you know what
that speed is and whether it is suitable for the
current driving and traffic situation. Other-
wise ,sudden braking could endanger you or
others.
X Briefly pull the cruise control lever towards
you =.
Setting aspeed
X Press the cruise contro llev er up :for a
higher speed or down ?for alower speed.
X Keep th ecruis econtr ol leve rpresse duntil
the desired speed is reached. Drivin
gsystems
173Drivingand park ing Z
Page 178 of 389

G
WARNING
DISTRONIC PLUS canno ttake account of road
and traffic conditions. If DISTRONI Cdoes not
recognise or no longer recognises the vehicle
in front, do not activate DISTRONIC or, if it is
alr eady active, deactivate it. This is especially
the case:
R befor ecorners
R on filter lanes
R when changing to alane with faster moving
traffic
R in comple xdriving situations or where lanes
are diverte d,e.g. at roadworks on amotor-
way
DISTRONIC PLU Sotherwise maintains the
current spe ed setbyyou or accelerates up to
the set speed.
DISTRONIC PLU Scannot take account of
weather conditions. Deactivate, or do not
activate, DISTRONI CPLUS:
R if th eroads are slippery, snow-covered or
icy .The wheels coul dlose their grip when
brakin goraccelerating .The vehicle could
star ttos kid.
R if the sensors are dirty or there is poo rvis-
ibility, e.g. due to snow, rain or fog. Dis-
tance control may be impaired.
Always pay attention to traffic conditions
even when DISTRONIC PLU Sisactivate d.
Otherwise, you ma yfail to recognise dangers
in time, caus eanaccident and injure yourself
and others. G
WARNING
DISTRONIC PLUS brake syourvehicle up to a
maximu mof4m /s2
depending on its speed.
This corresponds to approximately 40% of
your vehicle's maximum braking power. You
must als oapply the brakes yourself if this
braking power is not sufficient.
If DISTRONI CPLUS detects arisk of collision
with avehicle in front, an intermit tent warning
tone sounds. In addition, the ·distance
warning lamp in the instrument cluste rlights
up. Brak etoavoidac ollision. G
WAR
NING
The vehicle can be braked when DISTRONIC
PLUS is activated. For this reason, deactivate
DISTRONIC PLUS if the vehicle is to be set in
motion by othe rmeans (e.g. in acar wash or
by towing).
The radar senso rsystem is automatically
deactivated near radio teles cope facilities
(Y page 38 0).
If you want DISTRONIC PLUS to assist you,
the radar sensor syste mmust be activated
(Y page 249 )and operational.
General notes DISTRONIC PLUS regulates the speed and
automati cally helps you maintain the dis-
tanc etot he vehicle detected in front. It
brakes automatically in orde rtoavoid
exceedi ngthe set speed.
On long and stee pdownhil lgradients, espe-
ciall yifthe vehicle is laden or towing atrailer,
yo um ust select shift range 1,2or 3in good
time. By doing so, you will make use of the
braking effec tofthe engine. This relieves the
load on the brake system and prevents the
brakes from overheating and wearing too
quickly.
If DI STRONIC PLUS detects aslower-moving
vehicle in front ,your vehicle is braked in order
to maintain the preset distance to the vehicle
in front.
If ther eisnov ehicle in front ,DISTRONIC
PLUS operate sinthe sam eway as cruise
control in the spee drange between
30 km/h and 200 km/h. If avehicle is driving
in fron tofyou, DI STRONIC operates in the
speed range betwee n0km/h and
200 km/h.
Do not us eDISTRONIC PLUS on roa dswith
steep gradients. Driving systems
175Drivingand parking Z
Page 180 of 389

play. The set distance to
aslower-moving
vehicle in fron twill then not be maintained.
You will be drivin gatthe speed you deter-
mine by the position of the accelerator
pedal.
Activating when driving towar dsasta-
tionary vehicle
If the vehicl einfront of yo uisstationary, you
can onl yactivate DISTRONI CPLUSo nce your
vehicl eisstationary as well.
X Briefl ypullt he cruis econtr ollever towards
you ?or press it up :or down A.
DISTRONIC PLUS is selected.
i DISTRO NIC PLUS can only be activate dat
under 30 km/h if avehicle in front has been
detected. Therefore, the DISTRONIC PLUS
distance display in the instrumen tcluster
should be activated (Y page 245).
X Keep the cruise control lever pressed
up : or down Auntil the desired speed
is set.
i You can use the cruise control lever to set
the stored speed and the control on the
cruise control lever to set the specified
minimum distance (Y page 180).
Activating at the current speed/last
stored speed G
WARNING
Only call up astored speed if you know what
that speed is and if it is suitable for the current
traffic and driving situation. You can other-
wise endanger yoursel forothers by uninten-
tionally triggering sudden acce leratio nor
braking.
X Briefly pull the cruise contro llever towards
you ?.
X Remov eyour foot from the accelerator
pedal.
DI ST RONIC PLUS is activated. The first
time it is activated, the curren tspeed is
stored. Otherwise, it sets the vehicle cruise
speed to the previously stored value. Displa
ywhen DISTRO NICP LUS is activa-
ted DISTRONIC PLU
Sdisplays in the speedometer
When DISTRONIC PLUS is activated, one or
two segments ;in the set speed range light
up.
i For desig nreasons ,the speed displayed
in the speedometer ma ydiffer slightly from
the speed set for DISTRONIC PLU S.
If DISTRONIC PLUS dete ctsav ehicle in front,
segments ;between speed of the vehicle in
front :and stored speed =light up. Distanc
edisplay with DISTRONIC PLUS activated
in the multifunction display
: DISTRONIC PLUS activated
; Own vehicle
= Specified minimu mdistanc etothe vehi-
cle in front; adjustable
? Vehicle in front, if detected
In the Assistanc emenu (Y page 24 4)of the
on-boar dcompu ter,you can select the dis-
tanc edisplay. Drivin
gsystems
177Drivingand park ing Z
Page 184 of 389

or
X
Briefl ypres sthe cruise con trol leve rinthe
direction of arrow =.
Variable SPE EDTRONIC is selected. LIM
indicator lamp ;in the cruise control lever
lights up.
When you deactivate DI STRONIC PLUS, the
DISTRONIC PLU Soff message is show
nin
the multifunction display for approximately
five seconds.
i The last speed stored remains stored until
you switch off the engine.
i DISTRONIC PLUS is not deactivated if you
depress the accelerator pedal. If you accel-
erate to overtake, DISTRONIC PLUS
adjusts the vehicle's speed to the last
speed stored after you have finished over-
taking.
DISTRONIC PLUS is automatically deactiva-
ted if:
R you engag ethe electric parkin gbrake or if
th ev ehicle is automatically secured with
the electric parking brake.
R you are driving slower than 25 km /hand
there is no vehicle in front ,orifthe vehicle
in front is no longer detec ted.
R ESP ®
intervenes or if you deactivat eESP®
.
R the transmission is in the P,Ror Nposition.
R the vehicle is near aradio telescop efacility
(Y page 380).
R you switch off the radar senso rsystem
(Y page 249).
R you pull the cruise control lever towards
you in order to pull away and the front-
passenger doo rorone of the rear doors is
open.
R you activate DSR.
R you activate off-road program 2onvehicles
with the ON&OFFROA Dpackage.
R the vehicle has skidded.
If DISTRONIC PLUS is deactivated, you will
hear awarning tone. The DISTRONICP LUS off message is show
ninthe multifunction
displa yfor approximately fiv eseconds.
In the Assistanc emenu (Y page 24 4)of the
on-boar dcompu ter,you can select the dis-
tanc edisplay. Distance display when DISTRONI
CPLUS is deacti-
vated
: Vehicl einfront, if detected
; Distance indicator: curre ntdistanc eto
the vehicle in front
= Specified minimum distanc etothe vehi-
cle in front; adjustable
? Own vehicle
X Select the Distancedisplay function
usin gthe on-boar dcompu ter
( Y page 24 5).
Tips for driving with DISTRO NICP LUS Genera
lnotes
The following contains descriptions of certain
road and traf ficc ondition sinwhich you must
be particularly attentive. In such situations,
brake if necessary. DI STRONIC PLUS is then
deactivated. Driving systems
181Drivingand park ing Z
Page 195 of 389

vehicle. Yo
ucould dam aget he vehicle or
the objects.
The sensor smay not detect snow and
objects which absorb ultrasonic sources.
Ultrasonic sources, such as an automatic
car wash, alorry's compressed-air brakes
or ap neumatic drill, coul dcause PARK-
TRONI Ctom alfunction.
PARKTRONIC may not fun ctioncorrectly on
uneven terrain.
Minimum distance Centre approxima
tely 20 cm Corners approximately 15 cm
If there is an obstacle within this range, the
relevan twarning displays light up and awarn-
ing ton esounds. If th edistanc efalls below
the minimum, the distanc emay no longer be
shown.
Warning displays The warning displays show the distan
ce
between th esensor sand the obstacle. The
warning display for the fron tarea is located
on th edashboard above the centre air vents.
The warning display for the rear area is in the
roof lamp in the rear compartment. Warning display for the front area
: Segments on the left-hand side of the
vehicle
; Segments on the right-hand side of the
vehicle
= Segments sho wingoperational readiness The warning display for each side of the vehi-
cle is divided into fiv
eyellow and two red seg-
ments. PARKTRONI Cisoperational if yellow
segment sshowing oper ational readiness =
light up.
The selected transmission position and the
direction in which the vehicle is rolling deter-
mine which warning display is activ ewhen the
engin eisrunning. Transmission
position Warning display
D
Front area activated
R,
Nor the vehicle
is rolling back-
wards Rea
rand front areas
activated P
No area
sactivated One or more segment
slight up as the vehicle
approaches an obstacle, depending on the
vehicle's distance from the obstacle.
From the:
R sixth segment onwards, you wil lhear an
intermitten twarnin gtonef or approx-
imately two seconds.
R seven thsegment onwards, you will hear a
warnin gtonef or approximately two sec-
onds. This indicates that you have now
reached the minimu mdistance.
Deactivating/activating PARKTRONIC :
Indicator lamp
; To deactivate/activate PARKTRONIC 192
Drivin
gsystemsDrivin gand parking