2011 MERCEDES-BENZ M-CLASS SUV wheel
[x] Cancel search: wheelPage 245 of 389

Audio player or audio media operation
Audio dat
afromv arious audio device sor
media can be played, depending on the equip-
ment fitted in the vehicle.
X Switch on the audio system or COMAND
Online and select the audio de vice or
medium (see the separat eoperating
instructions).
X Press the =or; buttononthe steer-
ing wheel to selec tthe Audio menu.
CD changer display (example)
:
Curren tCDint he CD changer
; Curren ttrack
X To sele ctthe next/previous track:
bri efly press the 9or: button.
X To select atrack from the track list
(rapid scrolling): press and holdthe
9 or: button until the desired track
has been reached.
If you press and hold the 9or: but-
ton ,the rapi dscrolling spee disincreased.
Not al laudi od evices or media support this
function.
If track information is stored on the audio
device or medium, the multifunction display
will show the numbe rand name of the track.
The current track does no tappear in audio
AU Xm ode (Auxiliar yaudio mode: external
audio source connected).
TV operation X
Switch on COMAND Online and select TV
(see the separate operating instructions).
X Press the =or; button on the steer-
ing wheel to select the Audio menu. :
Current station
X To select astore dstation: brieflypress
the 9 or: button.
X To select astation from the station
list: press and briefl yholdt he 9
or : button.
Vid eoDVD operation X
Switch on COMAND Online and select
video DVD (see the separate operating
instructions).
X Press the =or; button on the steer-
ing whee ltoselect the Audio men
u. DVD change
rdisplay (example)
: Curren tDVD in th eDVD changer
; Current scene
X To select the next or previous scene:
briefl ypres sthe 9 or: button.
X To selec tascene from th escene list
(rapid scrolling): press and hold the
9 or: button until th edesired
scene ha sbeenr eached. Telephon
emenu
Introdu ction Functions and display
sare dependen tonthe
optional equipmen tinstalled in your vehicle. 242
Menus and submenusOn-board computer and displays
Page 246 of 389

You can place your mobile phone in the
mobile phone bracket (Y
page 310), or set
up aB luetooth ®
connection to the audio sys-
tem or COMAN DOnline(see the separate
operating instructions).
i You ca nobtain fur ther information about
suitabl emobile phones and connecting
mobile phones via Bluetooth ®
:
R in any Mercedes Ben zServic eCentre
R on the Internet at http://
www.mercedes-benz.com/connect G
WAR
NING
Observe the lega lrequir ements of the country
in which you are cur rently drivin gregarding
the use of mobile phones in the vehicle.
If it is permitted to use mobile phones while
the vehicle is in motion, you should only use
the mw hen the roa dand traffic conditio ns
allow. Otherwise, you may be distrac tedf rom
th et raffic conditions, caus eanaccident and
injure yourself and others.
X Switch on the mobile phone and audi osys-
tem or COMAND Online (see the separate
operating instructions).
X Press the =or; button on the steer-
ing whee ltoselect the Tel men
u.
Yo uw ills ee one of the following display mes-
sage sint he multifunction display:
R Please enter PIN :t
he mobile phone has
been placed in the mobile phone bracket
and the PIN has not been entered.
X Enter the PIN usin gthe mobile phone, LIN-
GUATRONIC ,the audio system or
COMAN DOnline.
The mobil ephone will search for anetwor k.
R Telephon eready or th
ename of the net-
work provider: the mobile phone has found
an etwor kand is ready to receive.
R Telephone No Service :non
etwor kis
available, or the mobile phone is searching
for anetwor k. Accepting
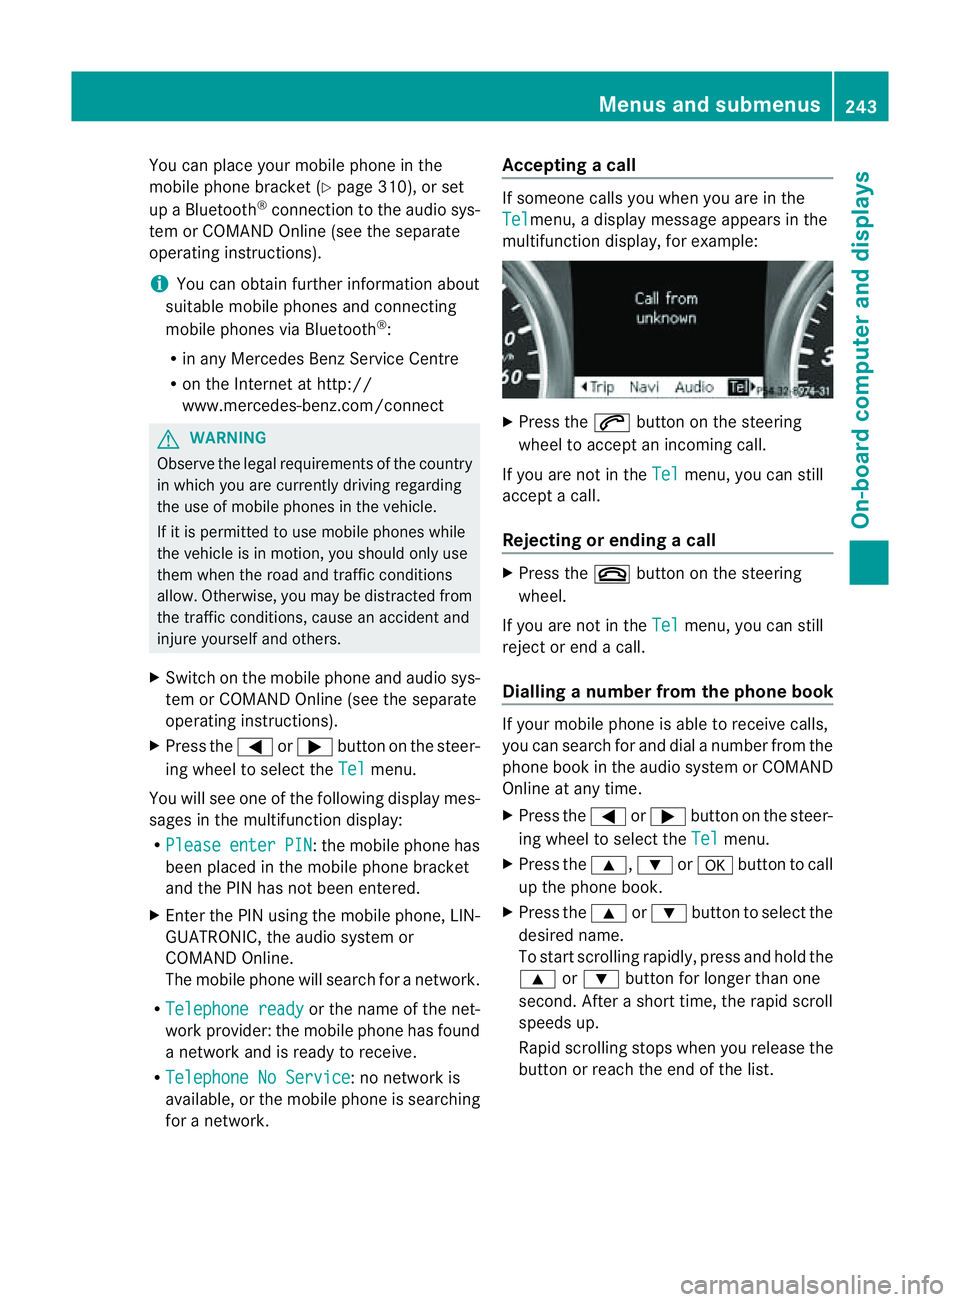
acall If someone call
syou when you are in the
Tel menu,
adisplay message appears in the
multifunction display ,for example: X
Press the 6button on the steering
wheel to accept an incomin gcall.
If you are not in the Tel menu, you can still
accept acall.
Rejecting or ending acall X
Press the ~buttonont he steer ing
wheel.
If you are not in the Tel menu, you can still
reject or end acall.
Dialling anumbe rfrom the phone book If you
rmobile phone is able to receive calls,
you can search for and dial anumber from the
phone book in the audio system or COMAND
Online at any time.
X Press the =or; button on the steer-
ing wheel to select the Tel menu.
X Press the 9,:ora button to call
up the phone book.
X Press the 9or: button to select the
desired name.
To start scrolling rapidly ,pres sand hol dthe
9 or: button for longer than one
second. After ashort time, the rapid scroll
speeds up.
Rapid scrolling stops when you release the
button or reach the end of the list. Menu
sand submenus
243On-boardcomput er anddisplays Z
Page 247 of 389

X
If only one telep hone number is stored
for aname: press the 6ora button
to start dialling.
or
X If there is more than on enumbe rfor a
particula rname: press the 6ora
button to display the numbers.
X Press the 9or: button to select the
number you want to dial.
X Press the 6ora button to start dial-
ling.
or
X If you do not want to mak eacall:press
the ~ or% button.
Redialling Th
eo n-board compute rsaves the last names
or numbers dialle dinthe redial memory.
X Press the =or; button on the steer-
ing wheel to selec tthe Tel menu.
X Press the 6button to switc htothe
redial memory.
X Press the 9or: button to selec tthe
desired nam eornumber.
X Press the 6ora button to start dial-
ling.
or
X If you do not want to mak eacall:press
the ~ or% button. Assistance menu
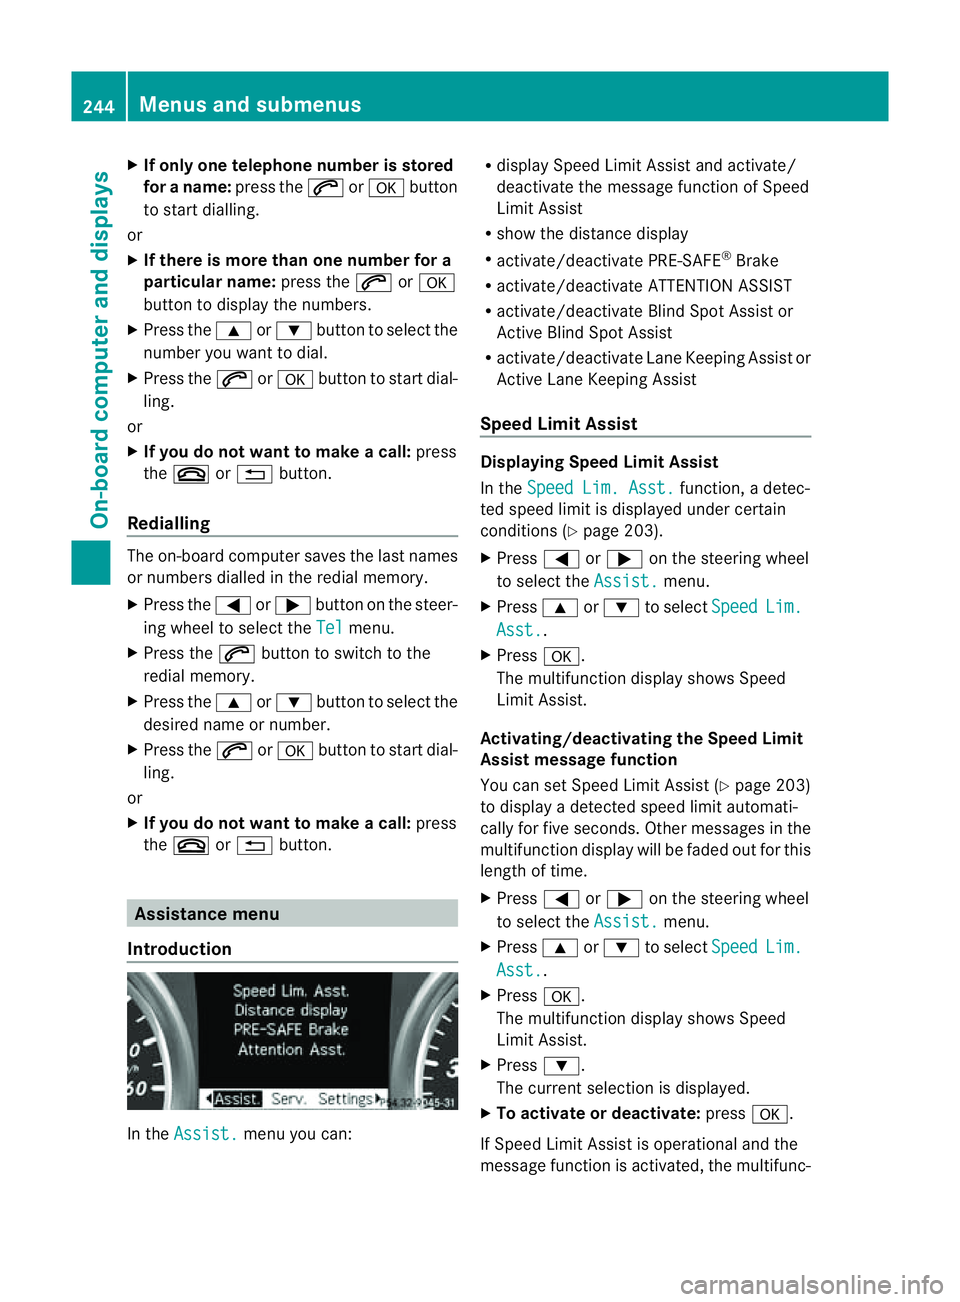
Introd uction In the
Assist. menu you can:R
display Spee dLimit Assist and activate/
deactivate the message func tion of Speed
Limit Assist
R show the distance display
R activate/deactivate PRE- SAFE®
Brake
R activate/deactivate ATTENTION ASSIST
R activate/deactivate Blind Spo tAssist or
Ac tive Blind Spo tAssist
R activate /deactivate Lan eKeeping Assist or
Active Lan eKeeping Assist
Speed Limit Assist Displaying Speed Limit Assist
In the
SpeedLim. Asst. function
,adetec-
ted speed limi tisdisplayed under certain
conditions (Y page 203).
X Press =or; on the steerin gwheel
to selec tthe Assist. menu.
X Press 9or: to select Speed Lim.
Asst. .
X Press a.
The multifunc tion display shows Speed
Limit Assist.
Activating/deactiva ting th eSpeed Limit
Assist message function
You can se tSpeed Limit Assist (Y page 203)
to display adetected speed limi tautomati-
cally for five seconds .Other messages in the
multifunction display will be faded out for this
length of time.
X Press =or; on the steering wheel
to select the Assist. menu.
X Press 9or: to select Speed Lim.
Asst. .
X Press a.
The multifunction display shows Speed
Limit Assist.
X Press :.
The current selection is displayed.
X To activate or deactivate: pressa.
If Speed Limit Assist is operational and the
message function is activated, the multifunc- 244
Menus and submenusOn-board computer and displays
Page 248 of 389

tio
nd isplay shows the Äsymbol when the
ignition is switched on.
Showing distance display This function is only available with DIS-
TRONI CPLUS.
X Press =or; on thesteerin gwheel
to selec tthe Assist. menu.
X Press the 9or: button to select
Distance display .
X Press a.
The DI STRONIC PLUS distance display
(Y page 177) appears in the multifunction
display.
Activating/deactivatin gthe PRE-SAFE ®
Brake PRE-SAFE
®
Brake is onl yavail able in vehicles
with DISTRONIC PLUS.
X Press =or; on the steering wheel
to select the Assist. menu.
X Press 9or: to select PRE-SAFE Brake .
X Press the abutton.
The current selection is displayed.
X To activate/deactivate: pressa
again.
When PRE-SAFE ®
Brake (Y page 66) is acti-
vated, the multifunction displa yshows the
Ä symbol as long as the HOL Dfunction is
not activated (Y page 187).
Vehicles with Active Parking Assist: if
PARKTRONIC is activated and you are driving
at as peed under 35 km/h, the jActive
Parking Assist symbol is shown instead of the
Ä symbol. Activating/deactivating ATTENTION
ASSIST X
Press =or; on the steerin gwheel
to selec tthe Assist. menu.
X Press the 9or: button to select
Attentio nAsst. .
X Press a.
Th ec urrent selection is displayed.
X To activate/deactivate: pressa
again.
When ATTENTION ASSIST (Y page 202)is
activated, the Àsymbol appears in the
multifunction displ aywhen the ignition is on.
Activating/deactivating Blind Spot
Assist You can use the
Blind Spot Asst. func
tion
to activate or deactivate Blin dSpot Assist
(Y page 208) or Active Blin dSpot Assist
(Y page 212).
X Press =or; on the steerin gwheel
to selec tthe Assist. menu.
X Press 9or: to select Blind Spot
Asst. .
X Press a.
The curren tselection is displayed.
X To activate/deactiva te:press a
again.
Activating/deactivating Lane Keeping
Assist You can use the
Lane Keep. Asst. function
to activate/deac tivate Lane Keeping Assist
(Y page 210) or Active Lane Keeping Assist
(Y page 215).
X Press =or; on the steering wheel
to select the Assist. menu.
X Press 9or: to select Lane Keep.
Asst. .
X Press a.
The current selection is displayed.
X Press the abutton to confirm. Menus and submenus
245On-boardcomputerand disp lays Z
Page 249 of 389

X
Press :or9 to set Off ,
Standard or
Adaptive .
X Press the abutton to save the setting.
When Lane Keeping Assist or Active Lane
Keeping Assist is activa ted, the Ãsymbol
appear sint he multifunction displa ywhen the
ignition is on. Servic
emenu In the
Service menu you can:
R call up display messages (Y page 253)
R reset the tyre pressure loss warnin gsystem
(Y page 360) or check the tyre pressure
electronically (Y page 361)
R call up the service due date (Y page 322)Settings menu
Introduction The
Settings menu can be used for:
R changing the instrument cluster settings
R changing the ligh tsettings
R changin gthe vehicle settings
R changin gthe auxiliary heating settings
R changin gthe con venience set tings
R resto ring the factory settings Instrument cluster Selectin
gthe uni tofmeasurement for dis-
tance
The Displa yunit Speed-/odometer: function allows yo
utochoose whether cer-
tai nd isplays appear in kilometres or miles.
The selected unit of measurement for dis-
tanc eapplies to:
R the digital speedometer in the Trip menu
R the total distanc erecorder and the trip
meter
R the trip computer
R the curren tconsumption and the range
R the navigation instruction in the Navi menu
R cruise con trol
R SPEEDTRONIC
R DIST RONIC PLUS
R ASSYST PLUS service interval display
X Press the =or; button on the steer-
ing whee ltoselect the Settings menu.
X Press the :or9 button to select the
Inst .cluster submenu.
X Press the abuttontoc onfirm.
X Press the :or9 button to select the
Displa yunit Speed-/odometer func-
tion.
Yo uw ill see the selected setting: km or
miles .
X Press the abutton to save the setting.
Selecting the permanent display function
i Vehicles for the United Kingdom: this
func tion is not available.
The Permanen tdisplay: function allows
yo utoc hoose whether the multifunction dis-
play always shows the outside temperature
or the speed in mph.
X Press the =or; button on the steer-
ing wheel to selec tthe Settings menu.
X Press the :or9 button to selec tthe
Inst .cluster submenu.
X Press the abuttontoc onfirm. 246
Menu
sand submenusOn-board computer and displays
Page 250 of 389
![MERCEDES-BENZ M-CLASS SUV 2011 Owners Manual X
Press :or9 to select the Perma‐ nent display function.
You will see the selected setting: outsidetemperat
ure or
Dig. speedo m[mph] .
X Press the abuttontos ave the setting.
Lights Switching the d MERCEDES-BENZ M-CLASS SUV 2011 Owners Manual X
Press :or9 to select the Perma‐ nent display function.
You will see the selected setting: outsidetemperat
ure or
Dig. speedo m[mph] .
X Press the abuttontos ave the setting.
Lights Switching the d](/manual-img/4/55578/w960_55578-249.png)
X
Press :or9 to select the Perma‐ nent display function.
You will see the selected setting: outsidetemperat
ure or
Dig. speedo m[mph] .
X Press the abuttontos ave the setting.
Lights Switching the day
time drivin glights on/
off
If you have activated the Daytime driving
lights function and the light switch is set to
Ã,t he daytim edriving lights are automat-
icall yswitched on during daylight hours when
the engine is running. When it is dark, the side
lamps and the dipped-beam headlamps are
also switched on automatically.
X Switc hoff th eengine.
X Pres sthe = or; button on the steer-
ing wheel to selec tthe Settings menu.
X Press the :or9 button to selec tthe
Light submenu.
X Press the abutton to con firm.
X Press the :or9 buttontos elect the
Daytim edriving lights function.
Yo uw ill see the selected setting: on or
off .
X Press the abutton to save the setting.
Switching the Intelligent Light System
on/off
If you activat ethe Intell .Light Sys‐ tem: function
,you activa te thefollowing
func tions:
R motorwa ymode
R active light func tion
R cornering light func tion
R exte nded range foglamps
X Press the =or; button on the steer-
ing wheel to select the Settings menu.
X Press the :or9 button to select the
Light submenu.
X Press the abutton to confirm. X
Press :or9 to select the Intell. Ligh
tSys. function.
Yo uw ill see the selected setting: on or
off .
X Press the abutton to save the setting.
If you set the dipped-bea mheadlamps for
driving on the right/left (Y page 247),the
multifunction displa yshows the Intell. Ligh
tSystem: System inoperative Inactiv
efor left-side traffic or
Intell. Light System: System inoper‐
ative Inactiv
efor right-side traf‐ fic displa
ymessage instead of the Intell. Ligh
tSystem: functio
nintheLight sub-
menu.
Setting th edipped-bea mheadlamp sfor
driving on the left/right
This function is only available on vehicles with
the Intelligent Light System.
You can use this function to switch between
symmetrical beam and asymmetrical dipped
beam (Y page 106).
If you set the dipped-beam headlamps for
driving on the right/left, then motorway
mode and the extended range foglamps are
not available.
X Press the =or; button on the steer-
ing wheel to select the Settings menu.
X Press the :or9 buttontos elect the
Light submenu.
X Press the abutton to confirm.
X Press :or9 to select the Dipped beam
sSetting for function.
Yo uw ill see the selected setting: Right- side traffic or
Left-s idet raffic .
X Press the abuttontos ave the setting.
When you change the setting, conversion
does not take place until the nex ttime the
vehicle is stationary.
You can also have the dipped-beam head-
lamps set for drivin gonthe right or lef tata
qualified specialist workshop. Menus and submenus
247On-board comp uter and displays Z
Page 251 of 389

Switching Adaptive Highbeam Assist on/
off
X Press the =or; button on the steer-
ing wheel to select the Settings menu.
X Press the :or9 button to select the
Light submenu.
X Press the abutton to con firm.
X Press the :or9 button to select the
Adaptive Main-bea mAssist: function.
Yo uw ill see the selected setting: Activa‐ted or
Deactivated .
X Press the abutton to save the setting.
Setting the brightness of the ambient
lighting
X Press the =or; button on the steer-
ing wheel to select the Settings menu.
X Press the :or9 button to select the
Light submenu.
X Press the :or9 button to select
Ambien tlight .
Yo uw ill see the selected setting.
X Press the abutton to confirm.
X Press the :or9 button to adjust the
brightness to any level from Off to
Level 5 (bright).
X Press the aor% button to save the
setting.
Setting the ambient lighting colour
X Press the =or; button on the steer-
ing wheel to select the Settings menu.
X Press the :or9 button to select the
Light submenu.
X Press the abutton to confirm.
X Press the :or9 button to select the
Ambien tlight colour function.
X Press the abuttontoc onfirm.
X Press the :or9 button to set the
colou rtoSOLAR ,
NEUTRAL or
POLAR .
X Press the aor% buttontos ave the
setting. Activating/deactivating the surround
lighting and exterior lighting delayed
switch-off
If you have activated the
Surround light‐ ing function and the light switch is set to
Ã,t he followin gfunctions are activated
when it is dark:
R Surround lighting: the exterior lighting
remains lit for 40 seconds after unlocking
with the key. If you start the engine, the
surround lighting is switched off and the
automatic headl ampm ode is activated
(Y page 107).
R Exterior lighting delaye dswitch-off: the
exterior lighting remains lit for 60 seconds
after the engine has been switche doff. If
you close all th edoors, the exterior lighting
goes off after 15 seconds.
If you activate the Surround lighting func-
tion ,the followin glight up depending on the
vehicle' sequipment:
R the side lamps
R the daytim edriving lights
R thes urround lighting in the exterior mirrors
X Press the =or; button on the steer-
ing wheel to select the Settings menu.
X Press the :or9 button to select the
Light submenu.
X Press the abutton to confirm.
X Press the :or9 button to select the
Surround lighting function.
You will see the selected setting: on or
off .
X Press the abutton to save the setting.
Deactivating delayed switch-off of the exte-
rior lighting temporarily:
X Before leaving the vehicle, turn the key to
position 0in the ignition lock.
X Turn the key to position 2in the ignition
lock and back to position 0.
The exterior lighting delayed switch-off is
deactivated. 248
Menus and submenusOn-board computer and displays
Page 252 of 389

Delayed switch-off of the exterio
rlight ing is
reactivate dthe nex ttime yo ustart the
engine.
Activating/deactivating the interior light-
in gd elay ed switch -off
If yo uactivat ethe Interior lighting delay sw. off function, the
interiorlighting
remain sonfor 20 seconds after you rem ove
th ek ey fr om th eignition lock.
X Press the =or; button on the steer-
ing wheel to selec tthe Settings menu.
X Press the :or9 button to selec tthe
Light submenu.
X Press the abutton to confir m.
X Press the :or9 button to select the
Interior lighting dela ysw. off: function.
Yo
uw ill see the selected setting: on or
off .
X Press the abutton to save the setting.
Vehicle Setting permanent SPEEDTRONIC
You can set permanent SPEEDTRONIC
(Y page 174 )using the Limitspeed (win‐ ter tyres) function.
X Press the =or; buttononthe steer-
ing wheel to selec tthe Settings menu.
X Press the :or9 button to selec tthe
Vehicle submenu.
X Press the abutton to confir m.
X Press :or9 to select the Limit spee
d(winter tyres): function.
Yo uw ill see the current setting.
X Press the abutton to confir m.
X Press :or9 to adjust permanent
SPEEDTRONIC in increments of 10
(24 0k m/h to
160 km/h ). The
Off setting
switches permanen tSPEEDTRONIC off.
X Press the abutton to store the entry. Switching th
eautomatic lockin gfeatu re
on/off
If you select the Automatic door lock func-
tion, the vehicle is centrally locked above a
speed of around 15 km/h.
i For further information on the automatic
locking feature, see (Y page 78).
X Press the =or; button on the steer-
ing wheel to select the Settings menu.
X Press the :or9 button to select the
Vehicle submenu.
X Press the abutton to confir m.
X Press the :or9 button to select the
Automati cdoor lock function.
Yo uw ill see the selected setting: on or
off .
X Press the abutton to save the setting.
Activating/deactivating the acoustic
locking confirmation
If you switch on the Acoustic Lock feed‐ back func
tion, an acoustic signal sounds
when you lock the vehicle.
X Press the =or; button on the steer-
ing wheel to select the Settings menu.
X Press the :or9 button to select the
Vehicle submenu.
X Press the abutton to confir m.
X Press the :or9 button to select the
Acoustic Lock feedback: function.
You will see the selected setting: Activa‐ ted or
Deactivated .
X Press the abutton to save the setting.
Activating/deactivating th eradar sensor
system
i Youm ust deactivate the radar senso rsys-
tem in certain countries and near radio
telescope facilities .For further informa-
tion ,see (Y page 380).
When you are close to radi otelescope facili-
ties, the rada rsensor system will be deacti-
vated automatically. Menu
sand submenus
249On-boardcomput er anddisplay s Z