2011 MERCEDES-BENZ G-CLASS brake light
[x] Cancel search: brake lightPage 141 of 288
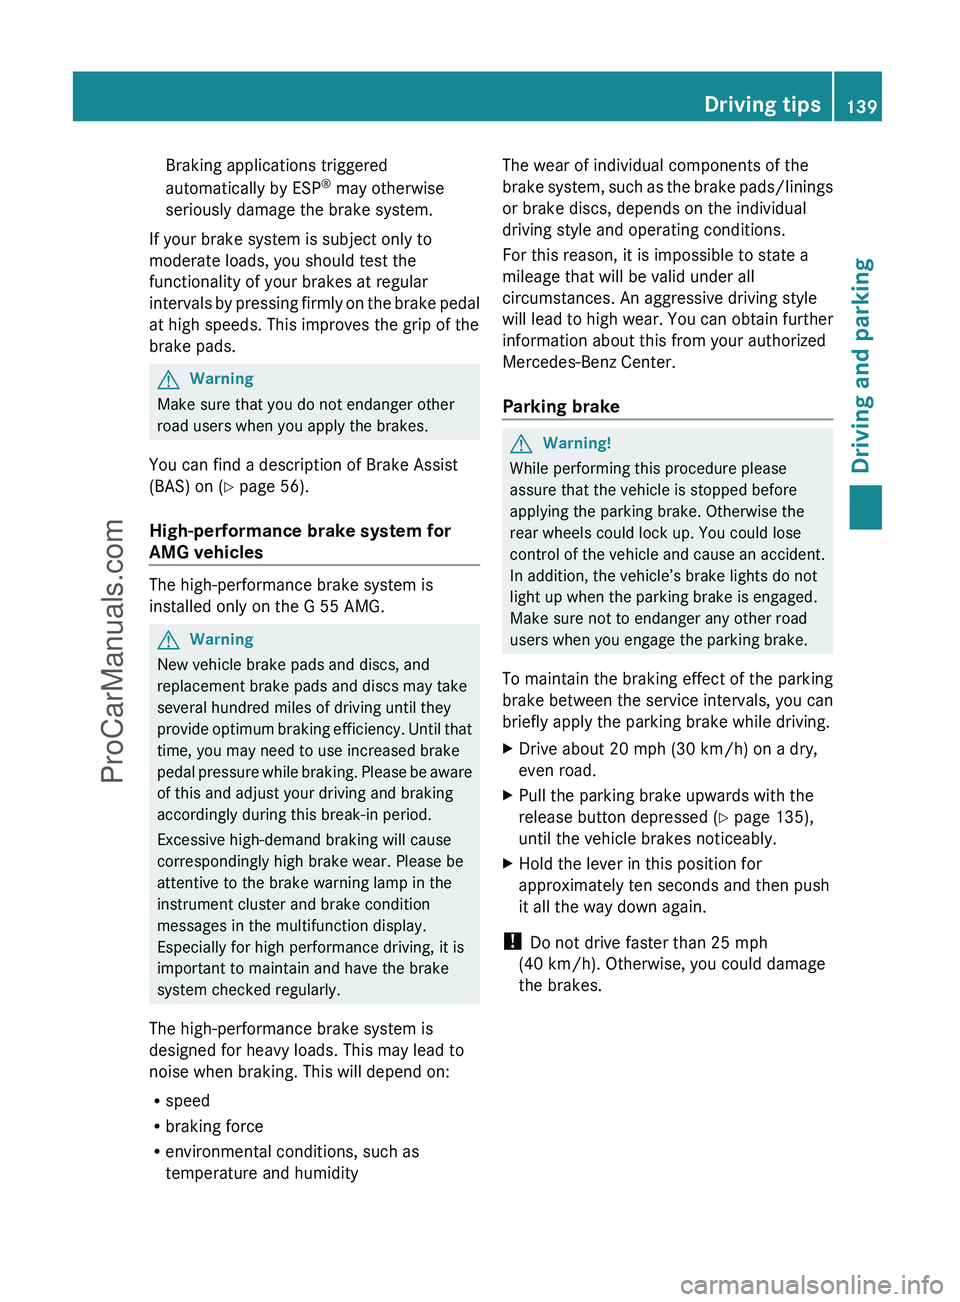
Braking applications triggered
automatically by ESP ®
may otherwise
seriously damage the brake system.
If your brake system is subject only to
moderate loads, you should test the
functionality of your brakes at regular
intervals by pressing firmly on the brake pedal
at high speeds. This improves the grip of the
brake pads.GWarning
Make sure that you do not endanger other
road users when you apply the brakes.
You can find a description of Brake Assist
(BAS) on ( Y page 56).
High-performance brake system for
AMG vehicles
The high-performance brake system is
installed only on the G 55 AMG.
GWarning
New vehicle brake pads and discs, and
replacement brake pads and discs may take
several hundred miles of driving until they
provide optimum braking efficiency. Until that
time, you may need to use increased brake
pedal pressure while braking. Please be aware
of this and adjust your driving and braking
accordingly during this break-in period.
Excessive high-demand braking will cause
correspondingly high brake wear. Please be
attentive to the brake warning lamp in the
instrument cluster and brake condition
messages in the multifunction display.
Especially for high performance driving, it is
important to maintain and have the brake
system checked regularly.
The high-performance brake system is
designed for heavy loads. This may lead to
noise when braking. This will depend on:
R speed
R braking force
R environmental conditions, such as
temperature and humidity
The wear of individual components of the
brake system, such as the brake pads/linings
or brake discs, depends on the individual
driving style and operating conditions.
For this reason, it is impossible to state a
mileage that will be valid under all
circumstances. An aggressive driving style
will lead to high wear. You can obtain further
information about this from your authorized
Mercedes-Benz Center.
Parking brakeGWarning!
While performing this procedure please
assure that the vehicle is stopped before
applying the parking brake. Otherwise the
rear wheels could lock up. You could lose
control of the vehicle and cause an accident.
In addition, the vehicle’s brake lights do not
light up when the parking brake is engaged.
Make sure not to endanger any other road
users when you engage the parking brake.
To maintain the braking effect of the parking
brake between the service intervals, you can
briefly apply the parking brake while driving.
XDrive about 20 mph (30 km/h) on a dry,
even road.XPull the parking brake upwards with the
release button depressed ( Y page 135),
until the vehicle brakes noticeably.XHold the lever in this position for
approximately ten seconds and then push
it all the way down again.
! Do not drive faster than 25 mph
(40 km/h). Otherwise, you could damage
the brakes.
Driving tips139Driving and parkingZProCarManuals.com
Page 143 of 288

RDrive slowly and at an even speed through
the water.
R Do not stop and do not switch off the
engine.
! Do not open any of the vehicle's doors
while fording. Otherwise, water could get
into the vehicle interior and damage the
vehicle's electronics and interior
equipment.
R Water offers a high degree of resistance,
and the ground is slippery and in some
cases unstable. Therefore, it is difficult and
dangerous to pull away in the water.
R Ensure that a bow wave does not form as
you drive.
R Clean any mud from the tire tread after
fording.
R Apply the brakes to dry them after fording.
Winter driving
General notes
GWarning
If the vehicle becomes trapped in snow,
ensure that snow is kept away from the
exhaust pipe and from around the vehicle as
long as the engine is running. Otherwise,
poisonous carbon monoxide (CO) may enter
the vehicle, resulting in loss of consciousness
and even death.
To assure sufficient fresh air ventilation, open
a window slightly on the side of the vehicle
not facing the wind.
Have your vehicle winterproofed at a qualified
specialist workshop, e.g. an authorized
Mercedes-Benz Center, at the onset of
winter.
Observe the notes in the "Winter operation"
section ( Y page 248).
Driving with summer tires
Observe the notes in the "Winter operation"
section ( Y page 248).
Slippery road surfaces
GWarning!
The outside temperature indicator is not
designed to serve as an ice-warning device
and is therefore unsuitable for that purpose.
Indicated temperatures just above the
freezing point do not guarantee that the road
surface is free of ice. The road may still be icy,
especially in wooded areas or on bridges.
GWarning!
On slippery road surfaces, never downshift in
order to obtain braking action. This could
result in drive wheel slip and reduced vehicle
control. Your vehicle’s ABS will not prevent
this type of control loss.
Do not engage the transfer case in position
LOW when driving on ice or packed snow. At
speeds below 18 mph (30 km/h) vehicle
steering is adversely affected by the Off-road
ABS.
Drive particularly carefully on slippery road
surfaces. Avoid sudden acceleration, steering
and braking maneuvers. Do not use cruise
control.
If the vehicle threatens to skid or cannot be
stopped when moving at low speed:
XShift the transmission to position N.XTry to bring the vehicle under control using
corrective steering.
i For more information on driving with
snow chains, see ( Y page 248).
GWarning
Make sure that you do not endanger other
road users when you apply the brakes.
Driving tips141Driving and parkingZProCarManuals.com
Page 146 of 288
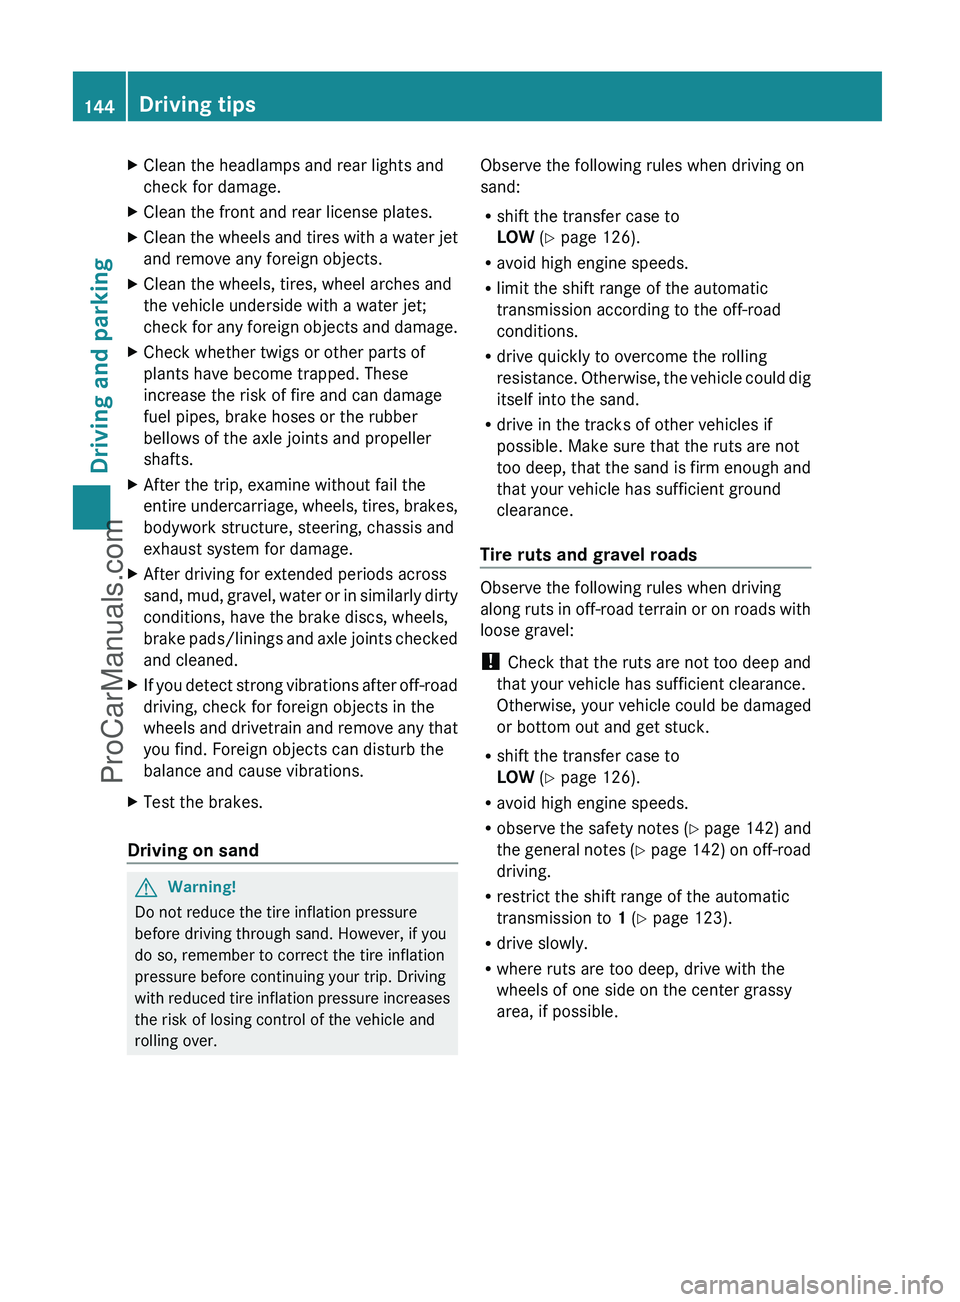
XClean the headlamps and rear lights and
check for damage.XClean the front and rear license plates.XClean the wheels and tires with a water jet
and remove any foreign objects.XClean the wheels, tires, wheel arches and
the vehicle underside with a water jet;
check for any foreign objects and damage.XCheck whether twigs or other parts of
plants have become trapped. These
increase the risk of fire and can damage
fuel pipes, brake hoses or the rubber
bellows of the axle joints and propeller
shafts.XAfter the trip, examine without fail the
entire undercarriage, wheels, tires, brakes,
bodywork structure, steering, chassis and
exhaust system for damage.XAfter driving for extended periods across
sand, mud, gravel, water or in similarly dirty
conditions, have the brake discs, wheels,
brake pads/linings and axle joints checked
and cleaned.XIf you detect strong vibrations after off-road
driving, check for foreign objects in the
wheels and drivetrain and remove any that
you find. Foreign objects can disturb the
balance and cause vibrations.XTest the brakes.
Driving on sand
GWarning!
Do not reduce the tire inflation pressure
before driving through sand. However, if you
do so, remember to correct the tire inflation
pressure before continuing your trip. Driving
with reduced tire inflation pressure increases
the risk of losing control of the vehicle and
rolling over.
Observe the following rules when driving on
sand:
R shift the transfer case to
LOW (Y page 126).
R avoid high engine speeds.
R limit the shift range of the automatic
transmission according to the off-road
conditions.
R drive quickly to overcome the rolling
resistance. Otherwise, the vehicle could dig
itself into the sand.
R drive in the tracks of other vehicles if
possible. Make sure that the ruts are not
too deep, that the sand is firm enough and
that your vehicle has sufficient ground
clearance.
Tire ruts and gravel roads
Observe the following rules when driving
along ruts in off-road terrain or on roads with
loose gravel:
! Check that the ruts are not too deep and
that your vehicle has sufficient clearance.
Otherwise, your vehicle could be damaged
or bottom out and get stuck.
R shift the transfer case to
LOW (Y page 126).
R avoid high engine speeds.
R observe the safety notes (Y page 142) and
the general notes (Y page 142) on off-road
driving.
R restrict the shift range of the automatic
transmission to 1 (Y page 123).
R drive slowly.
R where ruts are too deep, drive with the
wheels of one side on the center grassy
area, if possible.
144Driving tipsDriving and parking
ProCarManuals.com
Page 148 of 288
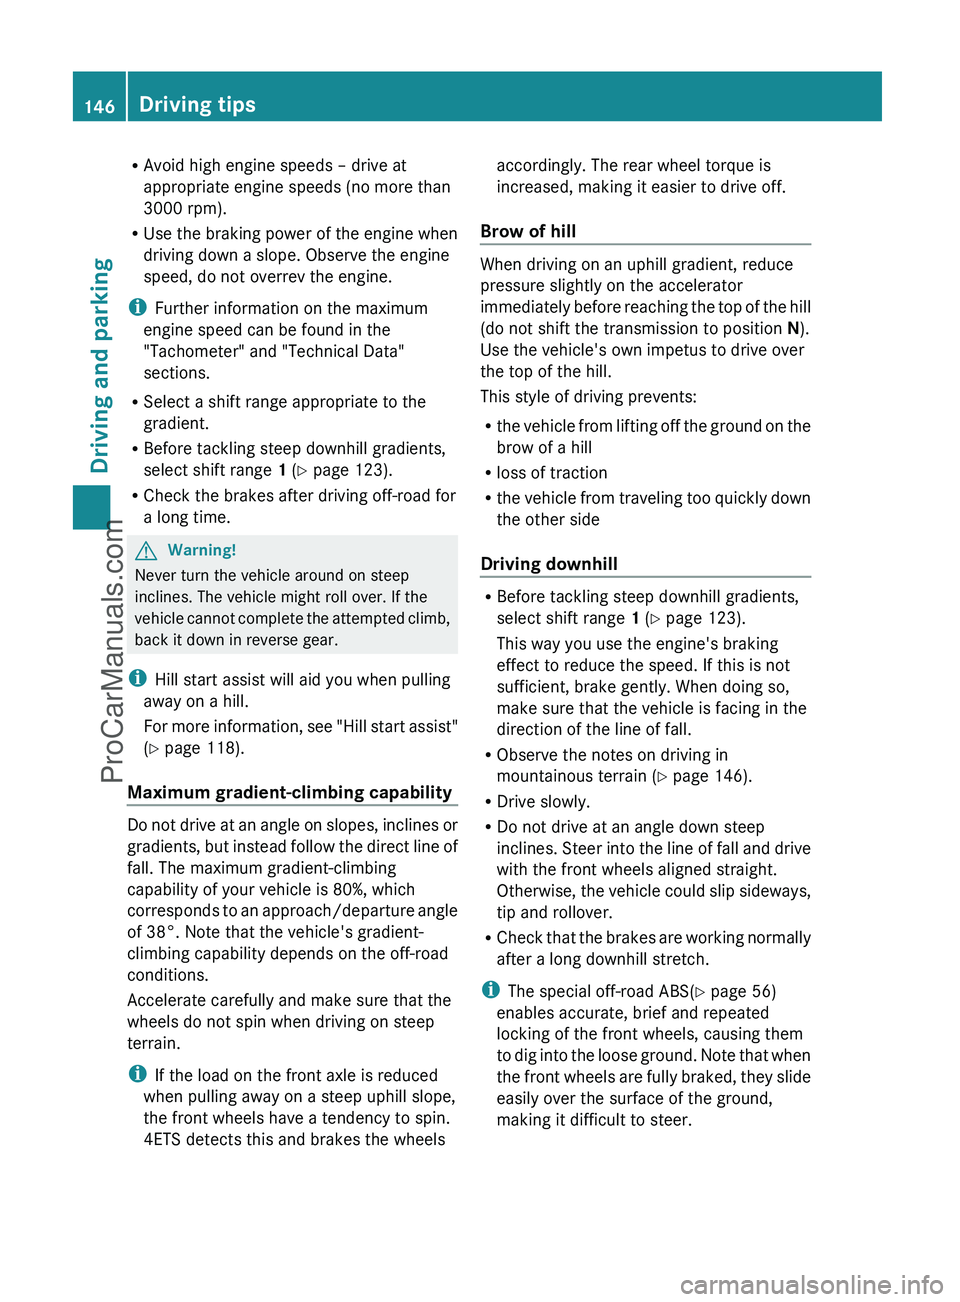
RAvoid high engine speeds – drive at
appropriate engine speeds (no more than
3000 rpm).
R Use the braking power of the engine when
driving down a slope. Observe the engine
speed, do not overrev the engine.
i Further information on the maximum
engine speed can be found in the
"Tachometer" and "Technical Data"
sections.
R Select a shift range appropriate to the
gradient.
R Before tackling steep downhill gradients,
select shift range 1 (Y page 123).
R Check the brakes after driving off-road for
a long time.GWarning!
Never turn the vehicle around on steep
inclines. The vehicle might roll over. If the
vehicle cannot complete the attempted climb,
back it down in reverse gear.
i Hill start assist will aid you when pulling
away on a hill.
For more information, see "Hill start assist"
( Y page 118).
Maximum gradient-climbing capability
Do not drive at an angle on slopes, inclines or
gradients, but instead follow the direct line of
fall. The maximum gradient-climbing
capability of your vehicle is 80%, which
corresponds to an approach/departure angle
of 38°. Note that the vehicle's gradient-
climbing capability depends on the off-road
conditions.
Accelerate carefully and make sure that the
wheels do not spin when driving on steep
terrain.
i If the load on the front axle is reduced
when pulling away on a steep uphill slope,
the front wheels have a tendency to spin.
4ETS detects this and brakes the wheels
accordingly. The rear wheel torque is
increased, making it easier to drive off.
Brow of hill
When driving on an uphill gradient, reduce
pressure slightly on the accelerator
immediately before reaching the top of the hill
(do not shift the transmission to position N).
Use the vehicle's own impetus to drive over
the top of the hill.
This style of driving prevents:
R the vehicle from lifting off the ground on the
brow of a hill
R loss of traction
R the vehicle from traveling too quickly down
the other side
Driving downhill
R Before tackling steep downhill gradients,
select shift range 1 (Y page 123).
This way you use the engine's braking
effect to reduce the speed. If this is not
sufficient, brake gently. When doing so,
make sure that the vehicle is facing in the
direction of the line of fall.
R Observe the notes on driving in
mountainous terrain ( Y page 146).
R Drive slowly.
R Do not drive at an angle down steep
inclines. Steer into the line of fall and drive
with the front wheels aligned straight.
Otherwise, the vehicle could slip sideways,
tip and rollover.
R Check that the brakes are working normally
after a long downhill stretch.
i The special off-road ABS( Y page 56)
enables accurate, brief and repeated
locking of the front wheels, causing them
to dig into the loose ground. Note that when
the front wheels are fully braked, they slide
easily over the surface of the ground,
making it difficult to steer.
146Driving tipsDriving and parking
ProCarManuals.com
Page 152 of 288

Range of the sensors
The sensors must be free of dirt, ice and
slush; otherwise they may not function
correctly. Clean the sensors regularly, taking
care not to scratch or damage them
( Y page 224).
Side view
Top view
Sensors
CenterApprox. 59 in (approx.
150 cm)CornersApprox. 40 in (approx.
100 cm)
! When parking, pay particular attention to
objects above or below the sensors, such
as flower pots or trailer towbars. The
ultrasonic backing up aid does not detect
such objects when they are in the
immediate vicinity of the vehicle. You could
damage the vehicle or the objects.
Ultrasonic sources such as an automatic
car wash, a lorry's compressed-air brakes
or a pneumatic drill could cause the
ultrasonic backing up aid to malfunction.
Minimum distanceCenterApprox. 8 in (approx.
20 cm)CornersApprox. 8 in (approx.
20 cm)
If there is an obstacle within this range, all
warning displays flash and a warning tone
sounds. If the distance falls below the
minimum, the distance may no longer be
shown.
Warning displays
The warning display shows the distance
between the sensors and the obstacle.
The warning display is in the rear
compartment next to the rear door.
The warning display is divided into four yellow
and two red segments :. The ultrasonic
backing up aid is ready for use when you hear
a warning tone and segment ; lights up
briefly.
One or more segments : light up as the
vehicle approaches an obstacle, depending
on the distance from the obstacle.
150Driving systemsDriving and parking
ProCarManuals.com
Page 174 of 288

LightsDisplay messagesPossible causes/consequences and M Solutionsb
Low Beam Left
or
Low Beam RightThe left or right-hand low-beam headlamp is defective.XVisit a qualified specialist workshop.b
AUTO-Light
InoperativeThe light sensor is defective. The low-beam headlamps are
switched on.XUSA only: set the lights to manual operation in the on-board
computer ( Y page 164).XSwitch the lights on and off using the light switch.XVisit a qualified specialist workshop.b
Turn Signal Rear
Left Auxiliary
Bulb On
or
Turn Signal Rear
Right Auxiliary
Bulb OnThe rear left-hand or rear right-hand turn signal is defective.
Another lamp has taken over its function.XReplace the bulb ( Y page 96).b
Turn Signal Left
Side Mirror
or
Turn Signal Right
Side MirrorThe turn signal in the left-hand or right-hand exterior mirror is
defective. These messages will only appear if all of the turn signal's
LEDs have failed.XVisit a qualified specialist workshop.b
Turn Signal Front
Left Auxiliary
Bulb On
or
Turn Signal Front
Right Auxiliary
Bulb OnThe front left-hand or front right-hand turn signal is defective.
Another lamp has taken over its function.XReplace the bulb ( Y page 96).b
Brake Lamp Left
or
Brake Lamp RightThe left or right-hand brake lamp is defective.XReplace the bulb ( Y page 96).172Display messagesOn-board computer and displays
ProCarManuals.com
Page 175 of 288
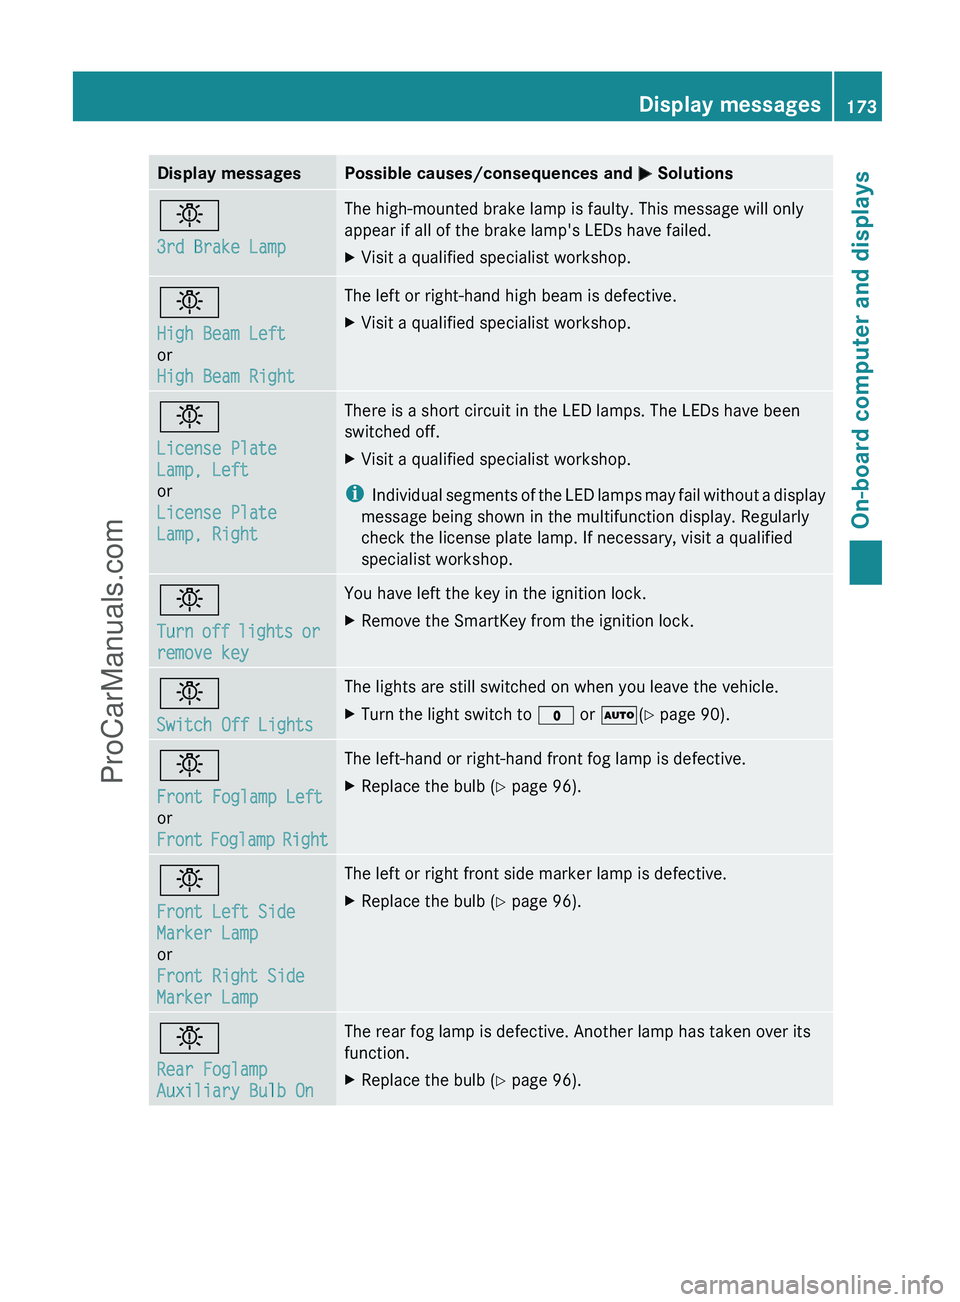
Display messagesPossible causes/consequences and M Solutionsb
3rd Brake LampThe high-mounted brake lamp is faulty. This message will only
appear if all of the brake lamp's LEDs have failed.XVisit a qualified specialist workshop.b
High Beam Left
or
High Beam RightThe left or right-hand high beam is defective.XVisit a qualified specialist workshop.b
License Plate
Lamp, Left
or
License Plate
Lamp, RightThere is a short circuit in the LED lamps. The LEDs have been
switched off.XVisit a qualified specialist workshop.
i Individual segments of the LED lamps may fail without a display
message being shown in the multifunction display. Regularly
check the license plate lamp. If necessary, visit a qualified
specialist workshop.
b
Turn off lights or
remove keyYou have left the key in the ignition lock.XRemove the SmartKey from the ignition lock.b
Switch Off LightsThe lights are still switched on when you leave the vehicle.XTurn the light switch to $ or à (Y page 90).b
Front Foglamp Left
or
Front Foglamp RightThe left-hand or right-hand front fog lamp is defective.XReplace the bulb ( Y page 96).b
Front Left Side
Marker Lamp
or
Front Right Side
Marker Lamp The left or right front side marker lamp is defective.XReplace the bulb ( Y page 96).b
Rear Foglamp
Auxiliary Bulb OnThe rear fog lamp is defective. Another lamp has taken over its
function.XReplace the bulb ( Y page 96).Display messages173On-board computer and displaysZProCarManuals.com
Page 187 of 288
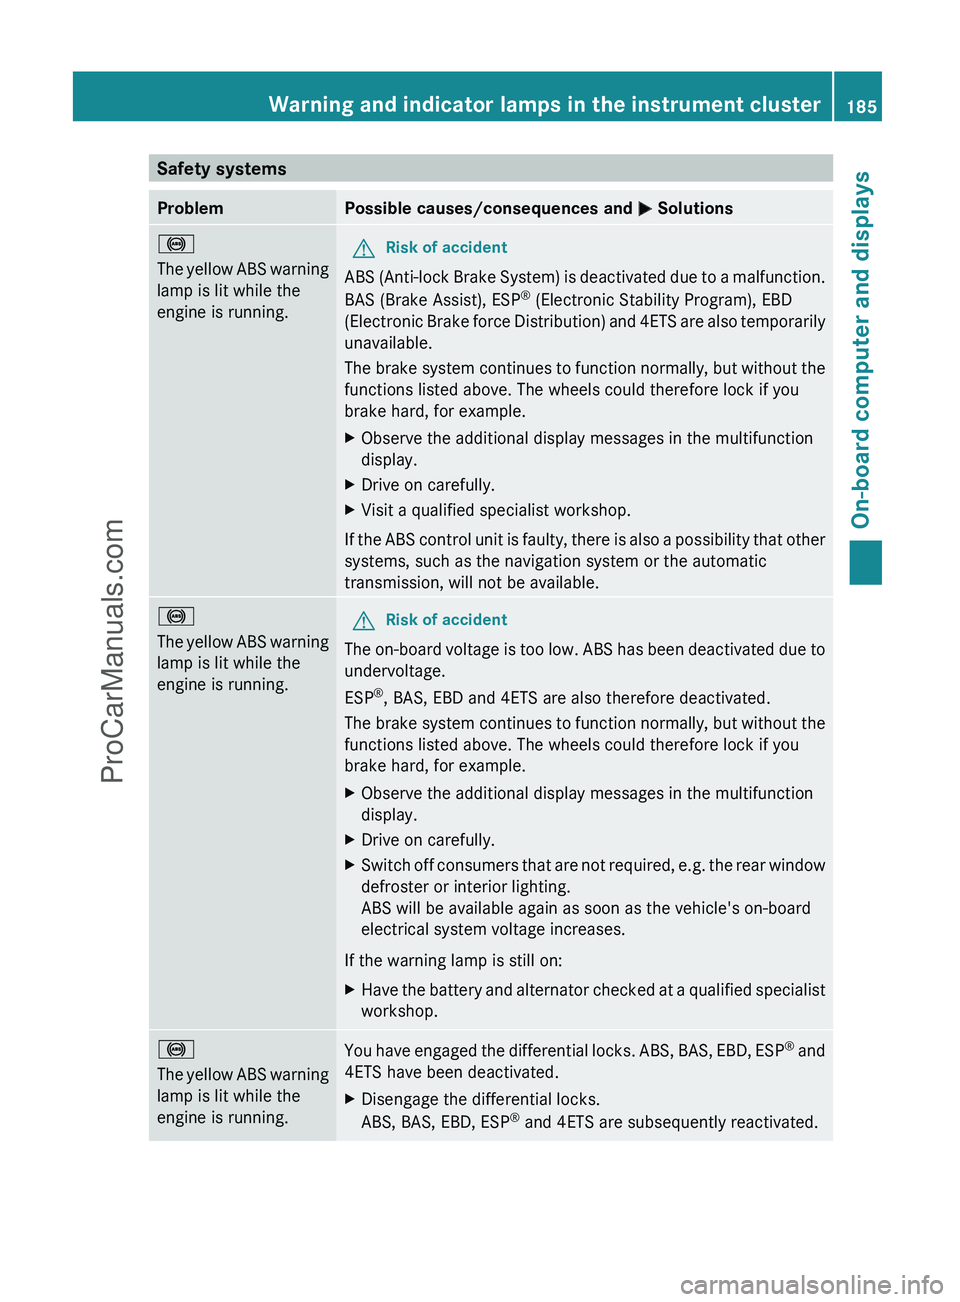
Safety systemsProblemPossible causes/consequences and M Solutions!
The yellow ABS warning
lamp is lit while the
engine is running.GRisk of accident
ABS (Anti-lock Brake System) is deactivated due to a malfunction.
BAS (Brake Assist), ESP ®
(Electronic Stability Program), EBD
(Electronic Brake force Distribution) and 4ETS are also temporarily
unavailable.
The brake system continues to function normally, but without the
functions listed above. The wheels could therefore lock if you
brake hard, for example.
XObserve the additional display messages in the multifunction
display.XDrive on carefully.XVisit a qualified specialist workshop.
If the ABS control unit is faulty, there is also a possibility that other
systems, such as the navigation system or the automatic
transmission, will not be available.
!
The yellow ABS warning
lamp is lit while the
engine is running.GRisk of accident
The on-board voltage is too low. ABS has been deactivated due to
undervoltage.
ESP ®
, BAS, EBD and 4ETS are also therefore deactivated.
The brake system continues to function normally, but without the
functions listed above. The wheels could therefore lock if you
brake hard, for example.
XObserve the additional display messages in the multifunction
display.XDrive on carefully.XSwitch off consumers that are not required, e.g. the rear window
defroster or interior lighting.
ABS will be available again as soon as the vehicle's on-board
electrical system voltage increases.
If the warning lamp is still on:
XHave the battery and alternator checked at a qualified specialist
workshop.!
The yellow ABS warning
lamp is lit while the
engine is running.You have engaged the differential locks. ABS, BAS, EBD, ESP ®
and
4ETS have been deactivated.XDisengage the differential locks.
ABS, BAS, EBD, ESP ®
and 4ETS are subsequently reactivated.Warning and indicator lamps in the instrument cluster185On-board computer and displaysZProCarManuals.com