2011 JEEP PATRIOT transmission oil
[x] Cancel search: transmission oilPage 26 of 490

1. If the RKE transmitter is equipped with a screw,
remove the screw. With the RKE transmitter buttons
facing down, use a flat blade screwdriver to pry the two
halves of the RKE transmitter apart. Make sure not to
damage the elastomer seal during removal.2. Remove and replace the battery. Avoid touching the
new battery with your fingers. Skin oils may cause
battery deterioration. If you touch a battery, clean it with
rubbing alcohol.
3. To reassemble the RKE transmitter case, snap the two
halves together.
NOTE:
If the RKE transmitter is equipped with a screw,
reinstall and tighten the screw until snug.
REMOTE STARTING SYSTEM — IF EQUIPPED
This system uses the Remote Keyless Entry
(RKE) transmitter to start the engine conve-
niently from outside the vehicle while still
maintaining security. The system has a range of
approximately 300 ft (91 m).
NOTE: The vehicle must be equipped with an auto-
matic transmission to be equipped with Remote Start.
Separating Case Halves
24 THINGS TO KNOW BEFORE STARTING YOUR VEHICLE
Page 85 of 490

Transporting Pets
Air Bags deploying in the front seat could harm your pet.
An unrestrained pet will be thrown about and possibly
injured, or injure a passenger during panic braking or in
an accident.
Pets should be restrained in the rear seat in pet harnesses
or pet carriers that are secured by seat belts.
ENGINE BREAK-IN RECOMMENDATIONS
A long break-in period is not required for the engine and
drivetrain (transmission and axle) in your vehicle.
Drive moderately during the first 300 miles (500 km).
After the initial 60 miles (100 km), speeds up to 50 or
55 mph (80 or 90 km/h) are desirable.While cruising, brief full-throttle acceleration within the
limits of local traffic laws contributes to a good break-in.
Wide-open throttle acceleration in low gear can be detri-
mental and should be avoided.
The engine oil installed in the engine at the factory is a
high-quality energy conserving type lubricant. Oil
changes should be consistent with anticipated climate
conditions under which vehicle operations will occur. For
the recommended viscosity and quality grades, refer to
“Maintenance Procedures” in “Maintaining Your Ve-
hicle”. NON-DETERGENT OR STRAIGHT MINERAL
OILS MUST NEVER BE USED.
A new engine may consume some oil during its first few
thousand miles (kilometers) of operation. This should be
considered a normal part of the break-in and not inter-
preted as an indication of difficulty.
2
THINGS TO KNOW BEFORE STARTING YOUR VEHICLE 83
Page 201 of 490

The light also will turn on when the parking brake is
applied with the ignition switch in the ON/RUN posi-
tion.
NOTE:This light shows only that the parking brake is
applied. It does not show the degree of brake application.
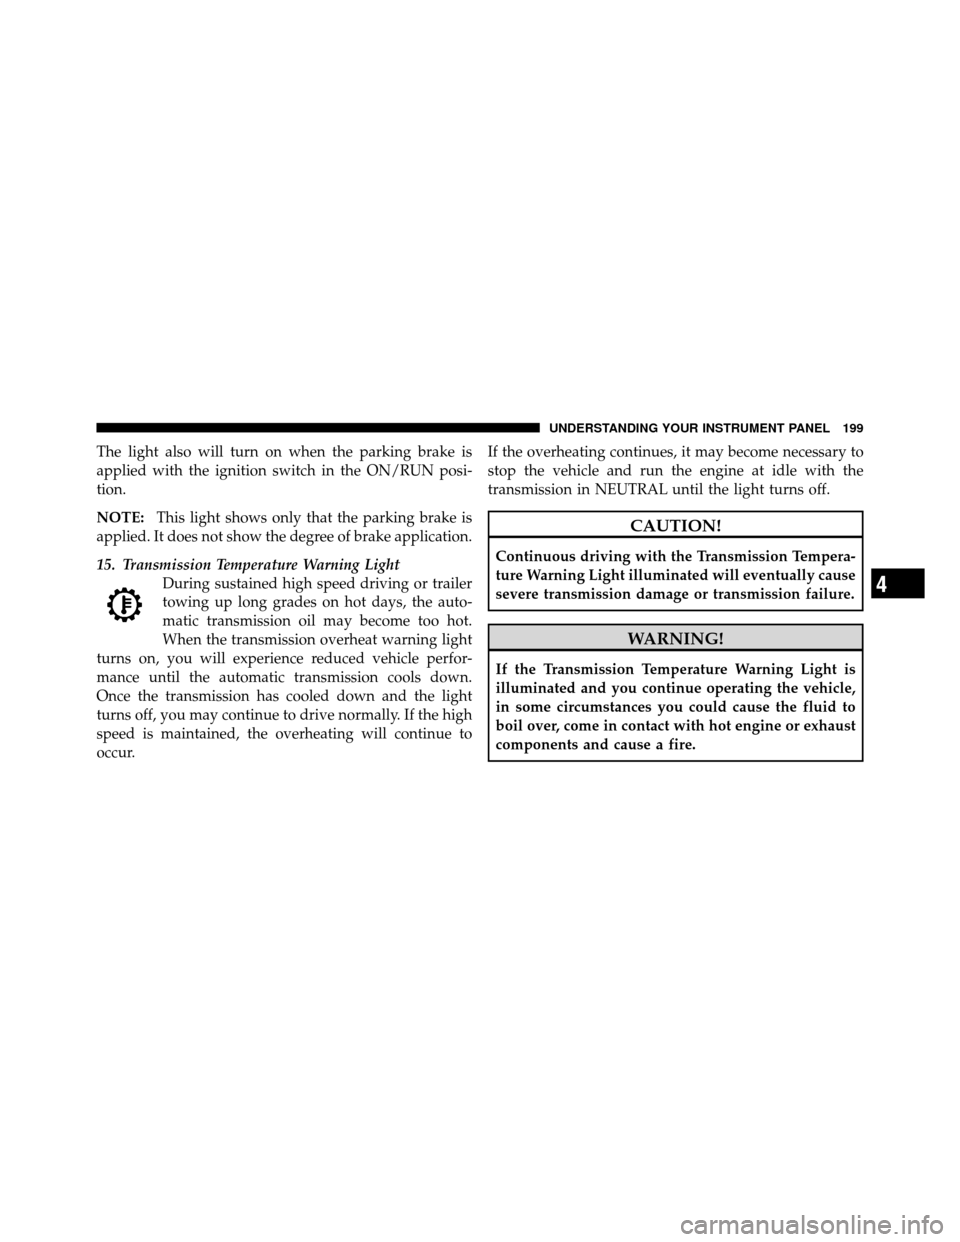
15. Transmission Temperature Warning Light During sustained high speed driving or trailer
towing up long grades on hot days, the auto-
matic transmission oil may become too hot.
When the transmission overheat warning light
turns on, you will experience reduced vehicle perfor-
mance until the automatic transmission cools down.
Once the transmission has cooled down and the light
turns off, you may continue to drive normally. If the high
speed is maintained, the overheating will continue to
occur. If the overheating continues, it may become necessary to
stop the vehicle and run the engine at idle with the
transmission in NEUTRAL until the light turns off.
CAUTION!
Continuous driving with the Transmission Tempera-
ture Warning Light illuminated will eventually cause
severe transmission damage or transmission failure.
WARNING!
If the Transmission Temperature Warning Light is
illuminated and you continue operating the vehicle,
in some circumstances you could cause the fluid to
boil over, come in contact with hot engine or exhaust
components and cause a fire.
4
UNDERSTANDING YOUR INSTRUMENT PANEL 199
Page 203 of 490

WARNING!
A hot engine cooling system is dangerous. You or
others could be badly burned by steam or boiling
coolant. You may want to call an authorized dealer-
ship for service if your vehicle overheats. If you
decide to look under the hood yourself, see “Main-
taining Your Vehicle”. Follow the warnings under the
Cooling System Pressure Cap paragraph.
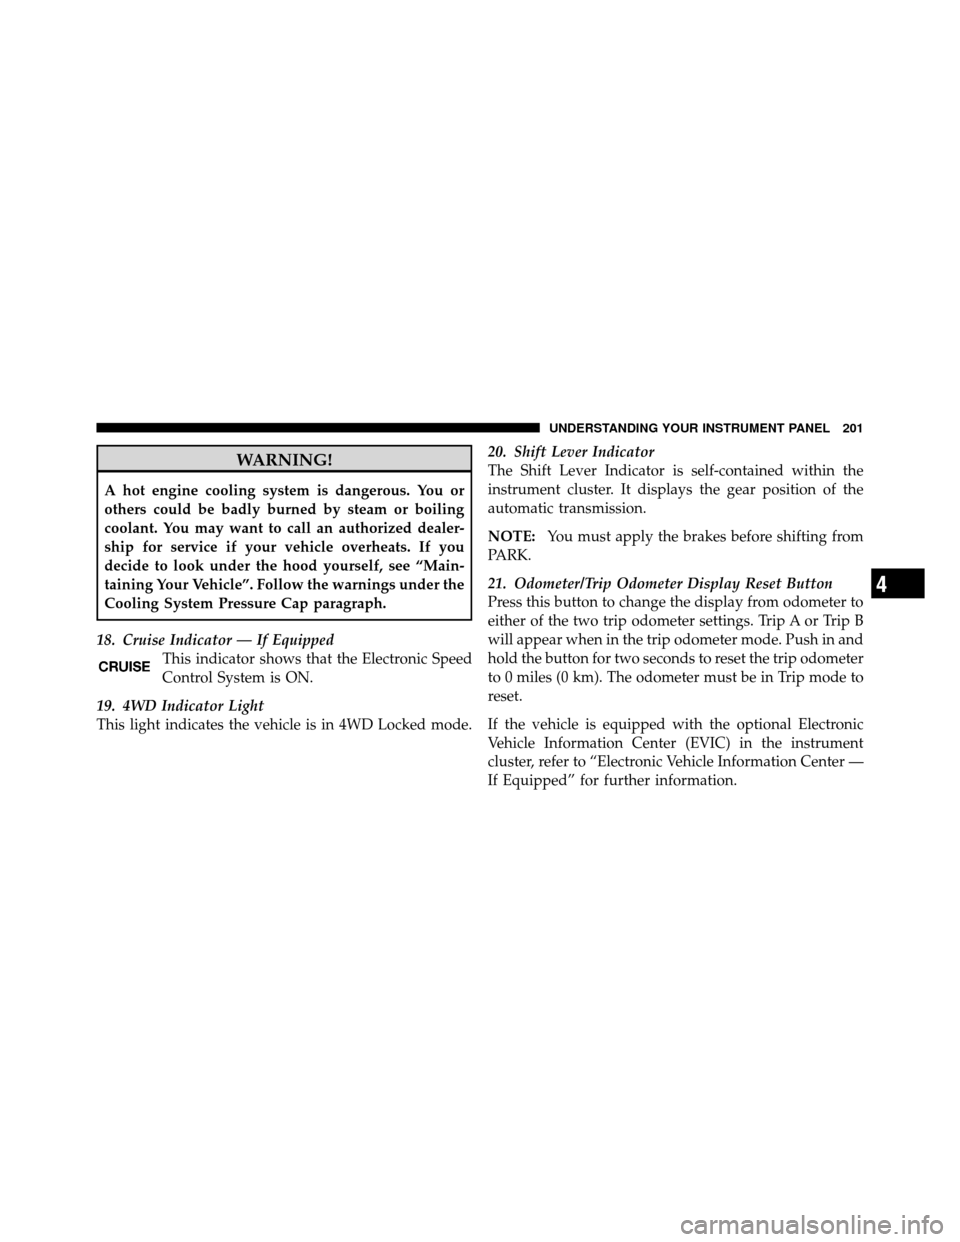
18. Cruise Indicator — If Equipped This indicator shows that the Electronic Speed
Control System is ON.
19. 4WD Indicator Light
This light indicates the vehicle is in 4WD Locked mode. 20. Shift Lever Indicator
The Shift Lever Indicator is self-contained within the
instrument cluster. It displays the gear position of the
automatic transmission.
NOTE:
You must apply the brakes before shifting from
PARK.
21. Odometer/Trip Odometer Display Reset Button
Press this button to change the display from odometer to
either of the two trip odometer settings. Trip A or Trip B
will appear when in the trip odometer mode. Push in and
hold the button for two seconds to reset the trip odometer
to 0 miles (0 km). The odometer must be in Trip mode to
reset.
If the vehicle is equipped with the optional Electronic
Vehicle Information Center (EVIC) in the instrument
cluster, refer to “Electronic Vehicle Information Center —
If Equipped” for further information.
4
UNDERSTANDING YOUR INSTRUMENT PANEL 201
Page 214 of 490

•Personal Settings Not Available – Vehicle not in PARK
(automatic transmission) or vehicle is in motion
(manual transmission).
•Left/Right Front Door Ajar (one or more doors open,
with a single chime if speed is above 1 mph/1 km/h)
•Left/Right Rear Door Ajar (one or more doors open,
with a single chime if speed is above 1 mph/1 km/h)
•Door(s) Ajar (with a single chime if vehicle is in
motion)
•Gate Ajar (with a single chime)
•Headlamps or Park Lamps On
•Key In Ignition
•Check TPM System
Engine Oil Change Indicator System —
If Equipped
Oil Change Required
Your vehicle is equipped with an engine oil change
indicator system. The “Oil Change Required” message
will flash in the EVIC display for approximately five
seconds after a single chime has sounded, to indicate the
next scheduled oil change interval. The engine oil change
indicator system is duty-cycle based, which means the
engine oil change interval may fluctuate dependent upon
your personal driving style.
Unless reset, this message will continue to display each
time you turn the ignition switch to the ON/RUN
position. To turn off the message temporarily, press and
release the Trip Odometer button on the instrument
cluster. To reset the oil change indicator system (after
performing the scheduled maintenance) refer to the fol-
lowing procedure.
212 UNDERSTANDING YOUR INSTRUMENT PANEL
Page 383 of 490

CAUTION!
Driving with a hot cooling system could damage
your vehicle. If the pointer rises to the H (red) mark,
the instrument cluster will sound a chime. When
safe, pull over and stop the vehicle with the engine at
idle. Turn off the air conditioning and wait until the
pointer drops back into the normal range. If the
pointer remains on the H (red) mark for more than a
minute, turn the engine off immediately and call for
service.
WARNING!
You or others can be badly burned by hot engine
coolant (antifreeze) or steam from your radiator. If
you see or hear steam coming from under the hood,
do not open the hood until the radiator has had time
to cool. Never try to open a cooling system pressure
cap when the radiator or coolant bottle is hot.
AUTOMATIC TRANSMISSION OVERHEATING
During sustained high speed driving or trailer towing up
long grades on hot days, the automatic transmission oil
may become too hot.If this happens, the transmission overheat in-
dicator light will come on, and the vehicle will
slow slightly until the automatic transmission
cools down enough to allow a return to the
requested speed. If the high speed is maintained, the
overheating may reoccur, as before, in a cyclic fashion.6
WHAT TO DO IN EMERGENCIES 381
Page 407 of 490

CAUTION! (Continued)
•Your vehicle has been built with improved fluids
that protect the performance and durability of
your vehicle and also allow extended maintenance
intervals. Do not use chemical flushes in these
components as the chemicals can damage your
engine, transmission, power steering or air condi-
tioning. Such damage is not covered by the New
Vehicle Limited Warranty. If a flush is needed
because of component malfunction, use only the
specified fluid for the flushing procedure.
Engine Oil
Checking Oil Level
To assure proper engine lubrication, the engine oil must
be maintained at the correct level. Check the oil level at
regular intervals, such as every fuel stop. The best time to
check the engine oil level is about five minutes after afully warmed engine is shut off. Do not check oil level
before starting the engine after it has sat overnight.
Checking engine oil level when the engine is cold will
give you an incorrect reading.
Checking the oil while the vehicle is on level ground and
only when the engine is hot, will improve the accuracy of
the oil level readings. Maintain the oil level between the
range markings on the dipstick. The range markings will
consist of a crosshatch zone that says SAFE or a cross-
hatch zone that says MIN at the low end of the range and
MAX at the high end of the range. Adding 1 qt (1L) of oil
when the reading is at the low end of the indicated range
will result in the oil level at the full end of the indicator
range.
7
MAINTAINING YOUR VEHICLE 405
Page 445 of 490

Your authorized dealer will reset the oil change indicator
message after completing the scheduled oil change. If a
scheduled oil change is performed by someone other
than your authorized dealer, the message can be reset by
referring to the steps described under “Electronic Vehicle
Information Center (EVIC)/Oil Change Required” in
“Understanding Your Instrument Panel” or under “In-
strument Cluster Description/Odometer/Trip Odom-
eter” in “Understanding Your Instrument Panel” for
further information.
At Each Stop For Fuel
•Check the engine oil level about five minutes after a
fully warmed engine is shut off. Checking the oil level
while the vehicle is on level ground will improve the
accuracy of the oil level reading. Add oil only when
the level is at or below the ADD or MIN mark.
•Check the windshield washer solvent and add if
required.
Once A Month
•Check the tire pressure and look for unusual wear or
damage.
•Inspect the battery and clean and tighten the terminals
as required.
•Check the fluid levels of coolant reservoir, brake
master cylinder, power steering and transmission and
add as needed.
•Check all lights and other electrical items for correct
operation.
8
M A I
N T
E
N A
N CE
S
C
H E
D
U L
E
SMAINTENANCE SCHEDULES 443