Page 95 of 574

Whenthetirepressuremonitoris
shown on the multi-inf ormation
display, press the SEL/RESET
button. The display changes as
shown.
You can see the pressure of each tire
in this monitor. If one or more tires
are low, inflate them to the correct
pressure. For more inf ormation, see
page .
This shows the remaining lif e of the
engine oil. It shows 100% af ter the
engine oil is replaced and the display
is reset. The engine oil lif e is
calculated based on engine operating
conditions and accumulated engine
revolutions. For more inf ormation,
see page .
The temperature sensor is in the
f ront bumper. The temperature
reading can be affected by heat
ref lection f rom the road surf ace,
engine heat, and the exhaust f rom
surrounding traf f ic. This can cause
an incorrect temperature reading
when your vehicle speed is under
19 mph (30 km/h). When you start
your trip, the sensor is not f ully
acclimatized, theref ore it may take
several minutes until the proper
temperature is displayed.
In certain weather conditions,
temperature readings near f reezing
(32°F, 0°C) could mean that ice is
f orming on the road surf ace.
You can adjust the outside
temperature display (see page ).
105
455 424
Tire Pressure Monitor
Engine Oil L if e
Multi-Inf ormation Display
Inst rument s and Cont rols
91
U.S.
Canada
ENGINE OIL LIFE
10/01/26 18:39:01 31SZA620_096
2011 Pilot
Page 98 of 574

�Û�Ý
�Û�Ý
If there is a problem with your
vehicle, f or example the engine oil
level is low or a door is not f ully
closed, the multi-inf ormation display
will show you the problem. It does
this by interrupting the current
display with one or more messages. The system message(s) triggers the
appropriate indicator(s) on the
instrument panel, including the
system message indicator, to come
on. The system message indicator
does not go of f until the problem(s)
is corrected.
You will also hear a beep when the
system message comes on f or the
first time.
When there are several messages to
be shown, the system switches the
messages every 5 seconds.
The message is shown until you
push the INFO ( or ) button.
To see the message again, press the
INFO ( or ) button, 5 seconds
after the display disappears.
Here is a list of messages shown on
the multi-information display:
Multi-Inf ormation Display
System Messages
94
SYSTEM MESSAGE INDICATOR
U.S. model is shown.
10/01/26 18:39:32 31SZA620_099
2011 Pilot
Page 131 of 574

�µThe automatic lighting
f eature turns on the headlights and
all other exterior lights, when it
senses low ambient light.
To turn on automatic lighting, turn
the light switch to AUTO. The lights
will come on automatically when the
outside light level becomes low (at
dusk, f or example). The lights on
indicator comes on as a reminder.
The lights and indicator will turn of f
automatically when the system
senses high ambient light.
The lights will remain on when you
turn of f the ignition switch. They will
turn of f automatically when you
remove the key and open the driver’s
door. To turn them on again, either
turn the ignition switch to the ON
(II) position or turn the light switch
to the position. Even with the automatic lighting
f eature turned on, we recommend
thatyouturnonthelightsmanually
when driving at night or in a dense
f og, or when you enter dark areas
such as long tunnels or parking
f acilities.
To change the ‘‘AUTO LIGHT
SENSITIVITY’’ setting, see page
.
Do not leave the light switch in
AUTO if you will not be driving the
vehicle f or an extended period (a
weekormore).Youshouldalsoturn
of f the lights if you plan to leave the
engine idling or of f f or a long time. The automatic lighting f eature is
controlledbyasensorlocatedontop
of the dashboard. Do not cover this
sensor or spill liquids on it.
113
On vehicles with navigation system
Headlights
AUTO
Inst rument s and Cont rols
127
LIGHT SENSOR
10/01/26 18:44:50 31SZA620_132
2011 Pilot
Page 138 of 574
These keys contain electronic
circuits that are activated by the
immobilizer system. They will not
work to start the engine if the
circuits are damaged.Protect the keys f rom direct
sunlight, high temperature, and
high humidity.
Donotdropthekeysorsetheavy
objects on them.
Keep the keys away f rom liquids.
If they get wet, dry them
immediately with a sof t cloth.
The master key fits all the locks on
your vehicle. The valet key works
only in the ignition and the driver’s
door lock. You can keep the glove
boxlockedwhenyouleaveyour
vehicle and the valet key at a parking
f acility. The valet key does not contain a
battery. Do not try to take it apart.
Youshouldhavereceivedakey
number tag with your keys. You will
need this key number if you ever
have to get a lost key replaced. Use
only Honda-approved key blanks.
Keys and Locks
134
KEY
NUMBER
TAG
MASTER KEY
WITH REMOTE
TRANSMITTER
VALET KEY
(Light Gray)
10/01/26 18:45:51 31SZA620_139
2011 Pilot
Page 139 of 574

When you turn the ignition switch to
the ON (II) position, the immobilizer
system indicator should come on
brief ly, then go of f . If the indicator
starts to blink, it means the system
does not recognize the coding of the
key. Turn the ignition switch to the
LOCK (0) position, remove the key,
reinsert it, and turn the ignition
switch to the ON (II) position again.If the system repeatedly does not
recognize the coding of your key,
contact your dealer.
Do not attempt to alter this system
or add other devices to it. Electrical
problems could result that may make
your vehicle inoperable.
If you have lost your key and you
cannot start the engine, contact your
dealer.
The immobilizer system protects
your vehicle f rom thef t. If an
improperly coded key (or other
device) is used, the engine’s f uel
system is disabled.
The system may not recognize your
key’s coding if another immobilizer
key or other metal object (i.e. key
chain) is near the ignition switch
when you insert the key.
CONT INUED
Immobilizer System
Inst rument s and Cont rols
135
10/01/26 18:45:58 31SZA620_140
2011 Pilot
Page 141 of 574

�µ�µ
�µ
�µ
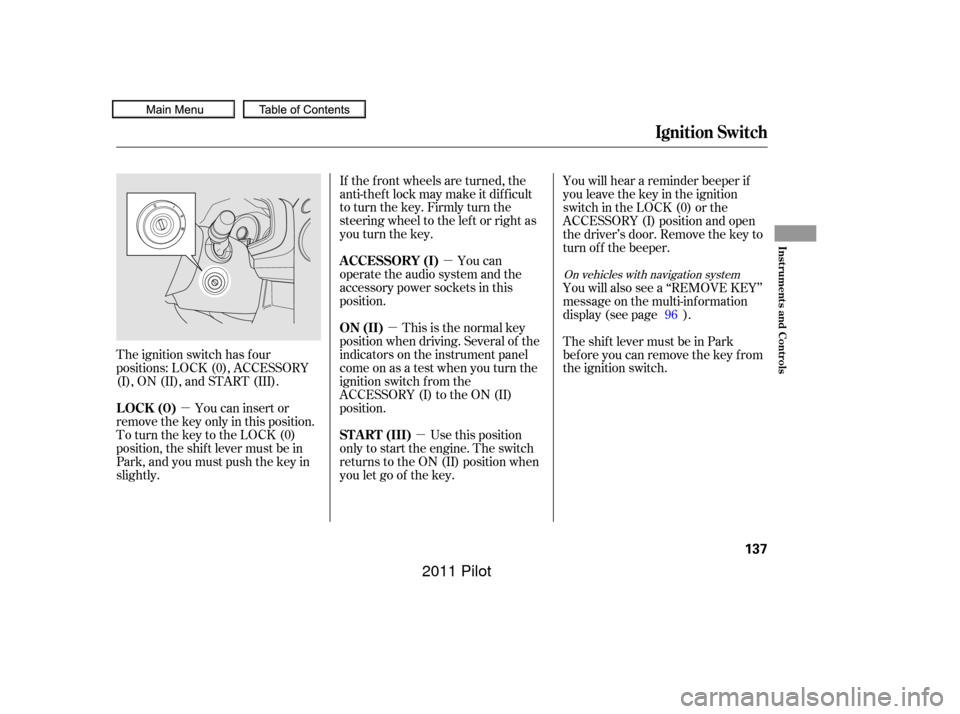
The ignition switch has f our
positions: LOCK (0), ACCESSORY
(I), ON (II), and START (III).
You can insert or
remove the key only in this position.
To turn the key to the LOCK (0)
position, the shif t lever must be in
Park, and you must push the key in
slightly. If the f ront wheels are turned, the
anti-theft lock may make it difficult
to turn the key. Firmly turn the
steering wheel to the lef t or right as
you turn the key.
You can
operate the audio system and the
accessory power sockets in this
position.
This is the normal key
position when driving. Several of the
indicators on the instrument panel
come on as a test when you turn the
ignition switch f rom the
ACCESSORY (I) to the ON (II)
position.
Use this position
only to start the engine. The switch
returns to the ON (II) position when
you let go of the key. You will hear a reminder beeper if
you leave the key in the ignition
switch in the LOCK (0) or the
ACCESSORY (I) position and open
the driver’s door. Remove the key to
turn of f the beeper.
You will also see a ‘‘REMOVE KEY’’
message on the multi-information
display (see page ).
TheshiftlevermustbeinPark
bef ore you can remove the key f rom
the ignition switch.
96
On vehicles with navigation system
Ignition Switch
LOCK (0) A CCESSORY (I)
ON (II)
ST A RT (III)
Inst rument s and Cont rols
137
10/01/26 18:46:14 31SZA620_142
2011 Pilot
Page 143 of 574

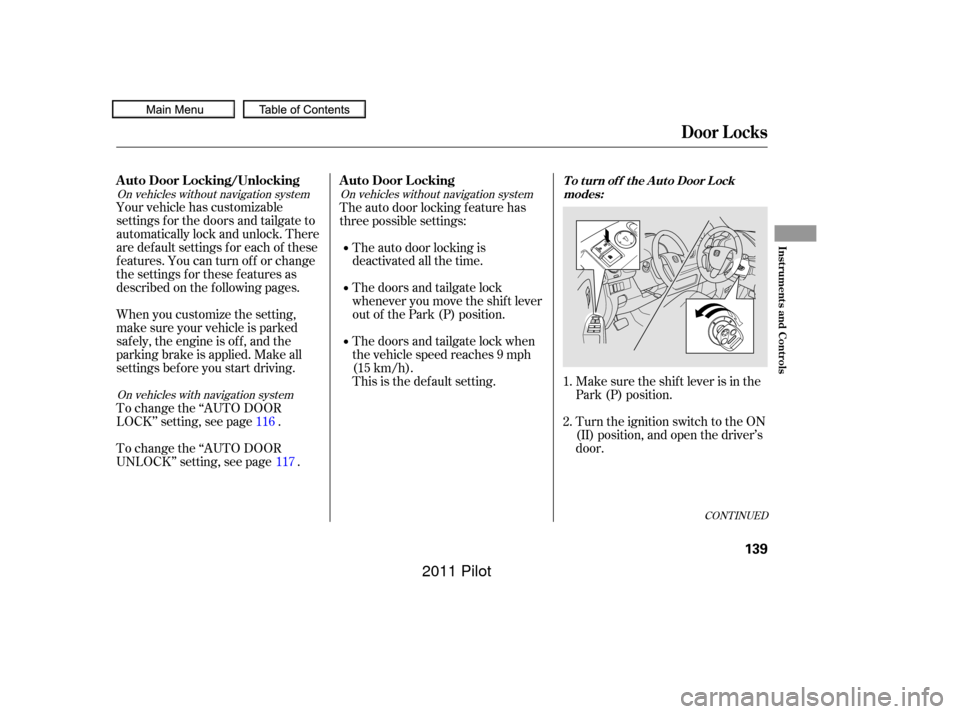
Make sure the shif t lever is in the
Park (P) position.
Turn the ignition switch to the ON
(II) position, and open the driver’s
door.
Your vehicle has customizable
settings f or the doors and tailgate to
automatically lock and unlock. There
are default settings for each of these
f eatures. You can turn of f or change
the settings for these features as
described on the f ollowing pages.
When you customize the setting,
make sure your vehicle is parked
saf ely, the engine is of f , and the
parking brake is applied. Make all
settings bef ore you start driving.
To change the ‘‘AUTO DOOR
LOCK’’ setting, see page .
To change the ‘‘AUTO DOOR
UNLOCK’’ setting, see page . The auto door locking f eature has
three possible settings:
The auto door locking is
deactivated all the time.
The doors and tailgate lock
whenever you move the shif t lever
out of the Park (P) position.
The doors and tailgate lock when
the vehicle speed reaches 9 mph
(15 km/h).
This is the def ault setting. 1.
2.
116
117
CONT INUED
On vehicles without navigation system On vehicles without navigation system
On vehicles with navigation system
A uto Door L ocking/Unlocking A uto Door L ockingT o t urn of f t he A ut o Door L ockmodes:
Door L ocks
Inst rument s and Cont rols
139
10/01/26 18:46:42 31SZA620_144
2011 Pilot
Page 169 of 574

�µ
CONT INUED
The windows will operate f or up to
10 minutes af ter you turn of f the
ignition switch. Opening either f ront
door cancels this f unction.To open either f ront
window f ully, push the window
switch f irmly down to the second
detent, then release it. The window
automatically goes down all the way.
To stop the window f rom going all
the way down, pull back on the
window switch briefly.
In the HI setting, the heater turns off
when the seat gets warm, and turns
back on after the seat’s temperature
drops.
In the LO setting, the heater runs
continuously. It does not cycle with
temperature changes.
Follow these precautions when using
the seat heaters:
Use the HI setting only to heat the
seats quickly, because it draws
large amounts of current f rom the
battery.
If the engine is lef t idling f or an
extended period, do not use the
seat heaters even on the LO
setting. It can weaken the battery,
causing hard starting. Turn the ignition switch to the ON
(II) position to raise or lower any
window. To open a window, push the
switchdownandholdit.Releasethe
switch when you want the window to
stop. Pull back on the switch and
hold it to close the window.
AUTO
Power Windows
Seat Heaters, Power Windows
Inst rument s and Cont rols
165
DRIVER’S WINDOW
SWITCH
MAIN SWITCH
Closing a power window on
someone’s hands or fingers can
cause serious injury.
Make sure your passengers are
away from the windows before
closing them.
10/01/26 18:51:28 31SZA620_170
2011 Pilot