Page 170 of 574

�µIf your vehicle’s battery is
disconnected or goes dead, or the
driver’s window f use is removed, the
AUTO f unction may be disabled. If
the AUTO f unction is disabled, the
power window system will need to be
reset af ter reconnecting the battery
or installing the f use.
Start the engine. Push down and
hold the driver’s window switch
until the window is f ully open.
Pull and hold the driver’s window
switch to close the window
completely, then hold the switch
f or about 2 seconds.
If the power windows do not operate
properly af ter resetting, have your
vehicle checked by your dealer.
If either f ront
window senses any obstacle while it
is closing automatically, it will
reverse direction and then stop. To
close the window, remove the
obstacle, then use the window switch
again.
Auto reverse stops sensing when the
window is almost closed. You should
always check that all passengers and
objects are away from the window
bef ore closing it.
To close either f ront window f ully,
pull back the window switch f irmly
to the second detent, then release it.
The window automatically goes all
the way up. To stop the window f rom
going all the way up, push down on
the window switch briefly.
When you push the MAIN switch in,
the switch is off, and the passengers’
windows cannot be raised or lowered.
To cancel this f eature, push on the
switch again to get it to pop out.
Keep the MAIN switch pushed in
whenyouhavechildreninthe
vehicle so they do not injure
themselves by operating the
windows unintentionally.
1.
2.
AUTO REVERSE
Power Windows
166
10/01/26 18:51:37 31SZA620_171
2011 Pilot
Page 191 of 574
CONT INUED
There is a 115 volt AC power outlet
inside the f ront console
compartment. To use the AC power
outlet, open the lids and open the
outlet cover. Insert the plug into the
receptacle slightly, turn it 90°
clockwise, then push in the plug all
the way.
None of the sockets will power an
automotive type cigarette lighter
element. Always run the engine when you use
the AC power outlet.
The maximum capacity f or this
power outlet is 115 volt AC at 100
watts or less. If you use an appliance
which requires more than 100 watts,
it automatically stops supplying the
power. If this happens, turn the
ignition switch of f and turn it on
again.
Make sure to put the socket cover
back in place to prevent any small
foreign objects from getting into the
socket.
On vehicles with rear entertainment system
Interior Convenience Items
AC Power Outlet
Inst rument s and Cont rols
187
Rear
10/01/26 18:55:10 31SZA620_192
2011 Pilot
Page 199 of 574

Air conditioning places an extra load
on the engine. Watch the engine
coolant temperature gauge (see page). If it moves near the red mark,
turn of f the A/C until the gauge
reads normally.
The ventilation system draws in
outside air, circulates it through the
interior, then exhausts it through
vents near the rear side panels.
The heater uses engine coolant to
warm the air. If the engine is cold, it
will be several minutes bef ore you
f eel warm air coming f rom the
system.
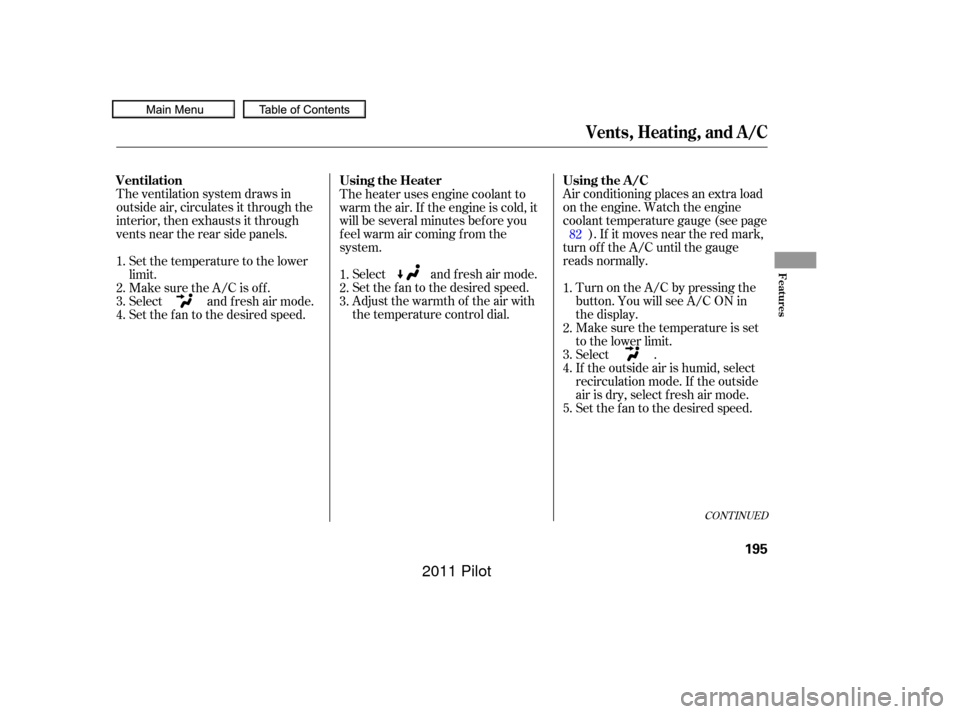
Select and fresh air mode.
Set the f an to the desired speed.
Adjust the warmth of the air with
the temperature control dial. Turn on the A/C by pressing the
button. You will see A/C ON in
the display.
Make sure the temperature is set
to the lower limit.
Select .
If the outside air is humid, select
recirculation mode. If the outside
air is dry, select f resh air mode.
Set the f an to the desired speed.
Set the temperature to the lower
limit.
Make sure the A/C is of f .
Select and fresh air mode.
Set the f an to the desired speed.
1.
2.
3.
4.
5.
1.
2.
3.
1.
2.
3.
4. 82
CONT INUED
Vents, Heating, and A/C
Using the A/C
Ventilation Using the Heater
Features
195
10/01/26 18:56:36 31SZA620_200
2011 Pilot
Page 348 of 574

�Ì
There are various types of DVDs
available. Some of them are not
compatible with your system.
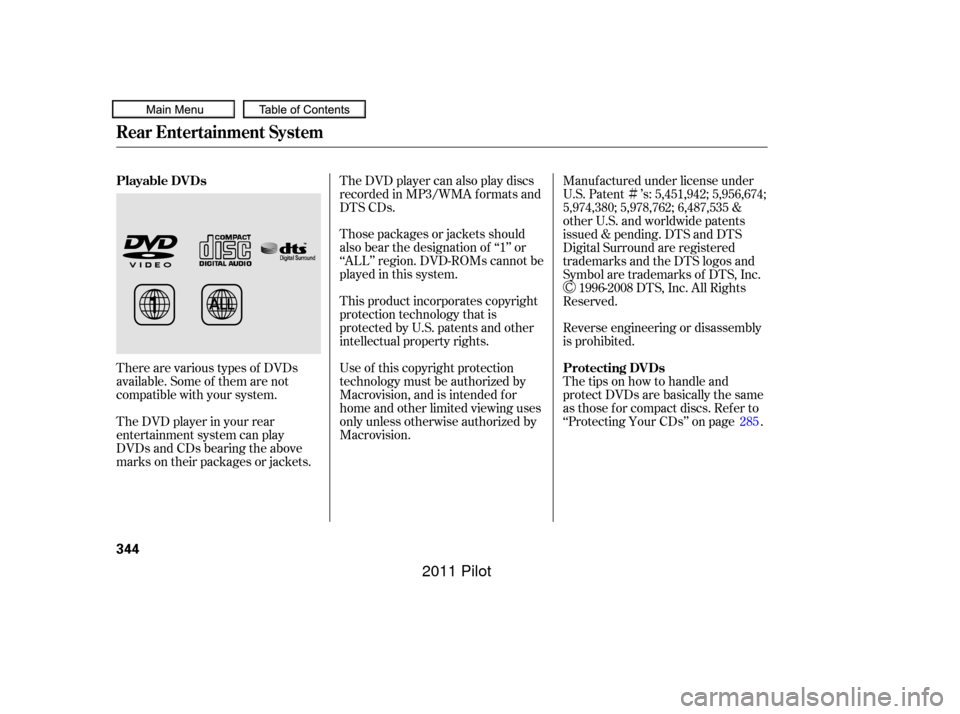
The DVD player in your rear
entertainment system can play
DVDs and CDs bearing the above
marks on their packages or jackets.Those packages or jackets should
also bear the designation of ‘‘1’’ or
‘‘ALL’’ region. DVD-ROMs cannot be
played in this system. The DVD player can also play discs
recorded in MP3/WMA f ormats and
DTS CDs.
This product incorporates copyright
protection technology that is
protected by U.S. patents and other
intellectual property rights.
Use of this copyright protection
technology must be authorized by
Macrovision, and is intended f or
home and other limited viewing uses
only unless otherwise authorized by
Macrovision.Manuf actured under license under
U.S. Patent ’s: 5,451,942; 5,956,674;
5,974,380; 5,978,762; 6,487,535 &
other U.S. and worldwide patents
issued & pending. DTS and DTS
Digital Surround are registered
trademarks and the DTS logos and
Symbol are trademarks of DTS, Inc.
1996-2008 DTS, Inc. All Rights
Reserved.
Reverse engineering or disassembly
is prohibited.
The tips on how to handle and
protect DVDs are basically the same
as those f or compact discs. Ref er to
‘‘Protecting Your CDs’’ on page . 285
Playable DVDs
Protecting DVDs
Rear Entertainment System
344
10/01/26 19:21:45 31SZA620_349
2011 Pilot
Page 397 of 574
Bef ore you begin driving your
vehicle, you should know what
gasoline to use and how to check the
levels of important f luids. You also
need to know how to properly store
luggage or packages. The
inf ormation in this section will help
you. If you plan to add any
accessories to your vehicle, please
read the information in this section
first..............................
Break-in Period .394
.................
Fuel Recommendation . 394
.........
Service Station Procedures . 395
....................................
Ref ueling .395
.....
Tighten Fuel Cap Message . 396
Opening and Closing the .......................................
Hood .397
...................................
Oil Check .398
.............
Engine Coolant Check . 398
...............................
Fuel Economy .399
...
Accessories and Modif ications . 402
.............................
Carrying Cargo .404
Bef ore Driving
Bef ore Driving
393
10/01/26 19:30:39 31SZA620_398
2011 Pilot
Page 398 of 574

Help assure your vehicle’s f uture
reliability and perf ormance by paying
extra attention to how you drive
during the f irst 600 miles (1,000 km).
During this period:Avoid full-throttle starts and rapid
acceleration.
Avoidhardbrakingforthefirst
200 miles (300 km).
Do not change the oil until the
scheduled maintenance time.
Do not tow a trailer.
You should also f ollow these
recommendations with an
overhauled or exchanged engine, or
when the brakes are replaced. Your vehicle is designed to operate
on unleaded gasoline with a pump
octane number of 87 or higher. Use
of a lower octane gasoline can cause
a persistent, heavy metallic rapping
noise that can lead to engine damage.
We recommend quality gasolines
containing detergent additives that
help prevent f uel system and engine
deposits.
In addition, in order to maintain good
perf ormance, f uel economy, and
emissions control, we strongly
recommend, in areas where it is
available, the use of gasoline that
does NOT contain manganese-based
f uel additives such as MMT.
Use of gasoline with these additives
may adversely af f ect perf ormance,
and cause the malfunction indicator
lamp on your instrument panel to
come on. If this happens, contact
your dealer f or service.Some gasoline today is blended with
oxygenates such as ethanol or
MTBE. Your vehicle is designed to
operate on oxygenated gasoline
containing up to 10% ethanol by
volume and up to 15% MTBE by
volume. Do not use gasoline
containing methanol.
If you notice any undesirable
operating symptoms, try another
service station or switch to another
brand of gasoline.
Premium f uel is recommended when
towing in certain conditions (see
page ).
For f urther important f uel-related
inf ormation f or your vehicle, or
inf ormation on gasoline that does not
contain MMT, visit Owner Link at
. In Canada, visit
f or additional
inf ormation on gasoline. 446
owners.honda.com
www.honda.ca
Break-in Period Fuel Recommendation
Break-in Period, Fuel Recommendation
394
10/01/26 19:30:55 31SZA620_399
2011 Pilot
Page 399 of 574

CONT INUED
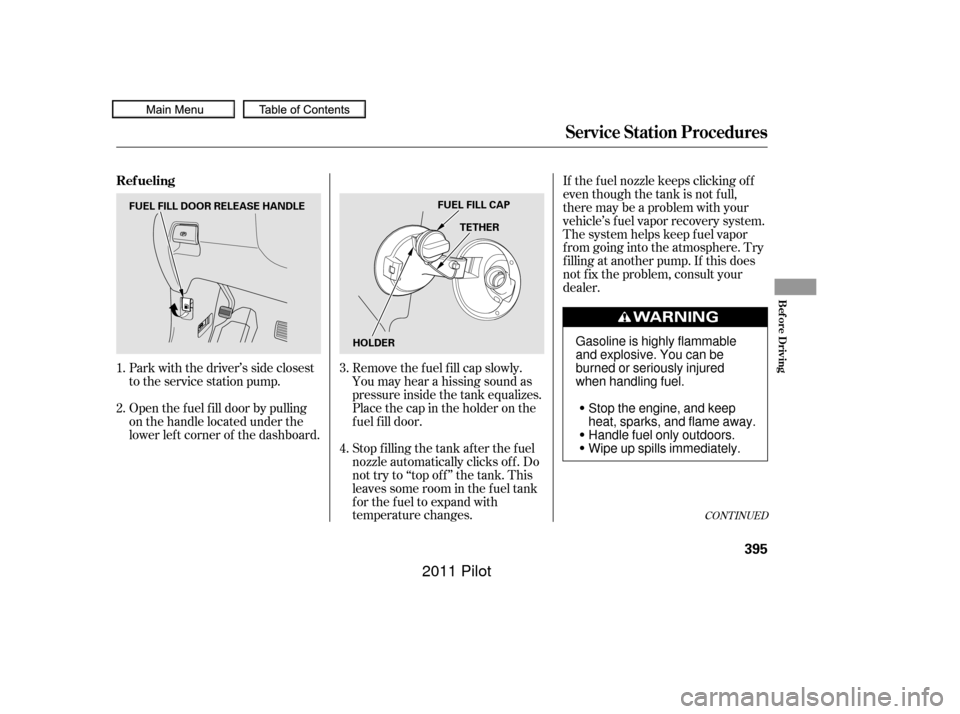
Remove the f uel f ill cap slowly.
You may hear a hissing sound as
pressure inside the tank equalizes.
Place the cap in the holder on the
fuel fill door.
Stop f illing the tank af ter the f uel
nozzle automatically clicks of f . Do
not try to ‘‘top off’’ the tank. This
leaves some room in the f uel tank
for the fuel to expand with
temperature changes.If thefuelnozzlekeepsclickingoff
even though the tank is not f ull,
there may be a problem with your
vehicle’s fuel vapor recovery system.
The system helps keep f uel vapor
f rom going into the atmosphere. Try
f illing at another pump. If this does
not f ix the problem, consult your
dealer.
Park with the driver’s side closest
to the service station pump.
Open the f uel f ill door by pulling
on the handle located under the
lower lef t corner of the dashboard.
1.
2.
3.
4.
Ref ueling
Service Station Procedures
Bef ore Driving
395
HOLDER
FUEL FILL DOOR RELEASE HANDLE
FUEL FILL CAP
TETHER
Stop the engine, and keep
heat, sparks, and flame away.
Handle fuel only outdoors.
Wipe up spills immediately.
Gasoline is highly flammable
and explosive. You can be
burned or seriously injured
when handling fuel.
10/01/26 19:31:07 31SZA620_400
2011 Pilot
Page 400 of 574

Screw the fuel fill cap back on
until it clicks at least once.If the system still detects a leak in
the vehicle’s evaporative emissions
system, the malf unction indicator
lamp (MIL) comes on. If the f uel f ill
cap was not already tightened, turn
the engine of f , and check or
retighten the f uel f ill cap until it
clicks at least once. The MIL should
go off after several days of normal
driving once the cap is tightened or
replaced. If the MIL does not go of f ,
have your vehicle inspected by a
dealer. For more inf ormation, see
page .
Your vehicle’s on board diagnostic
system will detect a loose or missing
f uel f ill cap as an evaporative system
leak. The f irst time a leak is detected
a ‘‘TIGHTEN FUEL CAP’’ message
appears on the multi-inf ormation
display. Turn the engine of f , and
conf irm the f uel f ill cap is installed. If
it is, loosen it, then retighten it until
it clicks at least once. The message
should go of f af ter several days of normal driving once you tighten or
replace the f uel f ill cap. To scroll to
another message, press the INFO
button. The ‘‘TIGHTEN FUEL CAP’’
message will appear each time you
restart the engine until the system
turns the message of f .
If you do not properly tighten the
cap, you will see a ‘‘CHECK FUEL
CAP’’ message on the inf ormation
display (see page ).
If you do not properly tighten the
cap, you will see a ‘‘TIGHTEN
FUEL CAP’’ message on the multi-
inf ormation display.
Push the f uel f ill door closed until
it latches.
5.
6.
522
86
On vehicles without navigation
system
On vehicles with navigation system On vehicles with navigation system
Tighten Fuel Cap Message
Service Station Procedures
396
10/01/26 19:31:19 31SZA620_401
2011 Pilot