Page 8 of 356
�1: To use the horn, press the center pad of the steering wheel.
� 2: If equipped.
� 3: Only on vehicles equipped with navigation system. Refer to the navigation system manual.
Vehicle with navigation system is shown.
PADDLE SHIFTER (DOWNSHIFT)
�
2
(P. 226)
HEADLIGHTS/
TURN SIGNAL/
FOG LIGHTS
� 2
(P. 74)
REMOTE AUDIO
CONTROL BUTTONS
�2
(P. 190)
NAVIGATION
SYSTEM VOICE
CONTROL BUTTONS
�3
VEHICLE STABILITY
ASSIST (VSA)
SYSTEM OFF SWITCH
�2
(P. 236)
STEERING WHEEL ADJUSTMENTS
(P. 77) CRUISE CONTROL BUTTONS�
2
(P. 195)
HORN
�
1PADDLE SHIFTER(UPSHIFT)� 2
(P. 226)
INSTRUMENT PANEL
BRIGHTNESS (P. 76)
HAZARD WARNING BUTTON
(P. 76)
WINDSHIELD WIPERS/WASHERS
(P. 73)
PASSENGER AIRBAG OFF INDICATOR
(P. 31)
REAR WINDOW DEFOGGER/
HEATED MIRROR BUTTON
�
2
(P. 76/102)
AUXILIARY INPUT JACK
(P. 191)
ACCESSORY POWER SOCKET
(P. 106)
Your Vehicle at a Glance
4
Main Menu
Page 76 of 356
�1: To use the horn, press the center pad of the steering wheel.
� 2: If equipped.
� 3: Only on vehicles equipped with navigation system. Refer to the navigation system manual.
PADDLE SHIFTER
(DOWNSHIFT)�2
(P. 226)
HEADLIGHTS/
TURN SIGNAL/
FOG LIGHTS
� 2
(P. 74)
NAVIGATION SYSTEM
VOICE CONTROL BUTTONS
�3
STEERING WHEELADJUSTMENTS
(P. 77) CRUISE CONTROL BUTTONS�
2
(P. 195) AUXILIARY INPUT JACK
(P. 191)
ACCESSORY POWER SOCKET
(P. 106)
PASSENGER AIRBAG OFF INDICATOR
(P. 31)
REAR WINDOW DEFOGGER/
HEATED MIRROR BUTTON
�
2
(P. 76/102)
WINDSHIELD WIPERS/WASHERS
(P. 73)
HAZARD WARNING BUTTON
(P. 76)
PADDLE SHIFTER(UPSHIFT)
�
2
(P. 226)
INSTRUMENT PANEL
BRIGHTNESS
(P. 76)
REMOTE AUDIO CONTROL BUTTONS
� 2
(P. 190)
VEHICLE STABILITY
ASSIST (VSA) SYSTEM
OFF SWITCH
�2
(P. 236)
Vehicle with navigation system is shown. HORN
�
1
Controls Near the Steering Wheel
72
Main MenuTable of Contents
Page 133 of 356
�PLAY BUTTON
USB INDICATOR
RANDOM BUTTON ꀽ SEEK (SKIP�)
BUTTON
TITLE BUTTON AUX BUTTON
ꂹꂾ BUTTON
VOL/SELECT KNOB REPEAT BUTTON
ꀾ SEEK (SKIP
-)
BUTTON iPod INDICATOR
POWER ( ꂻ)
BUTTON
All models except Canadian DX, DX-A, and LX models
CONTINUED
Playing an iPod
Page 134 of 356

To Play an iPodꭂ
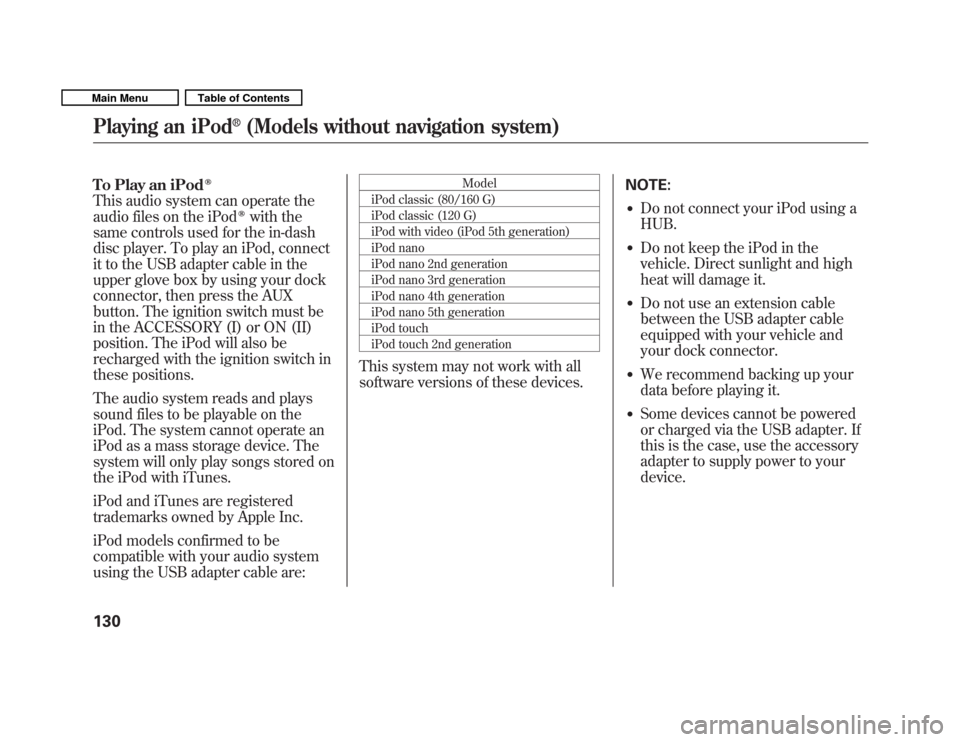
This audio system can operate the
audio files on the iPodꭂwith the
same controls used for the in-dash
disc player. To play an iPod, connect
it to the USB adapter cable in the
upper glove box by using your dock
connector, then press the AUX
button. The ignition switch must be
in the ACCESSORY (I) or ON (II)
position. The iPod will also be
recharged with the ignition switch in
these positions.
The audio system reads and plays
sound files to be playable on the
iPod. The system cannot operate an
iPod as a mass storage device. The
system will only play songs stored on
the iPod with iTunes.
iPod and iTunes are registered
trademarks owned by Apple Inc.
iPod models confirmed to be
compatible with your audio system
using the USB adapter cable are: Model
iPod classic (80/160 G)
iPod classic (120 G)
iPod with video (iPod 5th generation)
iPod nano
iPod nano 2nd generation
iPod nano 3rd generation
iPod nano 4th generation
iPod nano 5th generation
iPod touch
iPod touch 2nd generation
This system may not work with all
software versions of these devices. NOTE:
� Do not connect your iPod using a HUB.
� Do not keep the iPod in the
vehicle. Direct sunlight and high
heat will damage it.
� Do not use an extension cable
between the USB adapter cable
equipped with your vehicle and
your dock connector.
� We recommend backing up your
data before playing it.
� Some devices cannot be powered
or charged via the USB adapter. If
this is the case, use the accessory
adapter to supply power to yourdevice.
Playing an iPod
Page 140 of 356
�PLAY BUTTON
USB INDICATOR
RANDOM BUTTON ꀽ SEEK (SKIP�)
BUTTON
TITLE BUTTON AUX BUTTON
ꂹꂾ BUTTON
VOL/SELECT KNOB REPEAT BUTTON
ꀾ SEEK (SKIP
-)
BUTTON
POWER (
ꂻ)
BUTTON
All models except Canadian DX, DX-A, and LX models
Playing a USB Flash Memory Device (Models without navigation system)
136
Main MenuTable of Contents
Page 141 of 356

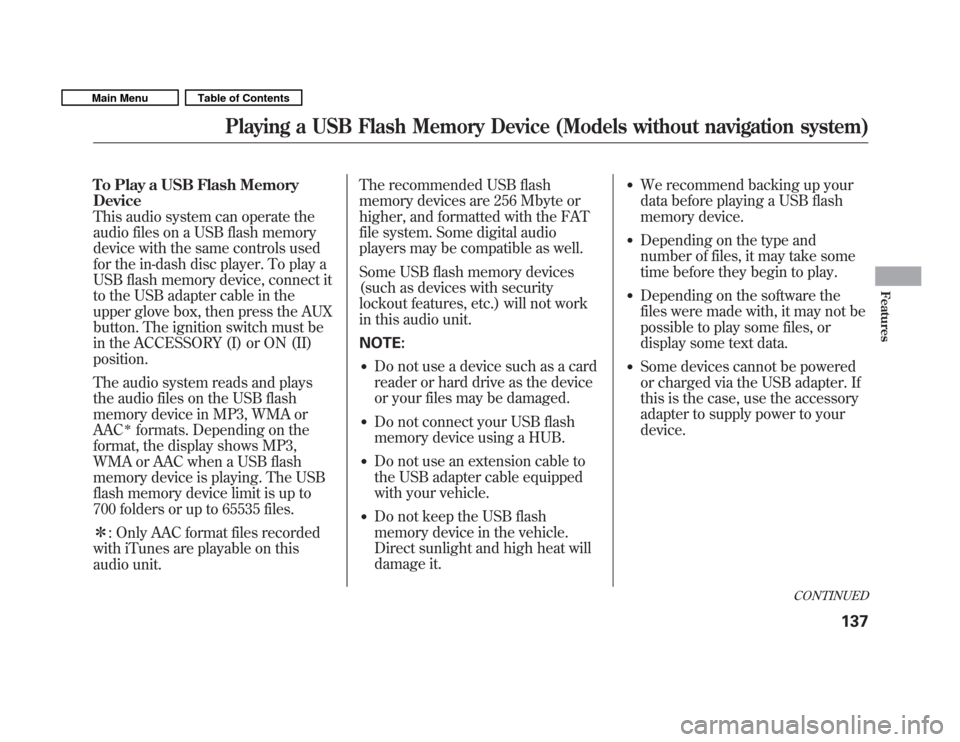
To Play a USB Flash Memory Device
This audio system can operate the
audio files on a USB flash memory
device with the same controls used
for the in-dash disc player. To play a
USB flash memory device, connect it
to the USB adapter cable in the
upper glove box, then press the AUX
button. The ignition switch must be
in the ACCESSORY (I) or ON (II)position.
The audio system reads and plays
the audio files on the USB flash
memory device in MP3, WMA orAAC
�formats. Depending on the
format, the display shows MP3,
WMA or AAC when a USB flash
memory device is playing. The USB
flash memory device limit is up to
700 folders or up to 65535 files. � : Only AAC format files recorded
with iTunes are playable on this
audio unit. The recommended USB flash
memory devices are 256 Mbyte or
higher, and formatted with the FAT
file system. Some digital audio
players may be compatible as well.
Some USB flash memory devices
(such as devices with security
lockout features, etc.) will not work
in this audio unit. NOTE:
� Do not use a device such as a card
reader or hard drive as the device
or your files may be damaged.
� Do not connect your USB flash
memory device using a HUB.
� Do not use an extension cable to
the USB adapter cable equipped
with your vehicle.
� Do not keep the USB flash
memory device in the vehicle.
Direct sunlight and high heat will
damage it. �
We recommend backing up your
data before playing a USB flash
memory device.
� Depending on the type and
number of files, it may take some
time before they begin to play.
� Depending on the software the
files were made with, it may not be
possible to play some files, or
display some text data.
� Some devices cannot be powered
or charged via the USB adapter. If
this is the case, use the accessory
adapter to supply power to yourdevice.
CONTINUED
Playing a USB Flash Memory Device (Models without navigation system)
137
Features
Main MenuTable of Contents
Page 153 of 356
POWER/VOLUME KNOBJOYSTICK
REPEAT BUTTON CD ICON
RANDOM BUTTON
OPEN BUTTON
CD/AUX BUTTON
AUDIO BUTTON
SCAN BUTTON
TUNE FOLDER BAR
REWIND BUTTONFAST FORWARD BUTTON
SKIP-BUTTONSKIP
�BUTTON
CONTINUED
Playing a Disc (Models with navigation system)
149
Features
Main MenuTable of Contents
Page 154 of 356

To Play a Disc
(In-dash single player)
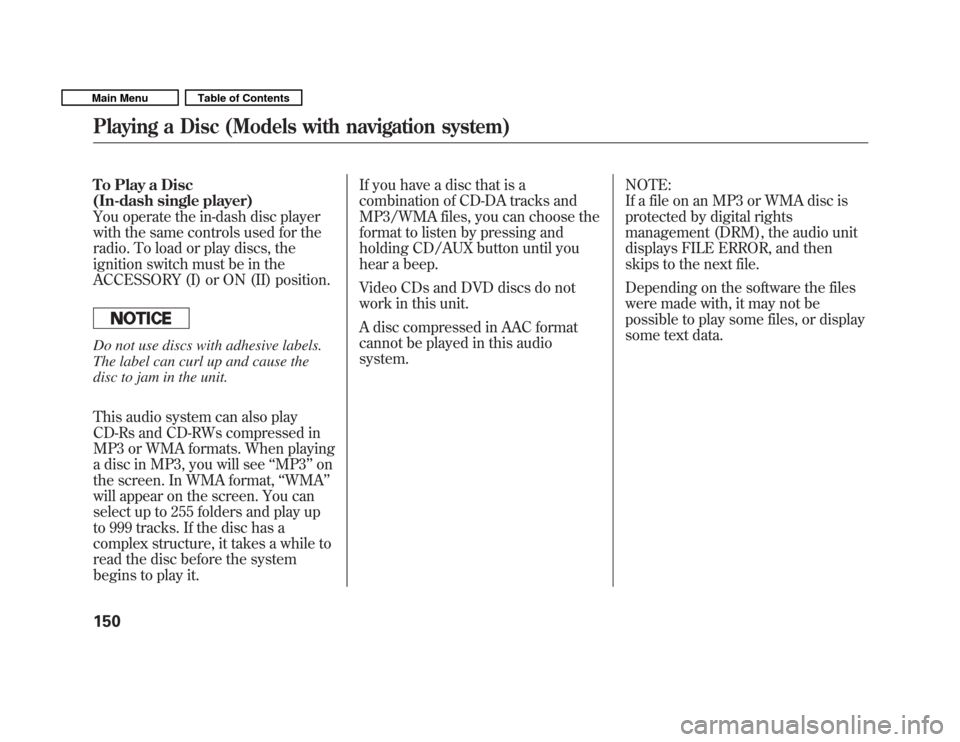
You operate the in-dash disc player
with the same controls used for the
radio. To load or play discs, the
ignition switch must be in the
ACCESSORY (I) or ON (II) position.
Do not use discs with adhesive labels.
The label can curl up and cause the
disc to jam in the unit.
This audio system can also play
CD-Rs and CD-RWs compressed in
MP3 or WMA formats. When playing
a disc in MP3, you will see‘‘MP3 ’’on
the screen. In WMA format, ‘‘WMA ’’
will appear on the screen. You can
select up to 255 folders and play up
to 999 tracks. If the disc has a
complex structure, it takes a while to
read the disc before the system
begins to play it. If you have a disc that is a
combination of CD-DA tracks and
MP3/WMA files, you can choose the
format to listen by pressing and
holding CD/AUX button until you
hear a beep.
Video CDs and DVD discs do not
work in this unit.
A disc compressed in AAC format
cannot be played in this audiosystem.
NOTE:
If a file on an MP3 or WMA disc is
protected by digital rights
management (DRM), the audio unit
displays FILE ERROR, and then
skips to the next file.
Depending on the software the files
were made with, it may not be
possible to play some files, or display
some text data.
Playing a Disc (Models with navigation system)
150
Main MenuTable of Contents